zabbix is an enterprise open source solution based on the WEB interface that provides distributed system monitoring and network monitoring capabilities.
The zabbix consists of two parts, the zabbix server and the optional component zabbix agent.
zabbix server can provide remote server/network status monitoring, data collection and other functions through SNMP, zabbix agent, ping, port monitoring, etc. It can run on Linux, Solaris, HP-UX, AIX, Free BSD, Open BSD, OS X and other platforms.
The zabbix agent needs to be installed on the target server being monitored. It mainly completes the collection of hardware information or operating system-related memory, CPU and other information.zabbix agent can run on Linux, Solaris, HP-UX, AIX, Free BSD, Open BSD, OS X, Tru64/OSF1, Windows NT4.0, Windows 2000/2003/XP/Vista, etc.
My Experimental Environment
| operating system | Host IP | Host Name | Install software | Install zabbix version | MySQL Version |
| Centos7.3 | 192.168.0.20 | zabbix | Zabbix-server | Zabbix 3.4.10 | MySQL5.7.22 |
| centos6.5 | 192.168.0.157 | Test02 | zabbix-agent |
zabbix-agent-3.4.10 | / |
Official start of zabbix installation
1. The yum source needs to be pre-installed on the monitoring host, so the installation will start officially below.
[root@zabbix ~]# rpm -ivh http://repo.zabbix.com/zabbix/3.4/rhel/7/x86_64/zabbix-release-3.4-2.el7.noarch.rpm
2. Install the Zabbix-server and zabbix-agent packages
[root@zabbix ~]# yum -y install zabbix-server-mysql zabbix-web-mysql zabbix-agent
3. Download and install mysql source
[root@zabbix ~]# rpm -ivh https://dev.mysql.com/get/mysql57-community-release-el7-11.noarch.rpm
4. View the currently available Mysql installation source
[root@zabbix ~]# yum repolist enabled | grep "mysql.*-community.*"
mysql-connectors-community/x86_64 MySQL Connectors Community                  51
mysql-tools-community/x86_64      MySQL Tools Community                       63
mysql57-community/x86_64          MySQL 5.7 Community Server                 267
5. Install MySQL server
[root@zabbix ~]# yum -y install mysql-community-server
6. Start mysql service and set up startup startup
[root@zabbix ~]#systemctl start mysqld
[root@zabbix ~]#systemctl enable mysqld
7. Enter MySQL and change your password
[root@zabbix ~]#cat /var/log/mysqld.log | grep password
[root@zabbix ~]#mysql -uroot -pRir.*sJUX6M*
mysql> ALTER USER USER() IDENTIFIED BY 'Pass123!';
8. Create database and zabbix user and authorize
mysql> create database zabbix character set utf8 collate utf8_bin;
Query OK, 1 row affected (10.03 sec)
mysql> grant all privileges on zabbix.* to zabbix@localhost identified by 'Pass123!';
Query OK, 0 rows affected, 1 warning (0.00 sec)
9. Import Initial Schema and Data
[root@zabbix ~]#cd /usr/share/doc/zabbix-server-mysql-3.4.10/
[root@zabbix  zabbix-server-mysql-3.4.10 ~]#zcat create.sql.gz | mysql -uzabbix -pPass123! -D zabbix
mysql: [Warning] Using a password on the command line interface can be insecure.
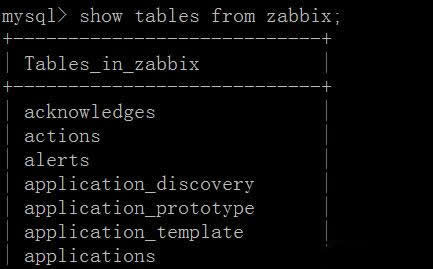
10. Then enter mysql to see if the content was imported
mysql> show tables from zabbix;
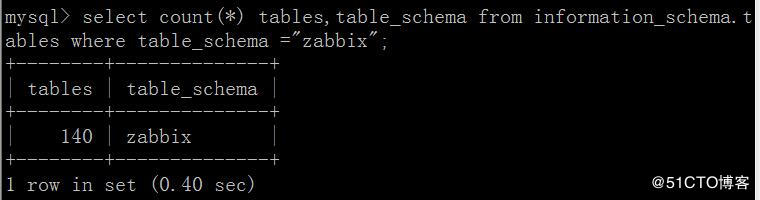
mysql> select count(*) tables,table_schema from information_schema.tables where table_schema ="zabbix";
Modify the configuration file to authorize the service and start the Zabbix Server service
1. Modify the configuration file
[root@zabbix ~]#vim  /etc/zabbix/zabbix_server.conf
LogFile=/var/log/zabbix/zabbix_server.log
LogFileSize=0
PidFile=/var/run/zabbix/zabbix_server.pid
SocketDir=/var/run/zabbix
DBHost=localhost
DBName=zabbix
DBUser=zabbix
DBPassword=Pass123!
SNMPTrapperFile=/var/log/snmptrap/snmptrap.log
Timeout=4
AlertScriptsPath=/usr/lib/zabbix/alertscripts
ExternalScripts=/usr/lib/zabbix/externalscripts
LogSlowQueries=3000
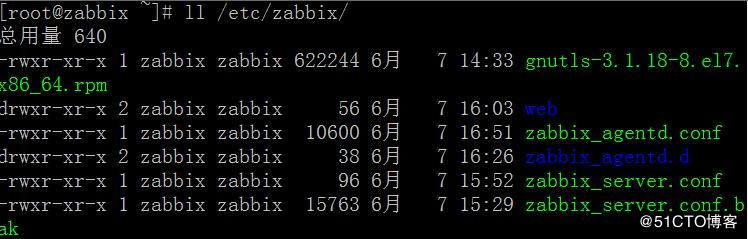
2. Authorize Services
[root@zabbix ~]#chown -R zabbix:zabbix /etc/zabbix/
[root@zabbix ~]#chmod -R 755 /etc/zabbix/
3. Start Zabbix Server Service
[root@zabbix ~]#systemctl start  zabbix-server
[root@zabbix ~]#systemctl enable zabbix-server
Edit the PHP configuration for the Zabbix front end
1) The Apache configuration file for the front end of ZABBIX is located at/etc/httpd/conf.d/zabbix.conf.Some PHP settings have been configured.
[root@zabbix ~]# vim /etc/httpd/conf.d/zabbix.conf +15
//Locate <IfModule mod_php5.c> under the label
//Add a php_value date.timezone Asia/Shanghai

2) Start the apache service and set the startup self-startup
[root@zabbix ~]#systemctl start httpd
[root@zabbix ~]#systemctl enable  httpd
Log on to a Web page Client operation to add a Linux machine
1, Access ip: http://192.168.0.20/zabbix/index.php
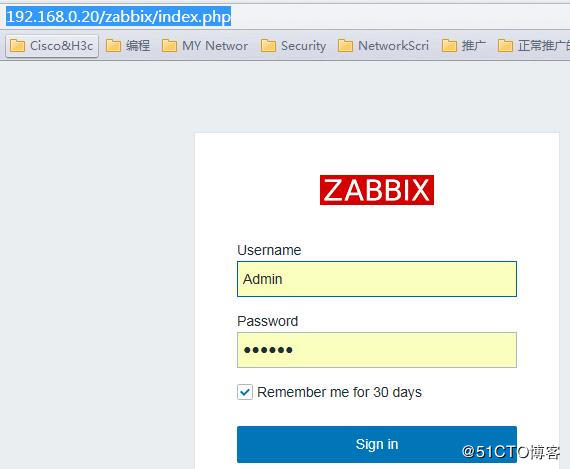
The default user name is: Admin password: zabbix
2, add a Linux client machine (ip:192.168.0.157)
2.1) Add the source under centos6:
[root@Test02 ~]# rpm -ivh http://repo.zabbix.com/zabbix/3.4/rhel/6/x86_64/zabbix-release-3.4-1.el6.noarch.rpm
2.2) Install client agent software
[root@Test02 ~]# yum -y install zabbix-agent
2.3) Modify agent profile
[root@Test02 ~]# grep -v '^$' /etc/zabbix/zabbix_agentd.conf |grep -v '^#'
PidFile=/var/run/zabbix/zabbix_agentd.pid
LogFile=/var/log/zabbix/zabbix_agentd.log
LogFileSize=0
Server=192.168.0.20
ServerActive=192.168.0.20:10050
Hostname=Test02
Include=/etc/zabbix/zabbix_agentd.d/*.conf
2.4) Authorize the profile
[root@Test02 ~]# chmod 775 /etc/zabbix/zabbix_agentd.conf
2.5) Start the agent service and see if the service started successfully or not
[root@Test02 ~]# /etc/init.d/zabbix-agent start
[root@Test02 ~]# netstat -lntup |grep zabbix_agent

3, add the first host back to the web page
3.1) Creating Host in Configuration - Host

3.2) Add host details
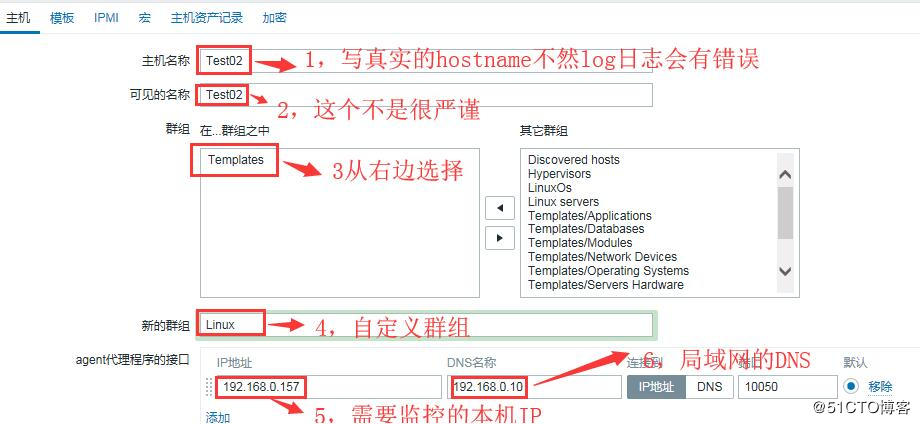
3.3) Add host template information

3.4) The basic addition of this client Linux will take a few minutes to turn on the Zabbix icon to prove the addition was successful.
