The introduction of Nginx dynamic and static separation
Nginx has a strong static processing ability, but its dynamic processing ability is not enough. Therefore, the dynamic static separation technology is often used in enterprises
Dynamic and static separation for PHP
- Static page to Nginx
- Dynamic page to PHP-FPM module or Apache processing
In the configuration of Nginx, different processing methods of static and dynamic pages are realized through the location configuration segment and regular matching
Reverse agent principle
Nginx not only serves as a Web server, but also has the functions of reverse proxy, load balancing and caching
Nginx proxy the client's request to the upstream server through the proxy module. At this time, the connection between nginx and the upstream server is through http protocol
The most important instruction for Nginx to implement the reverse proxy function is proxy pass, which can and can schedule user requests to the upstream server according to URI, client parameters or other processing logic.
In this case, according to the needs of the enterprise, Nginx is configured to realize dynamic and static separation, and the request for php page is forwarded to LAMP for processing, while the static page is handed to Nginx for processing, so as to realize dynamic and static separation
The architecture is shown as follows: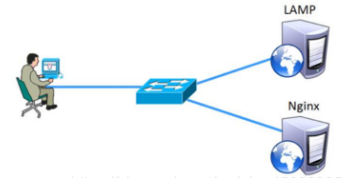
Experimental environment
Deployed LAMP architecture, deployed LNMP architecture
For details of the process of building the architecture, please refer to the blog:
https://blog.51cto.com/14557905/category5.html
Experimental process
First,
1. Set up and debug the back-end LAMP environment
Install Apache service
yum install httpd httpd-devel -y
2. Set the authority of http service in the firewall
[root@localhost ~]# firewall-cmd --permanent --zone=public --add-service=http
success #Allow http and https services to be turned on and through the firewall
[root@localhost ~]# firewall-cmd --permanent --zone=public --add-service=https
success
[root@localhost ~]# firewall-cmd --reload
success #Reload firewall
[root@localhost ~]# systemctl start httpd
3. Install mariadb database
mariadb database management system is a branch of MySQL, which is mainly maintained by the open source community. The purpose of using the GPL licensing mariadb is to be fully compatible with MySQL, including API and command line, so that it can easily become a proxy for MySQL
[root@localhost ~]# yum install mariadb mariadb-server mariadb-libs mariadb-devel -y
[root@localhost ~]# systemctl start mariadb.service
4.mysql Security Configuration Wizard
[root@localhost ~]# mysql_secure_installation
5. Install php and supported software
[root@localhost ~]# yum install php -y
[root@localhost ~]# yum install php-mysql -y
[root@localhost ~]# yum install php-gd php-ldap php-odbc php-pear php-xml php-xmlrpc php-mbstring php-snmp php-soap curl curl-devel php-bcmath -y
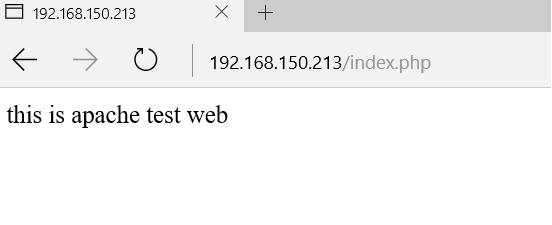
6. Modify Homepage
[root@localhost ~]# cd /var/www/html
[root@localhost html]# vim index.php
<?php
   echo "this is apache test web";
?>
[root@localhost html]# systemctl restart httpd
Access test: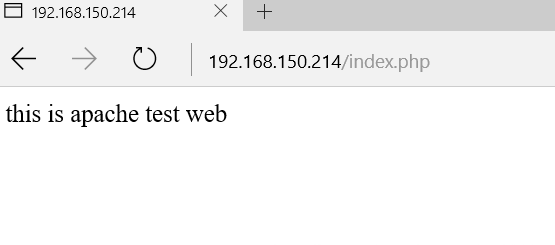
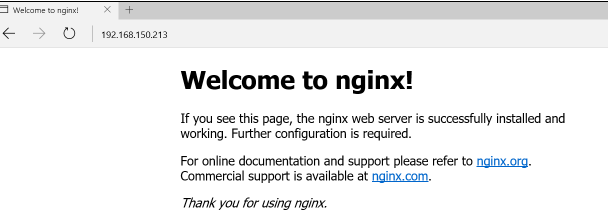
2, Compile and install nginx
Manual compilation and installation of nginx can be viewed as follows:
https://blog.51cto.com/14557905/2460945
1. Deploy nginx service management control
[root@localhost ~]# vim /etc/init.d/nginx
#!/bin/bash
# chkconfig: - 99 20
# description: Ngins Service Control Script
PROG="/usr/local/nginx/sbin/nginx"
PIDF="/usr/local/nginx/logs/nginx.pid"
case "$1" in
start)
    $PROG
    ;;
stop)
    kill -s QUIT $(cat $PIDF)
    ;;
restart)
     $0 stop
     $0 start
     ;;
reload)
     kill -s HUP $(cat $PIDF)
     ;;
*)
     echo "Usage: $0 {start|stop|restart|reload}"
     exit 1
esac
exit 0
[root@localhost ~]# chmod +x /etc/init.d/nginx   #Power raising
[root@localhost ~]# chkconfig --add nginx         #Designated user
[root@localhost ~]# service nginx start              #Opening service
2. Start the service and close the firewall
[root@nginx ~]# systemctl stop firewalld.service
[root@nginx ~]# setenforce 0
[root@nginx ~]# service nginx start
Access test