Official documents: http://openpyxl.readthedocs.io/en/default/
OpenPyXL Library -- cell style settings
Cell style control, dependent on openpyxl.style Package, which defines the objects required by the style and introduces the style related:
from openpyxl.styles import PatternFill, Font, Alignment, Border, Side
- Border border Side border
- PatternFill fill
- Font font
- Alignment
The above can basically meet the needs
The basic usage is to assign the properties of cell object settings to new corresponding objects different from the default ones.
Import excel
from openpyxl import load_workbook
from openpyxl.styles import Border,Side

wb = load_workbook("Template.xlsx")#Use openpyxl to read xlsx files and create workbook s
ws = wb.active
ws
<Worksheet "sheet1">
1. Border border Side border
from openpyxl.styles import Border, Side

border_type=Side(border_style=None, color='FF000000')
border = Border(left=border_type,
                right=border_type,
                top=border_type,
                bottom=border_type,
                diagonal=border_type,
                diagonal_direction=0,
                outline=border_type,
                vertical=border_type,
                horizontal=border_type
)
border_ Styles are:
'dashDot','dashDotDot','dashed','dotted','double',
'hair','medium','mediumDashDot','mediumDashDotDot',
'mediumDashed','slantDashDot','thick','thin'
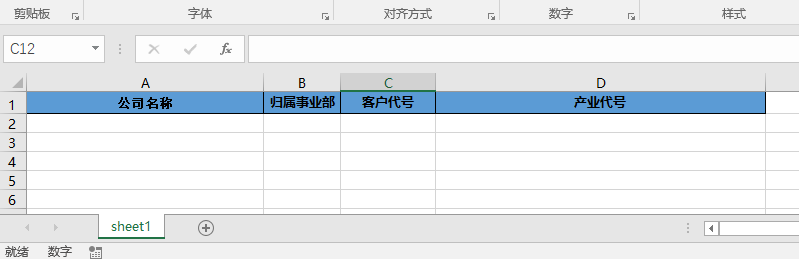
For example, the original excel
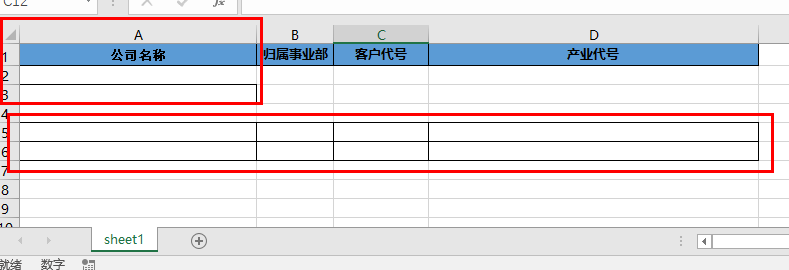
# Style 1 - narrow border, black
thin = Side(border_style="thin", color="000000")#Border style, color
border = Border(left=thin, right=thin, top=thin, bottom=thin)#Position of border

ws['A3'].border = border #A3 cell setting border

for row in ws['A5:D6']:
    for cell in row:
        cell.border = border#A5:D6 range cell setting border
wb.save("test.xlsx")
effect:
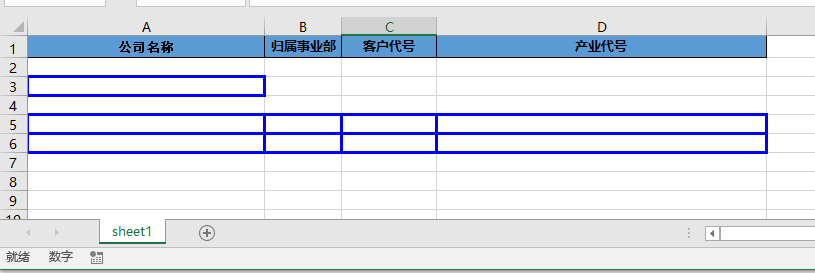
# Style 2 - wide border, blue
thin = Side(border_style="thick", color="0000FF")#Border style, color
border = Border(left=thin, right=thin, top=thin, bottom=thin)#Position of border

ws['A3'].border = border #A3 cell setting border

for row in ws['A5:D6']:
    for cell in row:
        cell.border = border#A5:D6 range cell setting border
wb.save("test.xlsx")
effect:
2. Font settings
from openpyxl.styles import Font

font = Font(name='Calibri',
            size=11,
            color='FF000000',
            bold=False,
            italic=False,
            vertAlign=None,
            underline='none',
            strike=False)
Font name, font size, font color, bold, italics, vertical alignment (there are three ways: baseline, superscript, subscript), underline, strikeout, font color can be RGB or aRGB,
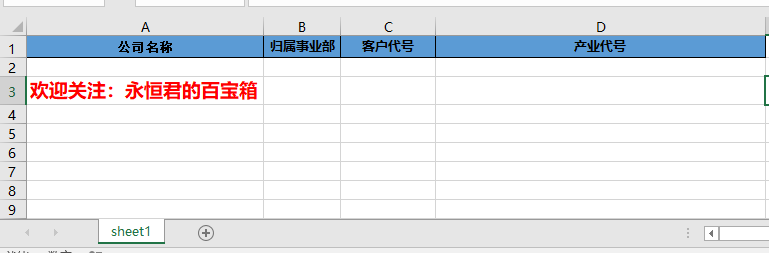
font = Font(size=14, bold=True, name='Microsoft YaHei ',  color="FF0000")#Font size, bold, font name, font name
ws['A3']="Welcome to attention: Eternal King's treasure chest"
ws['A3'].font = font
wb.save("test.xlsx")
3. Fill
from openpyxl.styles import PatternFill

# fill_ The style of type is None or solid
fill = PatternFill(fill_type = None,start_color='FFFFFF',end_color='000000')
fill_ The type types are: 'none', 'solid', 'darkDown', 'darkGray', 'darkGrid', 'darkHorizontal', 'darkTrellis',' darkUp ',' darkVertical ',' gray0625 '
'gray125','lightDown','lightGray','lightGrid','lightHorizontal',
'lightTrellis','lightUp','lightVertical','mediumGray'
The official document says, fill_type if no specific type is specified, subsequent parameters are invalid
So there's a problem with the code above, start_color for foreground, end_color is the background color,
The reason why two parameters are set is to facilitate the filling of style color and the display of gradient color (in my opinion)
If you want to fill in solid color, you can use 'solid', and then make the foreground color the color you need, that is:
fill = PatternFill(fill_type = None,start_color='FF0000')
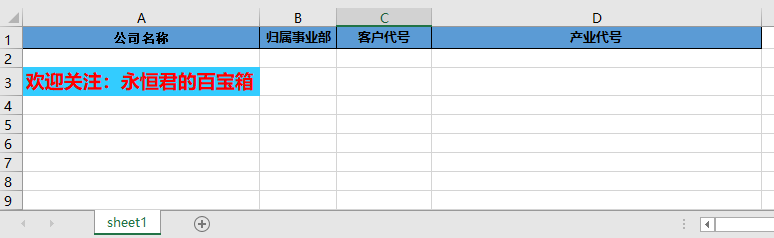
fill = PatternFill(patternType="solid", start_color="33CCFF")#Solid fill
ws['A3']="Welcome to attention: Eternal King's treasure chest"
ws['A3'].fill = fill
wb.save("test.xlsx")
4. Align
from openpyxl.styles import Alignment

align = Alignment(horizontal='left',vertical='center',wrap_text=True)
Horizontal represents the horizontal direction, which can be left aligned, center centered and right aligned, distributed aligned, center continuous centered across columns, justify aligned at both ends, fill in, general
Vertical represents the vertical direction, which can center center, top, bottom, justify and distributed
Wrap: wrap_text, this is a boolean type parameter, which can also be written as wrapText
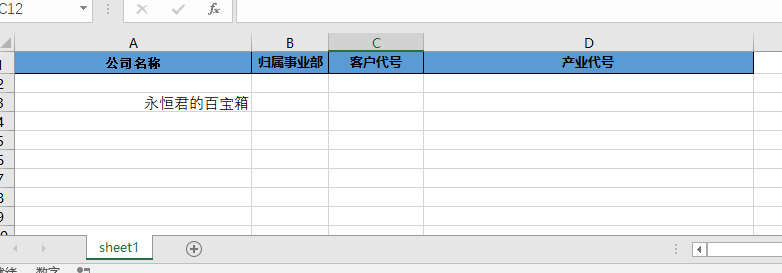
align = Alignment(horizontal='right',vertical='center',wrap_text=True)#Solid fill
ws['A3']="Eternal King's treasure chest"
ws['A3'].alignment = align
wb.save("test.xlsx")