Case demonstration:
1, In the linux environment, create three nodes on one machine, and create a replica set for the purpose of testing
1. First create three different data storage folders
[root@wugenqiang db]# cd /usr/local/mongodb/data/db
[root@wugenqiang db]# mkdir rs0-0
[root@wugenqiang db]# mkdir rs0-1
[root@wugenqiang db]# mkdir rs0-2
[root@wugenqiang db]# ls
rs0-0  rs0-1  rs0-2
2. Open three terminals respectively and start three mongod services
[root@wugenqiang db]# mongod --port 27017 --dbpath=rs0-0 -replSet rs0
[root@wugenqiang db]# mongod --port 27018 --dbpath=rs0-1 -replSet rs0
[root@wugenqiang db]# mongod --port 27019 --dbpath=rs0-2 -replSet rs0
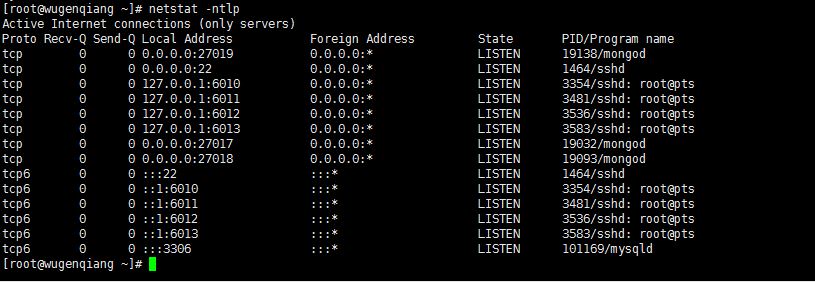
3. Open the 4th terminal and verify whether mongod service is started successfully
2, Cluster initialization
1. Start the client and log in to a machine
[root@wugenqiang ~]# mongo --port 27017
2. Initialize cluster
> rs.initiate()
{
	"info2" : "no configuration specified. Using a default configuration for the set",
	"me" : "wugenqiang.bigdata:27017",
	"ok" : 1
}
3. Add nodes to the cluster
rs0:SECONDARY> rs.add("wugenqiang.bigdata:27018")
{ "ok" : 1 }
rs0:PRIMARY> rs.add("wugenqiang.bigdata:27019")
{ "ok" : 1 }
Please change wugenqiang.bigdata to your own real hostname during operation
4. View cluster configuration information
rs0:PRIMARY> rs.conf()
{
	"_id" : "rs0",
	"version" : 3,
	"protocolVersion" : NumberLong(1),
	"members" : [
		{
			"_id" : 0,
			"host" : "wugenqiang.bigdata:27017",
			"arbiterOnly" : false,
			"buildIndexes" : true,
			"hidden" : false,
			"priority" : 1,
			"tags" : {

			},
			"slaveDelay" : NumberLong(0),
			"votes" : 1
		},
		{
			"_id" : 1,
			"host" : "wugenqiang.bigdata:27018",
			"arbiterOnly" : false,
			"buildIndexes" : true,
			"hidden" : false,
			"priority" : 1,
			"tags" : {

			},
			"slaveDelay" : NumberLong(0),
			"votes" : 1
		},
		{
			"_id" : 2,
			"host" : "wugenqiang.bigdata:27019",
			"arbiterOnly" : false,
			"buildIndexes" : true,
			"hidden" : false,
			"priority" : 1,
			"tags" : {

			},
			"slaveDelay" : NumberLong(0),
			"votes" : 1
		}
	],
	"settings" : {
		"chainingAllowed" : true,
		"heartbeatIntervalMillis" : 2000,
		"heartbeatTimeoutSecs" : 10,
		"electionTimeoutMillis" : 10000,
		"catchUpTimeoutMillis" : 60000,
		"getLastErrorModes" : {

		},
		"getLastErrorDefaults" : {
			"w" : 1,
			"wtimeout" : 0
		},
		"replicaSetId" : ObjectId("5b48831fbcf017394d5a56d4")
	}
}
5. View the cluster status
rs0:PRIMARY> rs.status
function () {
    return db._adminCommand("replSetGetStatus");
}
At this point, the replica cluster creation and initialization are completed