Catalog
- Preface
- CMake
- Adding C/C++ code to existing AS projects with CMake
- ndk-build
- Last
Preface
It's really easy to install software on mac. android studio can be installed next step along the way. Here's an article. Install and configure Android Studio 2.x and 3.x under Old Text-Mac and configure using adb For reference.
The main purpose of writing this article is to find that the previous ndk development methods are outdated and need to update the new process.
CMake
CMake is the official default way to build ndk. Let's start with the default chestnut.
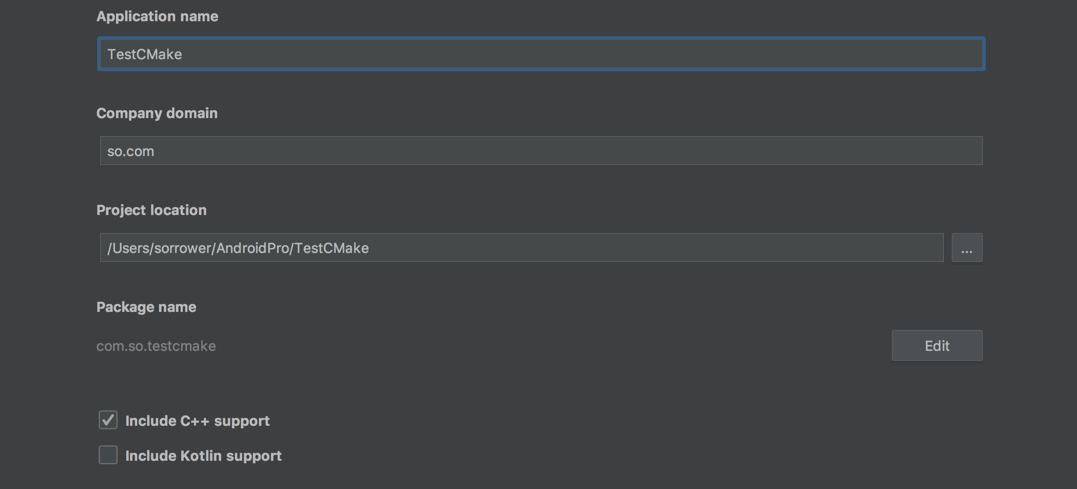
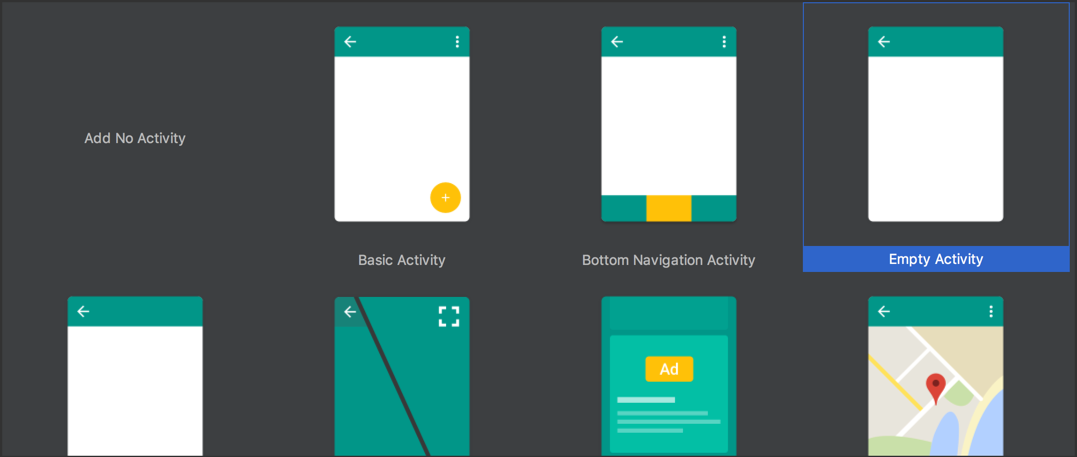
- Create a new project, check C++ support:
- You'll find that the initial Activities are only basic or empty types, and the rest are gone.

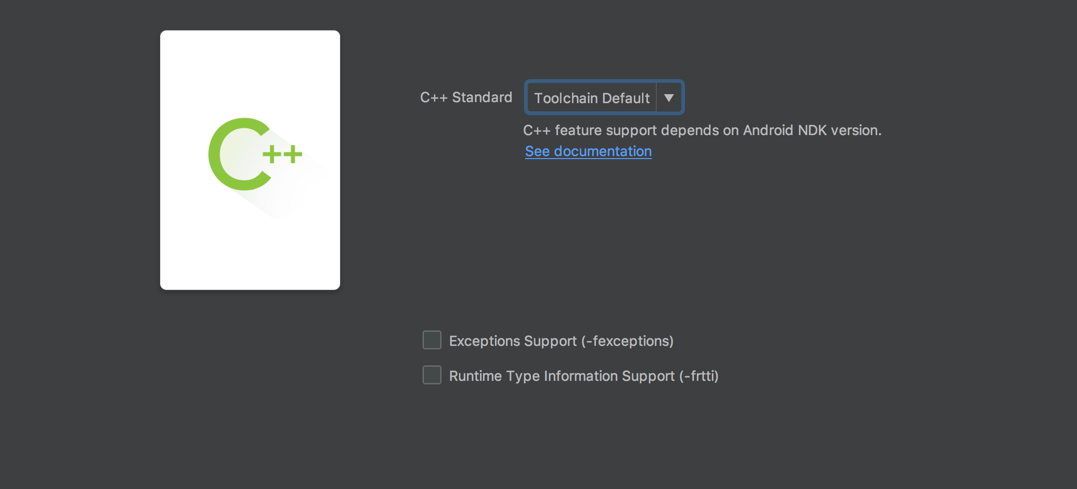
- Here the default C++ standard can be:
- C++ Standard: Which C++ standard to choose and the Toolchain Default option by default will use the default Make configuration
- Exceptions Support: Is C++ exception handling enabled? If selected, AS will add the - fexceptions flag to the cppFlags of the module-level build.grade file
- Runtime Type Information Support: Whether RTTI is supported or not, if selected, AS will add the - frtti flag to the cppFlags of the module level build.gradle file
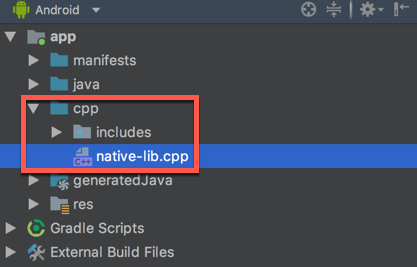
- Let's see what's more in the project. First switch to the Android tag and add the CPP directory (ps: Note, even if you switch to the Project tag, it's still CPP ha), some header files, and native-lib.cpp. Needless to say, there must be jni code in this cpp. I'll stick it out:
#include <jni.h>
#include <string>

extern "C" JNIEXPORT jstring JNICALL
Java_com_so_testcmake_MainActivity_stringFromJNI(
        JNIEnv *env,
        jobject /* this */) {
    std::string hello = "Hello from C++";
    return env->NewStringUTF(hello.c_str());
}
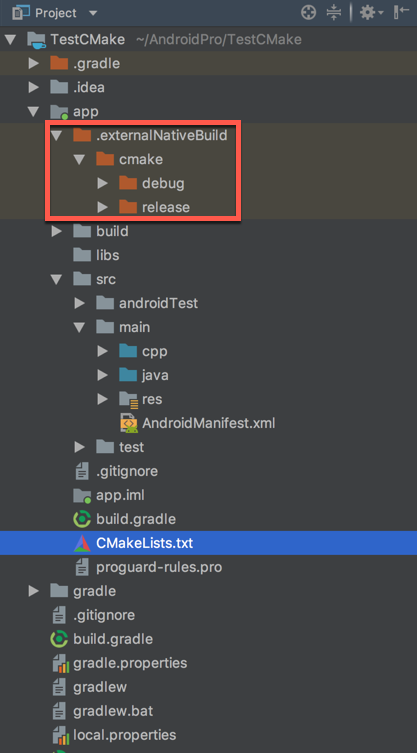
- Then switch to the Project tab. This CMakeLists.txt is particularly eye-catching. I take out a lot of comments and paste out the code..externalNativeBuild folder: used to store cmake compiled files, including supporting hardware and other information. Actually, see the previous. Also know that it is system management.
cmake_minimum_required(VERSION 3.4.1)

add_library( # Sets the name of the library.
        native-lib

        # Sets the library as a shared library.
        SHARED

        # Provides a relative path to your source file(s).
        src/main/cpp/native-lib.cpp)

find_library( # Sets the name of the path variable.
        log-lib

        # Specifies the name of the NDK library that
        # you want CMake to locate.
        log)

target_link_libraries( # Specifies the target library.
        native-lib

        # Links the target library to the log library
        # included in the NDK.
        ${log-lib})
Obviously, the key is the add_library section.
- The first parameter generates the name of the library, that is, libnative-lib.so or libnative-lib.a (default for lib and.so/.a)
- The second parameter generation library type: dynamic library SHARED, static library STATIC
- The third parameter-dependent c/cpp file (relative path)
- Finally, go back to the Activity class to see that the operation is the same, load the library, declare the native function.
public class MainActivity extends AppCompatActivity {

    // Used to load the 'native-lib' library on application startup.
    static {
        System.loadLibrary("native-lib");
    }

    @Override
    protected void onCreate(Bundle savedInstanceState) {
        super.onCreate(savedInstanceState);
        setContentView(R.layout.activity_main);

        // Example of a call to a native method
        TextView tv = (TextView) findViewById(R.id.sample_text);
        tv.setText(stringFromJNI());
    }

    /**
     * A native method that is implemented by the 'native-lib' native library,
     * which is packaged with this application.
     */
    public native String stringFromJNI();
}
- Then we go to the build.gradle file and find that there are two additional tag segments. That is to say, if we want to build a CMake environment ourselves, we need to add these two sections.
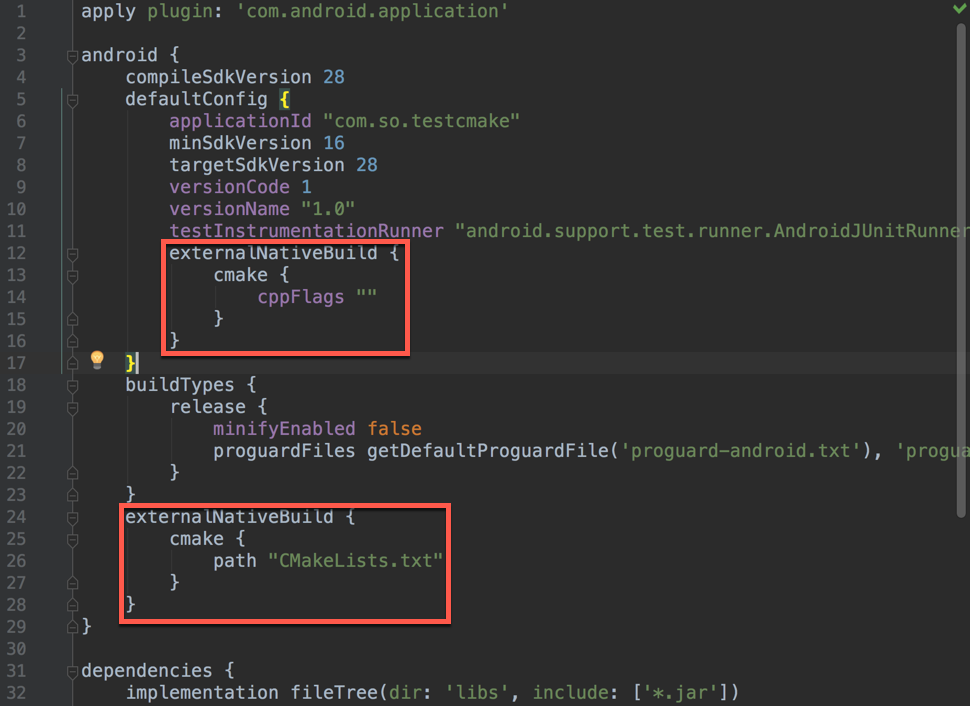
Adding C/C++ code to existing AS projects with CMake
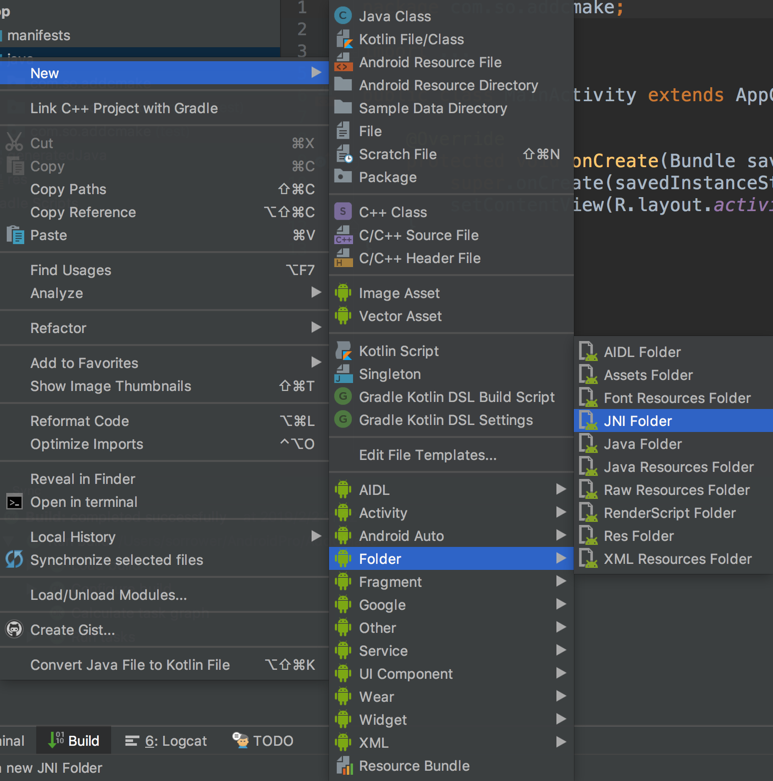
- Create a new empty project, excluding C++ support. Don't close the project just now. After that, a lot of copy and paste will be done.
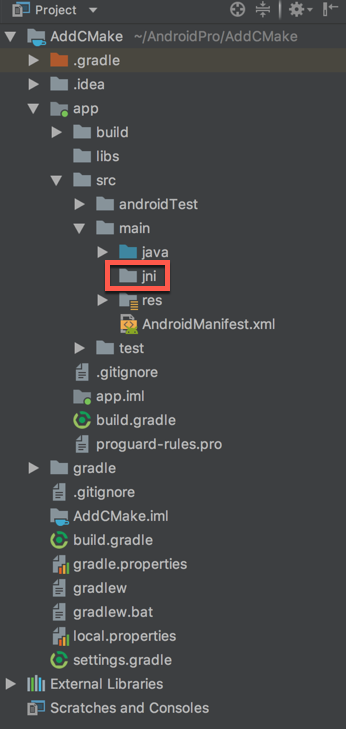
- New JNI directory, found that under the Android tag is cpp, and under the Project tag is jni, I have been wondering how Google achieved this.
- Create a Java class and copy the code from the previous project as follows:
public class MyJNI {
    // Used to load the 'native-lib' library on application startup.
    static {
        System.loadLibrary("native-lib");
    }

    /**
     * A native method that is implemented by the 'native-lib' native library,
     * which is packaged with this application.
     */
    public native String stringFromJNI();
}
- Then create a cpp file in the jni directory, copy the code of the previous project, and pay attention to the change of package name:
#include <jni.h>
#include <string>

extern "C" JNIEXPORT jstring JNICALL
Java_com_so_addcmake_MyJNI_stringFromJNI(
        JNIEnv *env,
        jobject /* this */) {
    std::string hello = "Hello from C++";
    return env->NewStringUTF(hello.c_str());
}
- Then copy the CMakeLists.txt of the previous project into the app directory of the project, modify the relative path, that is, change the cpp to jni, and then the file name can be changed, but pay attention to the corresponding.
- Next, add code to build.gradle and synchronize:
ndk {
    abiFilters 'x86', 'x86_64', 'armeabi-v7a', 'arm64-v8a'
}
externalNativeBuild {
    cmake {
        path "CMakeLists.txt"
    }
}
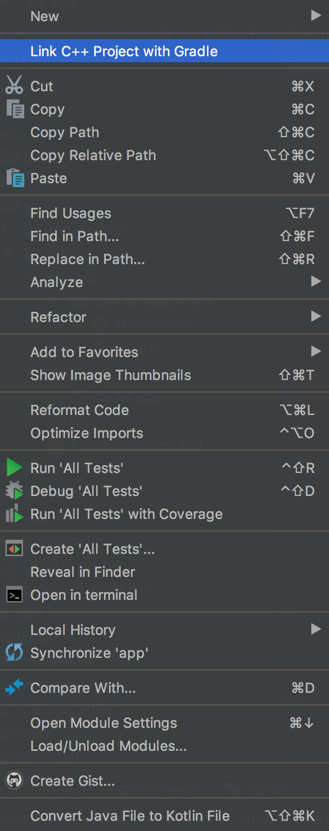
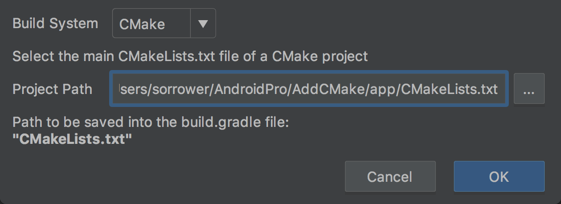
Of course, you can do the association manually, right-click the app directory, click Link C++ Project with Gradle, and select the previous MakeLists.txt file.
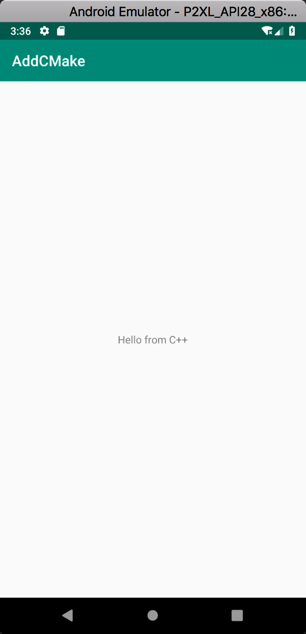
- Finally, back to Activity, set the component to display the string returned from the cpp function, compile and run:
TextView tvTest = (TextView) findViewById(R.id.tv_test);
tvTest.setText(new MyJNI().stringFromJNI());
- Finally, from the effect map:
ndk-build
- It's a bit outdated, but it's still available. Similarly, create new empty projects. Then, as before, create a cpp/jni directory.
- Before reusing JNI classes, that is, Java classes loaded with C++ libraries and declared local functions.
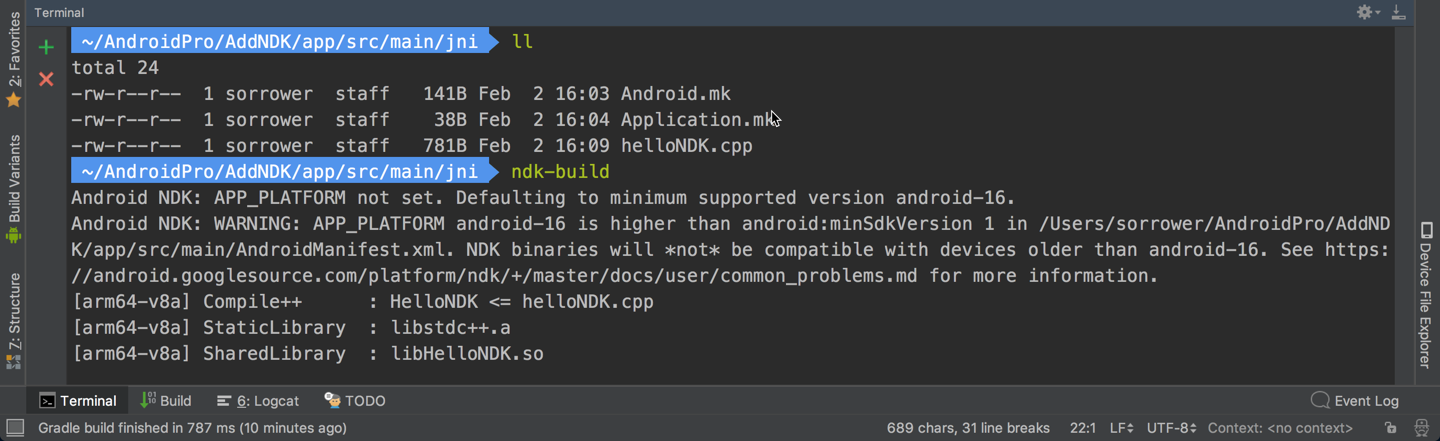
- Create Android.mk, Application.mk, helloNDK.cpp files, and post the code in turn:
LOCAL_PATH := $(call my-dir)
include $(CLEAR_VARS)

LOCAL_MODULE := HelloNDK
LOCAL_SRC_FILES := helloNDK.cpp

include $(BUILD_SHARED_LIBRARY)
APP_MODULES := HelloNDK
APP_ABI := all
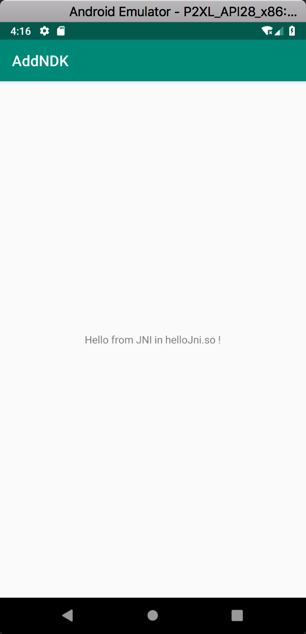
//
// Created by Yang Miao on 2019/2/2.
//

#include <jni.h>
#include <stdio.h>

#ifdef __cplusplus
extern "C" {
#endif

/**
 * Function name rule: Java_package name_class name_method name
 * @param env  Represents a pointer to the JNI environment through which to locate the interface methods provided by JNI
 * @param thiz Represents this in Java objects
 * @return
 */
jstring Java_com_so_addndk_HelloNDK_get(JNIEnv *env, jobject thiz) {
    printf("invoke get in c++\n");
    return env->NewStringUTF("Hello from JNI in helloJni.so !");
}

void Java_com_so_addndk_HelloNDK_set(JNIEnv *env, jobject thiz, jstring string) {
    printf("invoke set from C++\n");
    char* str = (char*)env->GetStringUTFChars(string,NULL);
    printf("%s\n", str);
    env->ReleaseStringUTFChars(string, str);
}

#ifdef __cplusplus
}
#endif
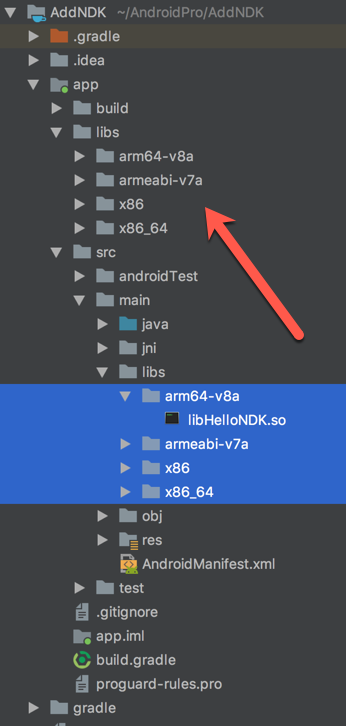
- Then open the terminal, enter the jni directory, use the ndk-build instructions to generate. so files, and then copy the generated. so files to the libs directory under the app directory:
- Finally, the call in Activity is successful:
Last
The complexity of the two operations is similar, but I still recommend the CMake scheme, at least one that is not outdated in a short time.