Hive environment construction
Hive engine introduction
Hive engine includes: default MR, tez, spark
Hive on Spark: hive not only stores metadata, but also is responsible for SQL parsing and optimization. The syntax is HQL syntax. The execution engine has become Spark, and Spark is responsible for RDD execution.
Spark on hive: hive is only used to store metadata. Spark is responsible for SQL parsing and optimization. The syntax is Spark SQL syntax, and spark is responsible for RDD execution.
The underlying layer of Spark on Hive is DataSet and DateFrame
The bottom layer of Hive on Spark is RDD
Spark on Hive has stronger performance than Hive on Spark, but Hive on Spark has wider ecology than Spark on Hive, such as Atlas, Ranger, Superset, Kerberos, etc. The ecology is more complete.
Hive on Spark configuration
1) Compatibility description
Note: Hive3.1.2 and Spark3.0.0 downloaded from the official website are incompatible by default. Because hive 3.1.2 supports Spark version 2.4.5, we need to recompile hive 3.1.2.
Compilation steps: download the Hive3.1.2 source code from the official website, and modify the Spark version referenced in the pom file to 3.0.0. If the compilation passes, directly package and obtain the jar package. If an error is reported, modify the relevant methods according to the prompt until no error is reported, and package and obtain the jar package.
2) Deploy Spark on Hive's node
If Spark has been deployed before, you can skip this step, but check Spark_ Whether the environment variable of home is configured correctly.
(1) jar package download address on Spark official website:
http://spark.apache.org/downloads.html
(2) Upload and unzip spark-3.0.0-bin-hadoop 3.2.tgz
[root@hadoop102 software]$ tar -zxvf spark-3.0.0-bin-hadoop3.2.tgz -C /opt/module/
[root@hadoop102 software]$ mv /opt/module/spark-3.0.0-bin-hadoop3.2 /opt/module/spark
(3) Configure SPARK_HOME environment variable
[root@hadoop102 software]$ sudo vim /etc/profile.d/my_env.sh
Add the following
# SPARK_HOME
export SPARK_HOME=/opt/module/spark
export PATH=$PATH:$SPARK_HOME/bin
source make it effective
[root@hadoop102 software]$ source /etc/profile.d/my_env.sh
3) Create spark profile in hive
[root@hadoop102 software]$ vim /opt/module/hive/conf/spark-defaults.conf
Add the following content (when executing a task, it will be executed according to the following parameters)
spark.master                               yarn
spark.eventLog.enabled                   true
spark.eventLog.dir                        hdfs://hadoop102:8020/spark-history
spark.executor.memory                    1g
spark.driver.memory					   1g
Create the following path in HDFS to store historical logs
[root@hadoop102 software]$ hadoop fs -mkdir /spark-history
4) Upload Spark pure jar package to HDFS
Note 1: because the non pure version of Spark3.0.0 supports hive2.3.7 by default, direct use will have compatibility problems with the installed Hive3.1.2. Therefore, Spark pure version jar package is adopted, which does not contain hadoop and hive related dependencies to avoid conflicts.
Note 2: Hive task is finally executed by spark. Spark task resource allocation is scheduled by Yan. This task may be assigned to any node of the cluster. Therefore, you need to upload the dependency of spark to the HDFS cluster path so that any node in the cluster can get it.
(1) Upload and unzip spark-3.0.0-bin-without-hadoop.tgz
[root@hadoop102 software]$ tar -zxvf /opt/software/spark-3.0.0-bin-without-hadoop.tgz
(2) Upload Spark pure jar package to HDFS
[root@hadoop102 software]$ hadoop fs -mkdir /spark-jars

[root@hadoop102 software]$ hadoop fs -put spark-3.0.0-bin-without-hadoop/jars/* /spark-jars
5) Modify hive-site.xml file
[root@hadoop102 ~]$ vim /opt/module/hive/conf/hive-site.xml
Add the following
<!--Spark Location dependent (Note: port number 8020 must be and namenode (consistent port number)-->
<property>
    <name>spark.yarn.jars</name>
    <value>hdfs://hadoop102:8020/spark-jars/*</value>
</property>

<!--Hive Execution engine-->
<property>
    <name>hive.execution.engine</name>
    <value>spark</value>
</property>
3.1.3 Hive on Spark test
(1) Start hive client
[root@hadoop102 hive]$ bin/hive
(2) Create a test table
hive (default)> create table student(id int, name string);
(3) Test the effect through insert
hive (default)> insert into table student values(1,'huan');
If the results are as follows, the configuration is successful
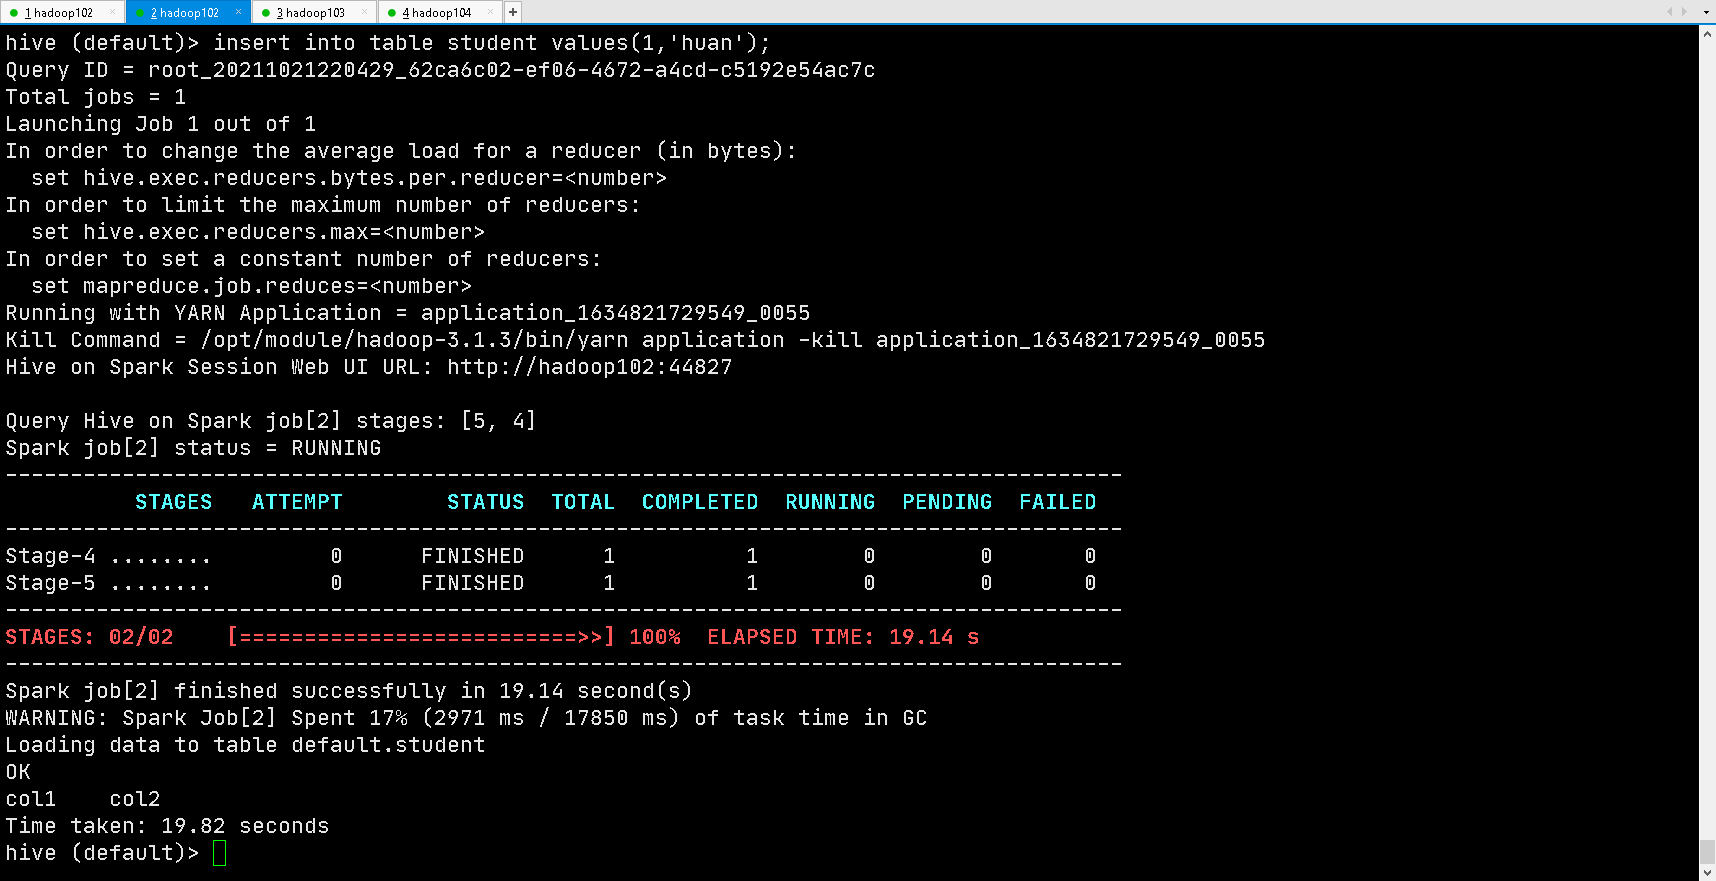
When the first Hive on Spark task is started at the beginning, the resource will be initialized for a long time, and then the task will be executed faster. When Hive is exited, the resource will be released.
Yarn configuration
Increase the proportion of ApplicationMaster resources
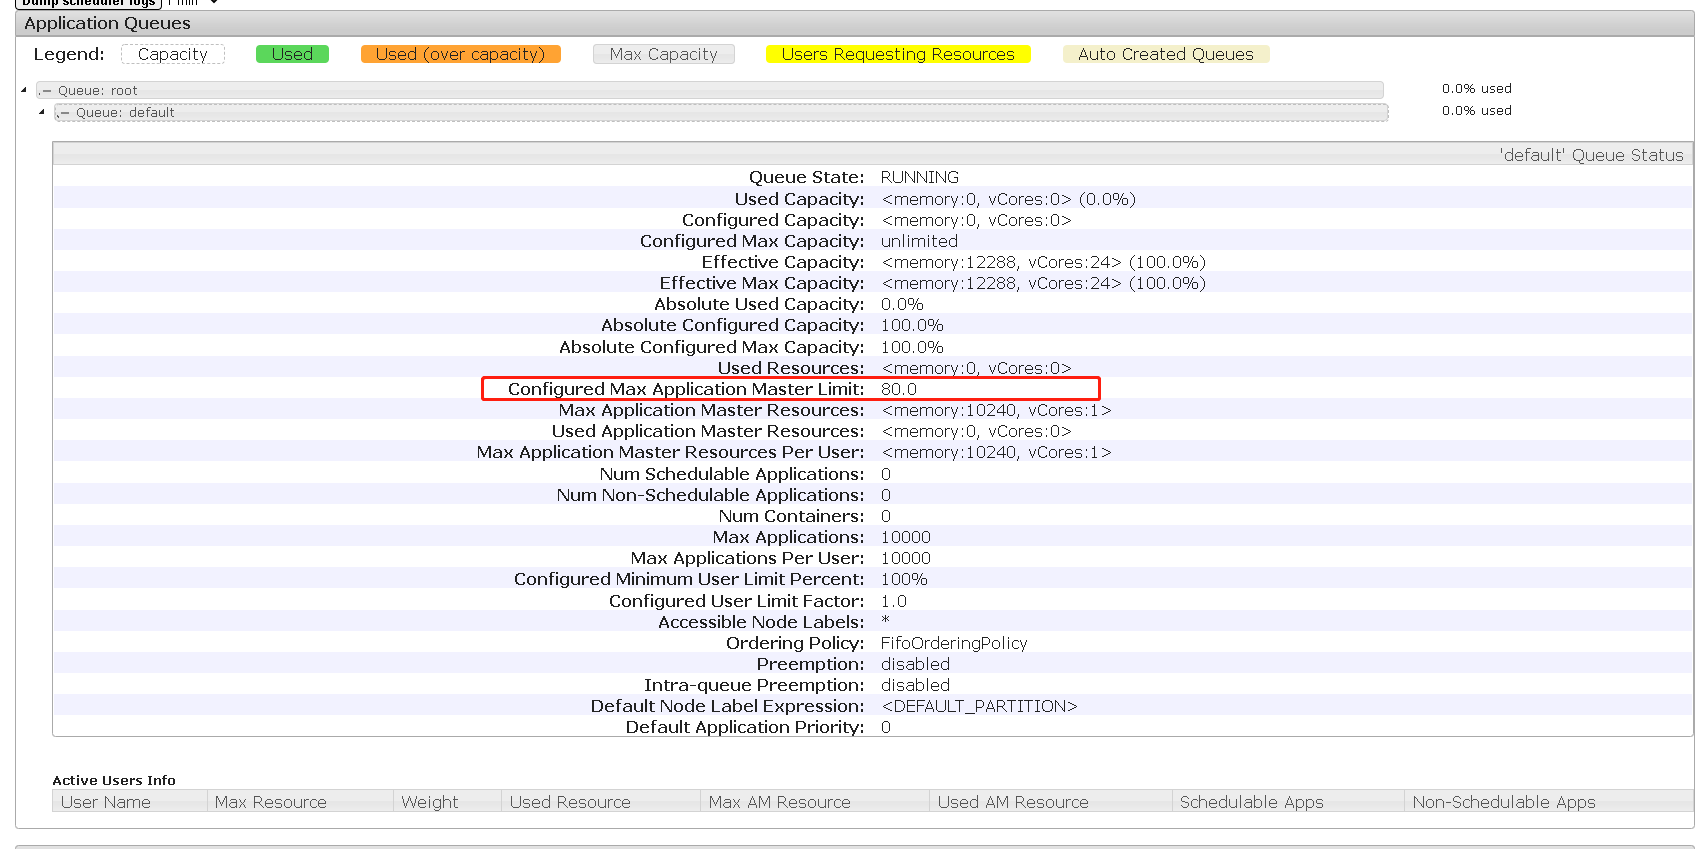
The capacity scheduler limits the resources occupied by the Application Master running simultaneously in each resource queue. This limit is realized through the yarn.scheduler.capacity.maximum-am-resource-percent parameter. The default value is 0.1, which means that the maximum available resources of the Application Master on each resource queue are 10% of the total resources of the queue, The purpose is to prevent most resources from being occupied by the Application Master, which makes the Map/Reduce Task unable to execute.
Production environment this parameter can use the default value. However, in the learning environment, the total number of cluster resources is very small. If only 10% of the resources are allocated to the Application Master, it may occur that only one Job can be run at the same time, because the resources used by an Application Master may have reached the upper limit of 10%. Therefore, the value can be appropriately increased here.
(1) Modify the following parameter values in / opt/module/hadoop-3.1.3/etc/hadoop/capacity-scheduler.xml file of Hadoop 102
[root@hadoop102 hadoop]$ vim capacity-scheduler.xml

<property>
    <name>yarn.scheduler.capacity.maximum-am-resource-percent</name>
    <value>0.8</value>
</property
(2) Distribute the capacity-scheduler.xml configuration file
[root@hadoop102 hadoop]$ xsync capacity-scheduler.xml
(3) Close the running tasks and restart the yarn cluster
[root@hadoop103 hadoop-3.1.3]$ sbin/stop-yarn.sh
[root@hadoop103 hadoop-3.1.3]$ sbin/start-yarn.sh
View the Yan page as follows:
Data warehouse development environment
DBeaver or DataGrid can be selected as the data warehouse development tool. Both need to use JDBC protocol to connect to Hive, so HiveServer2 needs to be started.
Start HiveServer2
[root@hadoop102 hive]$ hiveserver2
Configure DataGrid connection
1) Create connection
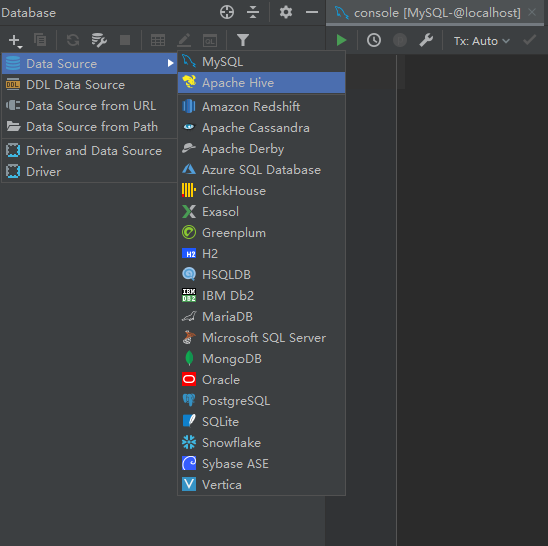
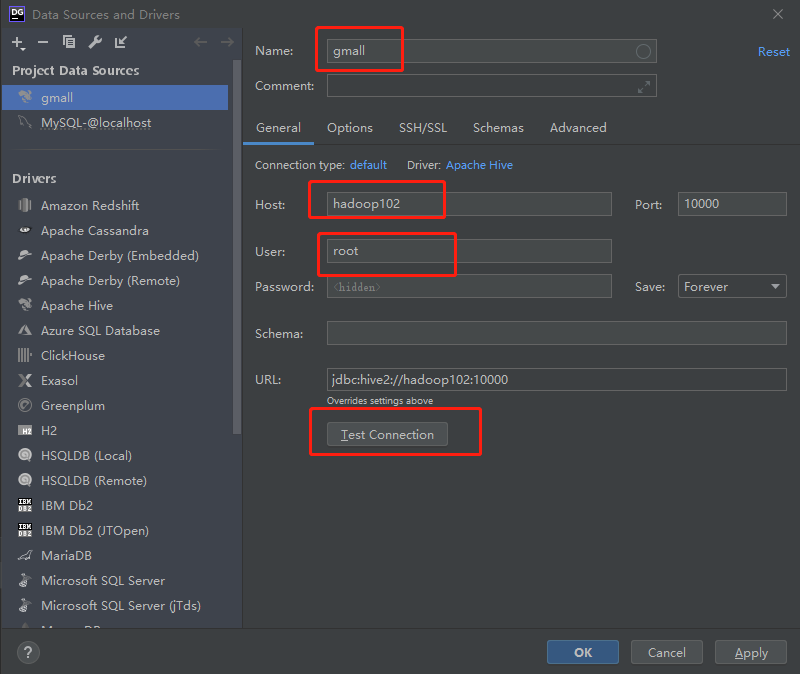
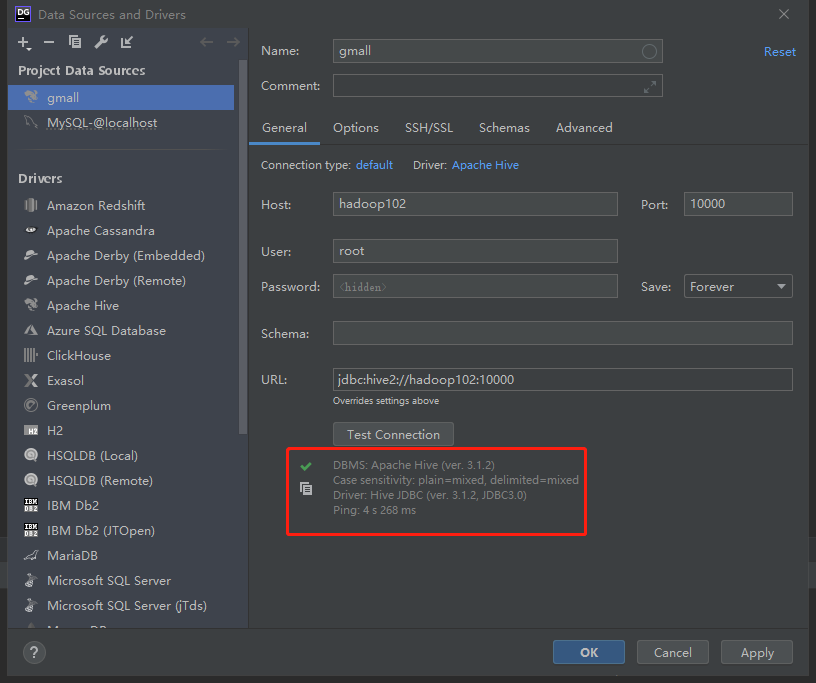
2) Configure connection properties
All attribute configurations can be consistent with Hive's beeline client configuration. For the first time, the configuration process will prompt that the JDBC driver is missing. Just download it according to the prompt.
[root@hadoop102 ~]# hiveserver2
which: no hbase in (/usr/local/sbin:/usr/local/bin:/usr/sbin:/usr/bin:/opt/module/jdk1.8.0_212/bin:/opt/module/hadoop-3.1.3/bin:/opt/module/hadoop-3.1.3/sbin:/opt/module/kafka/bin:/opt/module/hive/bin:/opt/module/spark/bin:/root/bin)
2021-10-21 22:47:35: Starting HiveServer2
Hive Session ID = f42836b2-1c6a-405f-9de6-c5af7450b14e
Hive Session ID = 03f60db4-f9f1-447f-9a01-4c5222490604
Hive Session ID = bc0656d3-dc34-4c4c-97dc-9bef92ccd5bf
Hive Session ID = fb401376-7c72-4feb-8531-cbd60e3498a0
OK
[root@hadoop102 hadoop]# beeline
beeline> !connect jdbc:hive2://hadoop102:10000
Connecting to jdbc:hive2://hadoop102:10000
Enter username for jdbc:hive2://hadoop102:10000: root
Enter password for jdbc:hive2://hadoop102:10000:
Connected to: Apache Hive (version 3.1.2)
Driver: Hive JDBC (version 3.1.2)
Transaction isolation: TRANSACTION_REPEATABLE_READ
0: jdbc:hive2://hadoop102:10000>
The User name in the core-site.xml file in User and Hadoop should be consistent
Test use
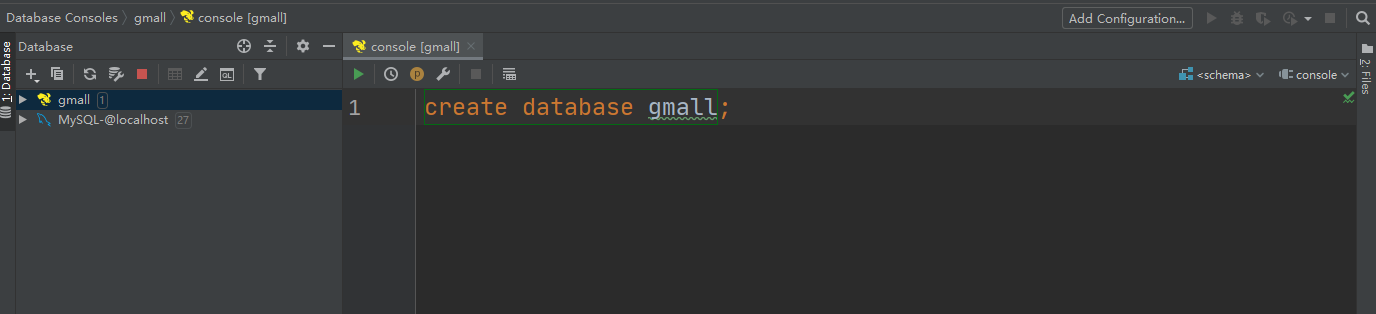
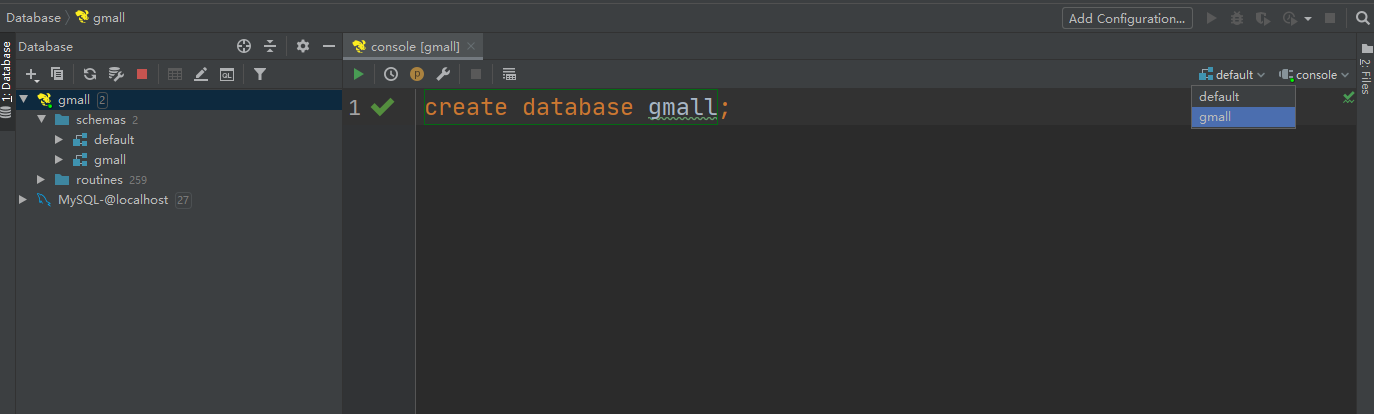
Create the database gmall and observe whether it is created successfully.
1) Create database
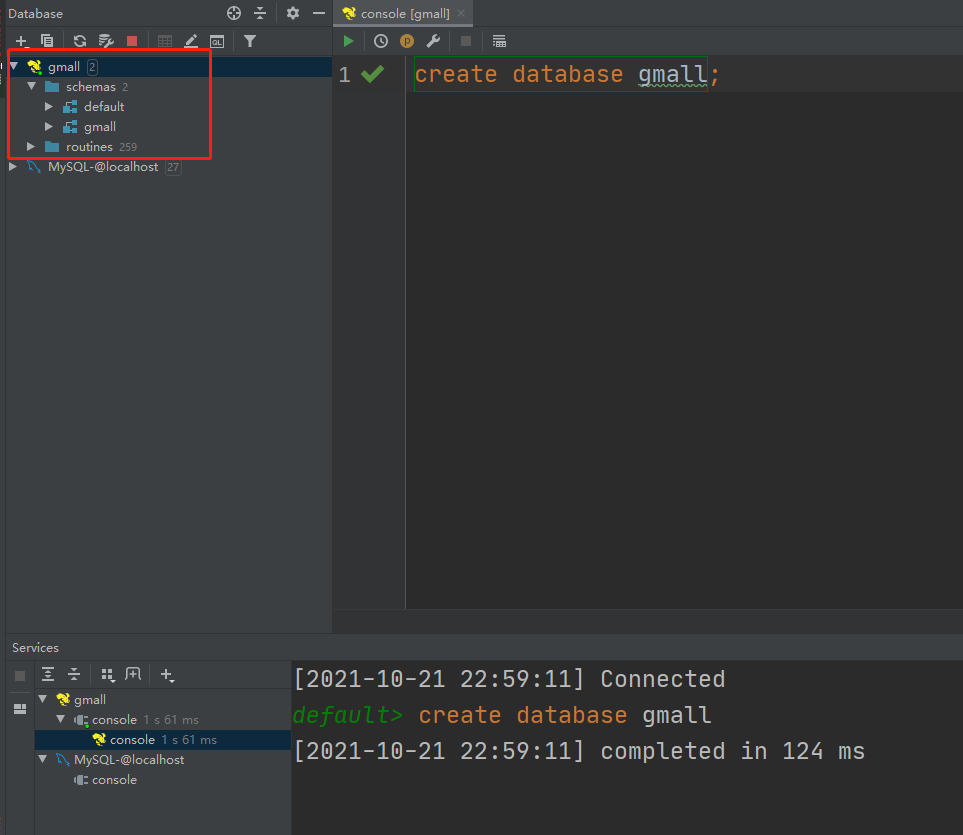
2) View database
3) Modify the connection to indicate the connection to the database
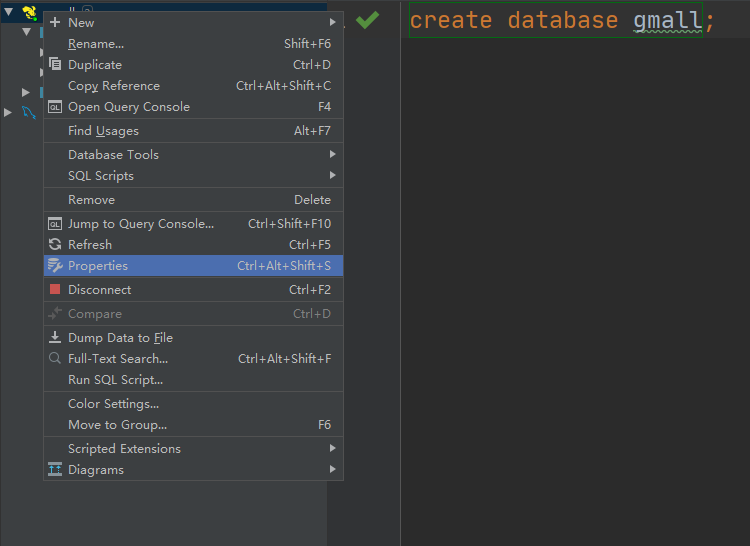
4) Select gmall as the current database
Data preparation
When a general enterprise builds a data warehouse, there will be some historical data in the business system. Here, in order to simulate the real scene, it is necessary to prepare some historical data. It is assumed that the date when the data warehouse goes online is June 14, 2020. The details are as follows.
User behavior log
The user behavior log generally has no historical data, so the log only needs to prepare the data of June 14, 2020. The specific operations are as follows:
1) Start the log collection channel, including Flume, Kafak, etc
2) Modify the / opt / module / apply / application.yml configuration file in the two log servers (Hadoop 102 and Hadoop 103), and change the mock.date parameter to 2020-06-14.
3) Execute the log generation script lg.sh.
4) Observe whether the corresponding file appears in HDFS.

Business data
Business data generally contains historical data, and the data from June 10, 2020 to June 14, 2020 need to be prepared here. The specific operations are as follows.
1) Modify / opt / module / DB on Hadoop 102 node_ Log / application.properties file, adjust the three parameters mock.date, mock.clear and mock.clear.user to the values shown in the figure.
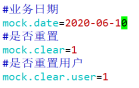
2) Execute the command to simulate the generation of business data to generate the historical data of the first day 2020-06-10.
[root@hadoop102 db_log]$ java -jar gmall2020-mock-db-2021-01-22.jar
3) Modify / opt/module/db_log/application.properties file, adjust the three parameters mock.date, mock.clear and mock.clear.user to the values shown in the figure.
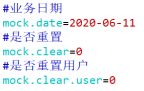
4) Execute the command to simulate the generation of business data to generate the historical data of the next day 2020-06-11.
[root@hadoop102 db_log]$ java -jar gmall2020-mock-db-2021-01-22.jar
5) After that, only / opt / module / DB will be modified_ The mock.date parameter in the log / application.properties file is changed to 2020-06-122020-06-132020-06-14, and the data of the corresponding date is generated respectively.
6) Execute mysql_to_hdfs_init.sh script to synchronize the business data generated by simulation to HDFS.
[root@hadoop102 bin]$ mysql_to_hdfs_init.sh all 2020-06-14
7) Observe whether corresponding data appears on HDFS