Compile and Install nginx
1. Log on to the official website to get a download link directly wget
[root@localhost ~]# wget http://nginx.org/download/nginx-1.17.0.tar.gz
2. Unzip the file
[root@localhost ~]# tar xf nginx-1.17.0.tar.gz
3. Check that the current environment meets compilation requirements and generate a makefile file
[root@localhost ~]# cd nginx-1.17.0
[root@localhost nginx-1.17.0]# ./configure --prefix=/apps/nginx --user=nginx --group=nginx --with-http_ssl_module --with-http_v2_module --with-http_realip_module --with-http_stub_status_module  --with-http_gzip_static_module --with-pcre --with-stream --with-stream_ssl_module --with-stream_realip_module
4. Generate the specified module based on the contents of the makefile file
[root@localhost nginx-1.14.2]# make
5. Copy the generated modules to the appropriate directory, which will be created if the directory does not exist
[root@localhost nginx-1.14.2]# make install
6. Associate Execution Files under sbin
[root@localhost nginx-1.17.0]# ln -s /apps/nginx/sbin/nginx /sbin/nginx
7. Configure service scripts
Modify using service scripts installed by yum
[root@localhost ~]# vim /usr/lib/systemd/system/nginx.service

[Unit]
Description=The nginx HTTP and reverse proxy server
After=network.target remote-fs.target nss-lookup.target

[Service]
Type=forking
PIDFile=/apps/nginx/logs/nginx.pid  #Modify directory for nginx compilation installation
# Nginx will fail to start if /run/nginx.pid already exists but has the wrong
# SELinux context. This might happen when running `nginx -t` from the cmdline.
# https://bugzilla.redhat.com/show_bug.cgi?id=1268621
ExecStartPre=/usr/bin/rm -f /run/nginx.pid
ExecStartPre=/apps/nginx/sbin/nginx -t  #Modify nginx's path
ExecStart=/apps/nginx/sbin/nginx -c /apps/nginx/conf/nginx.conf     #Modify nginx path and add configuration file
ExecReload=/bin/kill -s HUP $MAINPID
KillSignal=SIGQUIT
TimeoutStopSec=5
KillMode=process
PrivateTmp=true

[Install]
WantedBy=multi-user.target
8. Create nginx users
[root@localhost ~]# useradd -u 2000 nginx
9. Modify the configuration file
[root@localhost ~]# vim /apps/nginx/conf/nginx.conf
user  nginx;            #Modify user to nginx
pid        /apps/nginx/logs/nginx.pid;      #Modifying the pid file store path is the same as in the service script
10. Start the service
[root@localhost ~]# systemctl start nginx
[root@localhost ~]# ss -tnl | grep 80
LISTEN     0      128          *:80                       *:*
Compile and install php-fpm
1. Unzip the file
[root@localhost ~]# tar xf php-7.3.5.tar.bz2
2. Check that the current environment meets compilation requirements and generate a makefile file
[root@localhost ~]# cd php-7.3.5
[root@localhost php-7.3.5]# ./configure --prefix=/app/php --enable-mysqlnd --with-mysqli=mysqlnd --with-pdo-mysql=mysqlnd --with-openssl --with-freetype-dir --with-jpeg-dir --with-png-dir --with-zlib --with-libxml-dir=/usr --with-config-file-path=/etc --with-config-file-scan-dir=/etc/php.d --enable-mbstring --enable-xml --enable-sockets --enable-fpm --enable-maintainer-zts --disable-fileinfo
3. Generate modules and copy them to specified locations
[root@localhost ~]# make && make install
4. Copy the startup profile and modify it
[root@localhost php-7.3.5]# cp php.ini-production /etc/php.ini
[root@localhost php-7.3.5]# sed -i '/;date.tim/s@.*@data.timezone = "Asia/Shanghai"@' /etc/php.ini
5. Copy the server script and configure it to start on
[root@localhost php-7.3.5]# cp sapi/fpm/init.d.php-fpm /etc/init.d/php-fpm
[root@localhost php-7.3.5]# chmod +x /etc/init.d/php-fpm
[root@localhost php-7.3.5]# chkconfig --add /etc/init.d/php-fpm
6. Copy php profile
[root@localhost php-7.3.5]# cp /app/php/etc/php-fpm.conf.default /app/php/etc/php-fpm.conf
[root@localhost php-7.3.5]# cp /app/php/etc/php-fpm.d/www.conf.default /app/php/etc/php-fpm.d/www.conf
Configure nginx and php
1. Modify php configuration file
[root@localhost ~]# vim /app/php/etc/php-fpm.d/www.conf
user = ngnix
group = nginx
listen.allowed_clients = 127.0.0.1
2. Modify nginx configuration file
[root@localhost ~]# mkdir /apps/nginx/conf/server
[root@localhost ~]# vim /apps/nginx/conf/server/mylinuxops.conf
[root@localhost ~]# vim /apps/nginx/conf/server/mylinuxops.conf
server {
    server_name www.mylinuxops.com;
    listen 80;
    location / {
        root /data/www;
        index index.html;
    }
    location ~ \.php$ {
        root /data/www/php;
        fastcgi_pass 127.0.0.1:9000;
        fastcgi_index index.php;
        fastcgi_param SCRIPT_FILENAME $document_root$fastcgi_script_name;
        include fastcgi_params;
    }
}
3. Import server's configuration into nginx main configuration file
[root@localhost ~]# vim /apps/nginx/conf/nginx.conf
http {
    ......
include /apps/nginx/conf/server/*.conf;
}
4. Start nginx and php-fpm
[root@localhost ~]# service php-fpm start
[root@localhost ~]# systemctl start nginx
5. Testing
Create Test Page
[root@localhost ~]# echo www.mylinuxops.com > /data/www/index.html
[root@localhost ~]# vim /data/www/php/index.php
<?php
phpinfo();
?>
6. Visit the test page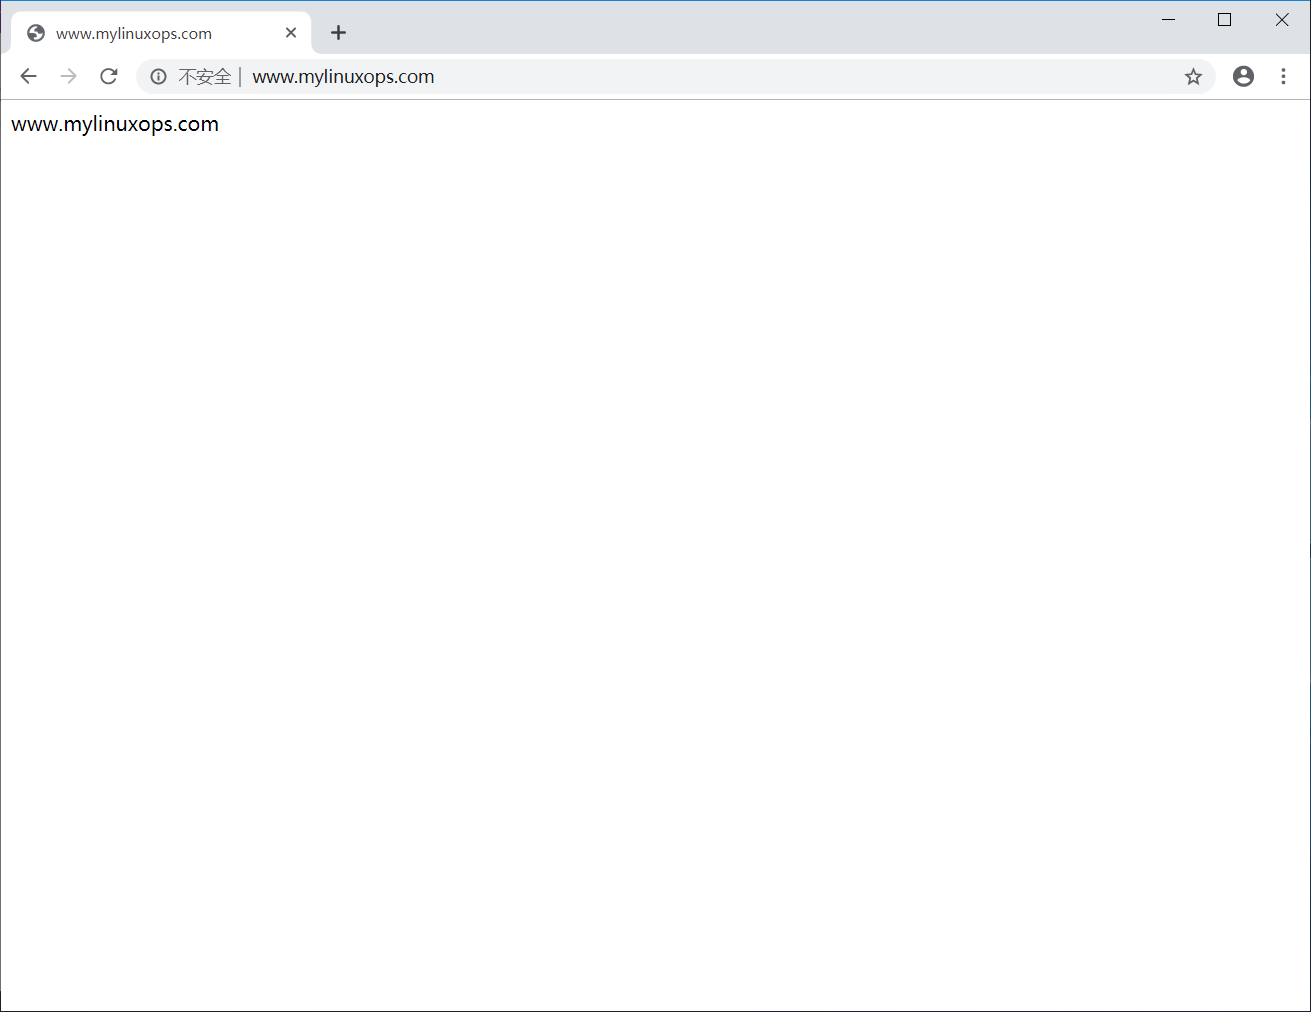

Binary installation of MySQL
1. Create MySQL users and groups
[root@localhost ~]# groupadd -r  mysql
[root@localhost ~]# useradd -g mysql -r -s /sbin/nologin mysql
2. Unzip the file into the / usr/local directory
[root@localhost ~]# tar xf mariadb-10.2.23-linux-x86_64.tar.gz -C /usr/local/
3. Create soft connections to directories and modify ownership groups
[root@localhost ~]# cd /usr/local/
[root@localhost local]# ln -s mariadb-10.2.23-linux-x86_64 mysql
[root@localhost local]# chown -R root.root mysql
4. Copy the profile template and modify it
[root@localhost local]# mkdir /etc/mysql
[root@localhost local]# cp mysql/support-files/my-huge.cnf /etc/mysql/my.cnf
[root@localhost mysql]# vim /etc/mysql/my.cnf
datadir=/data/mysql         #Specify database directory
5. Copy the service startup script and configure it to start automatically
[root@localhost local]# cp mysql/support-files/mysql.server /etc/init.d/mysqld
[root@localhost local]# chkconfig --add mysqld
6. Create a database directory and configure it with security permissions
[root@localhost local]# mkdir /data/mysql
[root@localhost local]# chown -R  mysql.mysql /data/mysql
[root@localhost local]# chmod 700 /data/mysql
7. Initialize the database
[root@localhost mysql]# ./scripts/mysql_install_db --user=mysql --datadir=/data/mysql
8. Start the database service
[root@localhost mysql]# service mysqld start
Starting mysqld (via systemctl):                           [  OK  ]
Test lnmp
1. Create a test page
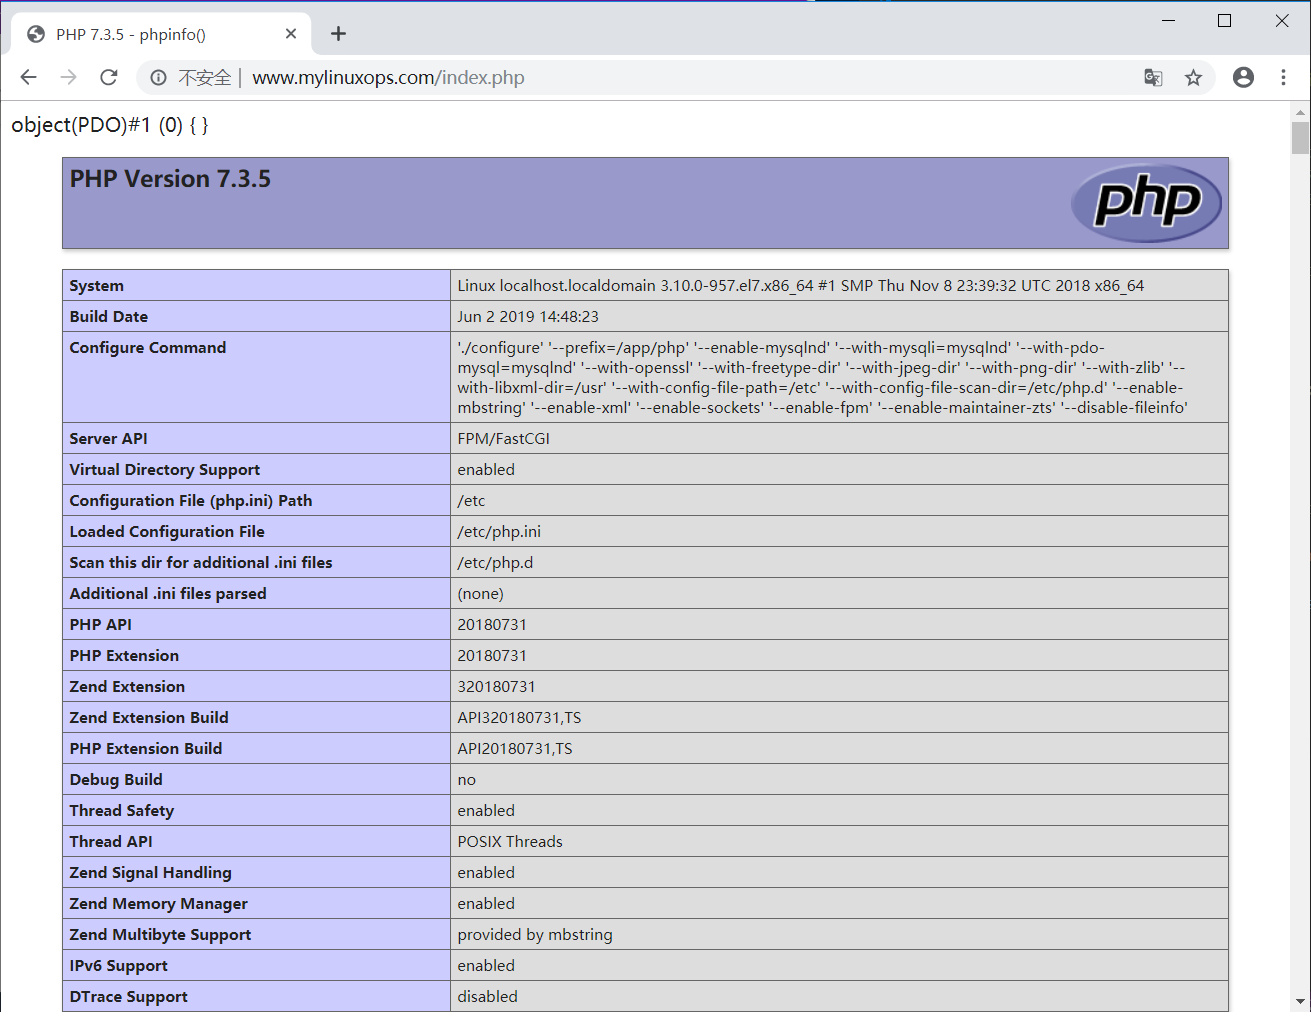
[root@localhost mysql]# vim /data/www/php/index.php
<?php
$dsn='mysql:host=127.0.0.1;dbname=test';
$username='mysql'; $passwd='';
$dbh=new PDO($dsn,$username,$passwd);
var_dump($dbh);
phpinfo();
?>
2. Use browser access