opencv basic operation
# -*- coding: utf-8 -*-
# Author:    xurongzhong#126.com wechat:pythontesting qq:37391319
# Technical support nail group: 21745728 (pythontesting invitation can be added)
# qq group: 144081101 591302926 567351477
# CreateDate: 2018-11-17

import imutils
import cv2

# Read picture information
image = cv2.imread("jp.png")
(h, w, d) = image.shape
print("width={}, height={}, depth={}".format(w, h, d))

# display picture
cv2.imshow("Image", image)
cv2.waitKey(0)

# Access pixels
(B, G, R) = image[100, 50]
print("R={}, G={}, B={}".format(R, G, B))

# Select region of interest
roi = image[60:160, 320:420]
cv2.imshow("ROI", roi)
cv2.waitKey(0)

# zoom
resized = cv2.resize(image, (200, 200))
cv2.imshow("Fixed Resizing", resized)
cv2.waitKey(0)

# Scale to scale
r = 300.0 / w
dim = (300, int(h * r))
resized = cv2.resize(image, dim)
cv2.imshow("Aspect Ratio Resize", resized)
cv2.waitKey(0)

# Scale with imutils
resized = imutils.resize(image, width=300)
cv2.imshow("Imutils Resize", resized)
cv2.waitKey(0)

# 45 degrees clockwise
center = (w // 2, h // 2)
M = cv2.getRotationMatrix2D(center, -45, 1.0)
rotated = cv2.warpAffine(image, M, (w, h))
cv2.imshow("OpenCV Rotation", rotated)
cv2.waitKey(0)

# Rotate with imutils
rotated = imutils.rotate(image, -45)
cv2.imshow("Imutils Rotation", rotated)
cv2.waitKey(0)


# Lossless rotation with imutils
rotated = imutils.rotate_bound(image, 45)
cv2.imshow("Imutils Bound Rotation", rotated)
cv2.waitKey(0)

# apply a Gaussian blur with a 11x11 kernel to the image to smooth it,
# useful when reducing high frequency noise
# https://www.pyimagesearch.com/2016/07/25/convolutions-with-opencv-and-python/
blurred = cv2.GaussianBlur(image, (11, 11), 0)
cv2.imshow("Blurred", blurred)
cv2.waitKey(0)

# Picture frame
output = image.copy()
cv2.rectangle(output, (320, 60), (420, 160), (0, 0, 255), 2)
cv2.imshow("Rectangle", output)
cv2.waitKey(0)

# Circle drawing
output = image.copy()
cv2.circle(output, (300, 150), 20, (255, 0, 0), -1)
cv2.imshow("Circle", output)
cv2.waitKey(0)

# Scribing
output = image.copy()
cv2.line(output, (60, 20), (400, 200), (0, 0, 255), 5)
cv2.imshow("Line", output)
cv2.waitKey(0)

# Output text
output = image.copy()
cv2.putText(output, "https://china-testing.github.io", (10, 25),
    cv2.FONT_HERSHEY_SIMPLEX, 0.7, (0, 255, 0), 2)
cv2.imshow("Text", output)
cv2.waitKey(0)
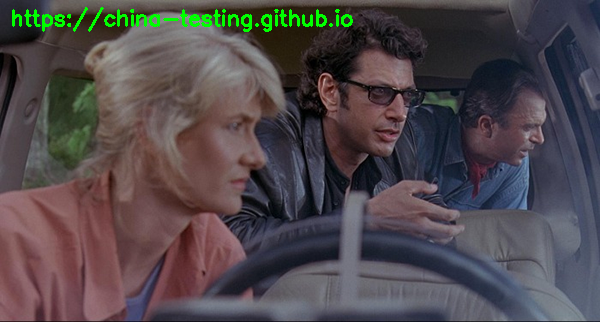
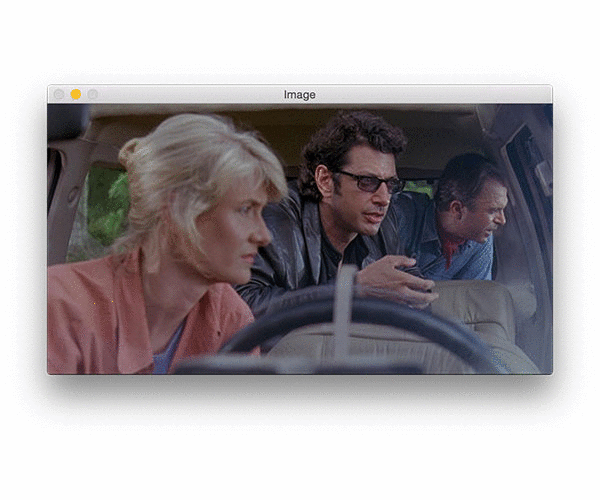
Original image:
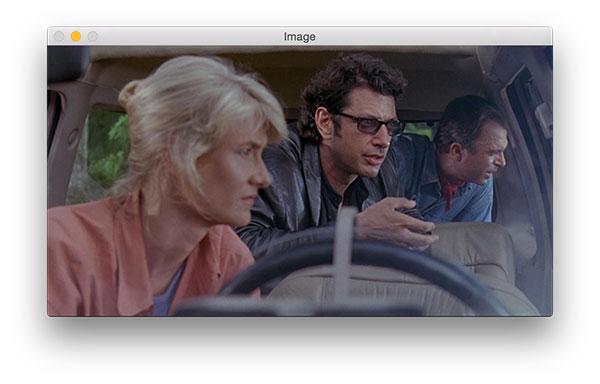
Picture.png
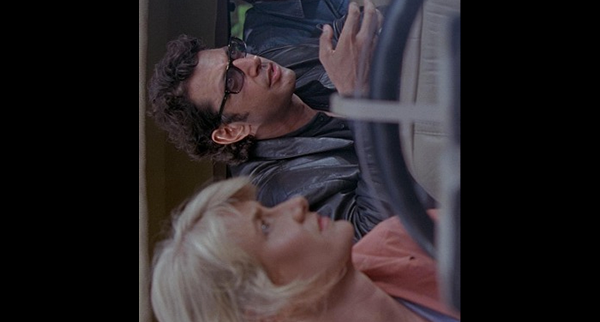
Select region of interest

Picture.png
zoom

Picture.png
Scale to scale
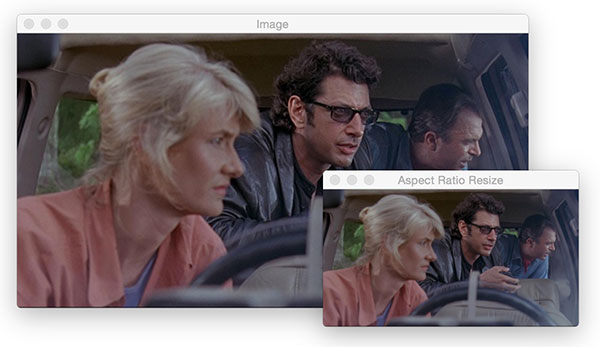
Picture.png
rotate
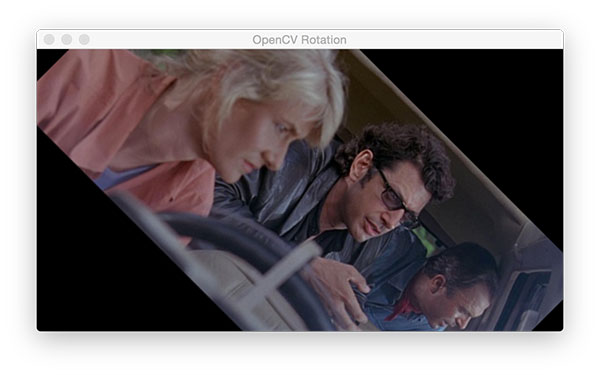
Picture.png
Lossless rotation with imutils

Picture.png
Gauss fuzzy

Picture.png
Picture frame
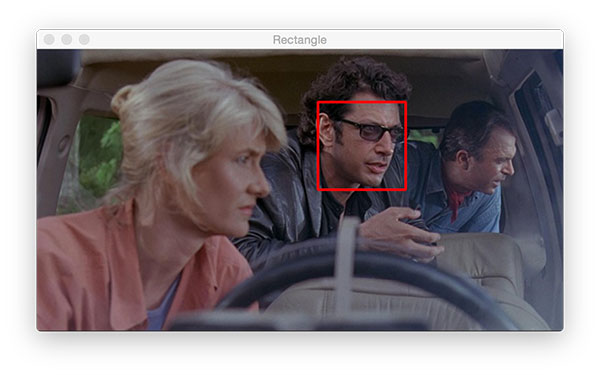
Picture.png
Circle drawing

Picture.png
Scribing

Picture.png
Output text
Text_screenshot_17.11.2018.png
Output at execution time
$ python opencv_tutorial_01.py
width=600, height=322, depth=3
R=41, G=49, B=37
Download the English original code of this section
As for the rotation part, in fact, pilot does better. For example, turn it 90 degrees counter clockwise.
Implementation of opencv:
import imutils
import cv2

image = cv2.imread("jp.png")
rotated = imutils.rotate(image, 90)
cv2.imshow("Imutils Rotation", rotated)
cv2.waitKey(0)
Text_screenshot_17.11.2018.png
Implementation of pilot:
from PIL import Image

im = Image.open("jp.png")
im2 = im.rotate(90, expand=True)
im2.show()

test.jpg
Further reference: Introduction to python Library - Chinese document of image processing tool pilot - Manual (may 2018 *)
deep_learning_face_detection_opencv.gif