1 Preface
There are many ways to install MySQL under linux, including the way of warehouse (yum,apt,zypper), the way of package (rpm,deb), the way of docker, the way of decompressing from the compressed package, the way of compiling and installing from the source code. Here is the last one, the way of compiling and installing from the source code.
It takes a lot of patience and time to compile and install, and there will be many strange problems. Therefore, it requires great perseverance. It is likely that 10000 failures will not be replaced by one success. Please be prepared mentally.
2 preparations
The following are the installation requirements. The installed ones can be skipped.
- cmake
- boost
- gcc
- ncurses
- openssl
- bison
- doxygen
2.1 gcc
gcc is generally equipped with linux. The minimum required version is 5.3. If you need to update it, you can see the author's Another blog.
2.2 boost
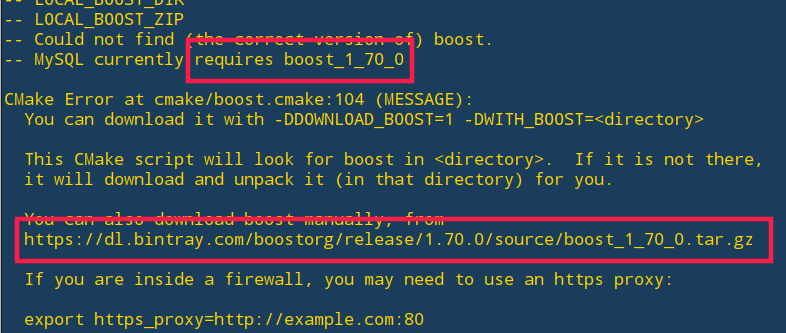
Boost does not need to be installed manually. When running cmake script, it will download and install automatically. Of course, it can also be installed manually. The document on the official website says that a specific version is needed. MySQL Server 8.0.19 here needs 1.70.0, and the latest boost library is 1.72.0.

2.3 cmake
Look at the author's Another blog.
2.4 other
Other general use of warehouse installation can be, of course, each can be tossed from the source installation, you like it.
2.4.1 Red Hat series
7.x:
sudo yum install -y bison bzip2 git hostname ncurses-devel openssl openssl-devel pkgconfig tar wget zlib-devel doxygen
8.x:
sudo yum install -y bison bzip2 git hostname ncurses-devel openssl openssl-devel pkgconfig tar wget zlib-devel doxygen diffutils rpcgen make libtirpc-devel
2.4.2 ubuntu system
sudo apt-get update
sudo apt-get install -y bison git hostname libncurses-dev libssl-dev make openssl pkg-config doxygen
3 download and unzip
3.1 download
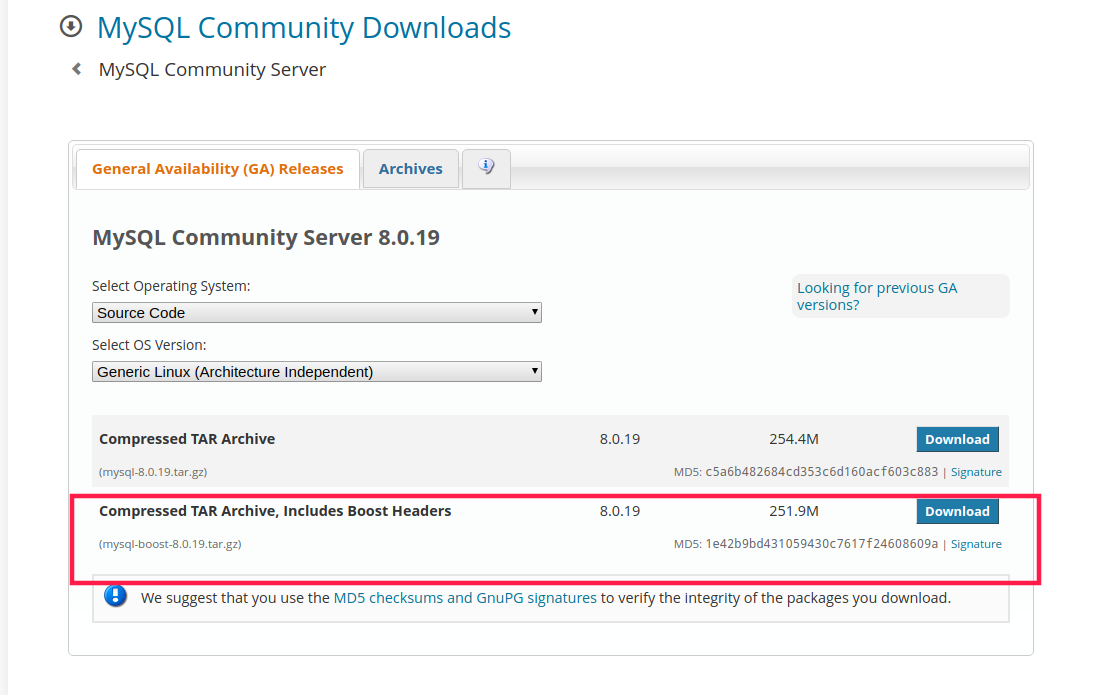
I don't know what's the difference between the one with boost and the one without boost. When using cmake later, you need to download boost manually, so just choose one. I can leave a message for you. Thank you very much.
3.2 decompression
tar -zxvf mysql-boost-8.0.19.tar.gz
cd mysql-8.0.19
3.3 create temporary bld folder
mkdir bld
cd bld
4 compilation and installation
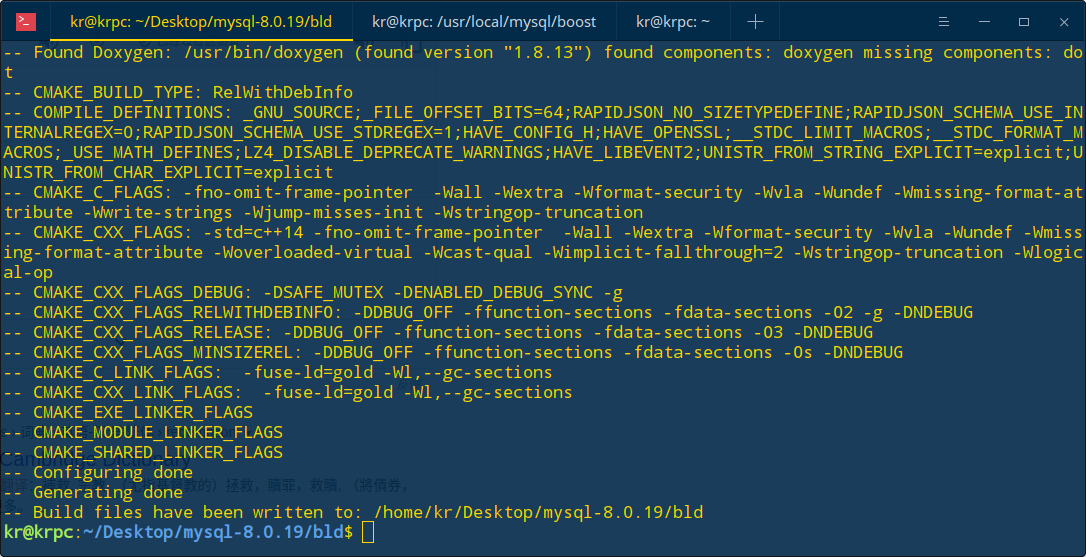
4.1 cmake
cmake .. \
-DDOWNLOAD_BOOST=1 \
-DWITH_BOOST=. \
-DDEFAULT_CHARSET=utf8 \
-DDEFAULT_COLLATION=utf8_general_ci \
-DENABLED_LOCAL_INFILE=ON \
-DWITH_SSL=system \
-DCMAKE_INSTALL_PREFIX=/usr/local/mysql/server \
-DMYSQL_DATADIR=/usr/local/mysql/data \
-DMYSQL_TCP_PORT=3306 \
If you have installed boost, you don't need to:
-DDOWNLOAD_BOOST=1
-DWITH_BOOST
The installation location and data location are customized as required:
-DCMAKE_INSTALL_PREFIX=
-DMYSQL_DATADIR=
4.2 compilation
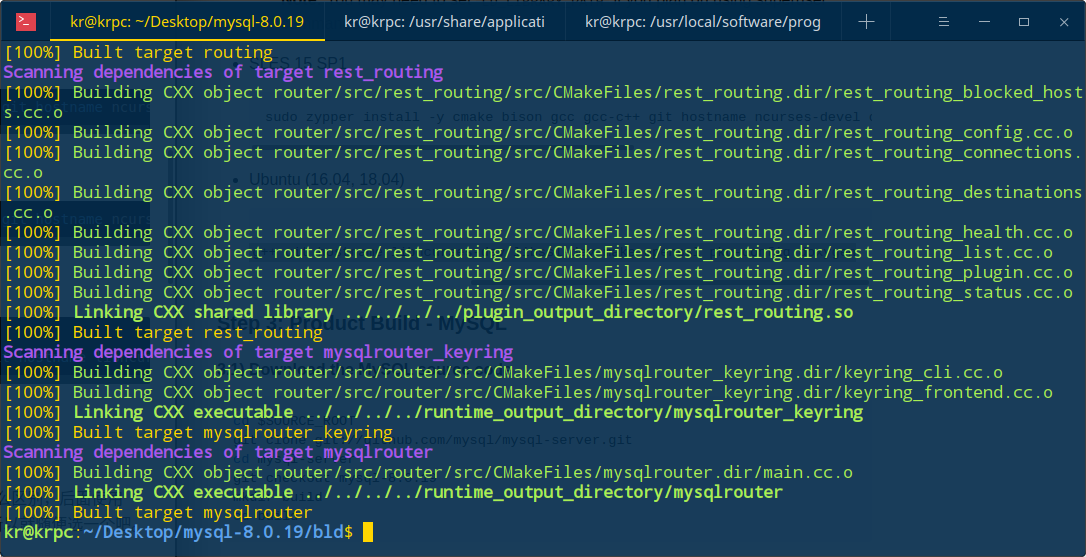
make -j n
n is the number of cpu cores. If it fails, please use it directly
make
It takes a long time to compile here, and there is a progress prompt.
4.3 installation
sudo make install
The author has encountered the problem of libstdc++.so.6. Glibcx3.4.25 is required for MySQL Server 8.0.19 installation You can see the path of your own libstdc++.so.6:
sudo find / -name lidstdc++.so.6
After finding the path:
strings /xxx/libstdc++.so.6 | grep GLIBCXX
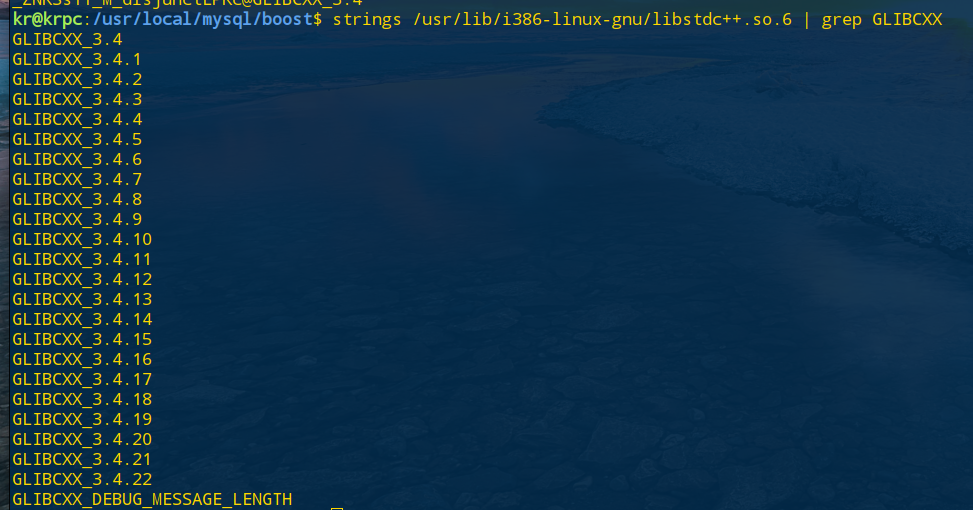
The author only has glibccxx_3.4.22 here. Since gcc has been manually updated before, in the lib directory of gcc:
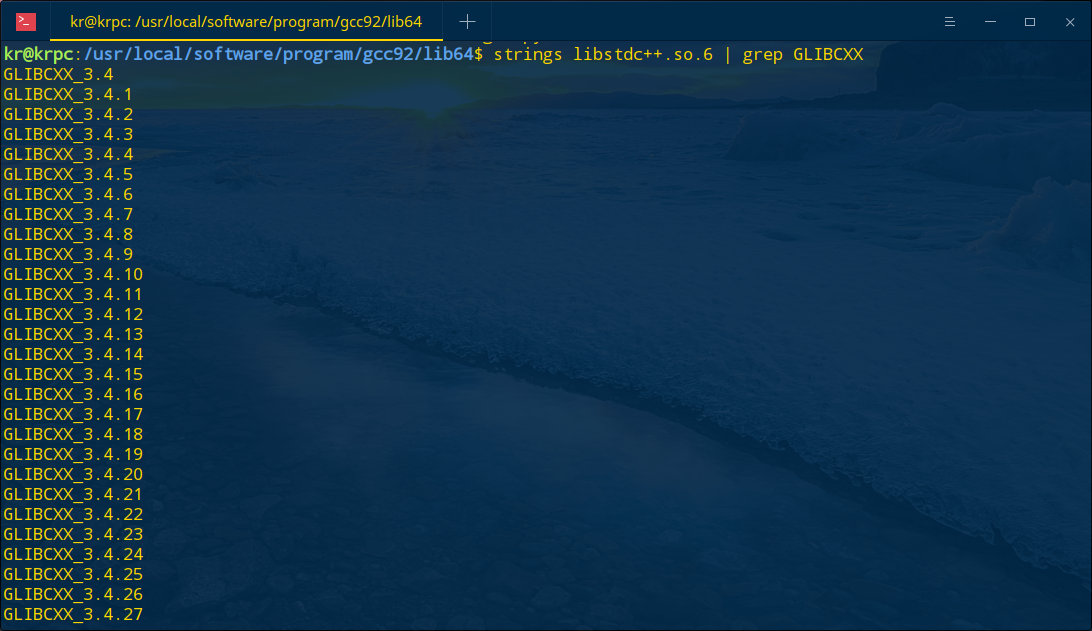
So just copy this libstdc++.so.6 to / lib /
sudo cp libstdc++.so.6 /lib/x86_64-linux-gnu/
Another solution is (for Ubuntu systems), add the ppa source, and then update:
sudo add-apt-repository ppa:ubuntu-toolchain-r/test
sudo apt-get update
sudo apt-get upgrade
sudo apt-get dist-upgrade
Others are similar, updating gcc and manually specifying the location of lib.
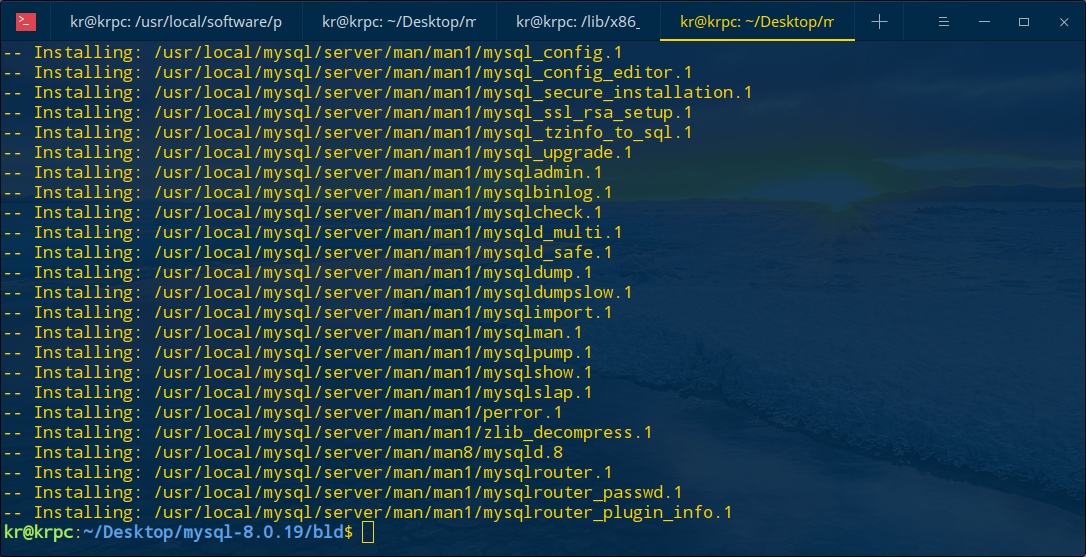
Installation succeeded.
4.4 test
make test
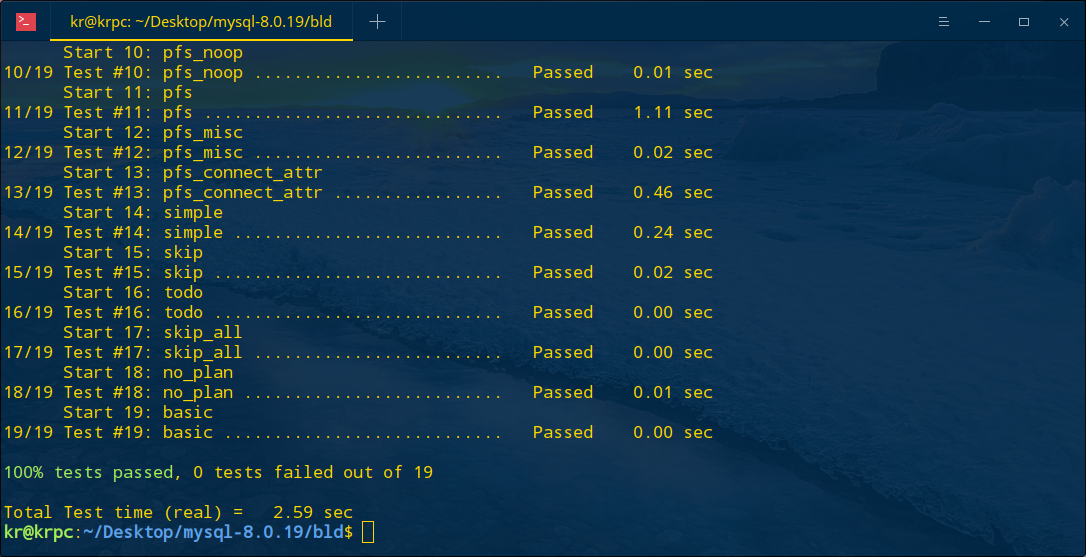
The test passed.
5 configure MySQL
After the installation, you need to configure MySQL.
5.1 new user group and user
sudo groupadd mysql
sudo useradd -r -g mysql -s /bin/false mysql
5.2 modify data directory owner and authority
The data directory is modified as needed.
sudo chown mysql:mysql /usr/local/mysql/data
sudo chmod 777 /usr/local/mysql/data
Here, the document on the official website has 750 permissions, but there will be a non writable error later. 755 is not good either, so it has been changed to 777.

5.3 my.cnf
My.cnf is under / etc or / etc/mysql. After installation, the author has a my.cnf under / etc/mysql by default:
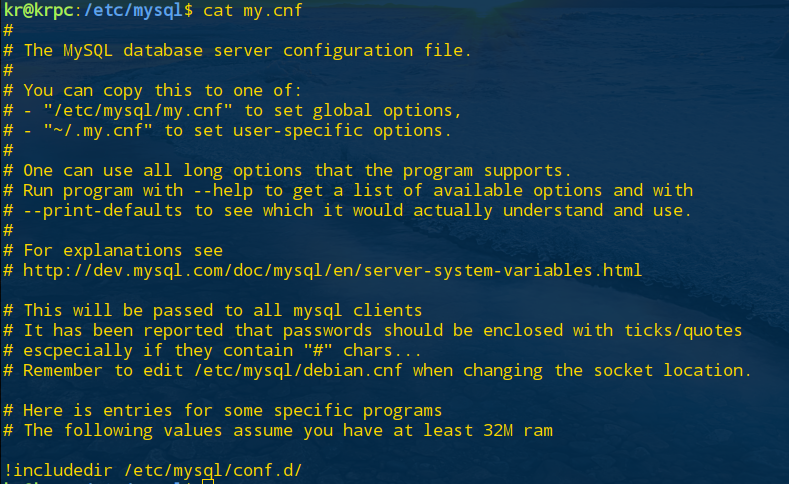
/etc/mysql/my.cnf is the global configuration, ~ /. My.cnf is the user specific configuration. Here, modify / etc/mysql/my.cnf directly:
[mysqld]
port=3306
basedir=/usr/local/mysql/server
datadir=/usr/local/mysql/data
character-set-server=utf8mb4
[mysql]
default-character-set=utf8
[client]
port=3306
default-character-set=utf8
Parameters can be added later as required. Here, if utf8 is used:
[mysqld]
character-set-server=utf8
There will be a warning because after MySQL 5.5.3, utf8 mb4 is added. Mb4 means most bytes 4, which is specially used to be compatible with four byte unicode. Utf8 refers to utf8mb3. The maximum character length of utf8 encoding supported is 3 bytes. The warning prompt is changed to utf8mb4:
[mysqld]
character-set-server=utf8mb4
(additional reading: utf8 and utf8mb4)
5.4 initialization
Enter bin in the MySQL Server installation directory:
mysqld --initialize-insecure --user=mysql

Use - execute here because you don't need to enter a random password later. Of course, you can also remove the execute, so that there will be a random password to remember.
mysqld --initialize --user=mysql

5.5 support ssl and rsa (optional)
mysql_ssl_rsa_setup
This general server needs.
5.6 opening service
mysqld_safe --user=mysql &
5.7 change root password
Log in with root first
mysql -u root --skip-password
If initialized with initialize, enter
mysql -u root -p
Enter your temporary password. After entering, use alter to change the root password:
alter 'root'@'localhost' identified by 'xxxxx'
5.8 test
Use the built-in mysqlshow and mysqladmin:
mysqladmin -u root -p version
mysqlshow -u root -p

This completes the installation of MySQL server 8.0.19.
6 subsequent processing
6.1 deleting files
You can delete the installation file first:
sudo rm -rf mysql-8.0.19*
In addition, according to the boost directory of cmake, you can delete the boost library:
sudo rm -rf boost_1_70_0*
Because the document says that you just need boost to build, and you don't need to use it.

6.2 alias
To add an alias is just for convenience. Here, I'm lazy. By default, I log in as root and modify ~ /. bash_aliases:
alias mysqld="/usr/local/mysql/bin/mysqld_safe --user=mysql &"
alias mysql="/usr/local/mysql/bin/mysql -u root -p"
Before using mysql, use mysqld to start the service to hang the background, and then use Mysql to log in, the default root user. Of course, the more lazy way is to
alias mysql="/usr/local/mysql/bin/mysql -u root --password=xxxx"
In this way, you don't have to input the password.