Cocoapods Create Public Libraries
In two cases:
- Create a brand new shared project
- Sharing existing projects
Create a brand new shared project
Reference resources Making a CocoaPod The following commands are recommended:
pod lib create [pod name]For example, pod is named WZViews, as follows:
pod lib create WZViewsAfter the command is output, there will be a series of prompts, as follows:

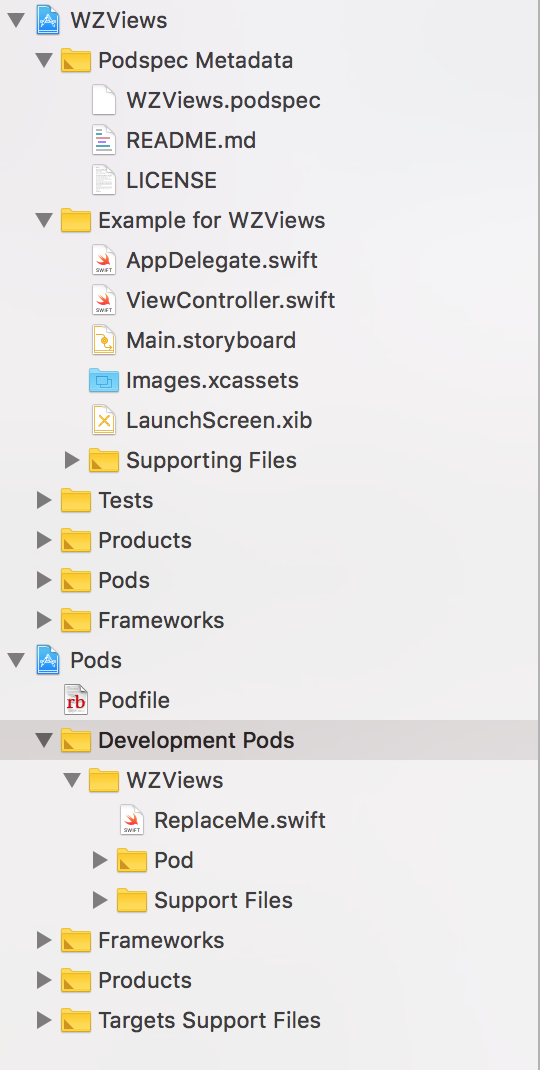
Once created, Xcode automatically opens the project, structured as follows:

Create a Github Repo
Create a Repo on Github, as follows:
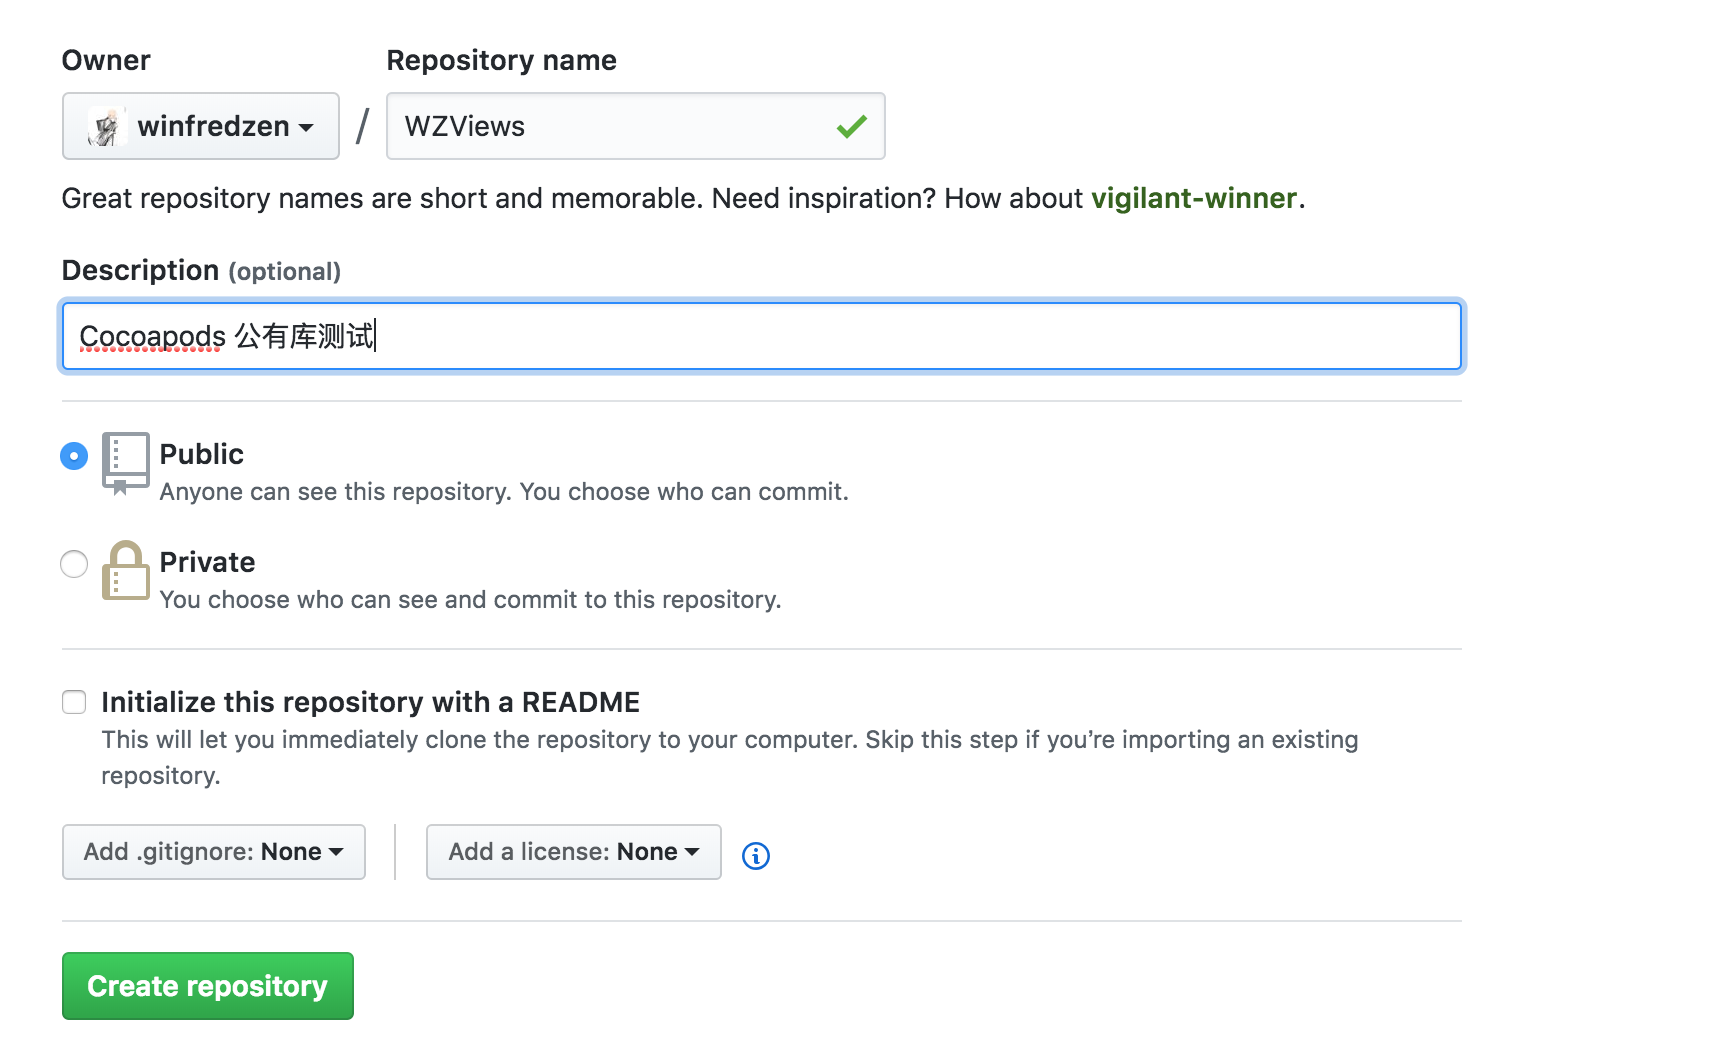
In the file structure created above, the README file already contains MIT Lisence, so you may not choose to create Repo.
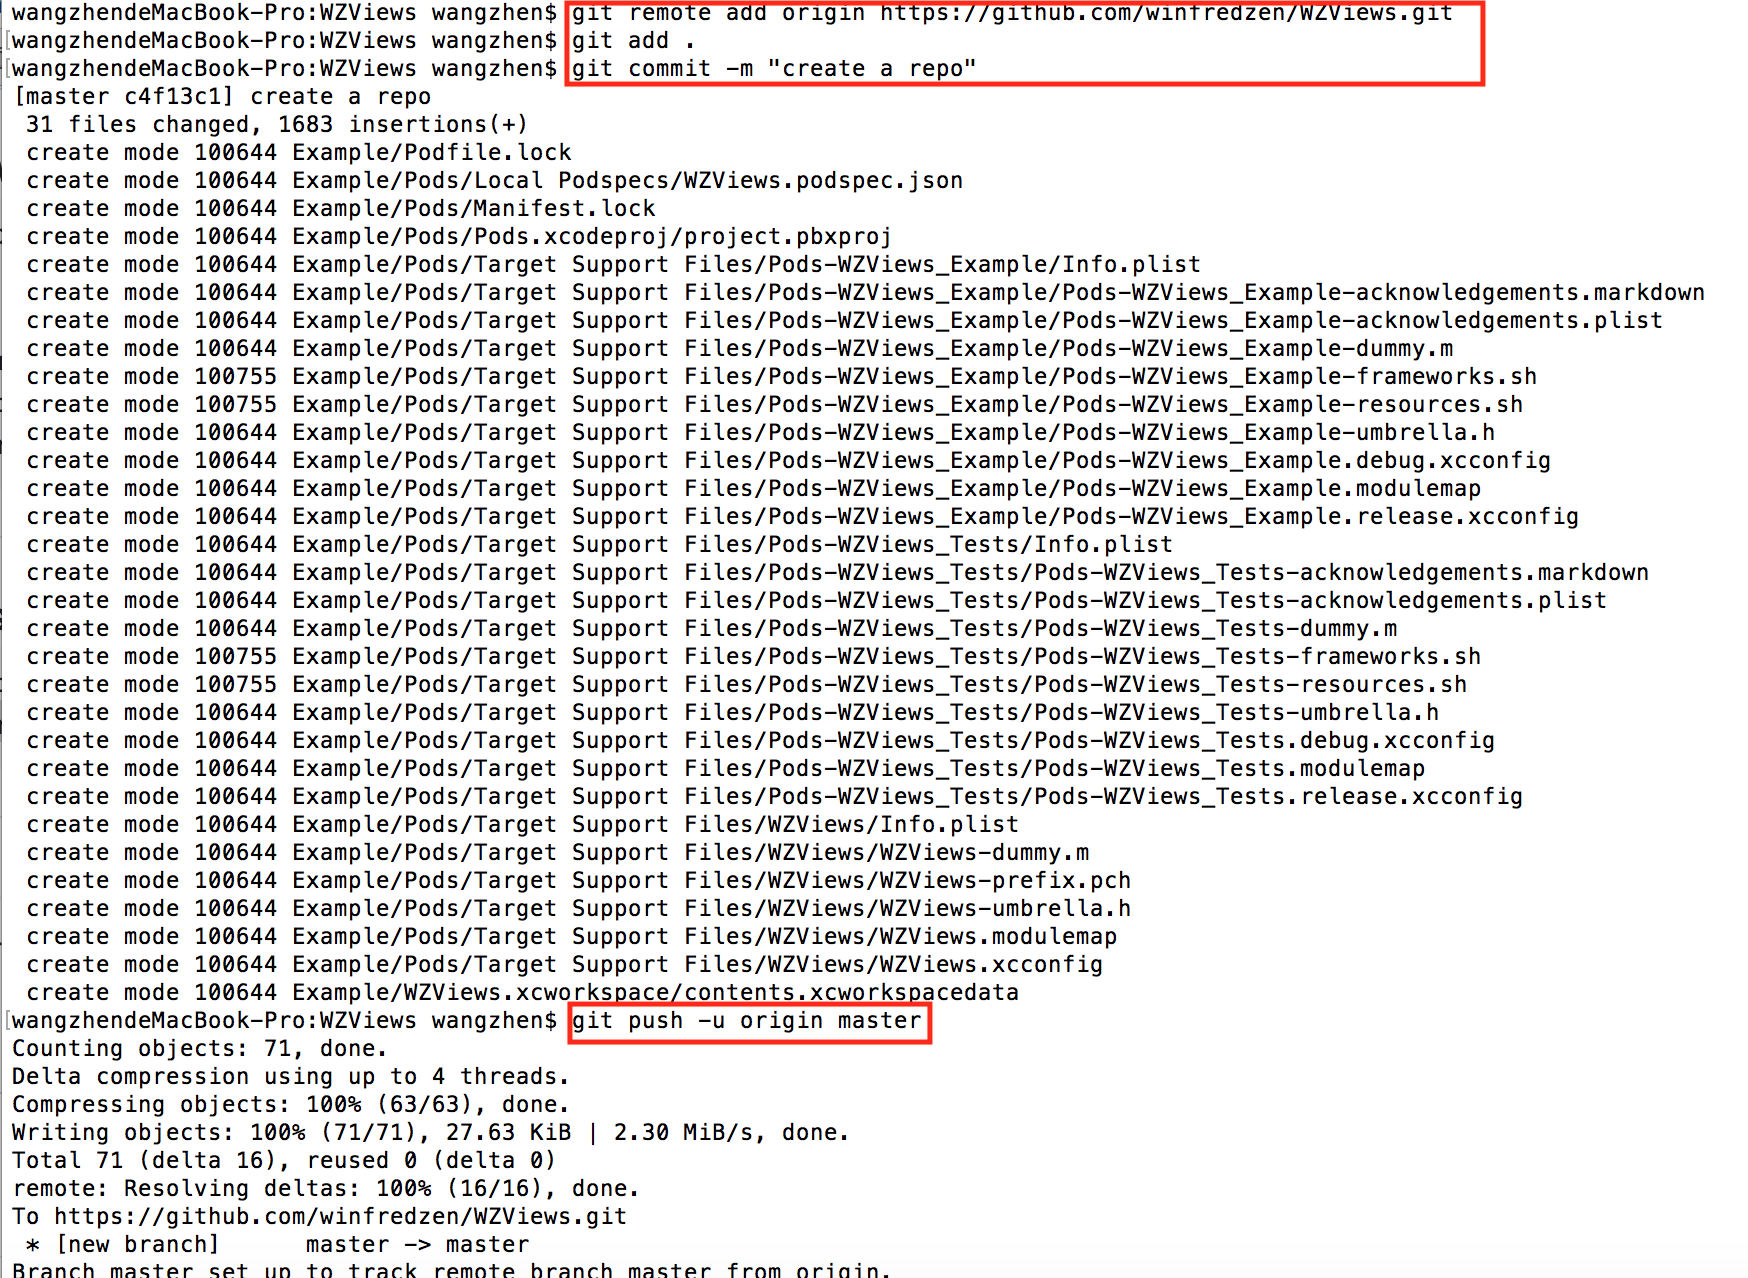
Then you can push the existing Repo onto Github by following the command:
git remote add origin https://github.com/winfredzen/WZViews.git
git push -u origin master
The specific process is shown in the following figure:
The Podspec Metadata directory is as follows, with special attention to WZViews.podspec

WZViews.podspec is as follows:
#
# Be sure to run `pod lib lint WZViews.podspec' to ensure this is a
# valid spec before submitting.
#
# Any lines starting with a # are optional, but their use is encouraged
# To learn more about a Podspec see https://guides.cocoapods.org/syntax/podspec.html
#

Pod::Spec.new do |s|
  s.name             = 'WZViews'
  s.version          = '0.1.0'
  s.summary          = 'A short description of WZViews.'

# This description is used to generate tags and improve search results.
#   * Think: What does it do? Why did you write it? What is the focus?
#   * Try to keep it short, snappy and to the point.
#   * Write the description between the DESC delimiters below.
#   * Finally, don't worry about the indent, CocoaPods strips it!

  s.description      = <<-DESC
TODO: Add long description of the pod here.
                       DESC

  s.homepage         = 'https://github.com/winfredzen/WZViews'
  # s.screenshots     = 'www.example.com/screenshots_1', 'www.example.com/screenshots_2'
  s.license          = { :type => 'MIT', :file => 'LICENSE' }
  s.author           = { 'winfredzen' => '2099260054@qq.com' }
  s.source           = { :git => 'https://github.com/winfredzen/WZViews.git', :tag => s.version.to_s }
  # s.social_media_url = 'https://twitter.com/<TWITTER_USERNAME>'

  s.ios.deployment_target = '8.0'

  s.source_files = 'WZViews/Classes/**/*'

  # s.resource_bundles = {
  #   'WZViews' => ['WZViews/Assets/*.png']
  # }

  # s.public_header_files = 'Pod/Classes/**/*.h'
  s.frameworks = 'UIKit'
  # s.dependency 'AFNetworking', '~> 2.3'
end
After writing, we need to verify the validity of the. podspec file. Here we need the terminal cd to the. podspec file folder to execute:
pod lib lint WZViews.podspecThere may be warnings, which can be ignored using -- allow-warnings

pod lib lint WZViews.podspec --allow-warnings will prompt success

Add source files
Add the location of the source file, consistent with the path specified by s.source_files in WZViews.podspec
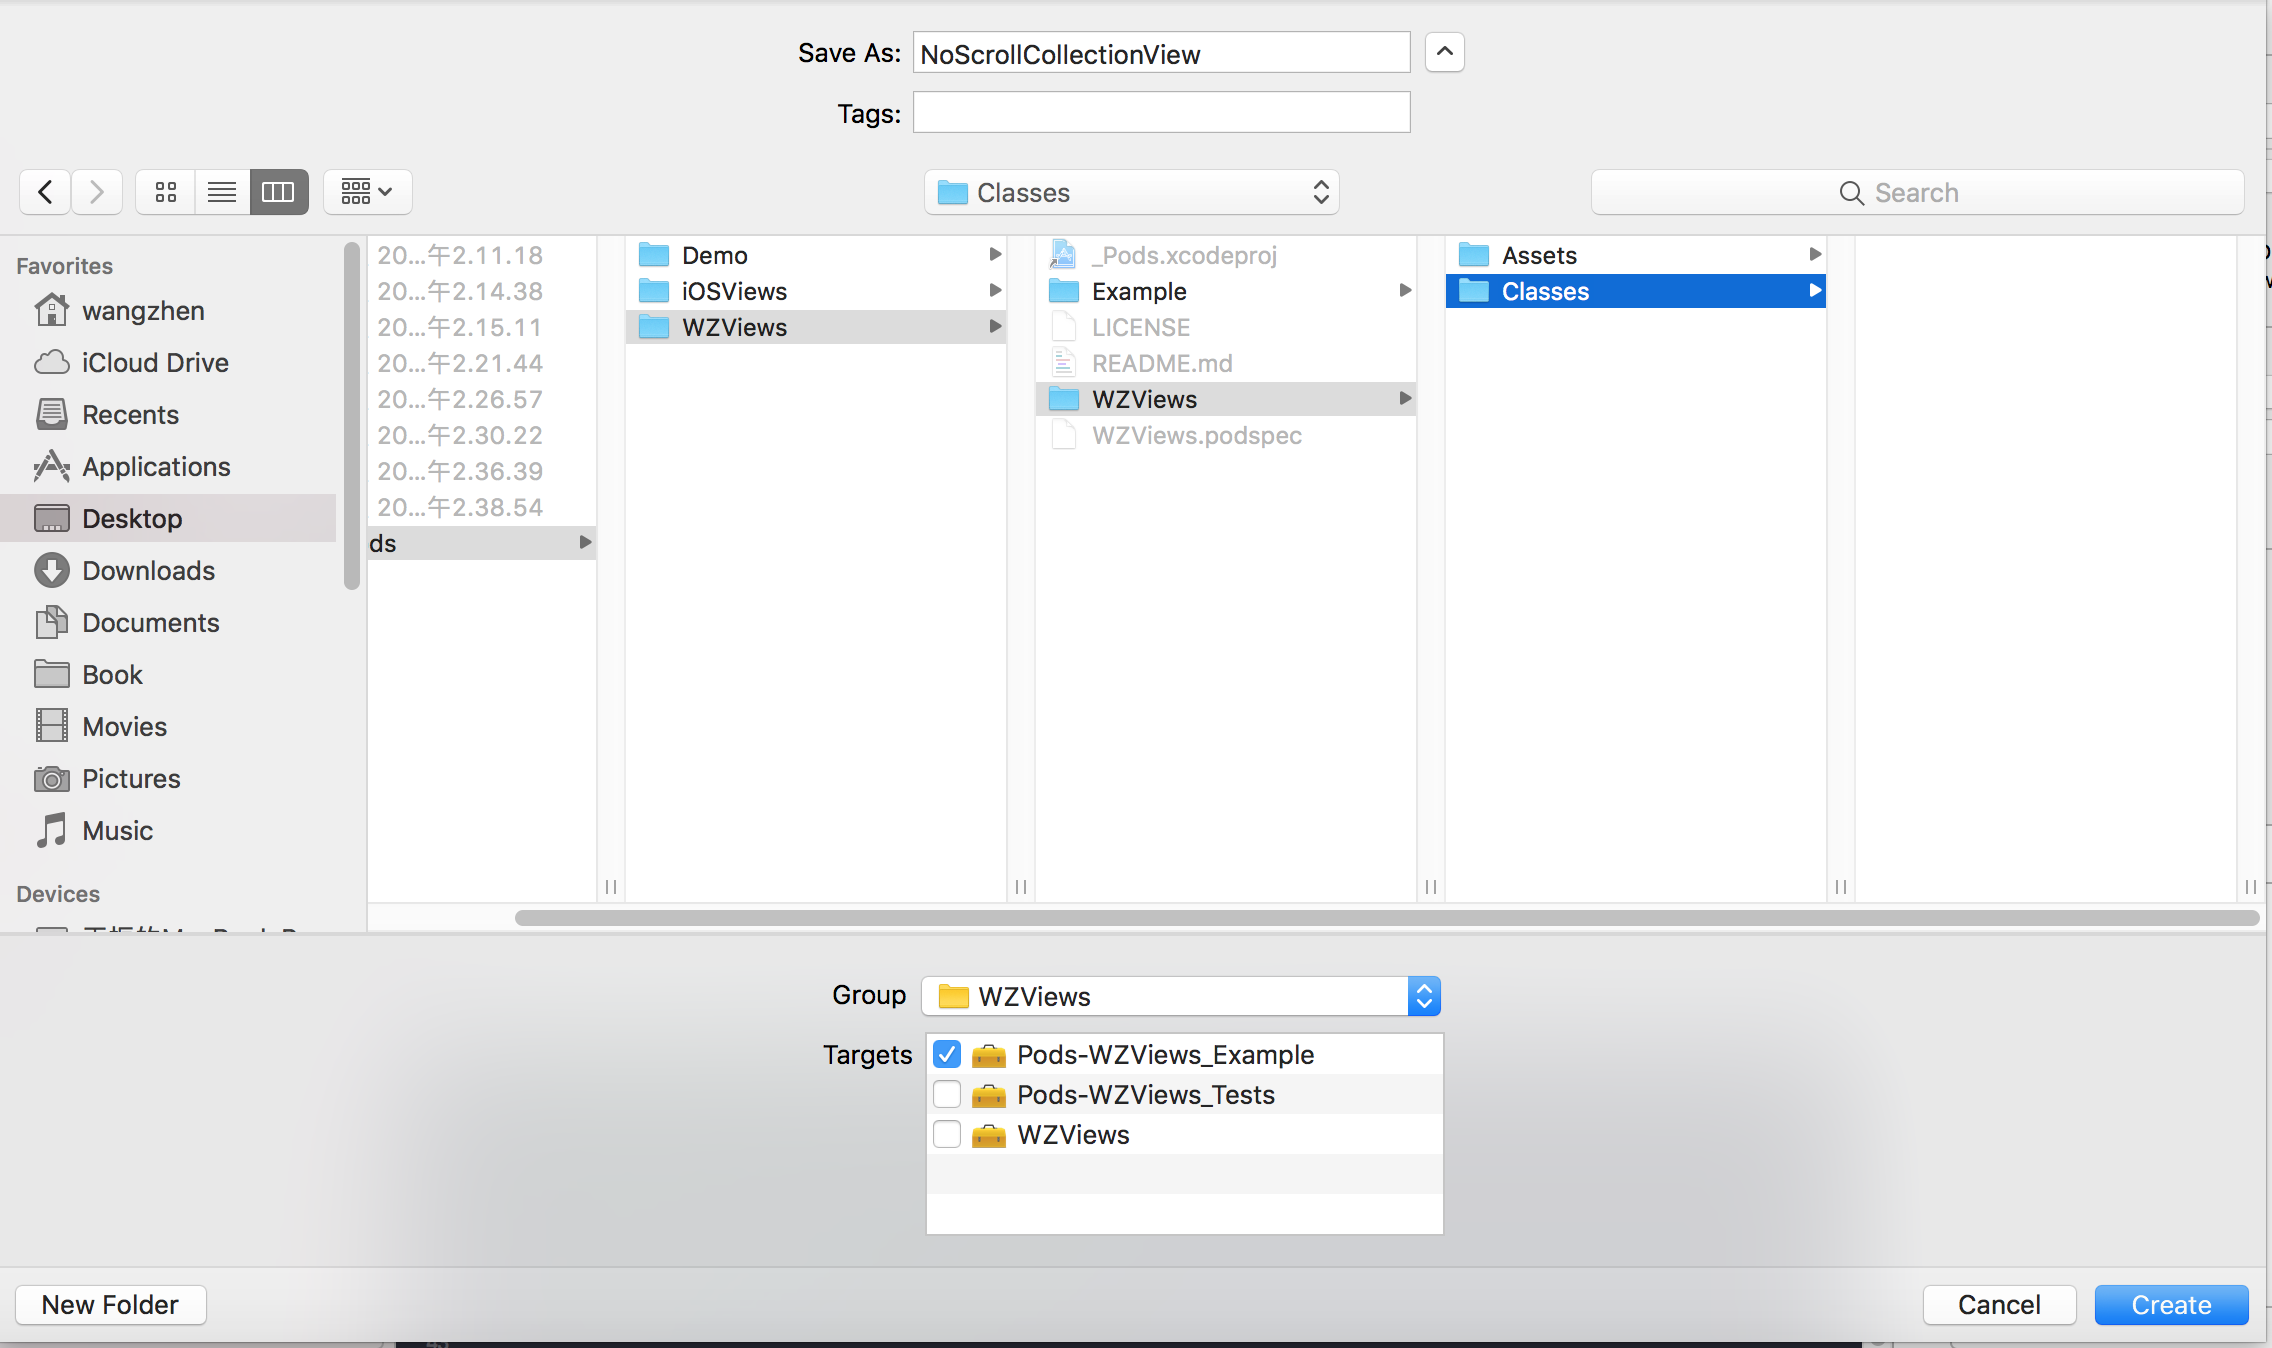
Create the NoScrollCollectionView class as follows, pay attention to the classes that are open to the public, and modify the modifier to public
import Foundation

public class NoScrollCollectionView: UICollectionView {

    override public var contentSize: CGSize {
        didSet {
            self.invalidateIntrinsicContentSize()
        }
    }

    override public var intrinsicContentSize: CGSize {

        self.layoutIfNeeded()

        return CGSize(width: UIViewNoIntrinsicMetric, height: contentSize.height)

    }

}
Make tag and send release version
First, as above, git add and git commit, git push
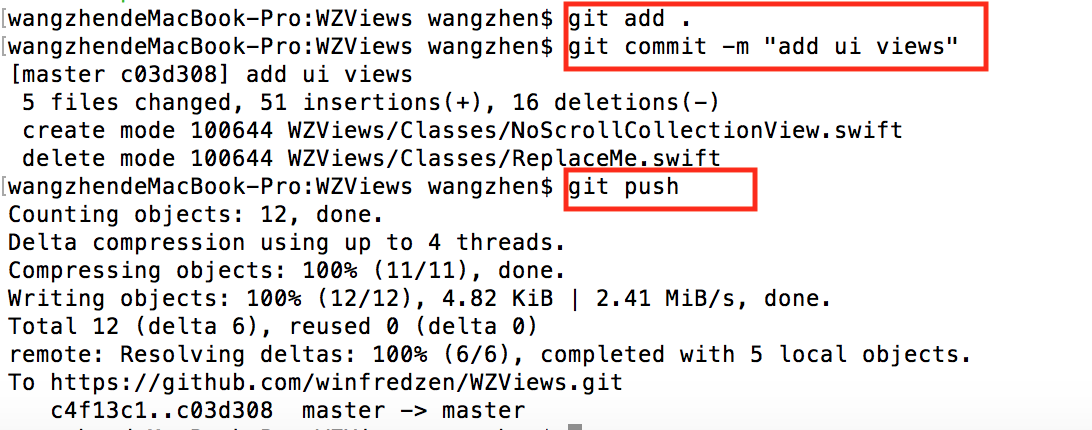
Then use git tag 0.1.0-a, add tag, and add comments. Note that the tag here is consistent with s.version in WZViews.podspec.
Then use git push --tags command, push tag

Push to Cocoapods
In public to Cocoapods, you need to ensure that you are registered, using the following commands to register:
$ pod trunk register orta@cocoapods.org 'Orta Therox' --description='macbook air'I will prompt you to send you an email and click OK.
Then you can use pod trunk push to publish

Then you can use it in Cocoapods:
pod 'WZViews', '~>0.1.0'