Preface
Finally!! In this semester's course, start to touch on how to do effective team development!!!! Finally, I can face up to the problems that have been bothering me all the time. How to communicate among people with different roles in team work has always been a big problem!! Communication leads to redundant data, and the problem of not updating in time can also be the root cause of disrupting a team.
content
The first requirement of this software should be that it does not impose too much extra burden on programmers and that it is simple, fast and efficient, or that it differs from the traditional way of writing documents...
Program three hours a day and write six hours of documentation...
So a software called Swagger came into my sight! Use it today!!
Advantage:
- The page is simple and clear
- Configuration is simple, content changes with programming
- On-line debugging (page version postman haha)
Use after running the local project http://127.0.0.1:8080/swagger-ui.html to see the effect, just change the cloud server to your own address.
Add Dependency
pom file plus two depend on it
        <!-- https://mvnrepository.com/artifact/io.springfox/springfox-swagger2 -->
        <dependency>
            <groupId>io.springfox</groupId>
            <artifactId>springfox-swagger2</artifactId>
            <version>2.9.2</version>
        </dependency>
        <!-- https://mvnrepository.com/artifact/io.springfox/springfox-swagger-ui -->
        <dependency>
            <groupId>io.springfox</groupId>
            <artifactId>springfox-swagger-ui</artifactId>
            <version>2.9.2</version>
        </dependency>
Create a configuration class (which configures the display of the page title section)

@Configuration
@EnableSwagger2
public class SwaggerConfig {
@Bean
public Docket webApiConfig(){
return new Docket(DocumentationType.SWAGGER_2)
.groupName("webApi")
.apiInfo(webApiInfo())
.select()
.build();
}
private ApiInfo webApiInfo(){
return new ApiInfoBuilder()
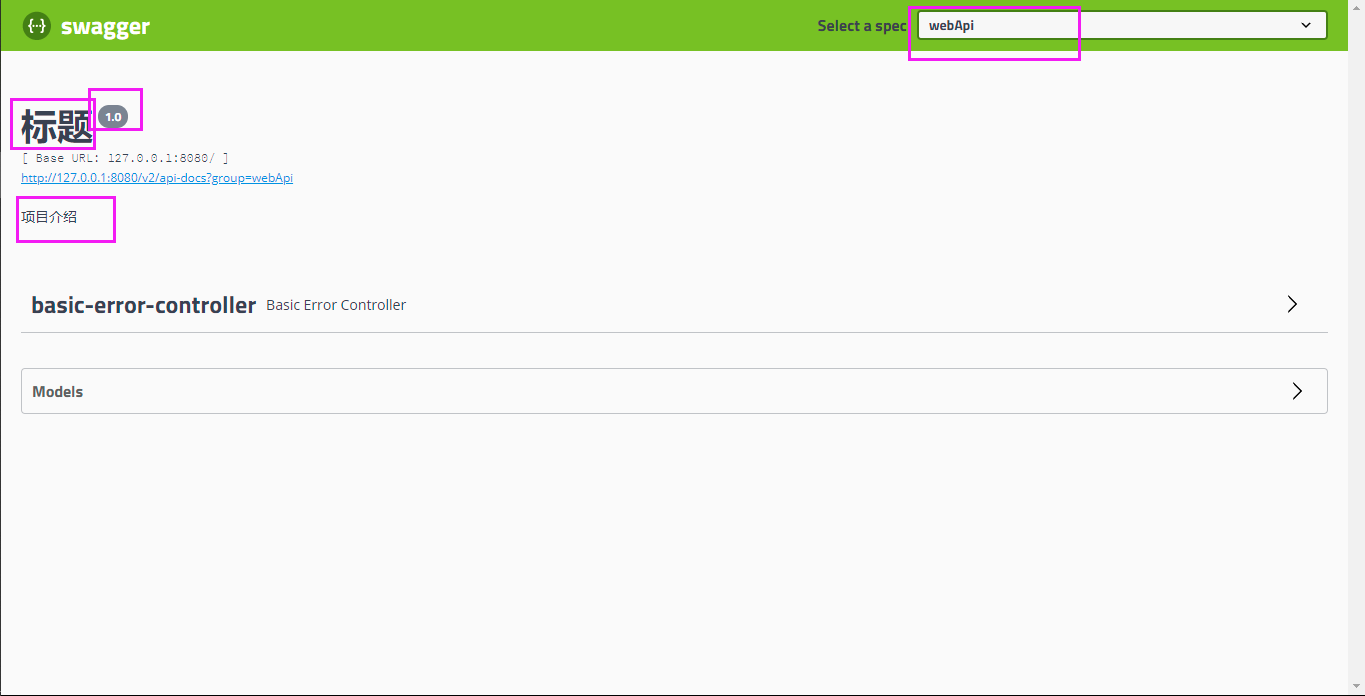
.title("Title")
.description("Project introduction")
.version("1.0")
.build();
}
}
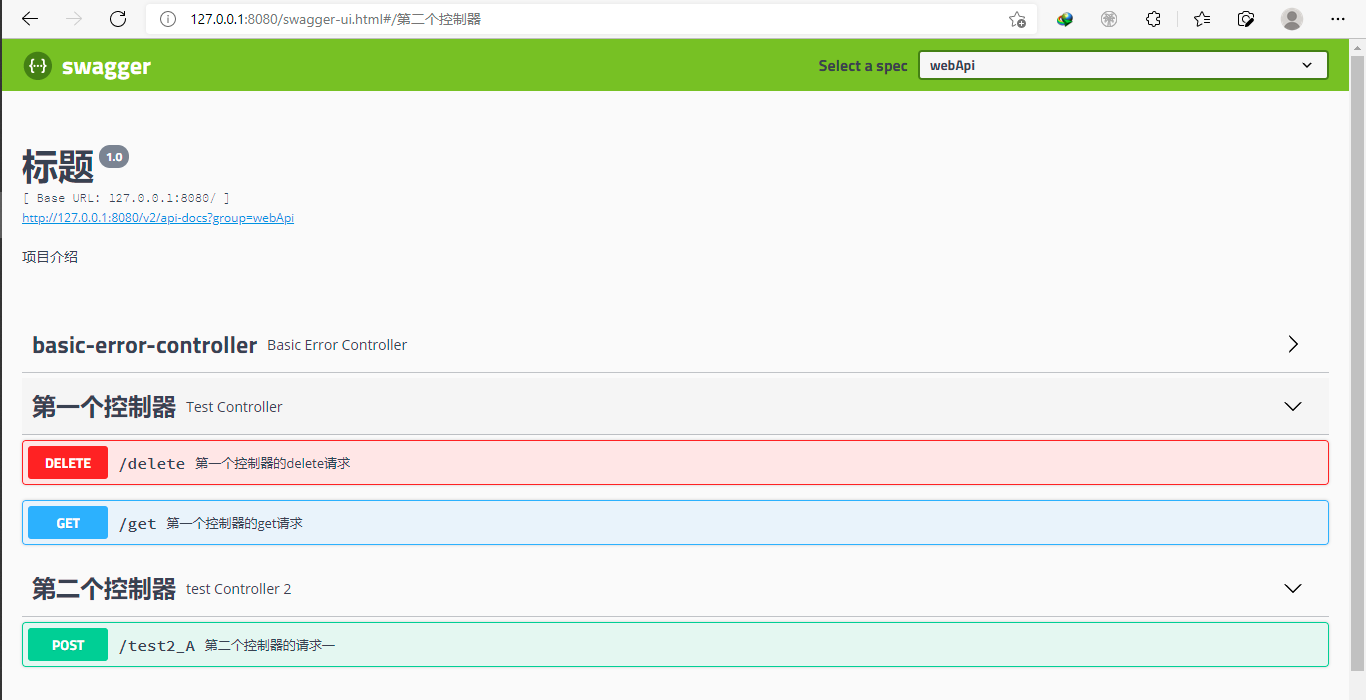
Corresponding Page Effects
Create body part (i.e. interface information)
Set the interface type (should not use @RequestMapping directly)
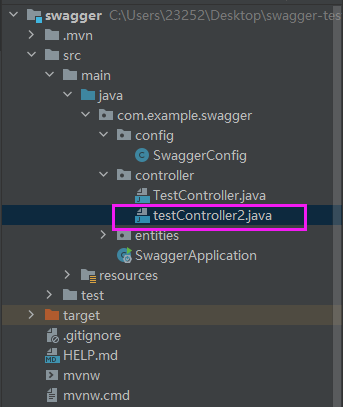
Build any controller first
Follow the instructions with corresponding notes
@RestController
@Api(tags = "Second Controller")
public class testController2 {

    @RequestMapping("test2_A")
    @ApiOperation(value = "Request 1 of the second controller")
    public String test2_A(){
        return "success";
    }
}
Start project, access address
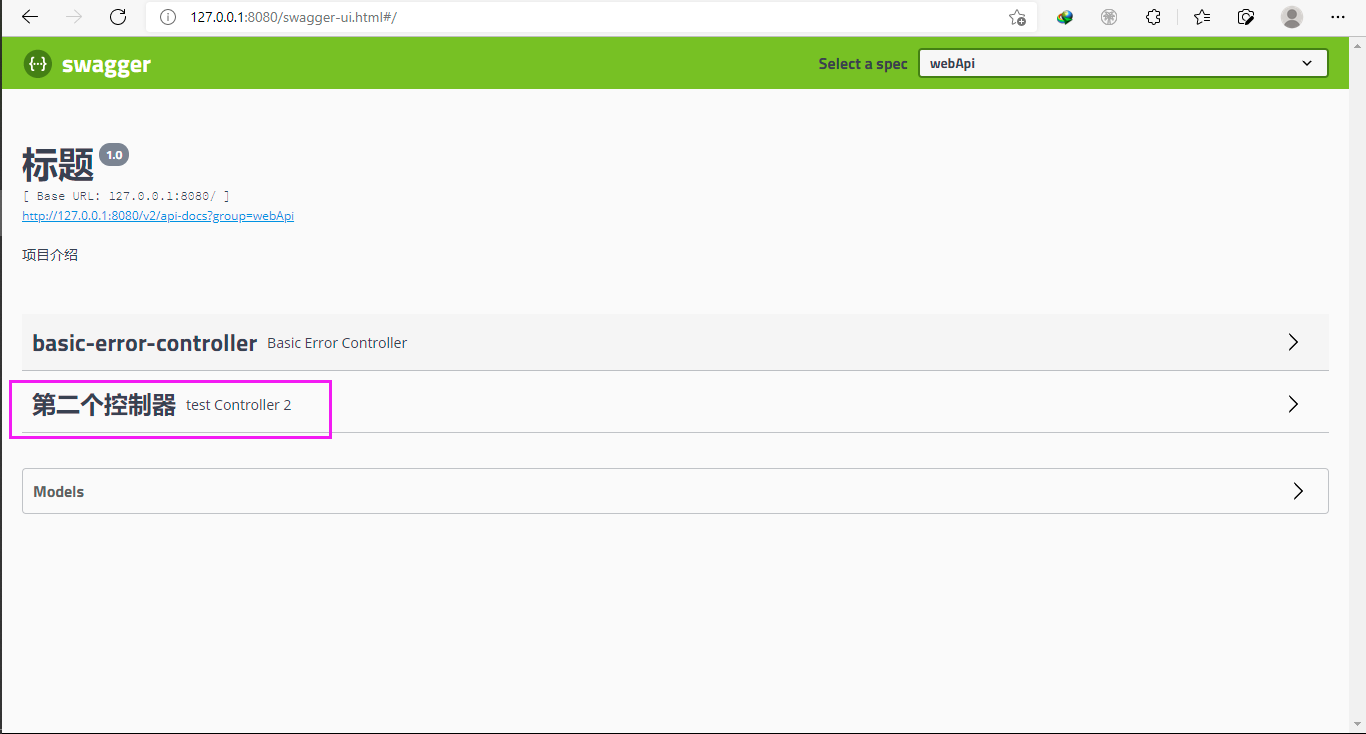
But look at it, it's also too complicated.. An interface contains a bunch of interfaces, which is really inconvenient if there are many interfaces..
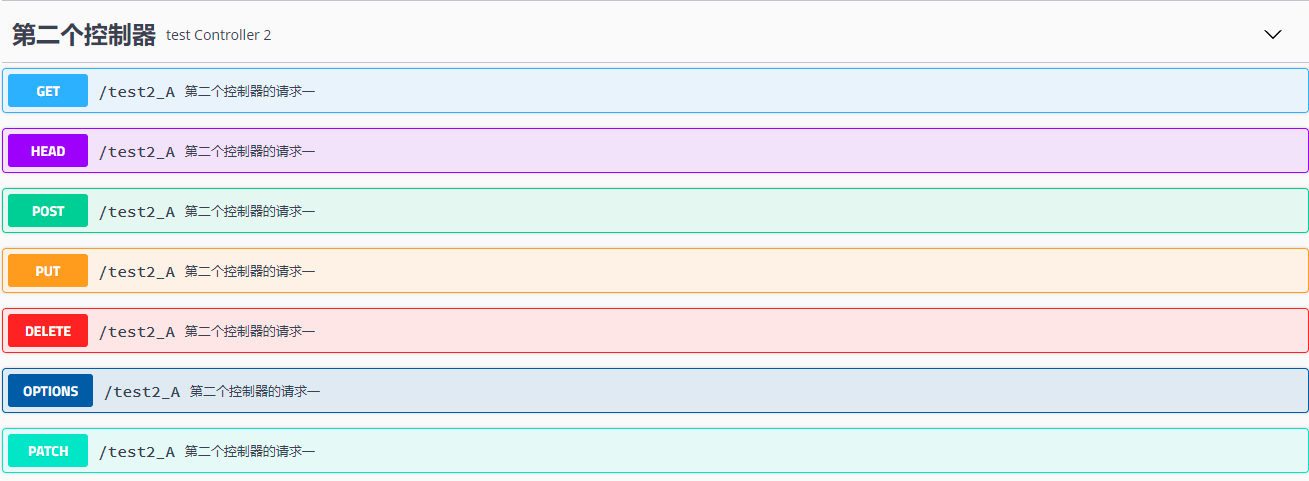
As to the relationship between these requests and RequestMapping, see the supplement below
By modifying the code
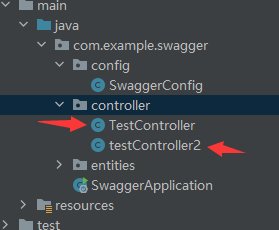
First Controller
@Api(tags = "First Controller")
@RestController
public class TestController {
    @GetMapping("get")
    @ApiOperation(value = "First Controller's get request")
    public String getTest(){
        return "success";
    }

    @DeleteMapping("delete")
    @ApiOperation(value = "First Controller's delete request")
    public String change(){
        return "success";
    }
}
Second Controller
@RestController
@Api(tags = "Second Controller")
public class testController2 {

    @PostMapping("test2_A")
    @ApiOperation(value = "Request 1 of the second controller")
    public String test2_A(){
        return "success";
    }
}
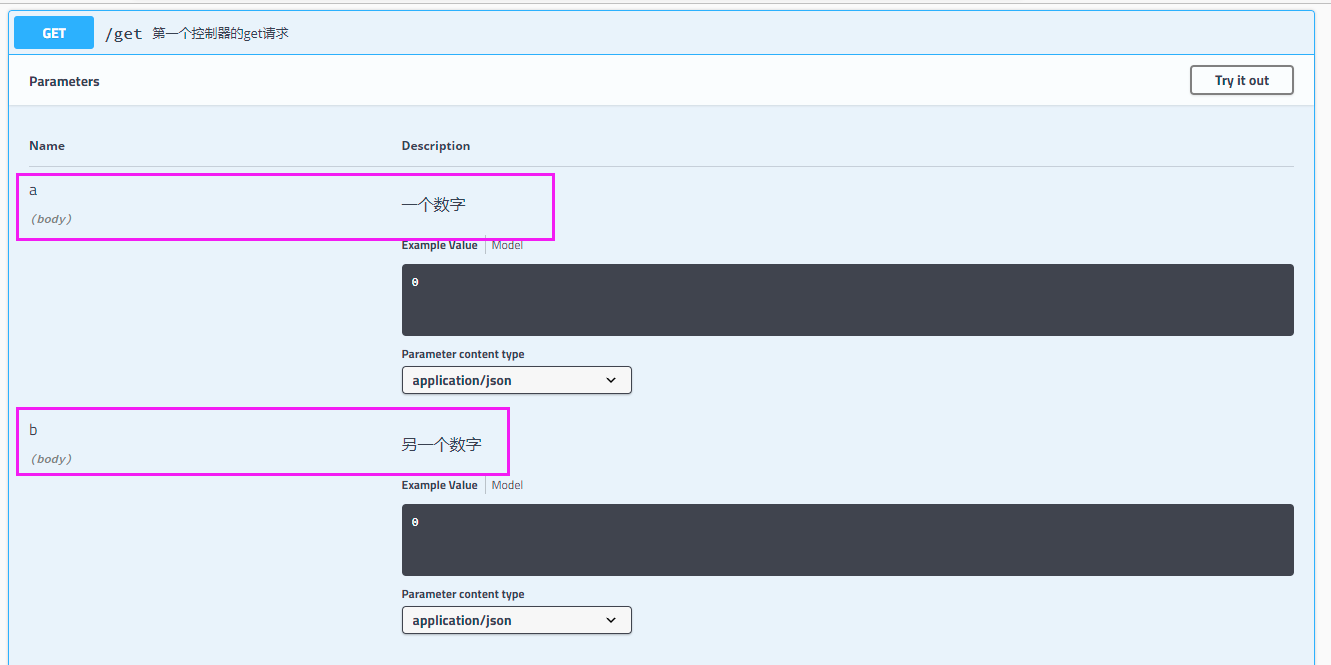
Setting interface parameters
Improve controller code
@Api(tags = "First Controller")
@RestController
public class TestController {

    @GetMapping("get")
    @ApiOperation(value = "First Controller's get request")
    public String getTest( @ApiParam("A number")int a,@ApiParam("Another number")int b){
        return "success";
    }

    @DeleteMapping("delete")
    @ApiOperation(value = "First Controller's delete request")
    public String change(){
        return "success";
    }

}
Effect
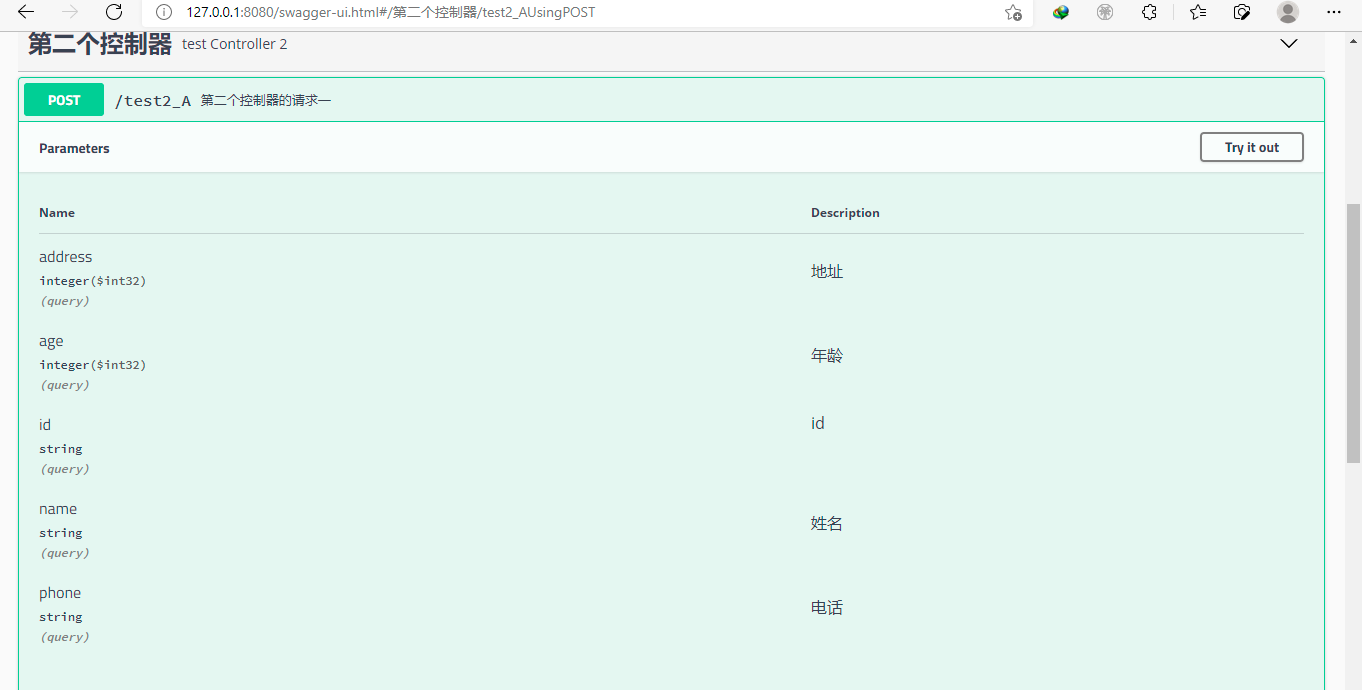
Another controller takes an entity class as a parameter and writes an entity class first
@Data
@ApiModel("User Entity Class User")
public class User {
    @ApiModelProperty(value = "Full name")
    private String name;
    @ApiModelProperty(value = "Age")
    private Integer age;
    @ApiModelProperty(value = "Telephone")
    private String phone;
    @ApiModelProperty(value = "address")
    private Integer address;
    @ApiModelProperty(value = "id")
    private String id;
}
Controller Code
@RestController
@Api(tags = "Second Controller")
public class testController2 {

    @PostMapping("test2_A")
    @ApiOperation(value = "Request 1 of the second controller")
    public String test2_A(@ApiParam User user){
        return "success";
    }
}
Effect
Now that you are familiar with the basic usage, add it later when you become familiar with other usages
Supplementary Content
Brief description of request mode
request requests are a generic term that includes seven types. Here's a brief summary of some of the common requests, while others have the opportunity to explore them further
post request
The request will get the data from the body section

get request
Get data directly from a URL

head Request
The EAD method is similar to the GET method in that it requests resources from the server, and the server's processing mechanism is the same, but the server does not return the requested entity data, only the response header, which is the "meta-information" of the resource.
The HEAD method can be thought of as a "simplified" or "lightweight" version of the GET method. Because its response header is identical to GET, it can be used in many situations where resources are not really needed to avoid the waste of transmitting body data.
For example, if you want to check whether a file exists, you can send a HEAD request without having to use GET to remove the entire file. For example, to check if the file has the latest version, you should also use HEAD, and the server will return the modification time of the file in the response header.
delete request
Delete resource by passing in id