Last blog we installed centos7 on a virtual machine, so let's start installing the lnmp environment.
As before, switch to root privileges using the su command after entering the command line.
Configure the firewall first
CentOS 7.0 uses firewall as a firewall by default
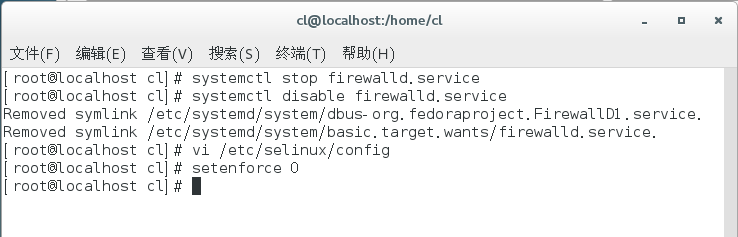
1. Turn off firewall:
    systemctl stop firewalld.service #Stop firewall
    systemctl disable firewalld.service #Disable firewall startup
2. Turn off SELINUX:
vi /etc/selinux/config
#SELINUX=enforcing #comment out
SELINUX=disabled #increase
: wq! #Save Exit
setenforce 0 #Make the configuration take effect immediately
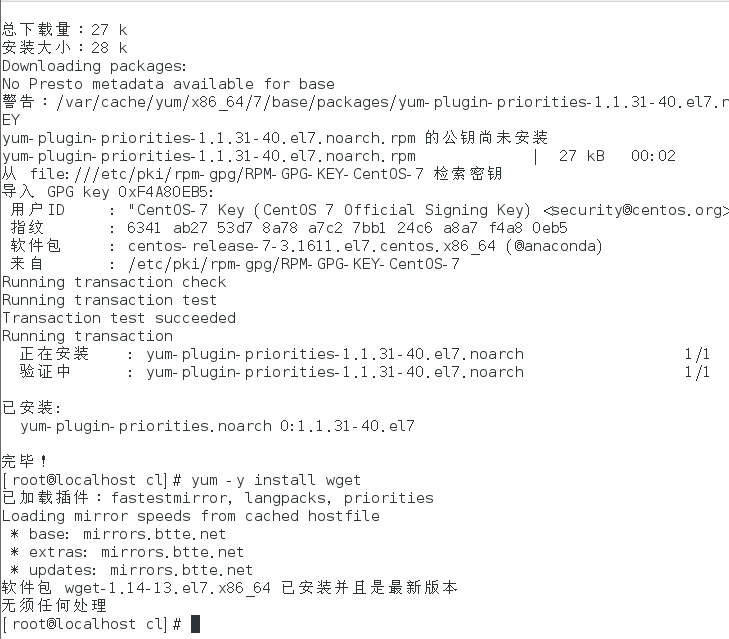
3. Install priorities and wget
yum install yum-priorities -y
yum -y install wget
1. Install mysql
Download mysql source installation package
wget http://dev.mysql.com/get/mysql57-community-release-el7-8.noarch.rpm
Install mysql source
yum localinstall mysql57-community-release-el7-8.noarch.rpm
Check that the MySQL source is installed successfully, and note the dots in the command.
yum repolist enabled | grep "mysql.-community."
Install mysql
yum install mysql-community-server
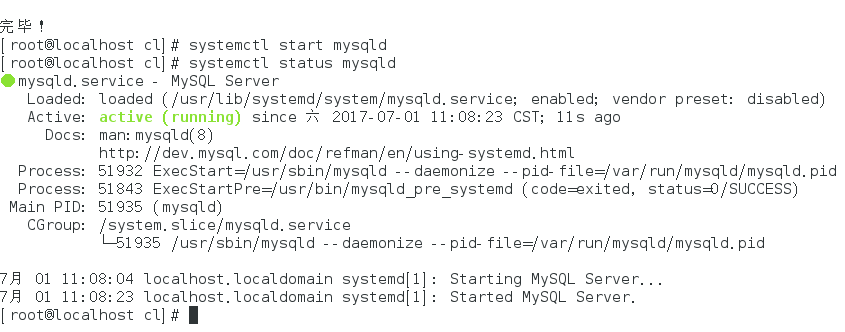
Start the mysql service, which may be slower due to different computer configurations.
systemctl start mysqld
View MySQL startup status
systemctl status mysqld
Start Up
systemctl enable mysqld
systemctl daemon-reload
Look at the root local login password (this command will find out the default random password set by mysql, as shown below, my random password is t3E4woyyi=:Y)
grep 'temporary password' /var/log/mysqld.log

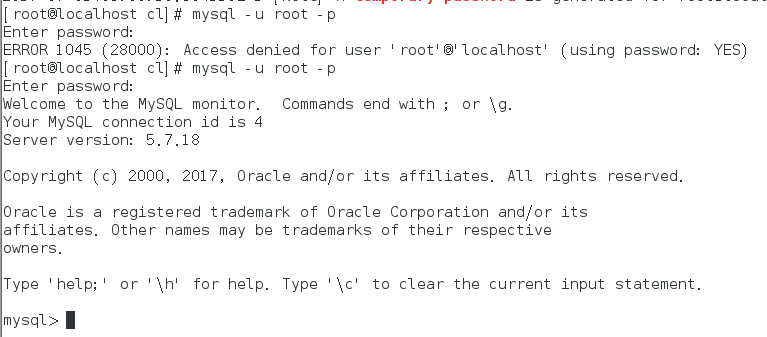
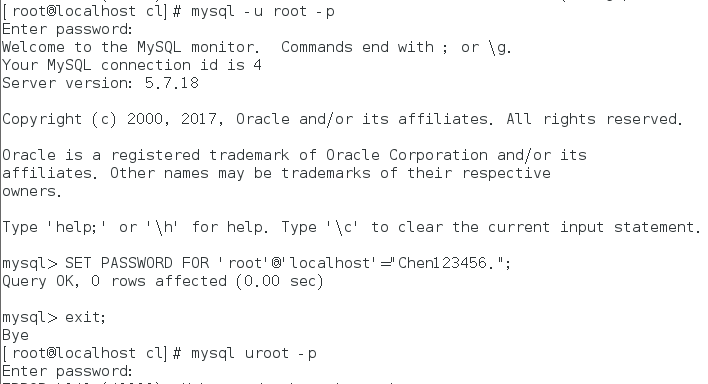
Login to mysql with a random password (random passwords are more difficult to recognize, more than a few times, when I logged in I tried it twice because I read the wrong password)
mysql -u root -p
Modify MySQL login password (be careful not to miss the semicolon, this is mysql's statement, use exit to exit after modification and login again)
SET PASSWORD FOR 'root'@'localhost'="Chen123456.";
exit;
Note: mysql5.7 installs the password security checking plug-in (validate_password) by default, and the default password checking policy requires that passwords must contain uppercase and lowercase letters, numbers, and special symbols, and must not be less than 8 digits in length.Otherwise ERROR 1819 (HY000) will be prompted: Your password does not satisfy the current policy requirements error, as follows:
ALTER USER 'root'@'localhost' IDENTIFIED BY 'MyNewPass4!';
set password for 'root'@'localhost'=password('MyNewPass4!');
The msyql environment variable allows you to view information about password policies:
mysql> show variables like '%password%';
If the above cannot be modified, the root can be modified using the following security mode:
Close Service
systemctl stop mysqld.service
vi /etc/my.cnf
Add skip-grant-tables under mysqld to save and exit startup service
systemctl start mysqld.service
Mysql-u root returns without a password
use mysql
update user set authentication_string=password('Root-123') where User='root'
and Host='localhost';
flush privileges;
exit;
Vi/etc/my.cnf deletes a skip-grant-tables sentence, saves it, exits the mysql service and restarts it
systemctl restart mysqld.service
Sign in again
mysql -u root -pRoot-123
If the following prompt appears for the operation:
You must reset your password using ALTER USER statement before executing this
statement.
Set the password again
set password = password('Root-123');
Open port 3306 (allow connection to mysql server from any host using user name root password Root-123456)
mysql>grant all on root.* to root@'%' identified by 'vmroot!@#456VMROOT';
mysql>FLUSH PRIVILEGES;
mysql>exit;
Open external access to firewall mysql 3306 port
firewall-cmd --zone=public --add-port=3306/tcp --permanent
firewall-cmd --reload
Configure the default encoding to utf8
vi /etc/my.cnf
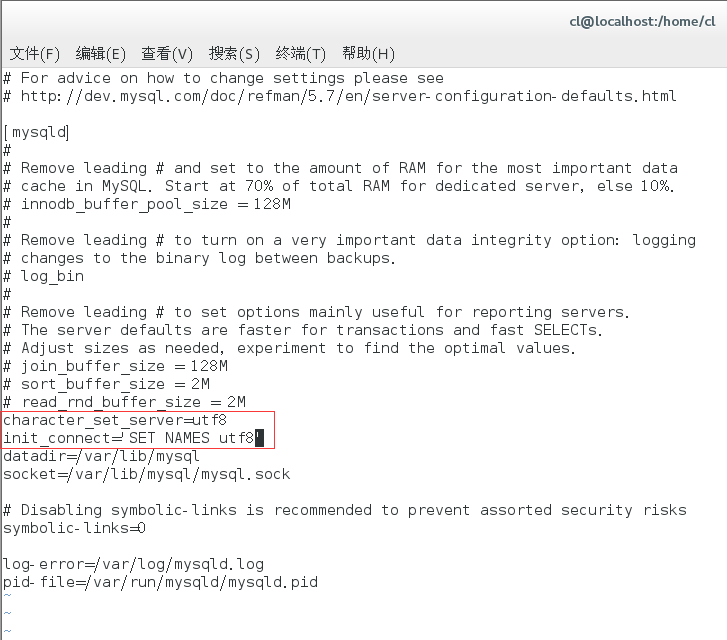
Modify the /etc/my.cnf configuration file to add the encoding configuration under [mysqld], as follows:
[mysqld]
character_set_server=utf8
init_connect='SET NAMES utf8'
Default profile path:
Configuration file: /etc/my.cnf
Log file: /var/log//var/log/mysqld.log
Service startup script: /usr/lib/systemd/system/mysqld.service
socket file: /var/run/mysqld/mysqld.pid
If you want to use a firewall, the following methods are recommended:
Turn off firewall:
systemctl stop firewalld.service #Stop firewall
systemctl disable firewalld.service #Disable firewall startup
Install iptables firewall:
yum install iptables-services #install
sudo vi /etc/sysconfig/iptables #Edit Firewall Profile
The configuration file is changed as follows:
# Firewall configuration written by system-config-firewall
# Manual customization of this file is not recommended.
*filter
:INPUT ACCEPT [0:0]
:FORWARD ACCEPT [0:0]
:OUTPUT ACCEPT [0:0]
-A INPUT -m state --state ESTABLISHED,RELATED -j ACCEPT
-A INPUT -p icmp -j ACCEPT
-A INPUT -i lo -j ACCEPT
-A INPUT -m state --state NEW -m tcp -p tcp --dport 22 -j ACCEPT

//Here's what the editor added
-A INPUT -m state --state NEW -m tcp -p tcp --dport 80 -j ACCEPT
-A INPUT -m state --state NEW -m tcp -p tcp --dport 3306 -j ACCEPT
//That's what the editor added

-A INPUT -j REJECT --reject-with icmp-host-prohibited
-A FORWARD -j REJECT --reject-with icmp-host-prohibited
COMMIT
//Then enter: wq Save Exit, enter the following command in the command window to make it effective:

systemctl restart iptables.service #Finally restart the firewall for the configuration to take effect
systemctl enable iptables.service #Set Firewall Start Up
2. Turn off SELINUX
From the command line, enter the following to open the selinux configuration file:
sudo vi /etc/selinux/config
The modifications are as follows
#SELINUX=enforcing #Comment out

#SELINUXTYPE=targeted #Comment out

SELINUX=disabled #increase
Input: wq! #Save and exit, then enter the following on the command line to make it work
setenforce 0 #Make the configuration take effect immediately
2. Install PHP
yum has a lower version of PHP installed by default. This time, we are going to install PHP version 5.6, so we need to install the epel library before installing php.
yum install epel-releaserpm -ivh http://rpms.famillecollet.com/enterprise/remi-release-7.rpm
yum install --enablerepo=remi --enablerepo=remi-php56 php php-opcache php-fpm php-devel php-mbstring php-mcrypt php-mysqlnd php-phpunit-PHPUnit php-pecl-xdebug php-pecl-xhprof
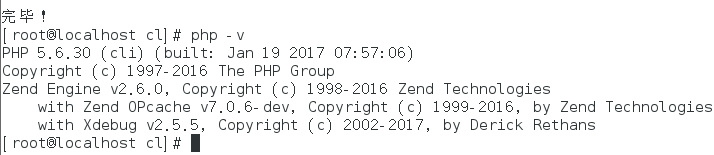
Typing php-v after installation shows the version of php, which means that our PHP installation is complete.
php -v
3. Install nginx
wget http://nginx.org/packages/centos/7/noarch/RPMS/nginx-release-centos-7-0.el7.ngx.noarch.rpm
rpm -ivh nginx-release-centos-7-0.el7.ngx.noarch.rpm
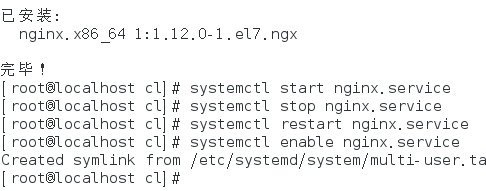
Then start nginx
systemctl start nginx.service #start nginx
systemctl stop nginx.service #Stop it
systemctl restart nginx.service #restart
systemctl enable nginx.service #Set up boot-up
.Change nginx port number (as needed)
cd /etc/nginx/conf.d/
vim default.conf
Change listen 80 to listen 81
Then restart nginx
systemctl restart nginx.service #restart nginx
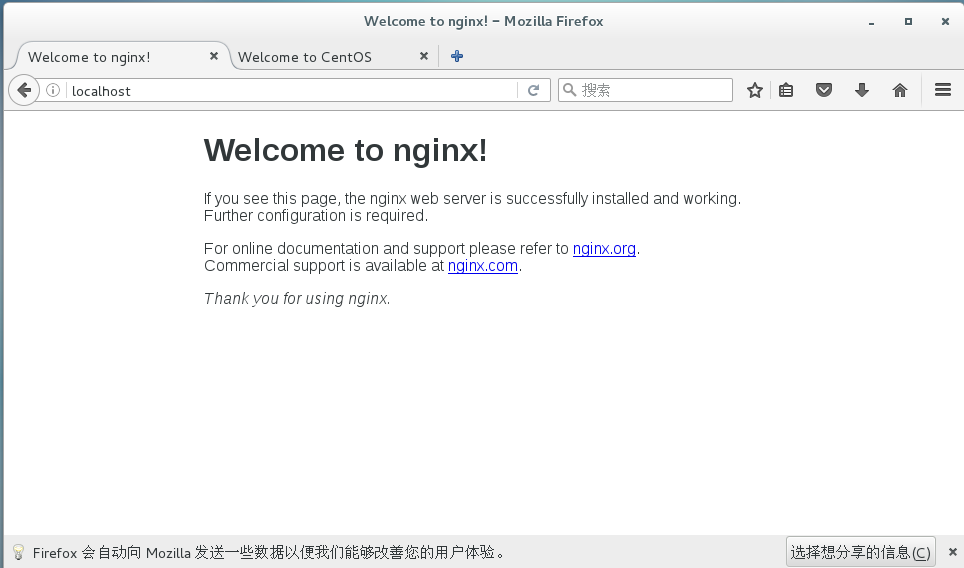
Then we open our browser and visit the localhost. If Welcome to nginx appears, nginx will be installed successfully.
Once the nginx installation is complete, the configuration of php-fpm is complete.Link nginx with php.
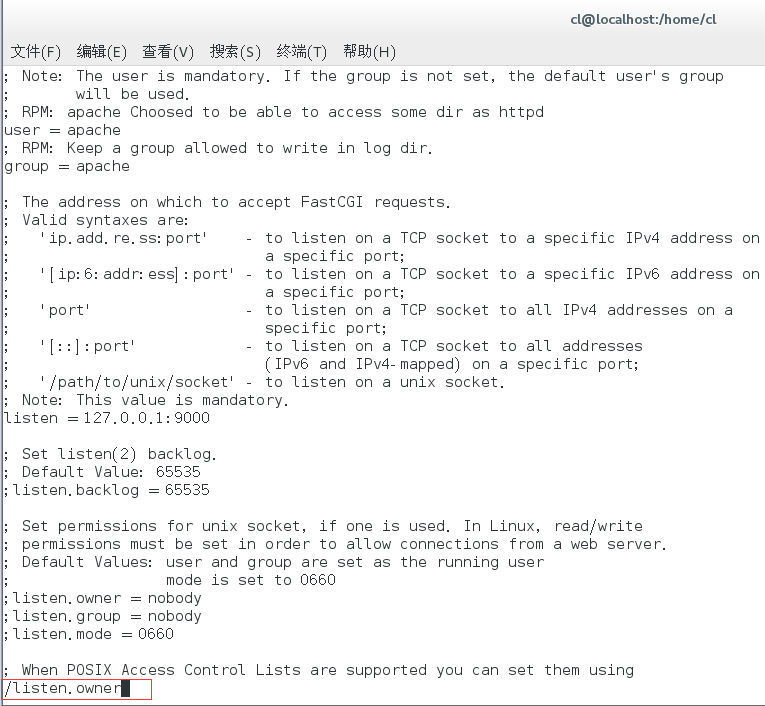
Open php-fpm configuration file
sudo vi /etc/php-fpm.d/www.conf
Modify the following (when looking for configuration items here, you can use slashes plus the keyword to look for carriage return, as shown in the following figure)
listen.owner = nginx
listen.group = nginx
listen.mode = 0666
Finally, three parameters are modified: wq exits and php-fpm service restarts
sudo systemctl start php-fpm    #start-up php-fpm
sudo systemctl enable php-fpm   #Start Up Start fpm
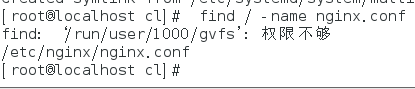
Next, let's modify nginx's configuration by first using the find command to find the location of the configuration file, which is shown below
find / -name nginx.conf
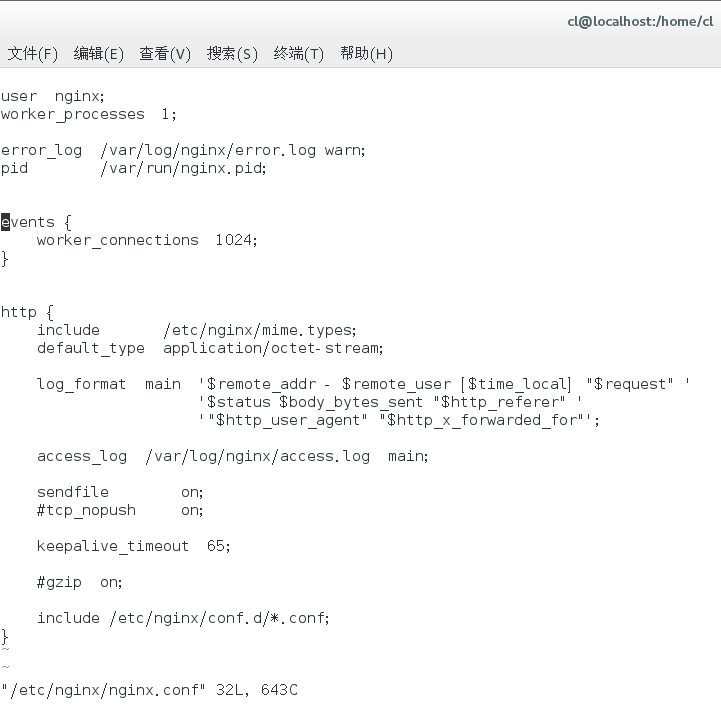
Then, use the vi command to go into the view and find on the last line that this configuration file has introduced other configuration files.(
vi /etc/nginx/nginx.conf
Enter this directory again to find the configuration file as follows
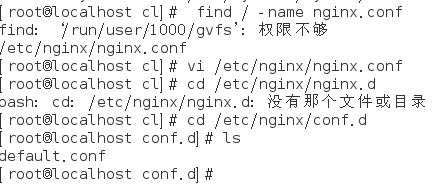
Modify it using the vi command
vi default.conf
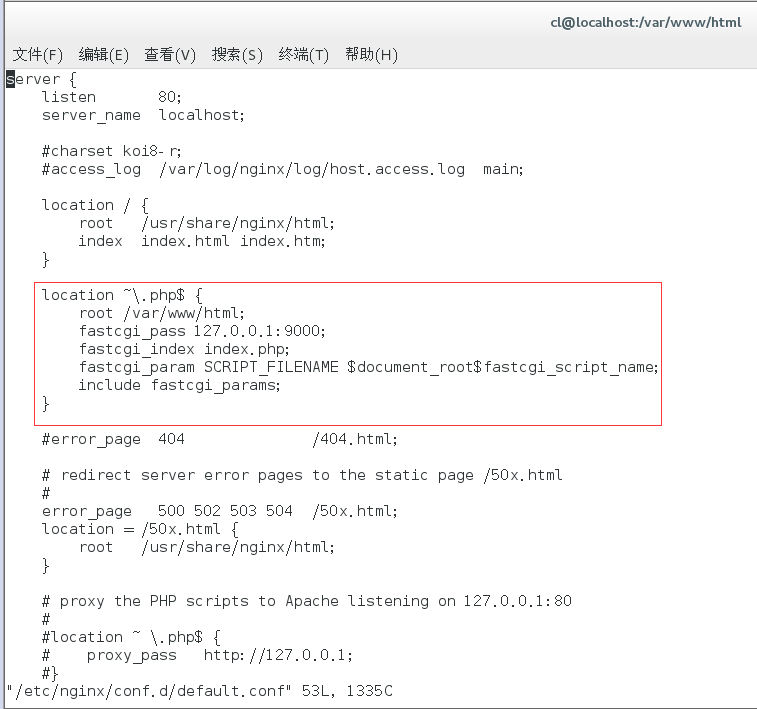
Add siblings under localhost, as shown below
location ~ \.php$ {
root /var/www/html; #Specify the root directory of php
fastcgi_pass 127.0.0.1:9000;#php-fpm The default port is 9000
fastcgi_index index.php;
fastcgi_param SCRIPT_FILENAME $document_root$fastcgi_script_name;
include fastcgi_params;
}
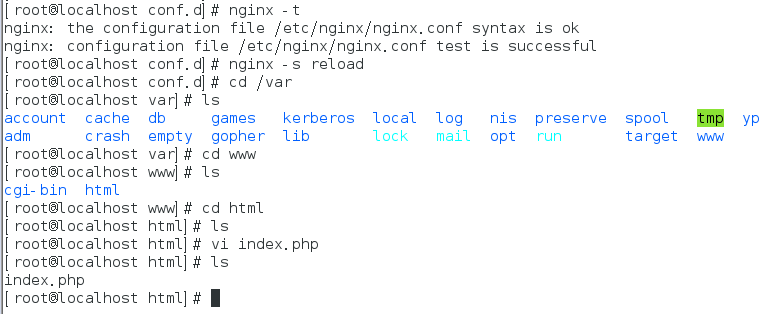
After saving the changes, use the nginx -t command to confirm that the format is correct, and then restart nginx.As shown in the following figure
nginx -t
nginx -s reload
Then, in the php directory you just set up, create a new php file for testing.
Create index.php at/var/www/html
<?php
phpinfo();
Then, if we visit localhsot/index.php and see the following picture, our nginx PHP is already associated.
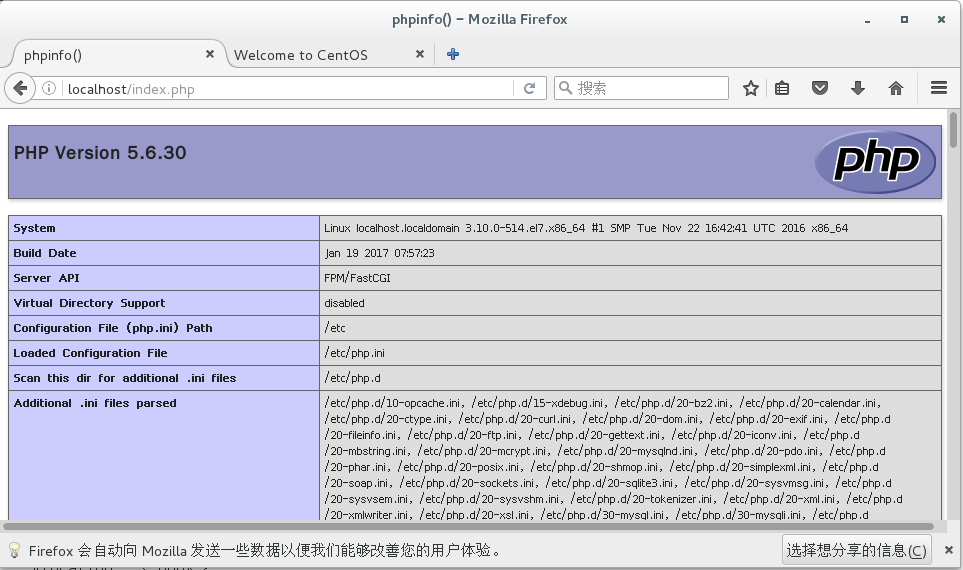
So far, lnmp has been installed. This blog is long enough. Next, let's install phpmyadmin.