Several common ways to install software on Linux:
- Source code compilation
- Decompress the compressed package (generally tar.gz)
- Compiled installation packages (RPM, DPKG, etc.)
- Online installation (YUM, APT, etc.)
The convenience of the above methods increases in turn, but the versatility decreases in turn. For example, downloading compressed packages directly for decompression generally requires some additional configuration work. However, as long as you master the method, each platform is basically applicable. YUM is simple, but the platform is limited and the network is limited. If necessary, you need to add some specific YUM sources.
It's best to master several installation methods. In principle, you can use simple ones: Yum > RPM > tar. GZ > source code
This article introduces the installation of MySQL on CentOS. The main steps refer to the official MySQL documentation: https://dev.mysql.com/doc/refman/5.7/en/installing.html
1, YUM
0. Delete the installed MySQL
Check MariaDB
shell> rpm -qa|grep mariadb
mariadb-server-5.5.60-1.el7_5.x86_64
mariadb-5.5.60-1.el7_5.x86_64
mariadb-libs-5.5.60-1.el7_5.x86_64
Delete mariadb
If it does not exist (the above check result returns null), skip step
shell> rpm -e --nodeps mariadb-server
shell> rpm -e --nodeps mariadb
shell> rpm -e --nodeps mariadb-libs
In fact, you can install using yum without deleting mariadb. Installing MySQL will overwrite the existing mariadb
Check MySQL
shell> rpm -qa|grep mysql
Delete MySQL
If it does not exist (the above check result returns null), skip step
shell> rpm -e --nodeps xxx
1. Add MySQL Yum Repository
Starting with CentOS 7, MariaDB has become the default database installation package in the yum source. That is to say, in CentOS 7 and above systems, use Yum to install mysql. By default, MariaDB (a branch of MySQL) will be installed. If you want to install the official MySQL version, you need to use the yum source provided by mysql.
Download MySQL source
Official website address: https://dev.mysql.com/downloads/repo/yum/
View system version:
shell> cat /etc/redhat-release
CentOS Linux release 7.6.1810 (Core)
Select the corresponding version to download. For example, CentOS 7 currently views the latest Yum source on the official website. The download address is:
https://dev.mysql.com/get/mysql80-community-release-el7-3.noarch.rpm
shell> wget https://dev.mysql.com/get/mysql80-community-release-el7-3.noarch.rpm
Install MySQL source
shell> sudo rpm -Uvh platform-and-version-specific-package-name.rpm
For example, the latest MySQL source installation of CentOS7:
shell> sudo rpm -Uvh mysql80-community-release-el7-3.noarch.rpm
Check whether the installation is successful
After successful execution, two repo files mysql-community.repo and mysql-community-source.repo will be generated in / etc/yum.repos.d /
And you can see mysql related resources through yum repolist
shell> yum repolist enabled | grep "mysql.*-community.*"
!mysql-connectors-community/x86_64 MySQL Connectors Community                108
!mysql-tools-community/x86_64      MySQL Tools Community                      90
!mysql80-community/x86_64          MySQL 8.0 Community Server                113
2. Select MySQL version
When installing MySQL using MySQL Yum Repository, the latest stable version will be selected by default. For example, if you install through the MySQL source above, MySQL 8.0 will be selected by default. If you want to install this version, you can skip this step directly. If not, for example, if I want to install MySQL 5.7 here, you need to "switch the version":
View all MySQL versions in the current MySQL Yum Repository (each version is in a different sub warehouse)
shell> yum repolist all | grep mysql
Switch version
shell> sudo yum-config-manager --disable mysql80-community
shell> sudo yum-config-manager --enable mysql57-community
In addition to using Yum config manager, you can also edit the / etc/yum.repos.d/mysql-community.repo file directly
enabled=0 disabled
[mysql80-community]
name=MySQL 8.0 Community Server
baseurl=http://repo.mysql.com/yum/mysql-8.0-community/el/7/$basearch/
enabled=0
gpgcheck=1
gpgkey=file:///etc/pki/rpm-gpg/RPM-GPG-KEY-mysql
enabled=1 enabled
# Enable to use MySQL 5.7
[mysql57-community]
name=MySQL 5.7 Community Server
baseurl=http://repo.mysql.com/yum/mysql-5.7-community/el/7/$basearch/
enabled=1
gpgcheck=1
gpgkey=file:///etc/pki/rpm-gpg/RPM-GPG-KEY-mysql
Check the currently enabled MySQL repository
shell> yum repolist enabled | grep mysql
If multiple warehouses are enabled at the same time, the latest version will be selected during installation
3. Install MySQL
shell> sudo yum install mysql-community-server
This command will install MySQL community server and its required dependencies and related components, including MySQL community client, MySQL community common, MySQL community LIBS, etc
If the bandwidth is insufficient, this step will take a long time. Please wait patiently~
4. Start MySQL
start-up
shell> sudo systemctl start mysqld.service
CentOS 6:
shell> sudo service mysqld start
View status
shell> sudo systemctl status mysqld.service
CentOS 6:
shell> sudo service mysqld status
stop it
shell> sudo systemctl stop mysqld.service
CentOS 6:
shell> sudo service mysqld stop
restart
shell> sudo systemctl restart mysqld.service
CentOS 6:
shell> sudo service mysqld restart
5. Change password
Initial password
After MySQL is started for the first time, a super administrator account will be created root@localhost , the initial password is stored in the log file:
shell> sudo grep 'temporary password' /var/log/mysqld.log
Modify default password
shell> mysql -uroot -p
mysql> ALTER USER 'root'@'localhost' IDENTIFIED BY '123456';
ERROR 1819 (HY000): Your password does not satisfy the current policy requirements
The above prompt appears because the password is too simple. The solution is as follows:
- Using complex passwords, MySQL's default password policy is to include numbers, letters and special characters;
- If you only want to test and do not want to use such a complex password, you can modify the default policy, that is, validate_password_policy (and relevant parameters such as validate_password_length), so that it supports the setting of simple password. The specific methods can be determined by yourself;
- Modify the configuration file / etc/my.cnf and add validate_password=OFF, save and restart MySQL
mysql> ALTER USER 'root'@'localhost' IDENTIFIED BY '123456';
Query OK, 0 rows affected (0.00 sec)
6. Allow root remote access
mysql> GRANT ALL PRIVILEGES ON *.* TO 'root'@'%' IDENTIFIED BY '123456' WITH GRANT OPTION;
mysql> FLUSH PRIVILEGES;
7. Set the encoding to utf8
View encoding
mysql> SHOW VARIABLES LIKE 'character%';
Set encoding
Edit / etc/my.cnf and add the following code to the [mysqld] node:
[mysqld]
character_set_server=utf8
init-connect='SET NAMES utf8'
8. Set startup
shell> systemctl enable mysqld
shell> systemctl daemon-reload
2, RPM
Except for the installation process, other steps are the same as yum installation, and will not be repeated
0. Delete the old version
slightly
1. Download MySQL installation package
Download address: https://dev.mysql.com/downloads/mysql/
Select the corresponding version:
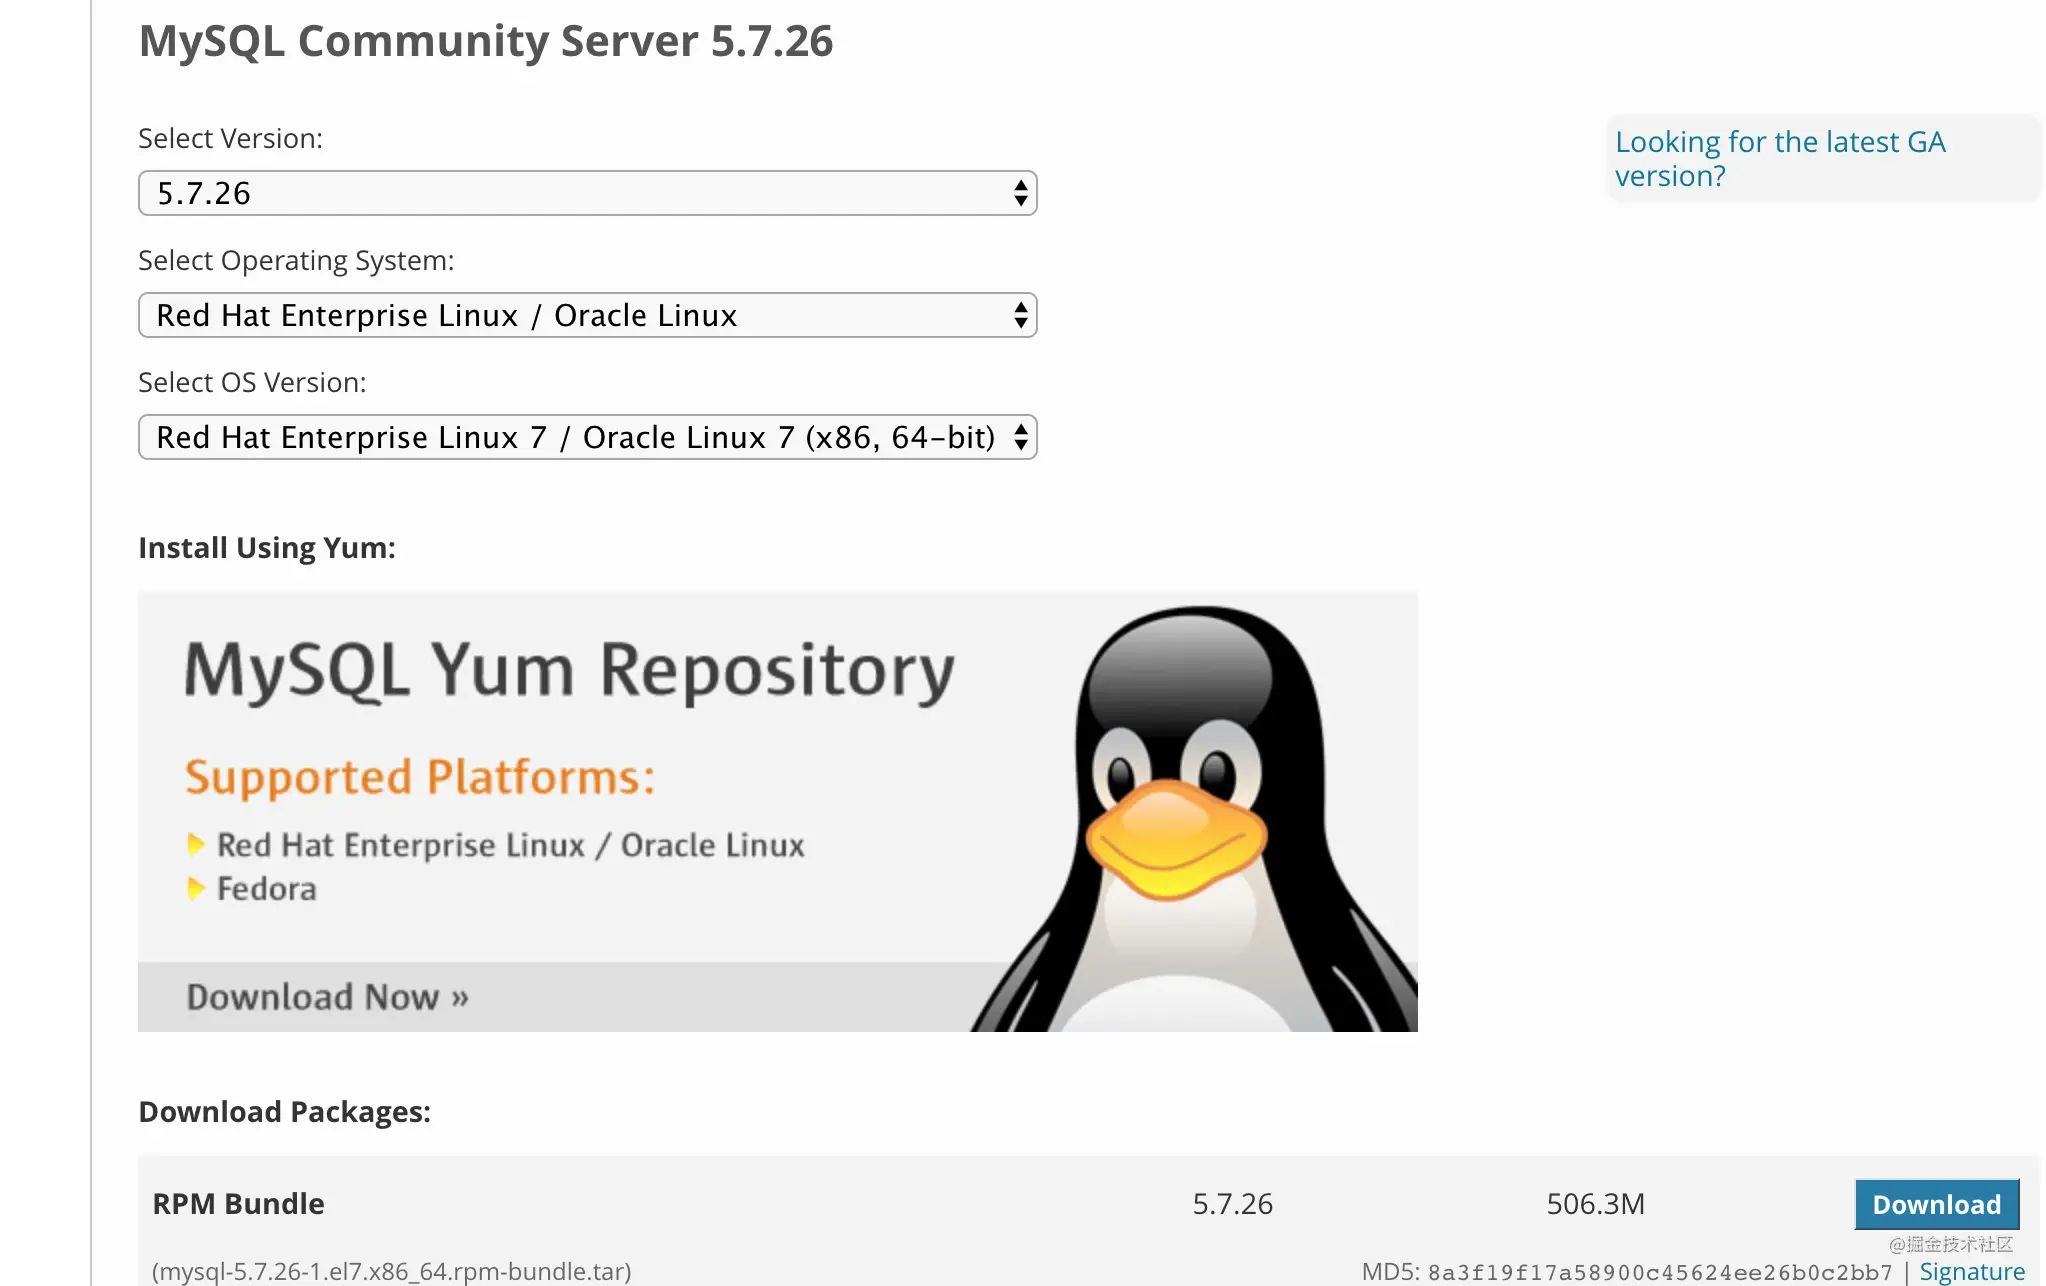
shell> wget https://dev.mysql.com/get/Downloads/MySQL-5.7/mysql-5.7.26-1.el7.x86_64.rpm-bundle.tar
2. Install MySQL
Decompression (unpacking)
shell> tar -xvf mysql-5.7.26-1.el7.x86_64.rpm-bundle.tar
tar -xvf mysql-5.7.26-1.el7.x86_64.rpm-bundle.tar
mysql-community-embedded-devel-5.7.26-1.el7.x86_64.rpm
mysql-community-libs-5.7.26-1.el7.x86_64.rpm
mysql-community-embedded-5.7.26-1.el7.x86_64.rpm
mysql-community-test-5.7.26-1.el7.x86_64.rpm
mysql-community-embedded-compat-5.7.26-1.el7.x86_64.rpm
mysql-community-common-5.7.26-1.el7.x86_64.rpm
mysql-community-devel-5.7.26-1.el7.x86_64.rpm
mysql-community-client-5.7.26-1.el7.x86_64.rpm
mysql-community-server-5.7.26-1.el7.x86_64.rpm
We mainly install these four (others can be installed together if necessary):
mysql-community-libs-5.7.26-1.el7.x86_64.rpm
mysql-community-common-5.7.26-1.el7.x86_64.rpm
mysql-community-client-5.7.26-1.el7.x86_64.rpm
mysql-community-server-5.7.26-1.el7.x86_64.rpm
If you don't want to download rpm bundle, the official website also provides a separate rpm download link
install
Each rpm package has dependencies, so it needs to be installed in a certain order. If you are prompted which dependencies are missing during installation, you should also install the corresponding package first:
shell> rpm -ivh mysql-community-common-5.7.26-1.el7.x86_64.rpm
shell> rpm -ivh mysql-community-libs-5.7.26-1.el7.x86_64.rpm
shell> rpm -ivh mysql-community-client-5.7.26-1.el7.x86_64.rpm
shell> rpm -ivh mysql-community-server-5.7.26-1.el7.x86_64.rpm
There is also a simple way to automatically handle dependencies between packages and automatically download missing dependencies:
shell> yum install mysql-community-{server,client,common,libs}-*
Note: the above yum install command needs to be executed in the directory of each rpm package after tar decompression, otherwise it will be installed in Yum mode. The yum source of MySQL needs to be configured and the speed is very slow. The current machine also needs to support Internet access
3. Set
slightly
3, tar.gz
0. Delete the old version
slightly
1. Download
Download address: https://dev.mysql.com/downloads/mysql/
Select the corresponding version:
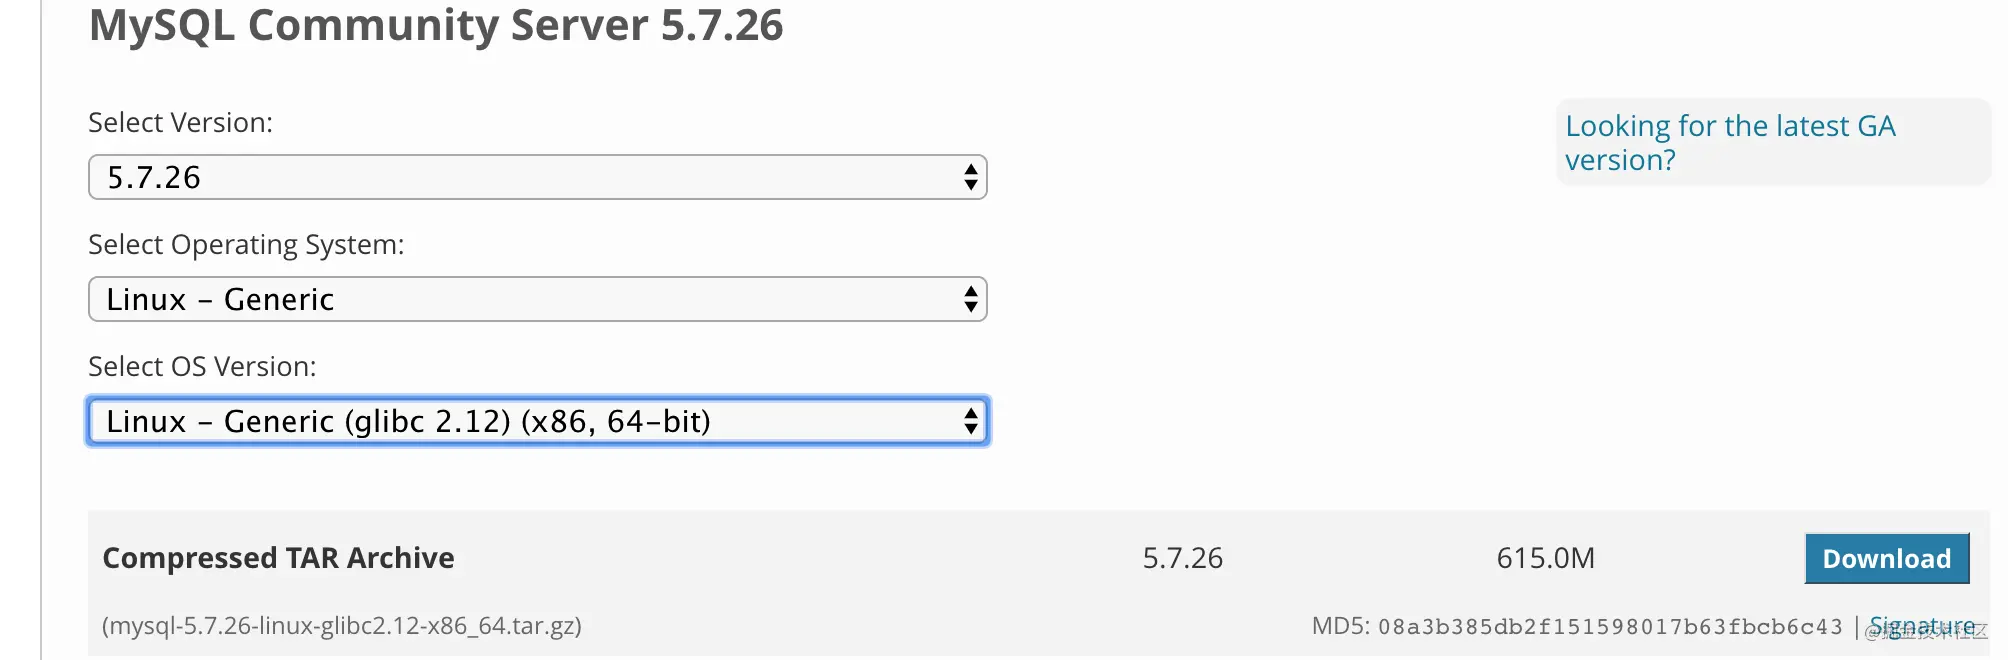
shell> wget https://dev.mysql.com/get/Downloads/MySQL-5.7/mysql-5.7.26-linux-glibc2.12-x86_64.tar.gz
2. Installation & configuration:
rely on
MySQL relies on libaio library. If you do not install it first:
shell> yum install libaio
Create mysql user
A system account that does not require login, which will be used when starting MySQL service
shell> groupadd mysql
shell> useradd -r -g mysql -s /bin/false mysql
Unzip and create links
shell> cd /usr/local
shell> tar zxvf /path/to/mysql-5.7.26-linux-glibc2.12-x86_64.tar.gz
shell> ln -s mysql-5.7.26-linux-glibc2.12-x86_64/ mysql
Create MySQL files directory
This step is not necessary. You can set secure_ file_ The value of priv points to this directory (the directory used to restrict data import and export operations)
shell> cd mysql
shell> mkdir mysql-files
shell> chown mysql:mysql mysql-files
shell> chmod 750 mysql-files
initialization
shell> bin/mysqld --initialize --user=mysql
If an error occurs during initialization, it is as follows:
error while loading shared libraries: libnuma.so.1: cannot open shared object file: No such file or directory
Because libnuma is not installed (or 32-bit is installed by default), we need 64 bit:
shell> yum install numactl.x86_64
You can reinitialize after execution. After successful initialization, a line in the returned result contains the initial password, which is used for the first login:
A temporary password is generated for root@localhost: 8M0ary878s*U
Enable SSL (not required)
shell> bin/mysql_ssl_rsa_setup
start-up
shell> bin/mysqld_safe --user=mysql &
Viewing the process, you can see some default parameters, which can be modified in the configuration file
shell> ps -ef | grep mysql
root     14604 12719  0 00:03 pts/0    00:00:00 /bin/sh bin/mysqld_safe --user=mysql
mysql    14674 14604  0 00:03 pts/0    00:00:00 /usr/local/mysql/bin/mysqld --basedir=/usr/local/mysql --datadir=/usr/local/mysql/data --plugin-dir=/usr/local/mysql/lib/plugin --user=mysql --log-error=VM_2_24_centos.err --pid-file=VM_2_24_centos.pid
Setting environment variables
Avoid adding a path every time you execute the mysql command, and add the following in / etc/profile:
export PATH=$PATH:/usr/local/mysql/bin
Set as service
shell> cp support-files/mysql.server /etc/init.d/mysqld
shell> service mysqld start|stop|restart|status
Power on
shell> chkconfig --add mysqld
shell> chkconfig --list mysqld
mysqld         	0:shut	1:shut	2:open	3:open	4:open	5:open	6:shut
Other configurations are the same as yum and rpm and will not be repeated