1. Basic environmental preparation
Operating System: CentOS 7.4 Kernel Version 3.10.0-693, which can be viewed using uname-a command
Oracle JDK 1.8_171 (Oracle JDK is recommended) can be viewed using the java-version command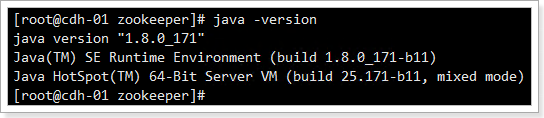
If you have a firewall policy, please open port 3306, or close the firewall policy.
Check to see if MySQL comes with you. Command:
rpm -qa | grep -i mysql
If so, delete the command:
Rpm-e -- Options Viewed by Noeps
Download MySQL 5.7.19 to the official website: https://downloads.mysql.com/archives/community/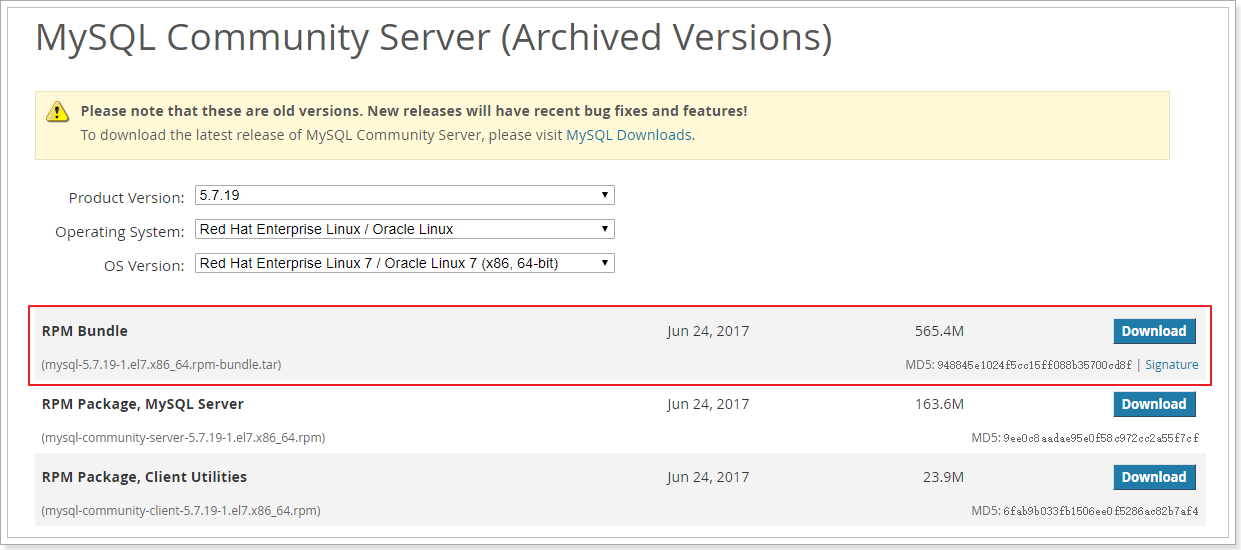
As shown above, if you are a CentOS 6 system, select the El6 version (in this case, 7MySQL is el6) and upload it to the host's / opt directory after downloading.
2. Installing MySQL
Give the compressed package permission:
chmod 777 mysql-5.7.19-1.el6.x8664.rpm-bundle.tar # Perhaps privilege issues with non-root users
Decompression:
tar -xvf mysql-5.7.19-1.el6.x8664.rpm-bundle.tar # After decompression, you get a bunch of RPM packages
Install RPM package:
rpm -ivh mysql-community-server-5.7.19-1.el6.x8664.rpm mysql-community-client-5.7.19-1.el6.x8664.rpm mysql-community-devel-5.7.19-1.el6.x8664.rpm mysql-community-libs-5.7.19-1.el6.x8664.rpm mysql-community-libs-compat-5.7.19-1.el6.x8664.rpm mysql-community-common-5.7.19-1.el6.x8664.rpm
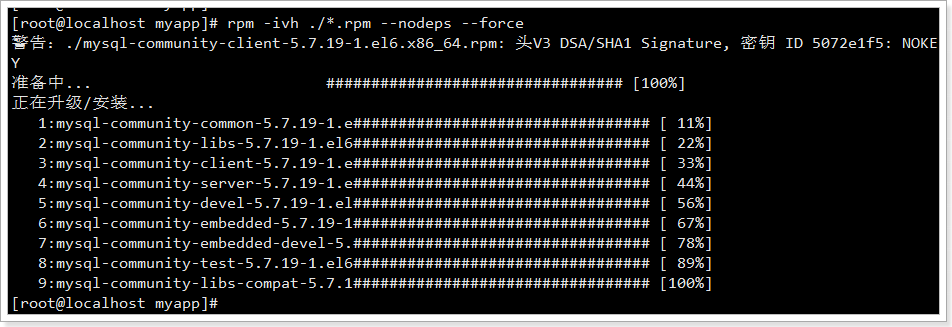
If there is a problem with execution, execute the order:
rpm -ivh ./.rpm --nodeps --force # Install all RPM s under folders without checking dependencies
Start the database after installation
service mysqld start
View database status
service mysqld status
Check whether port 3306 is open
netstat -anp | grep 3306
3. Configuration of database
3.1. Configure root password
The first login does not know the password solution:
grep "password" /var/log/mysqld.log #View Temporary Password
2018-04-18T14:16:58.026412Z 0 [Note] Shutting down plugin 'sha256_password'
2018-04-18T14:16:58.026415Z 0 [Note] Shutting down plugin 'mysql_native_password'
2018-04-18T14:22:52.728686Z 1 [Note] A temporary password is generated for root@localhost: 2h>o#oCyMszj
2018-04-18T14:22:56.773518Z 3 [Note] Access denied for user 'UNKNOWN_MYSQL_USER'@'localhost' (using password: NO)
Log in to MySQL using the temporary password above (2h > o oCyMszj after the last colon on the third line)
mysql -uroot -p # Enter a temporary password
Then execute the following statement to update the root password
mysql> SHOW VARIABLES LIKE 'validate_password%';   # View password rules
mysql>
mysql> set password=password('new root Password');   # Set password
Query OK, 0 rows affected, 1 warning (0.00 sec)
mysql>
mysql> update mysql.user set authentication_string=password('new root Password') where user='root' and Host = 'localhost';
Query OK, 0 rows affected, 1 warning (0.00 sec)
Rows matched: 1  Changed: 0  Warnings: 1
mysql>
mysql> flush privileges;   # Refresh authority
Query OK, 0 rows affected (0.00 sec)
mysql>
mysql> quit   # Exit the database
3.2. Set the default character set to UTF-8
Editing documents:
vim /etc/my.cnf
On [mysqld], add:
[client]
default-character-set=utf8
Under [mysqld], add:
character-set-server=utf8
collation-server=utf8_general_ci
Restart the database:
service mysqld restart
3.3. An example of creating a database and a user
Use: mysql-uroot-p new password to login
mysql> CREATE DATABASE Database name CHARACTER SET utf8 COLLATE utf8_general_ci;    # Create the database and specify the encoding set
mysql> CREATE USER 'User name' IDENTIFIED BY 'Password';    #Create user
mysql> GRANT ALL ON Database name.* TO 'User name'@'%' IDENTIFIED BY 'Password';     # Give users remote access to databases
mysql> GRANT ALL ON Database name.* TO 'User name'@'localhost' IDENTIFIED BY 'Password';    # Give users local access to the database
mysql> FLUSH PRIVILEGES;   # Refresh authority
mysql> quit; # Exit the database
root user opens remote login privileges:
GRANT ALL PRIVILEGES ON *.* to 'root'@'%' identified by 'root Password';
The root user specifies the right to open a host login:
GRANT ALL PRIVILEGES ON *.* to 'root'@'IP Or host name' identified by 'root Password';