I have something to say
Good friends, let's play single sign on today.
Friends who haven't contacted will ask, "ah, what is single sign on?"
Single sign on is... emmm. . . I Baidu for a while. It's probably like this 👇
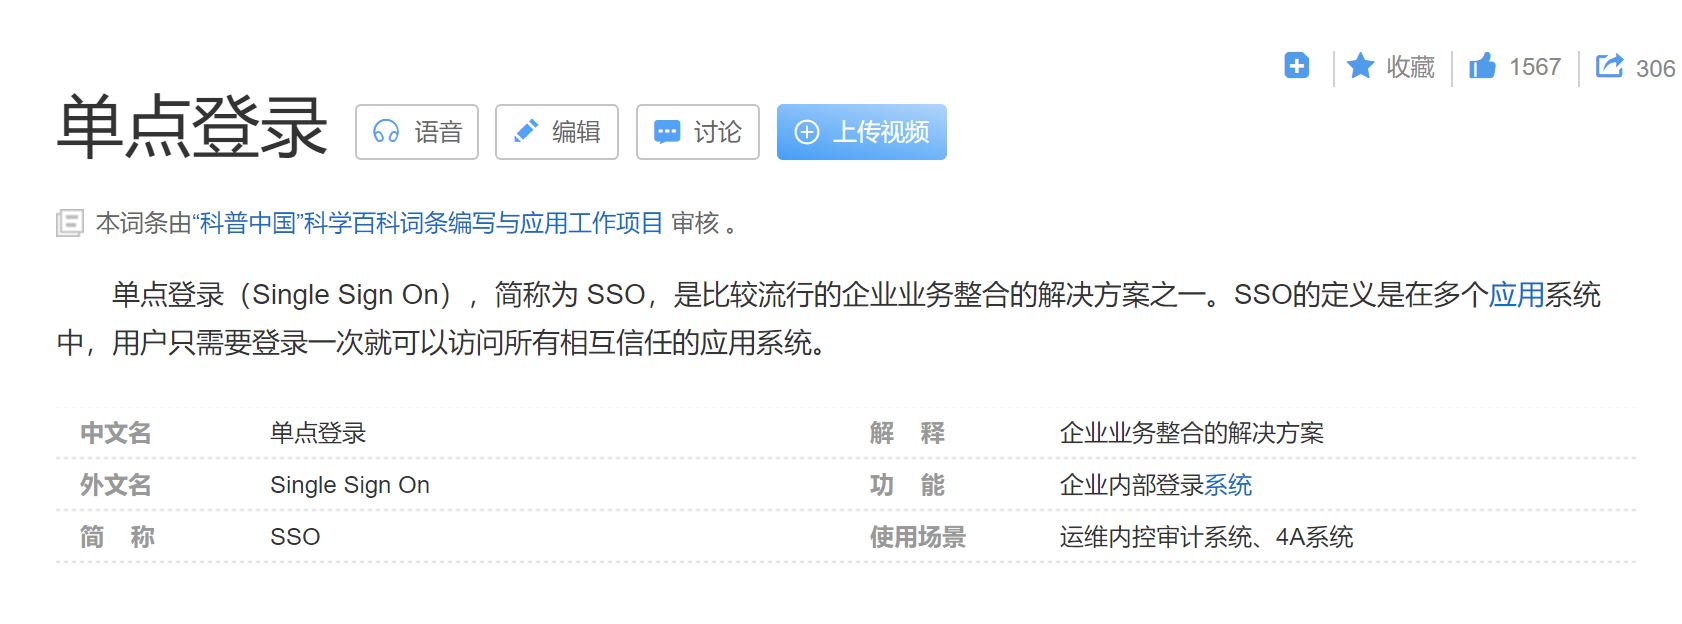
OK, it looks simple. On the surface, it means that as long as I integrate this single sign on, I can log in once and access all systems in my whole microservice.
"Wow, it sounds cool, so how can I integrate?"
Let's talk less nonsense and speed up.
Project preparation
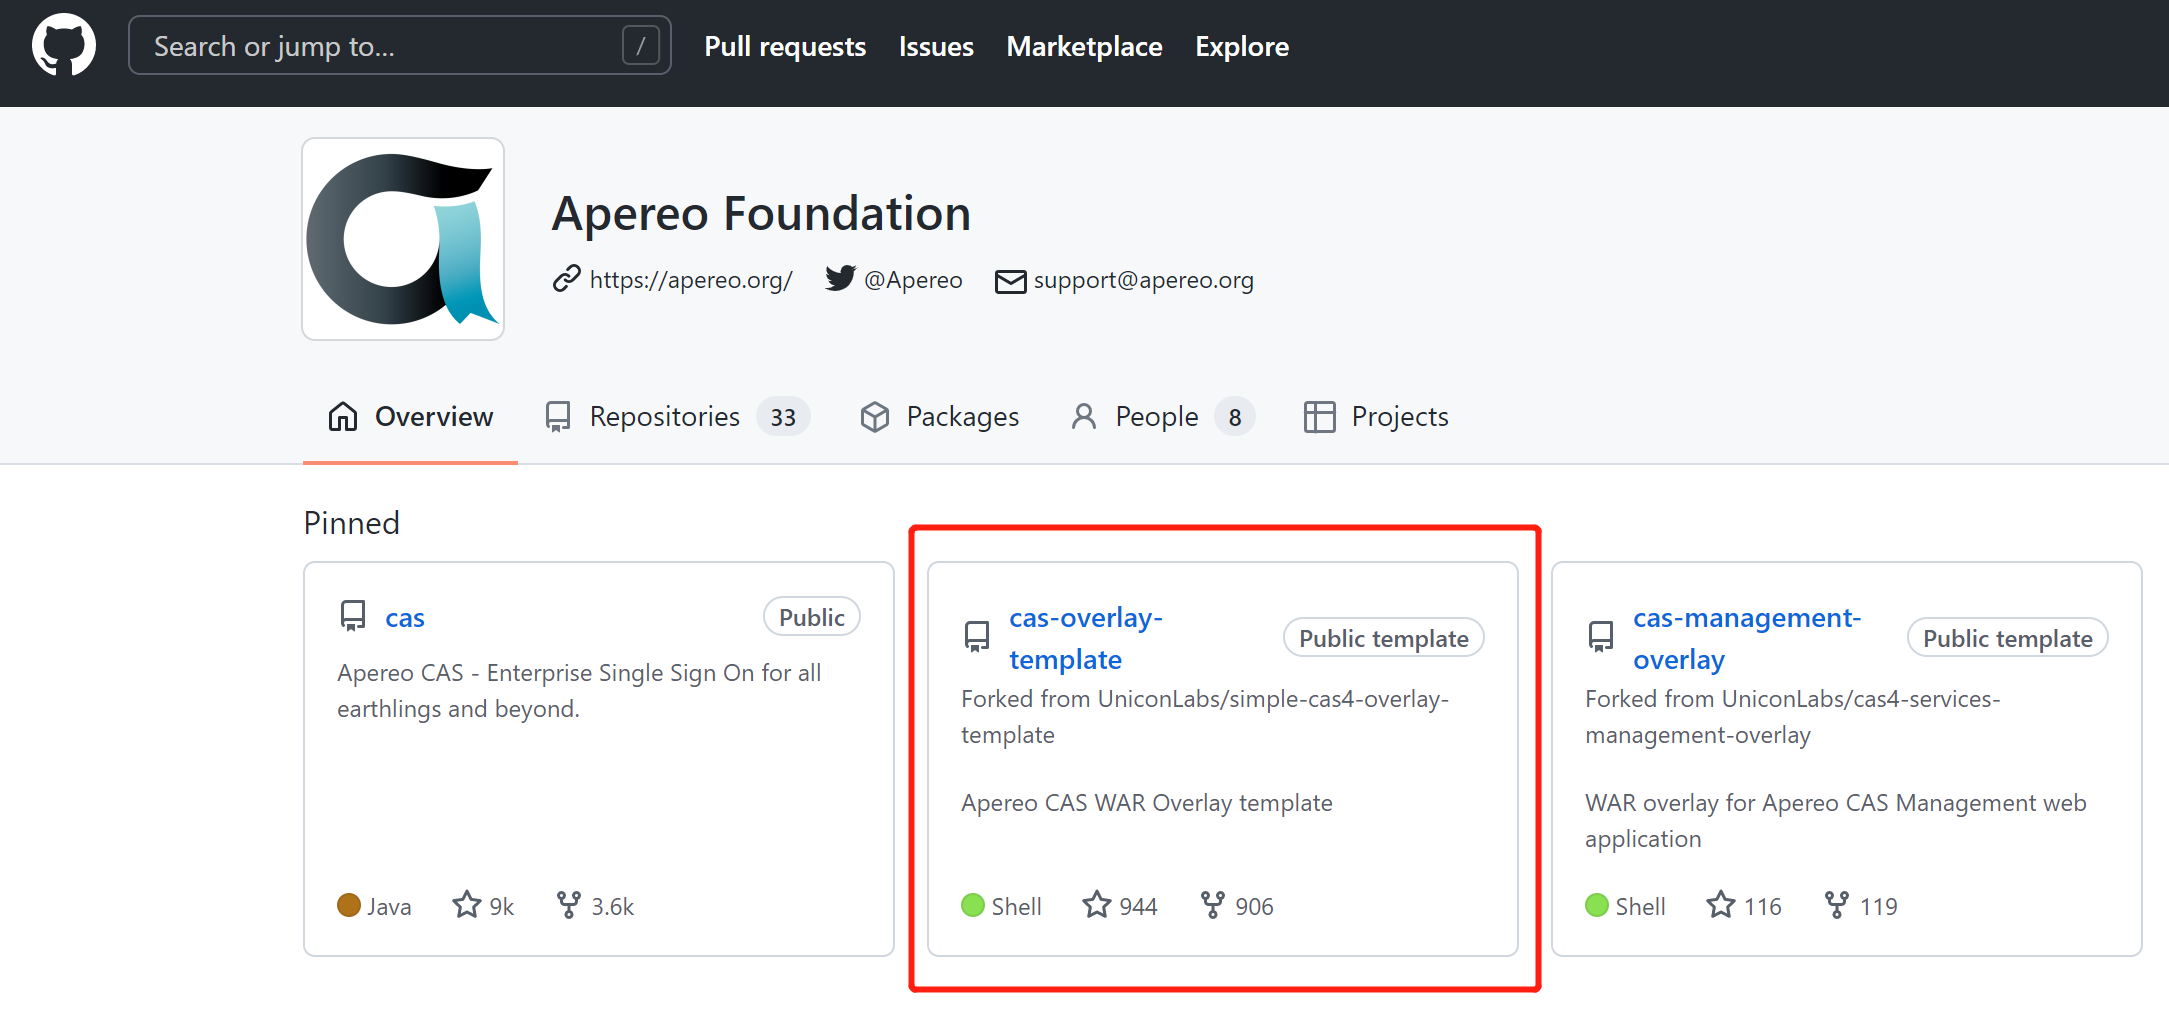
The mainstream single sign on includes CAS, OAuth, OpenID Connect and SAML. This time, let's play CAS single sign on. I'll do it first GitHub To plunder resources.
We found this CAS overlay template
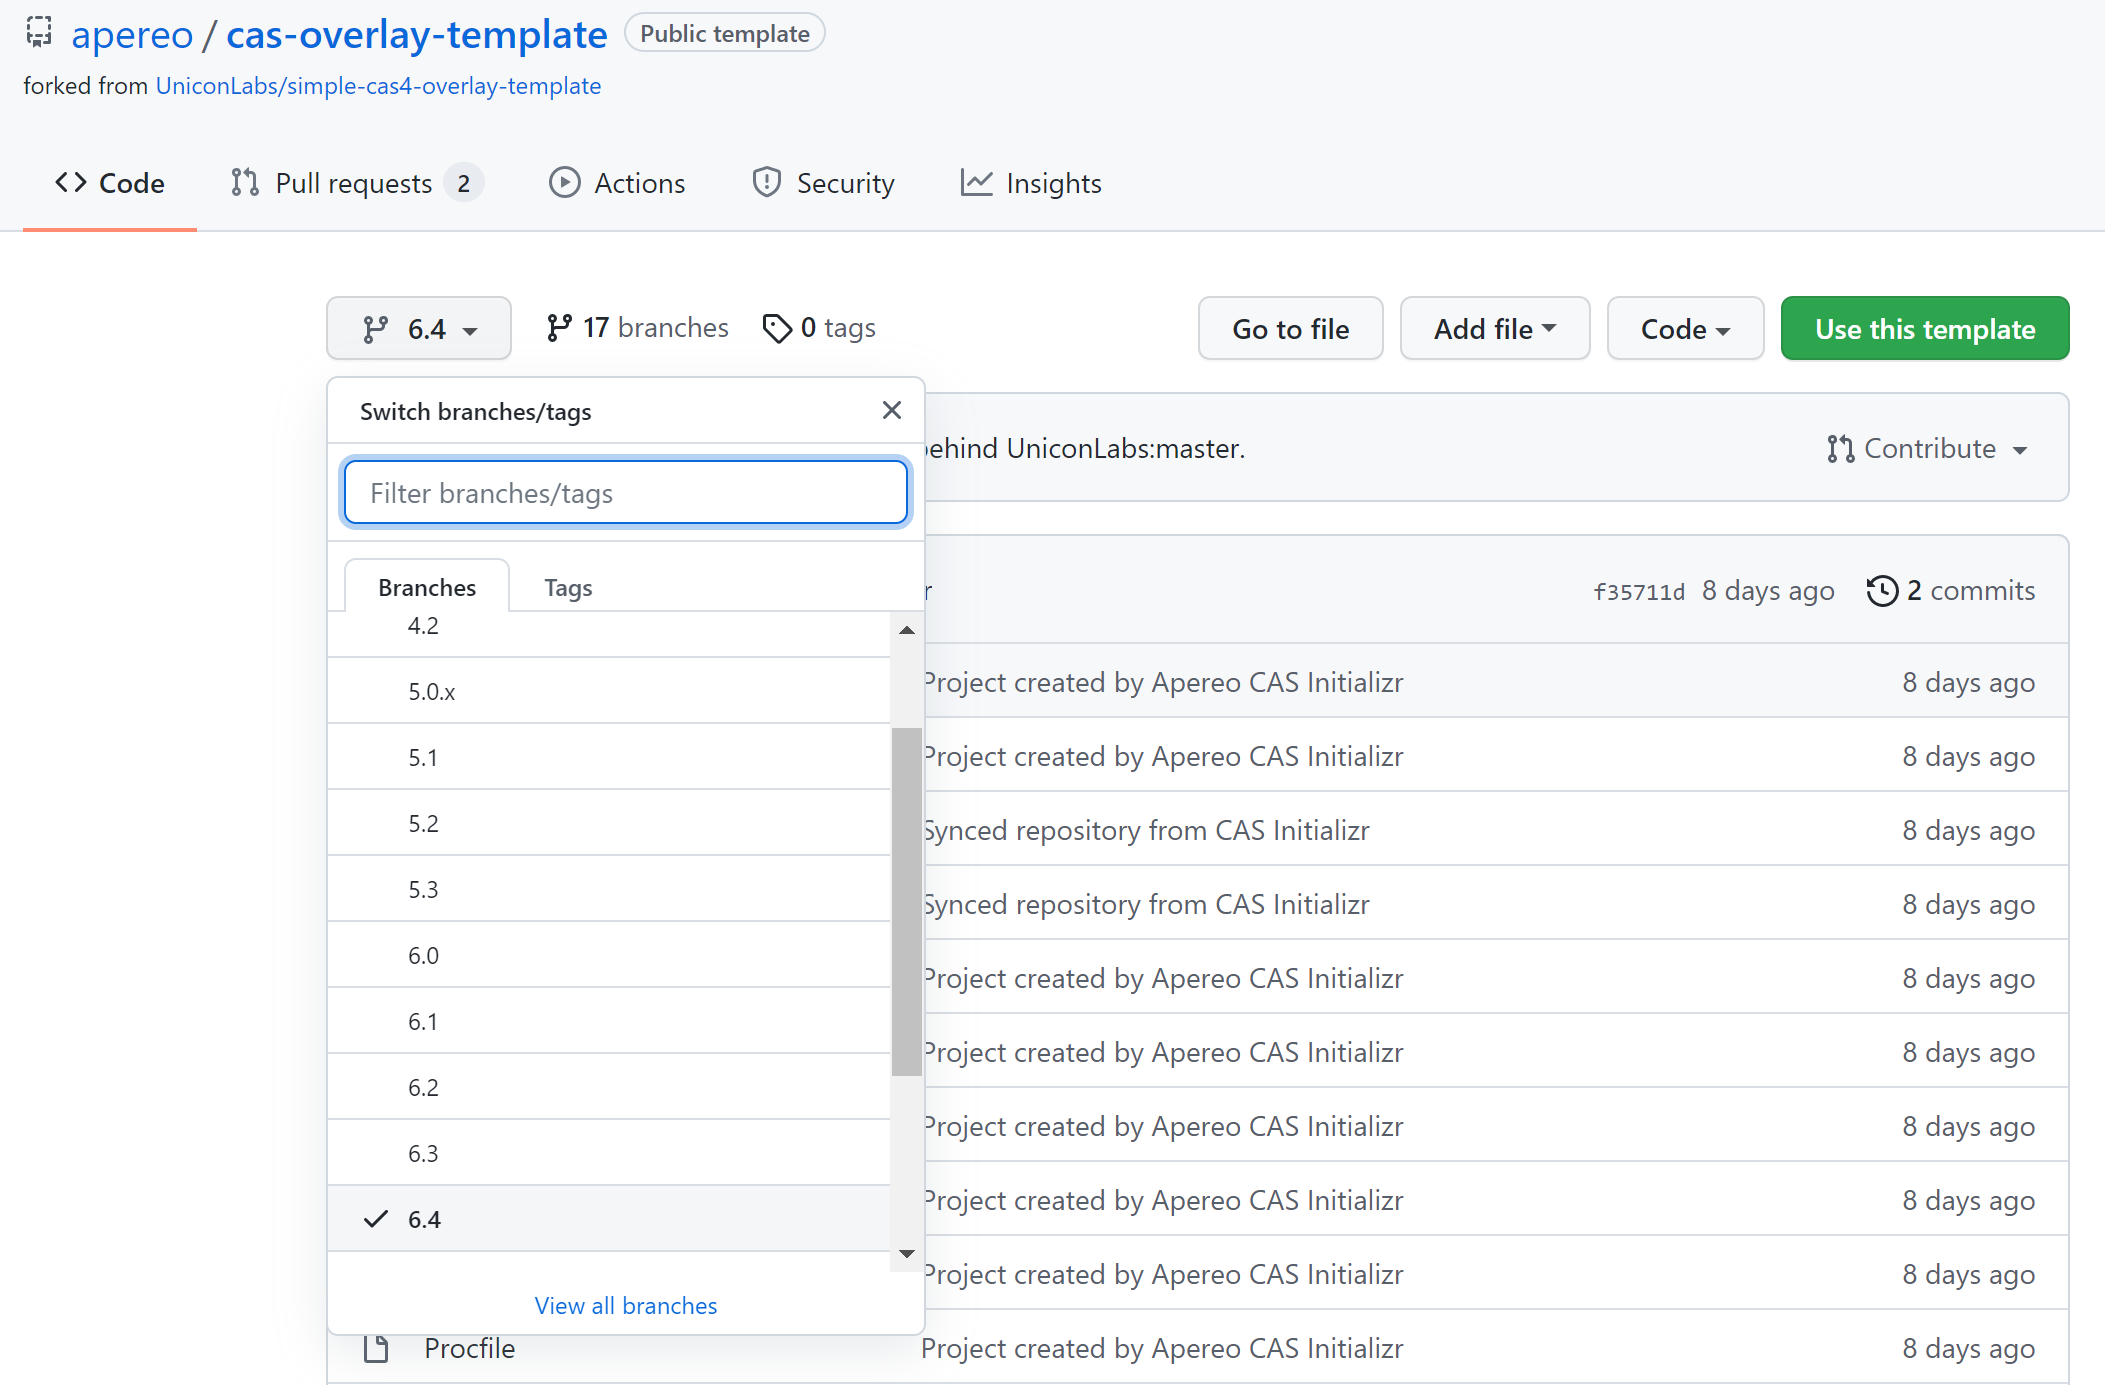
This place has a branch selection. Click to open so many versions. Players who choose phobia are ecstatic, but if we want to play, we must play the latest. Mindless 6.4 will be finished
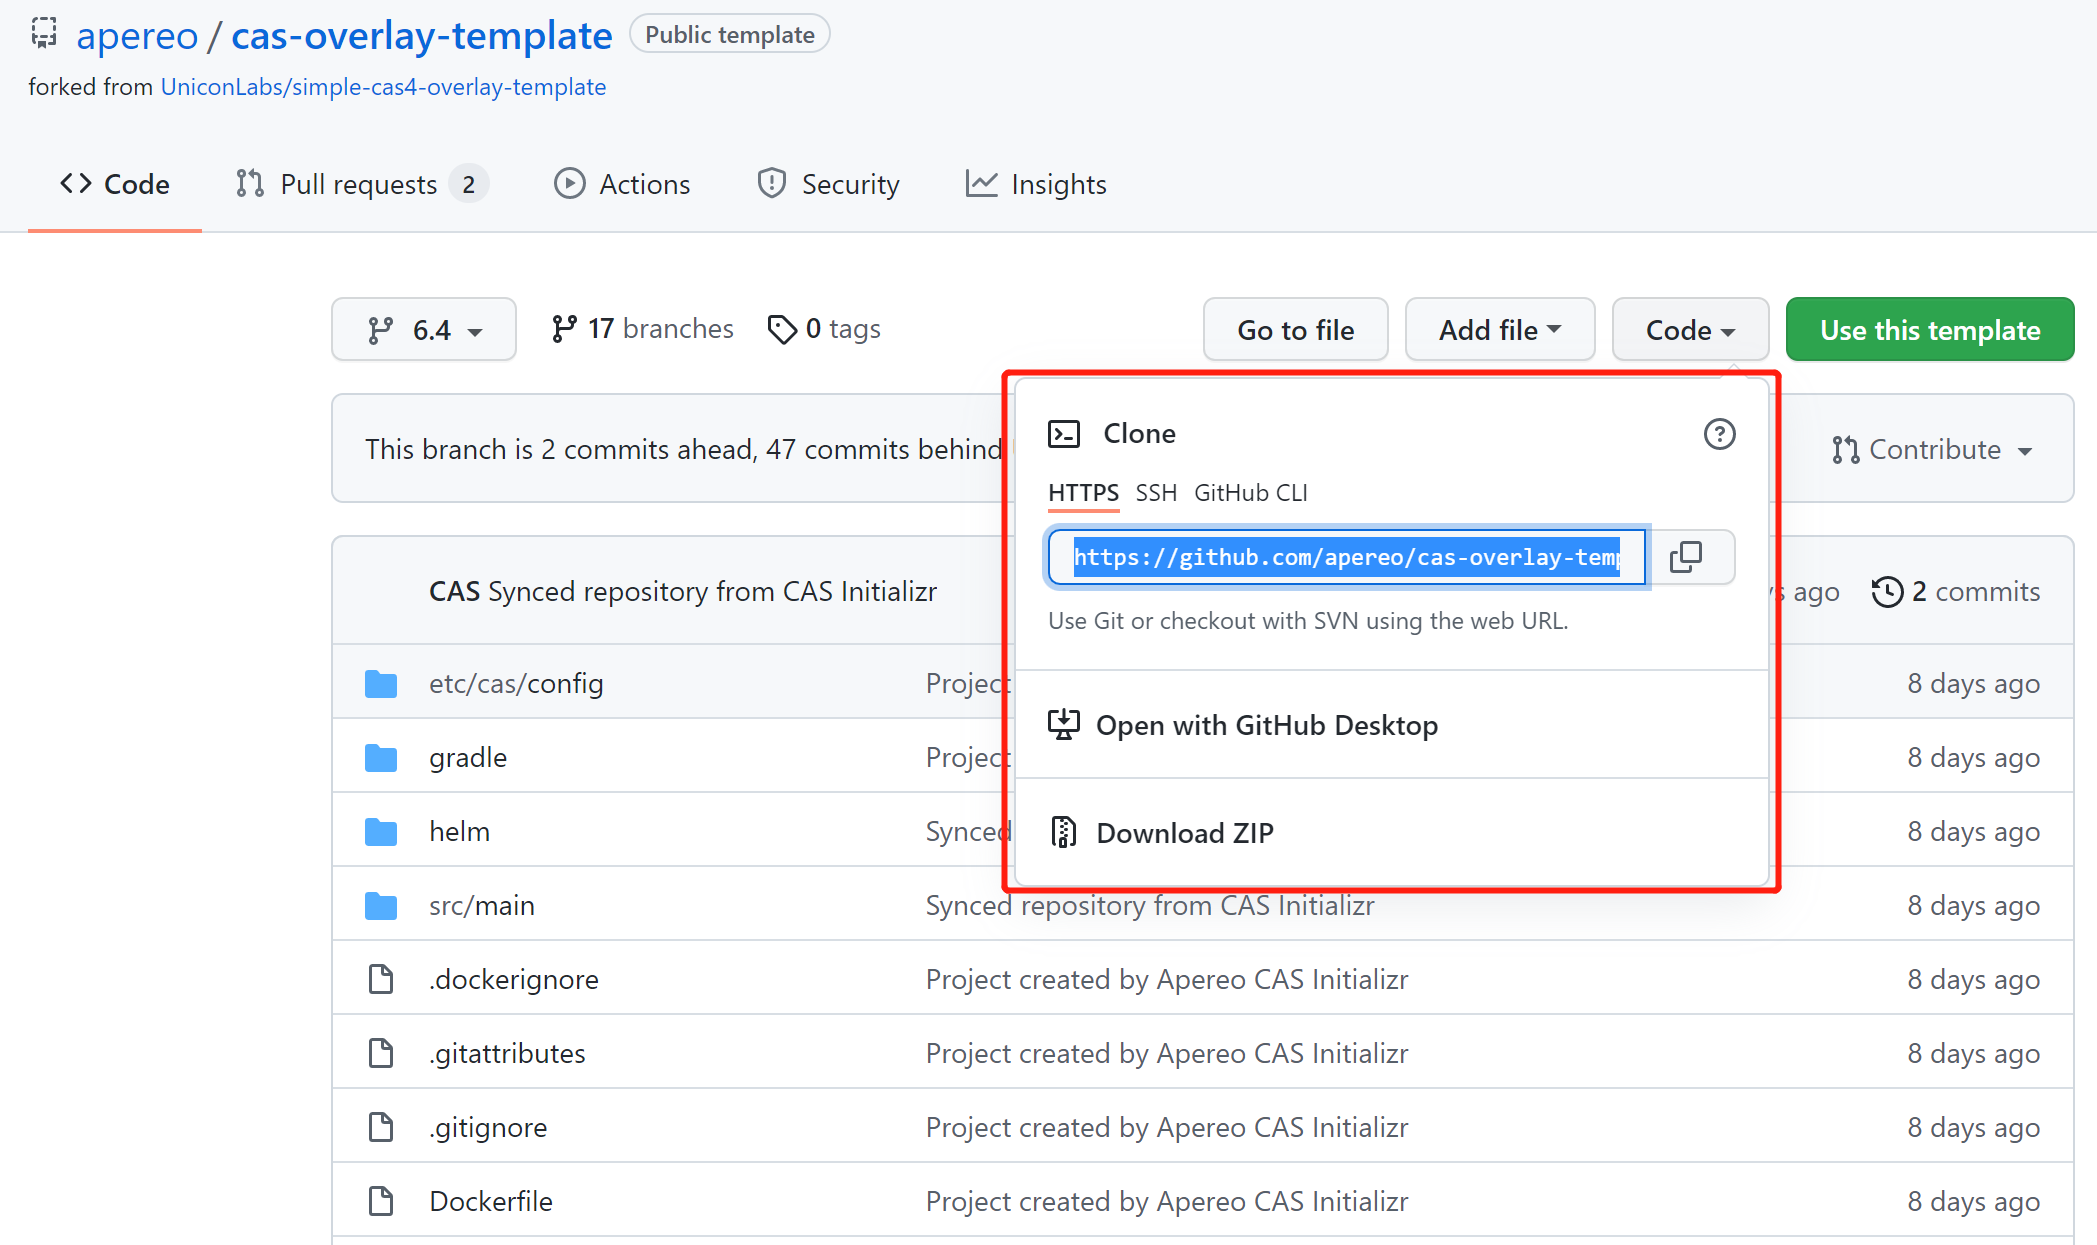
Then click the link here to copy or download the zip package directly. Let's copy it on the spot. Let git command download it for us later (the author is an old lazy dog)
I directly pulled down the project with IDEA. During construction, I found that the project construction was wrong!
Boy, I haven't done anything yet. Just when I was angry, I glanced at the error message. It turned out that my JDK version was wrong and people wanted Java 11. Thanks to my early preparation (how can there be only one JDK for a professional development), I modified the project and referenced the JDK on the spot
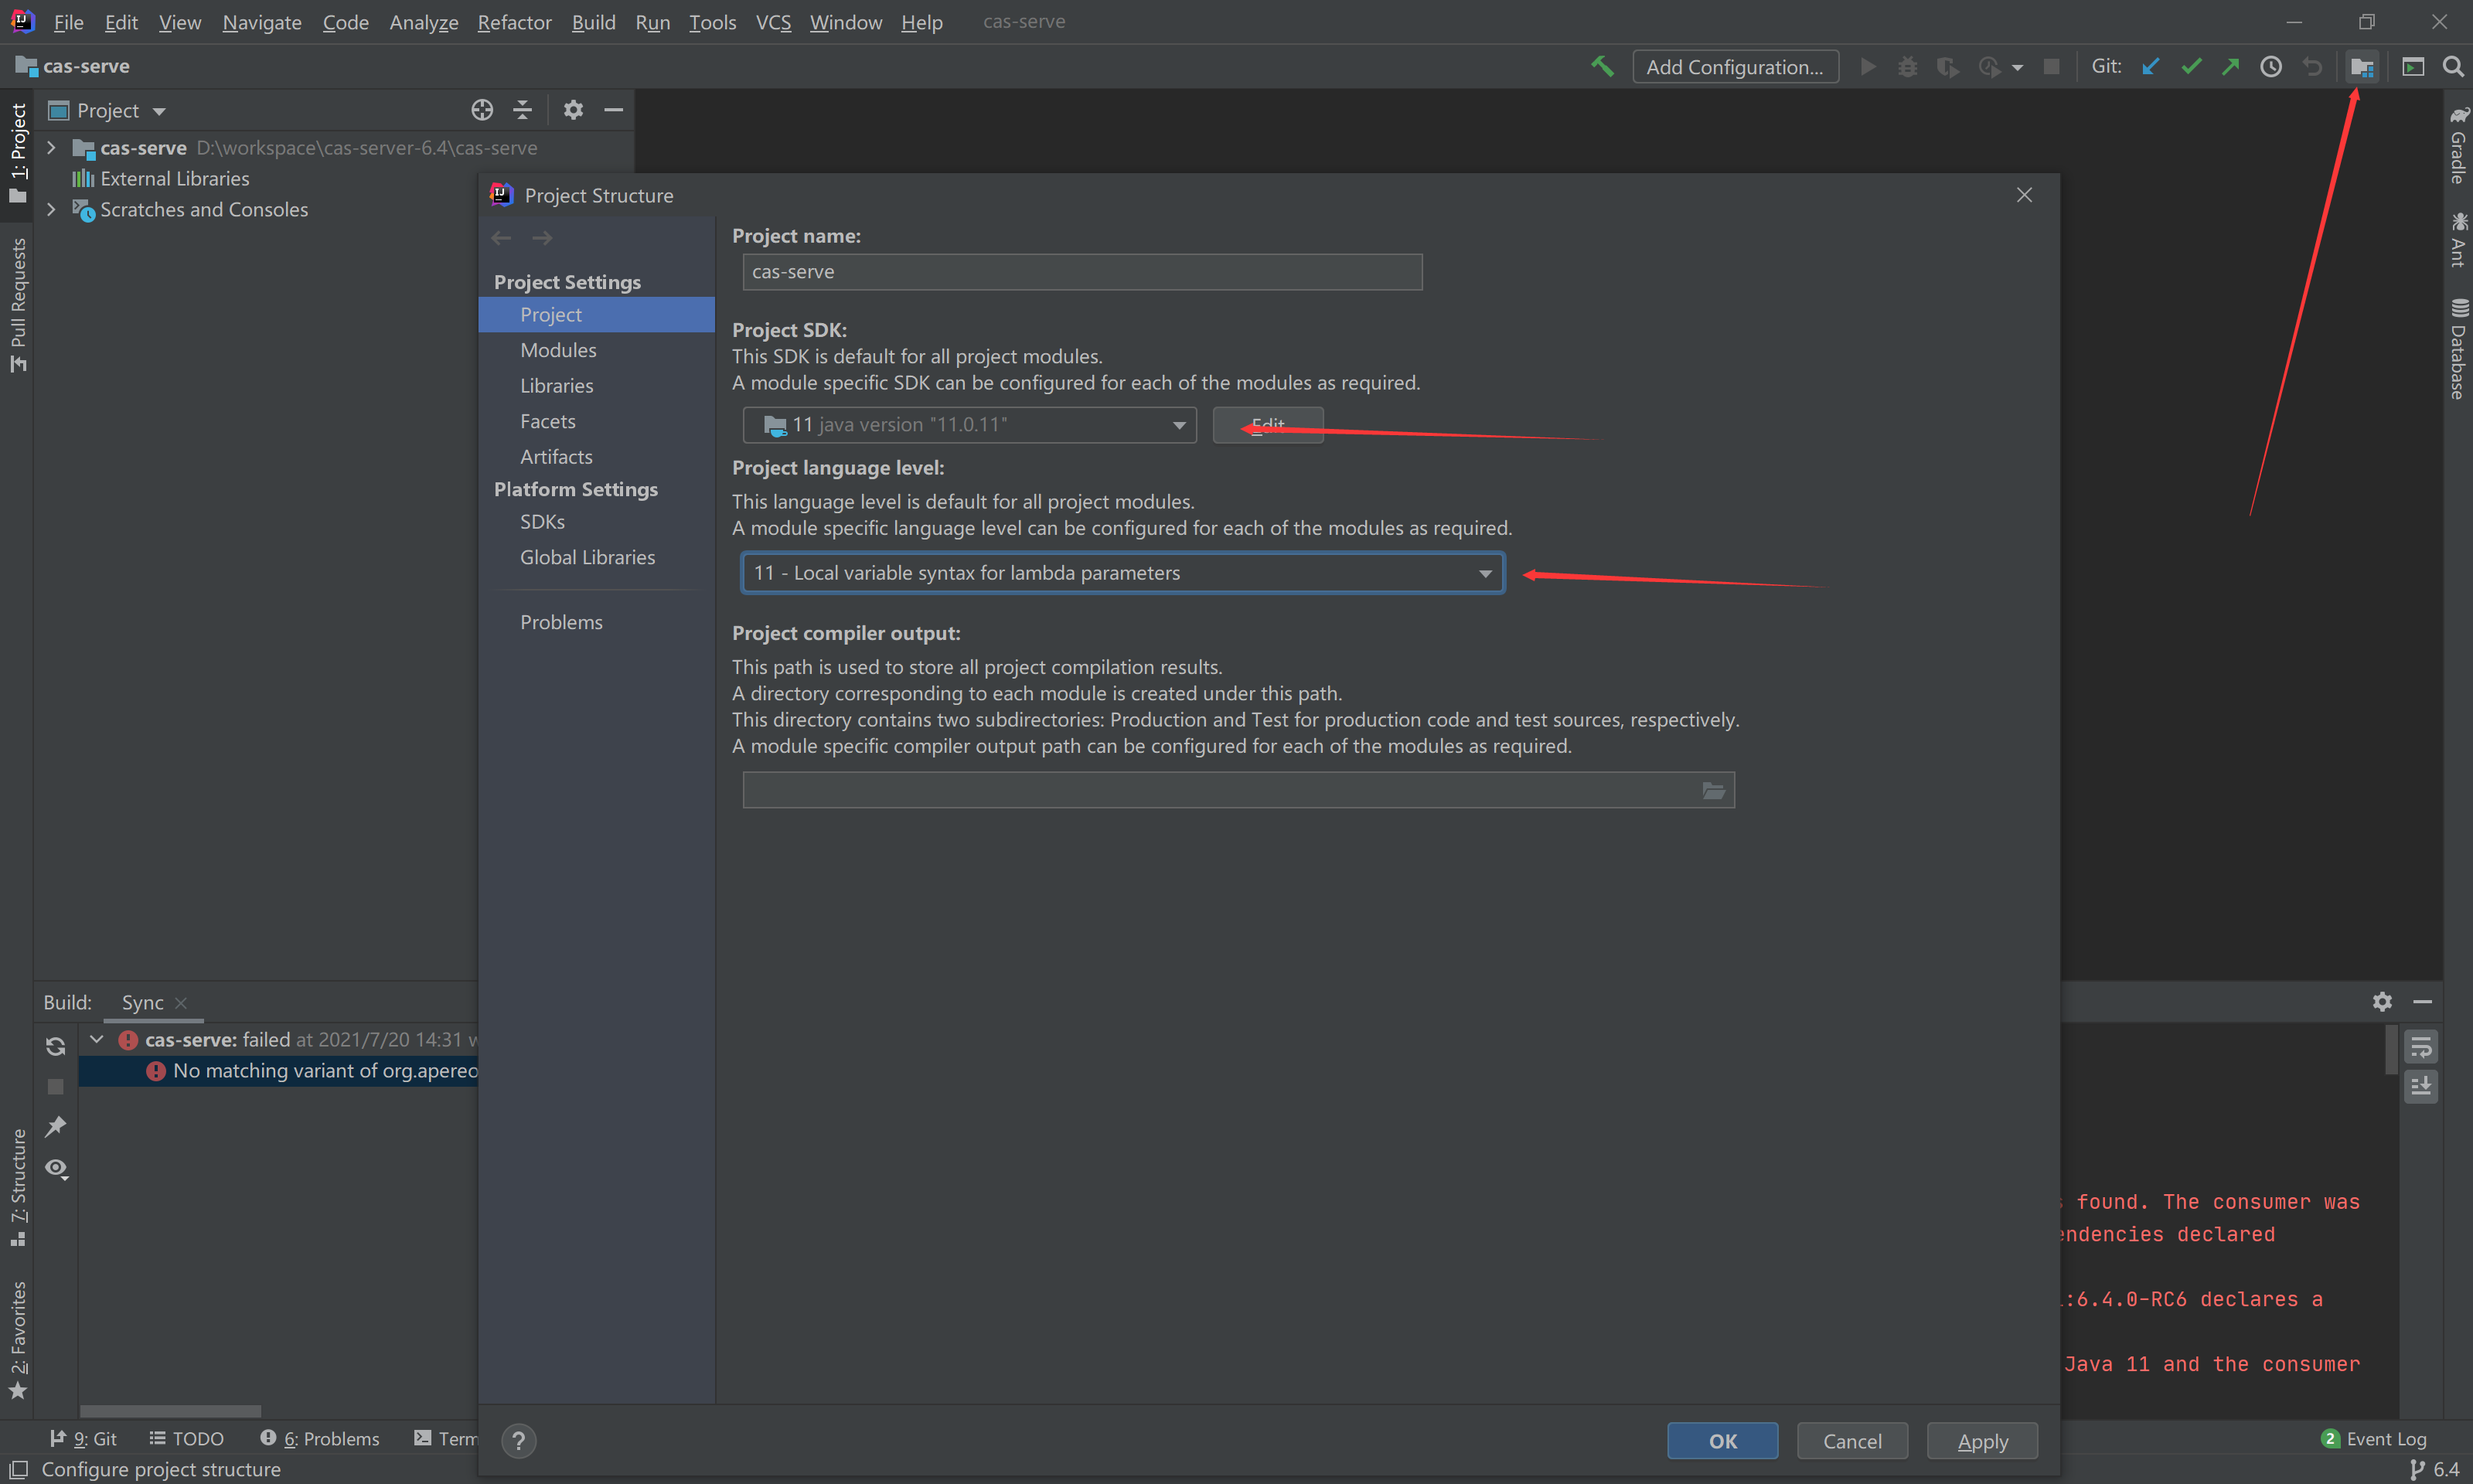
Then, by the way, I modified the Gradle JVM of the project

Rebuild after saving

Here, our preparations are finished
CAS server configuration
Now let's configure the server. First, we need to add the following configurations to the configuration file
# Application properties that need to be
# embedded within the web application can be included here

cas:
  server:
    # Configure single sign on server access address
    name: http://127.0.0.1:8443
    prefix: ${cas.server.name}/cas
  authn:
    accept:
      # Set the login account and password. The default is casuser::Mellon
      users: admin::admin
  service-registry:
    # Set how the service is registered as a json file
    init-from-json: true
    json:
      #The location of the json file read during service registration
      location: classpath:/services


server:
  ssl:
    # Turn off https access. If you already have an https certificate here, you can set it to true
    enabled: false
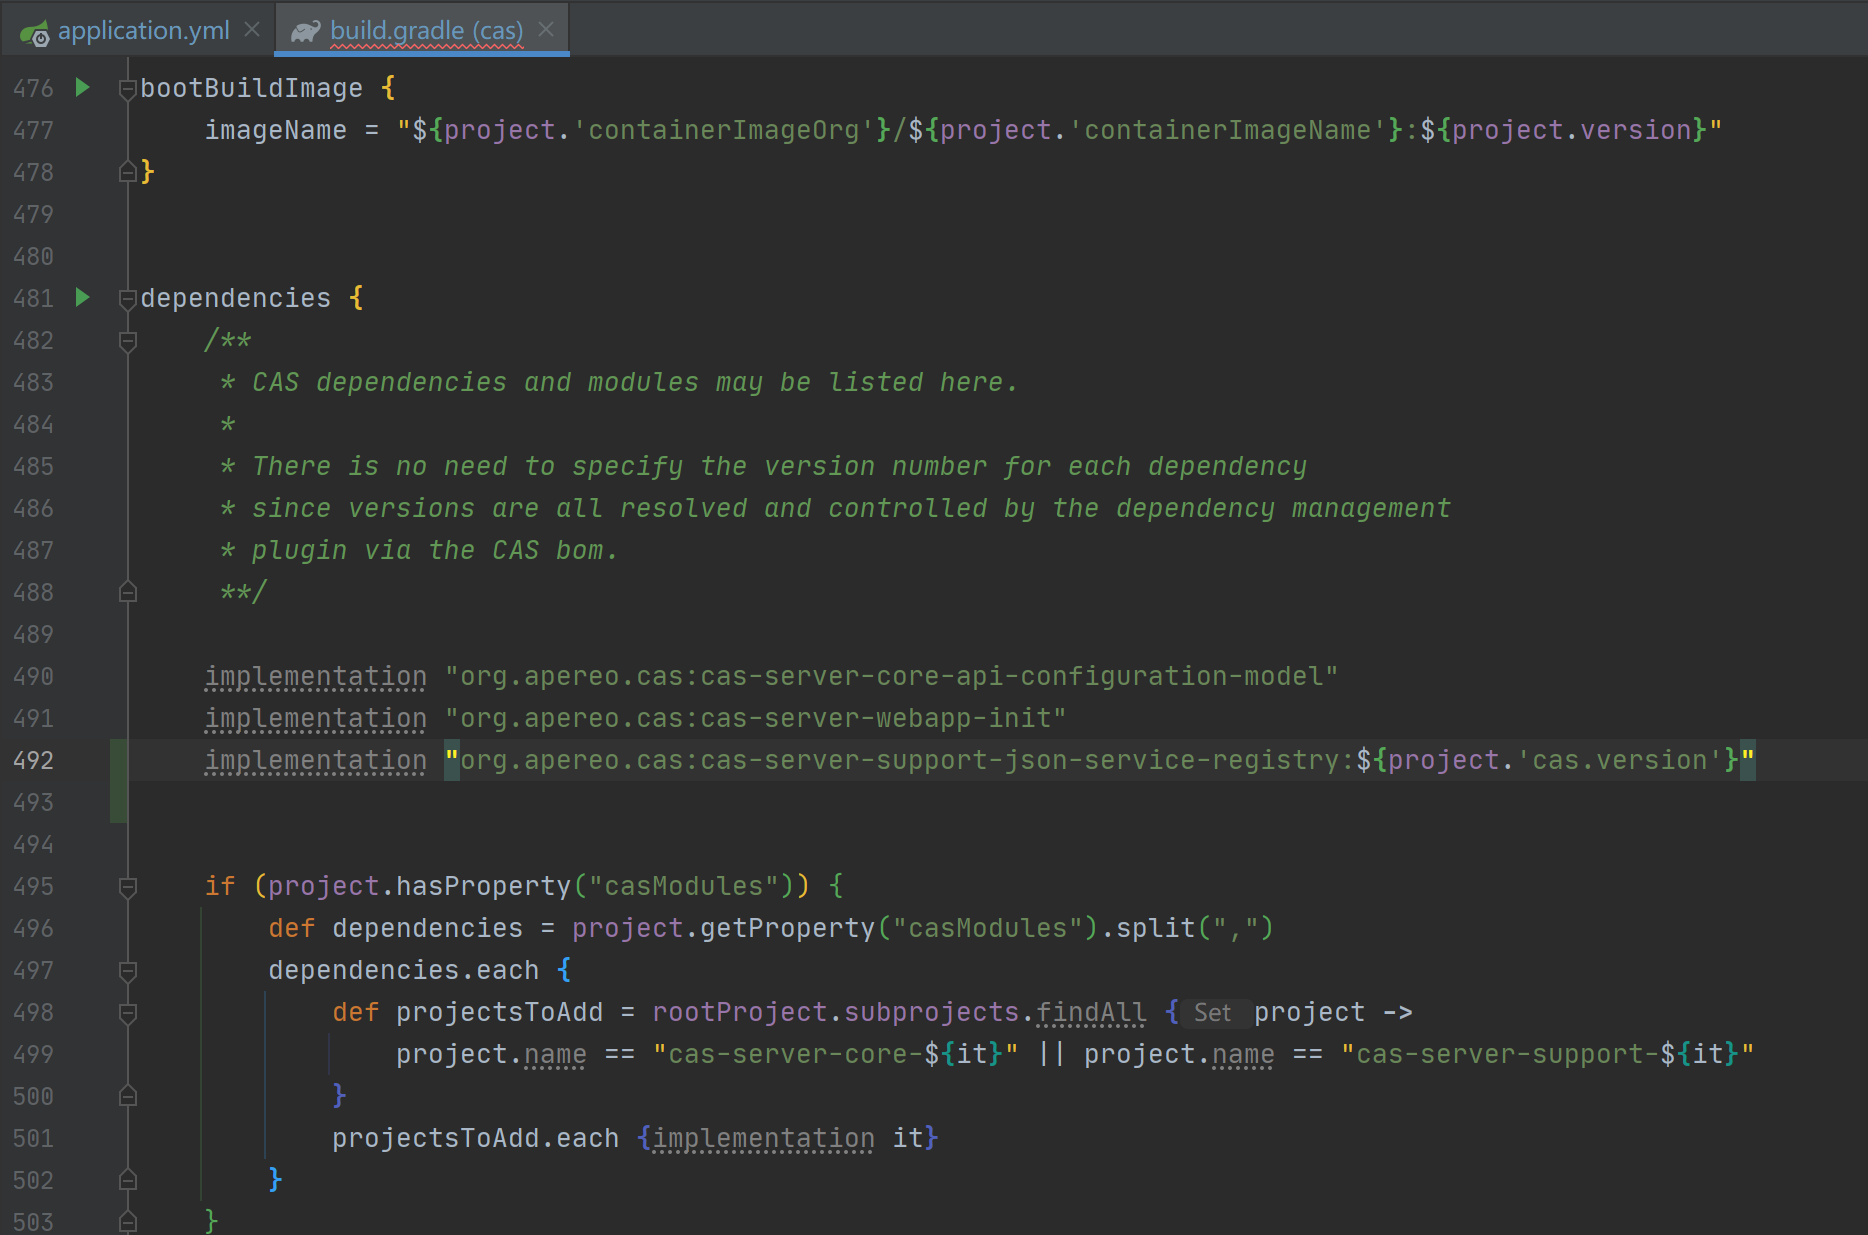
Because the service registration method we selected is JSON file, we need to add the dependency of JSON registration method in Gradle
implementation "org.apereo.cas:cas-server-support-json-service-registry:${project.'cas.version'}"
Probably in this position 👇
The next key step is to add the JSON file for service registration
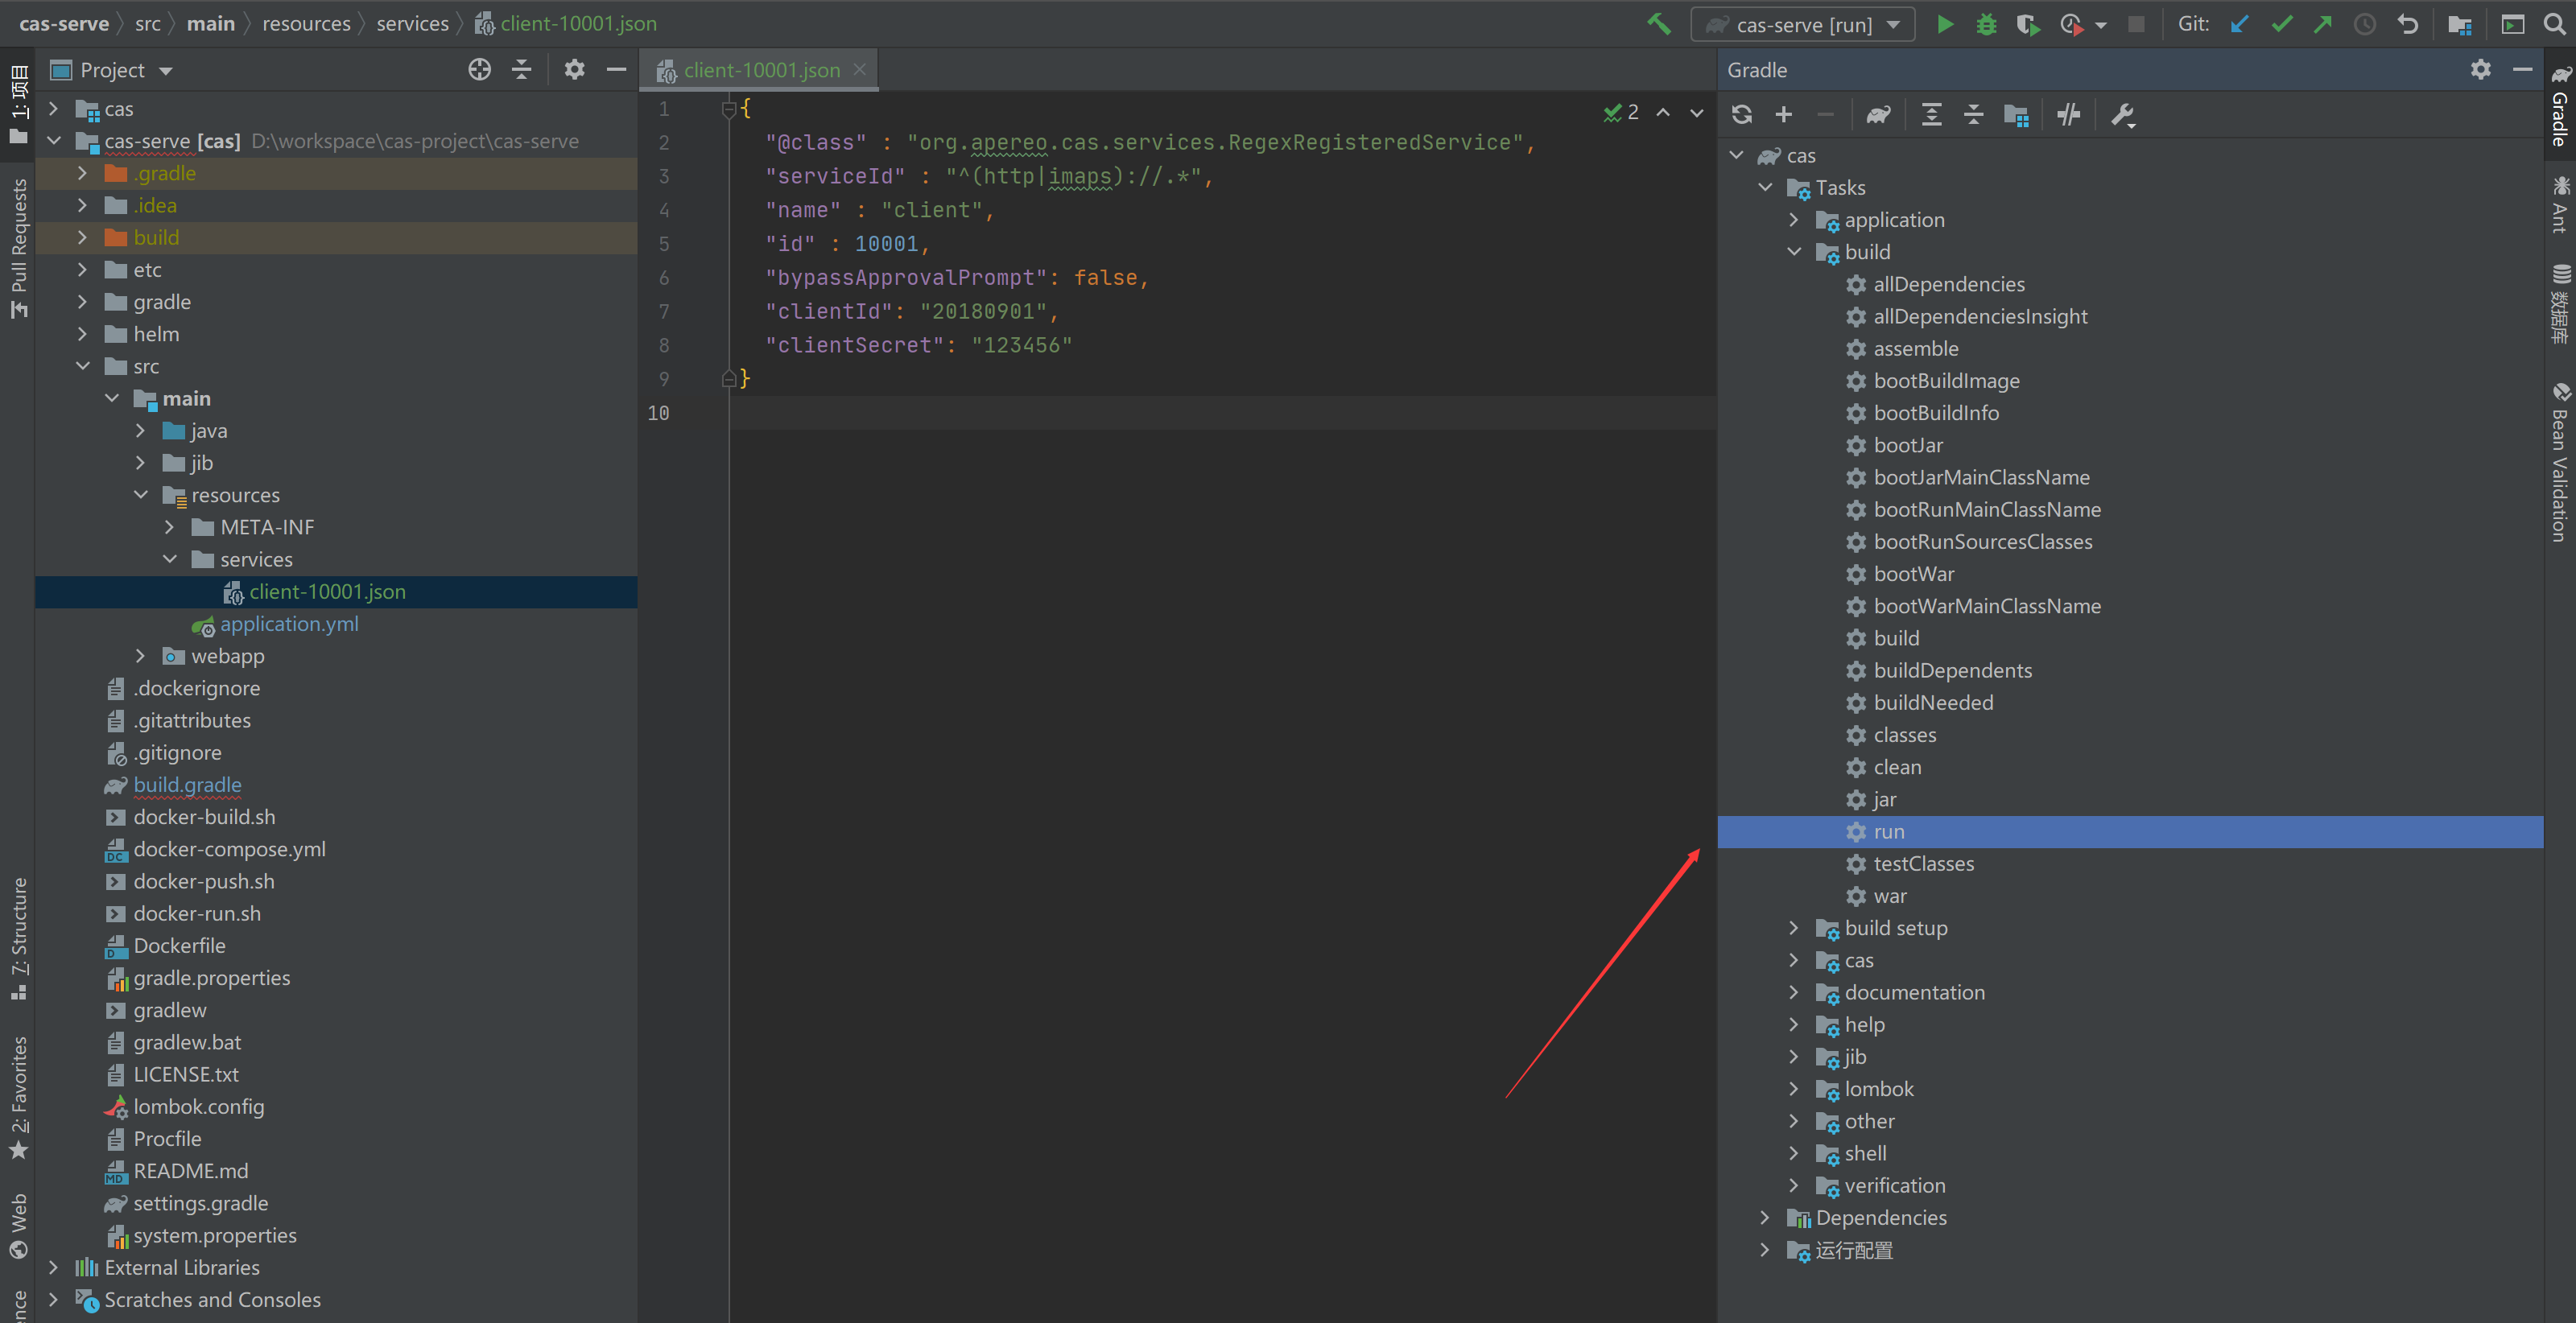
According to the read address of the JSON file configured in the configuration file, create a new services folder in the resource directory and create a JSON file. The file naming rule is: name + id, such as Client-10001.json. The contents are as follows
{
  "@class" : "org.apereo.cas.services.RegexRegisteredService",
  "serviceId" : "^(http|imaps)://.*",
  "name" : "client",
  "id" : 10001,
  "bypassApprovalPrompt": false,
  "clientId": "20180901",
  "clientSecret": "123456"
}
The serviceId here is the regular expression that needs to be registered with the project access address of the single sign on service. Clients with mismatched addresses will not be able to access through single sign on authentication
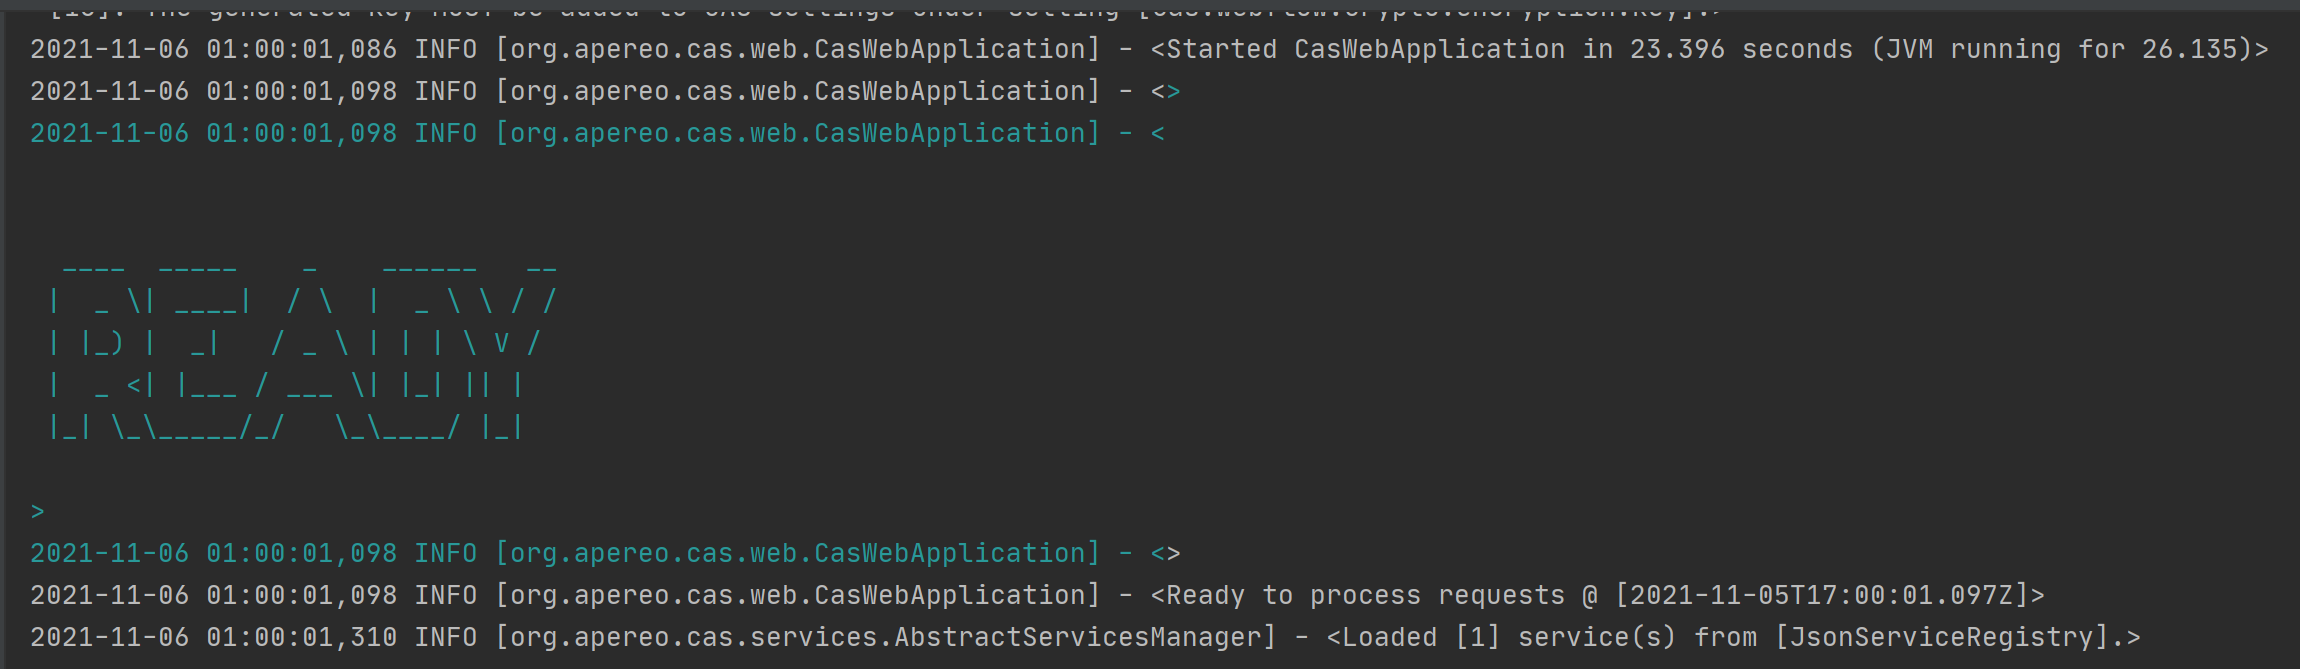
Now let's start the service with Gradle's run command
The console is printed as follows, and the word READY indicates successful startup. The lower right corner indicates the number of JSON files loaded for service registration
CAS client configuration
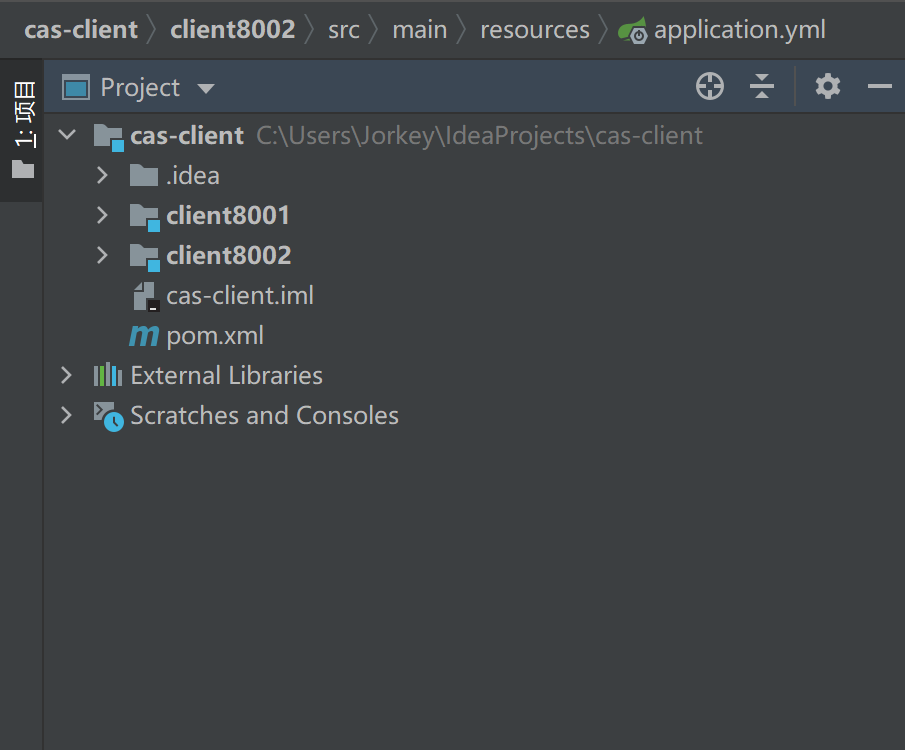
The configuration of CAS client is relatively simple. I have created two demo Spring Boot projects in advance
Add the following dependencies to the pom.xml file
<!-- https://mvnrepository.com/artifact/net.unicon.cas/cas-client-autoconfig-support -->
<dependency>
    <groupId>net.unicon.cas</groupId>
    <artifactId>cas-client-autoconfig-support</artifactId>
    <version>2.1.0-GA</version>
</dependency>
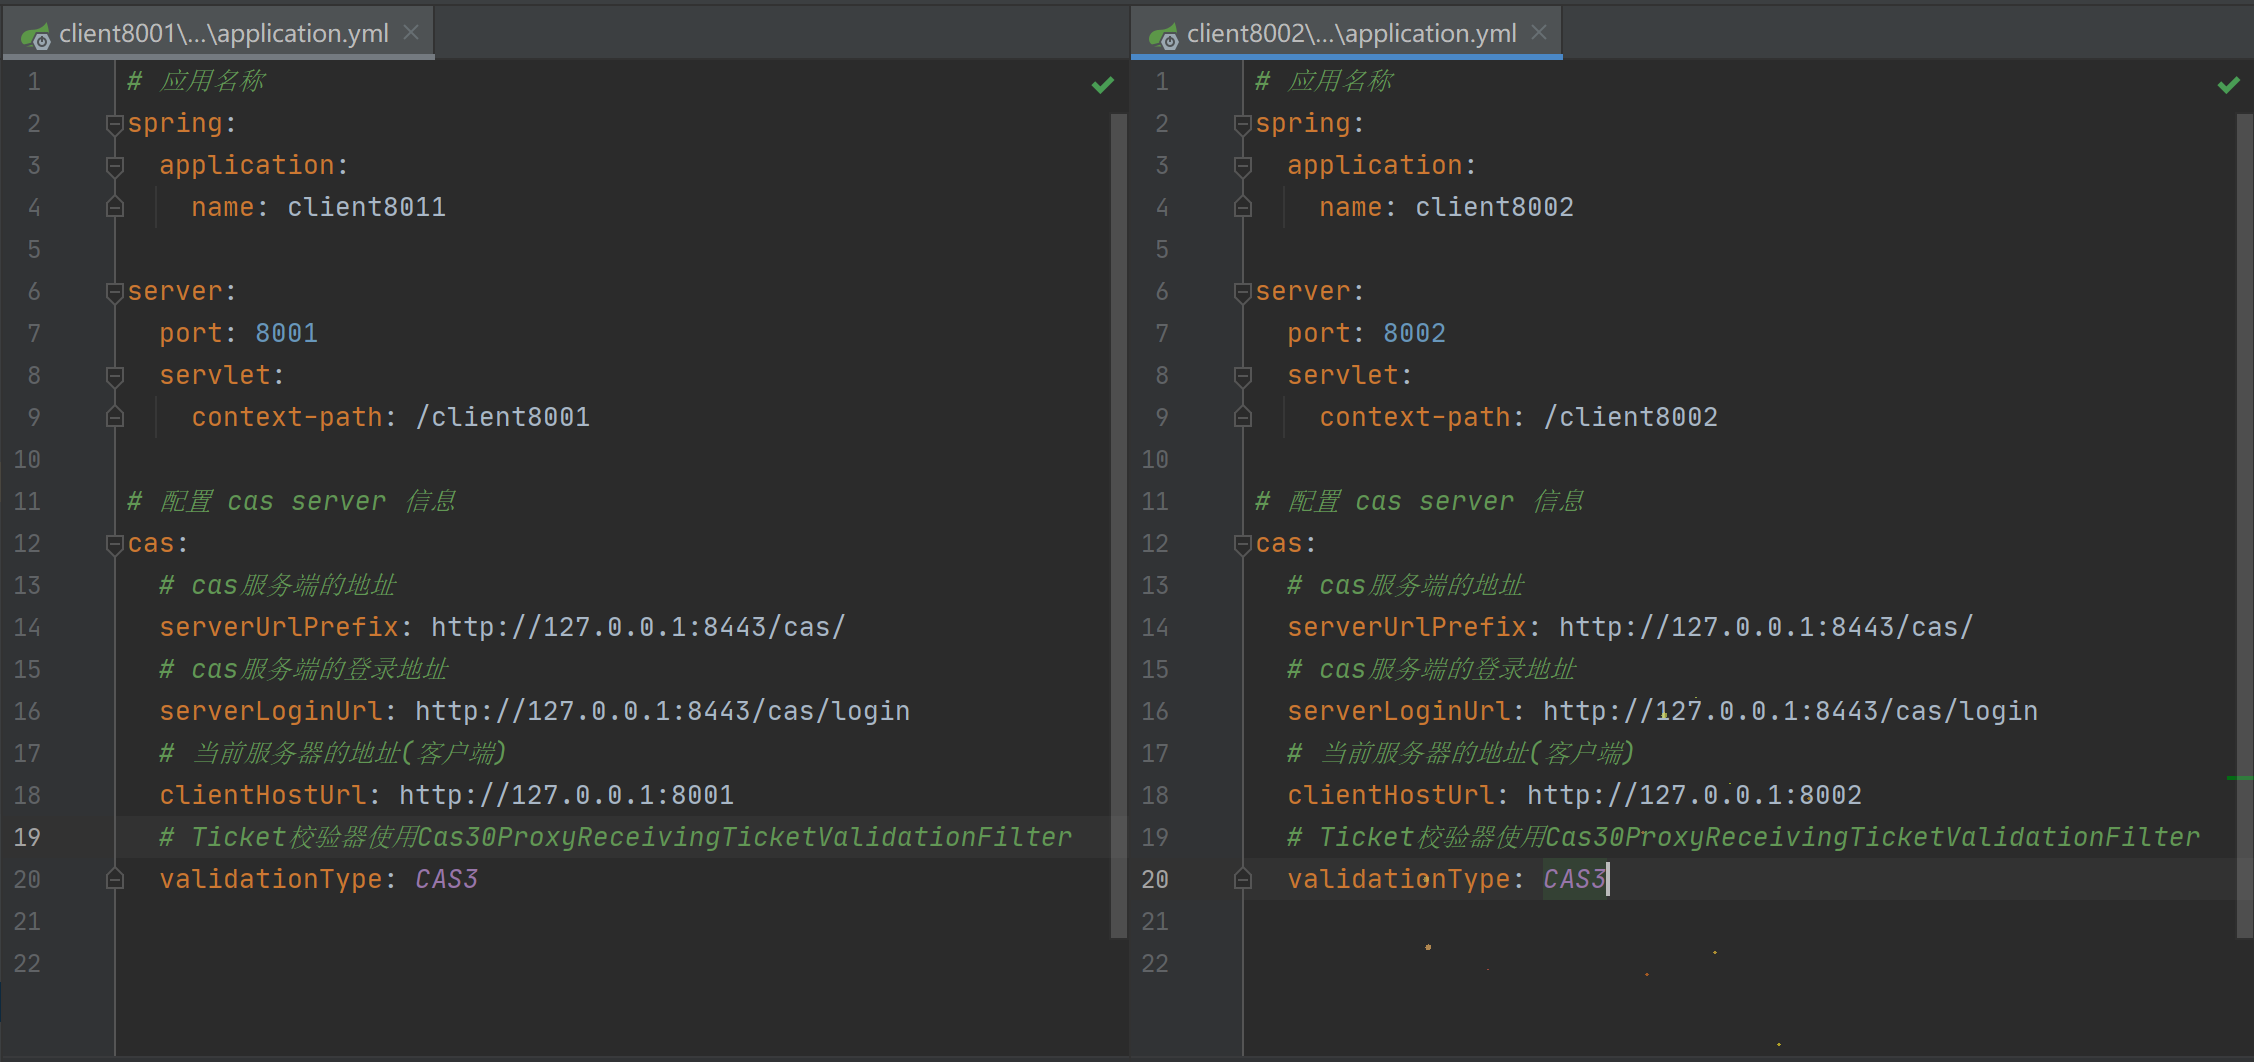
Then add the following configurations to the configuration files of the two projects respectively
# Configure cas server information
cas:
  # Address of cas server
  serverUrlPrefix: http://127.0.0.1:8443/cas/
  # Login address of cas server
  serverLoginUrl: http://127.0.0.1:8443/cas/login
  # Address of the current server (client)
  clientHostUrl: http://127.0.0.1:8001
  # The Ticket validator uses Cas30ProxyReceivingTicketValidationFilter
  validationType: CAS3
Like this 👇
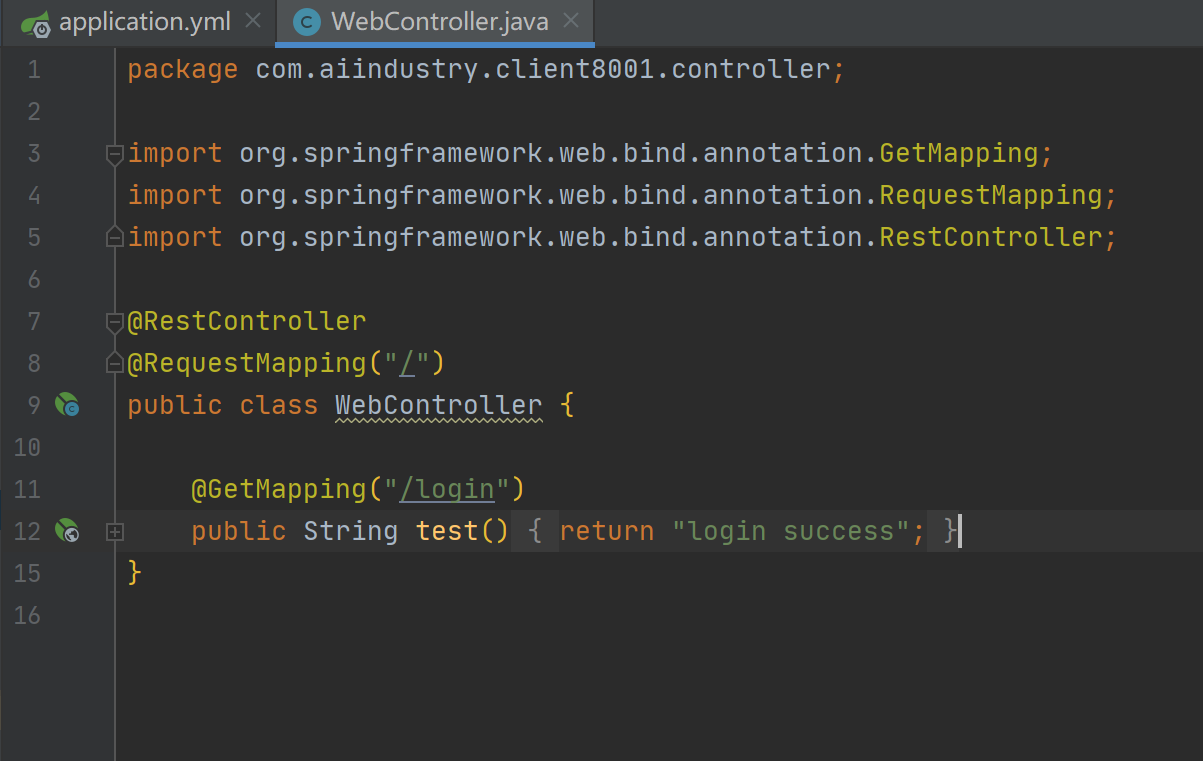
Finally, we write a simulation interface to test whether it will jump to the login page of CAS
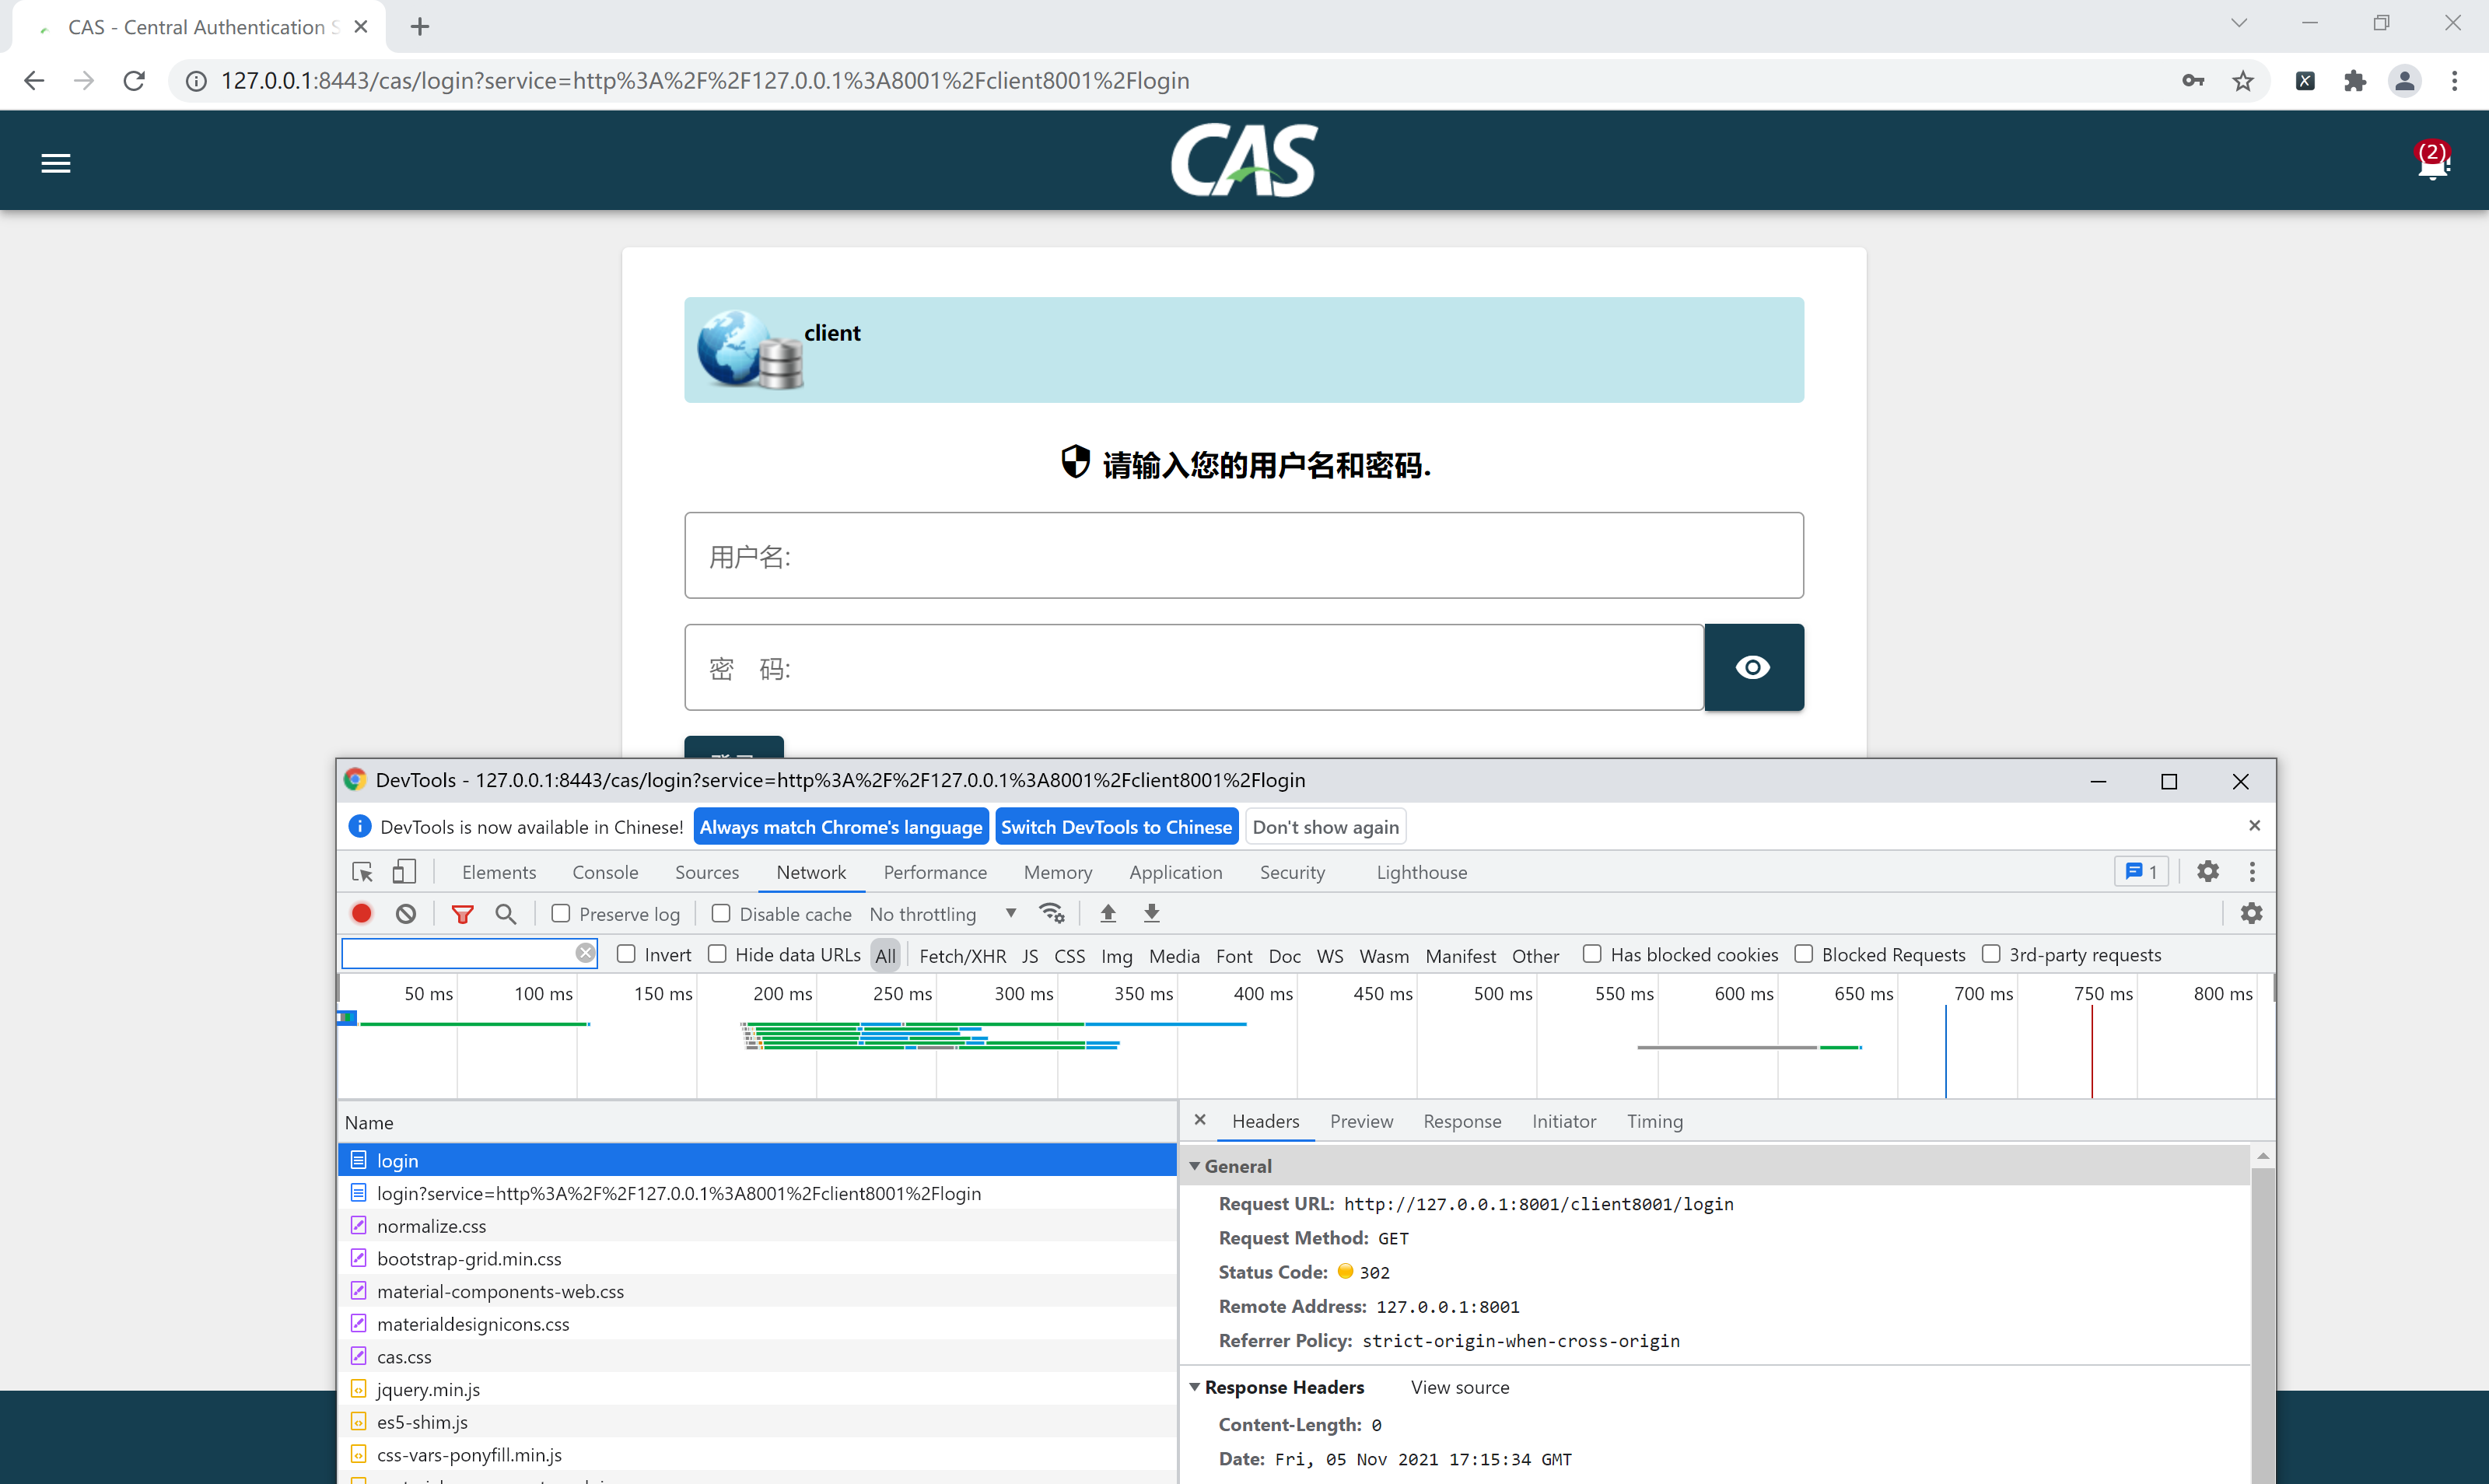
Start two CAS clients respectively and access the interface address in the browser
You can see that the request is redirected to the login page of CAS. Next, enter the account and password and log in to see what will happen
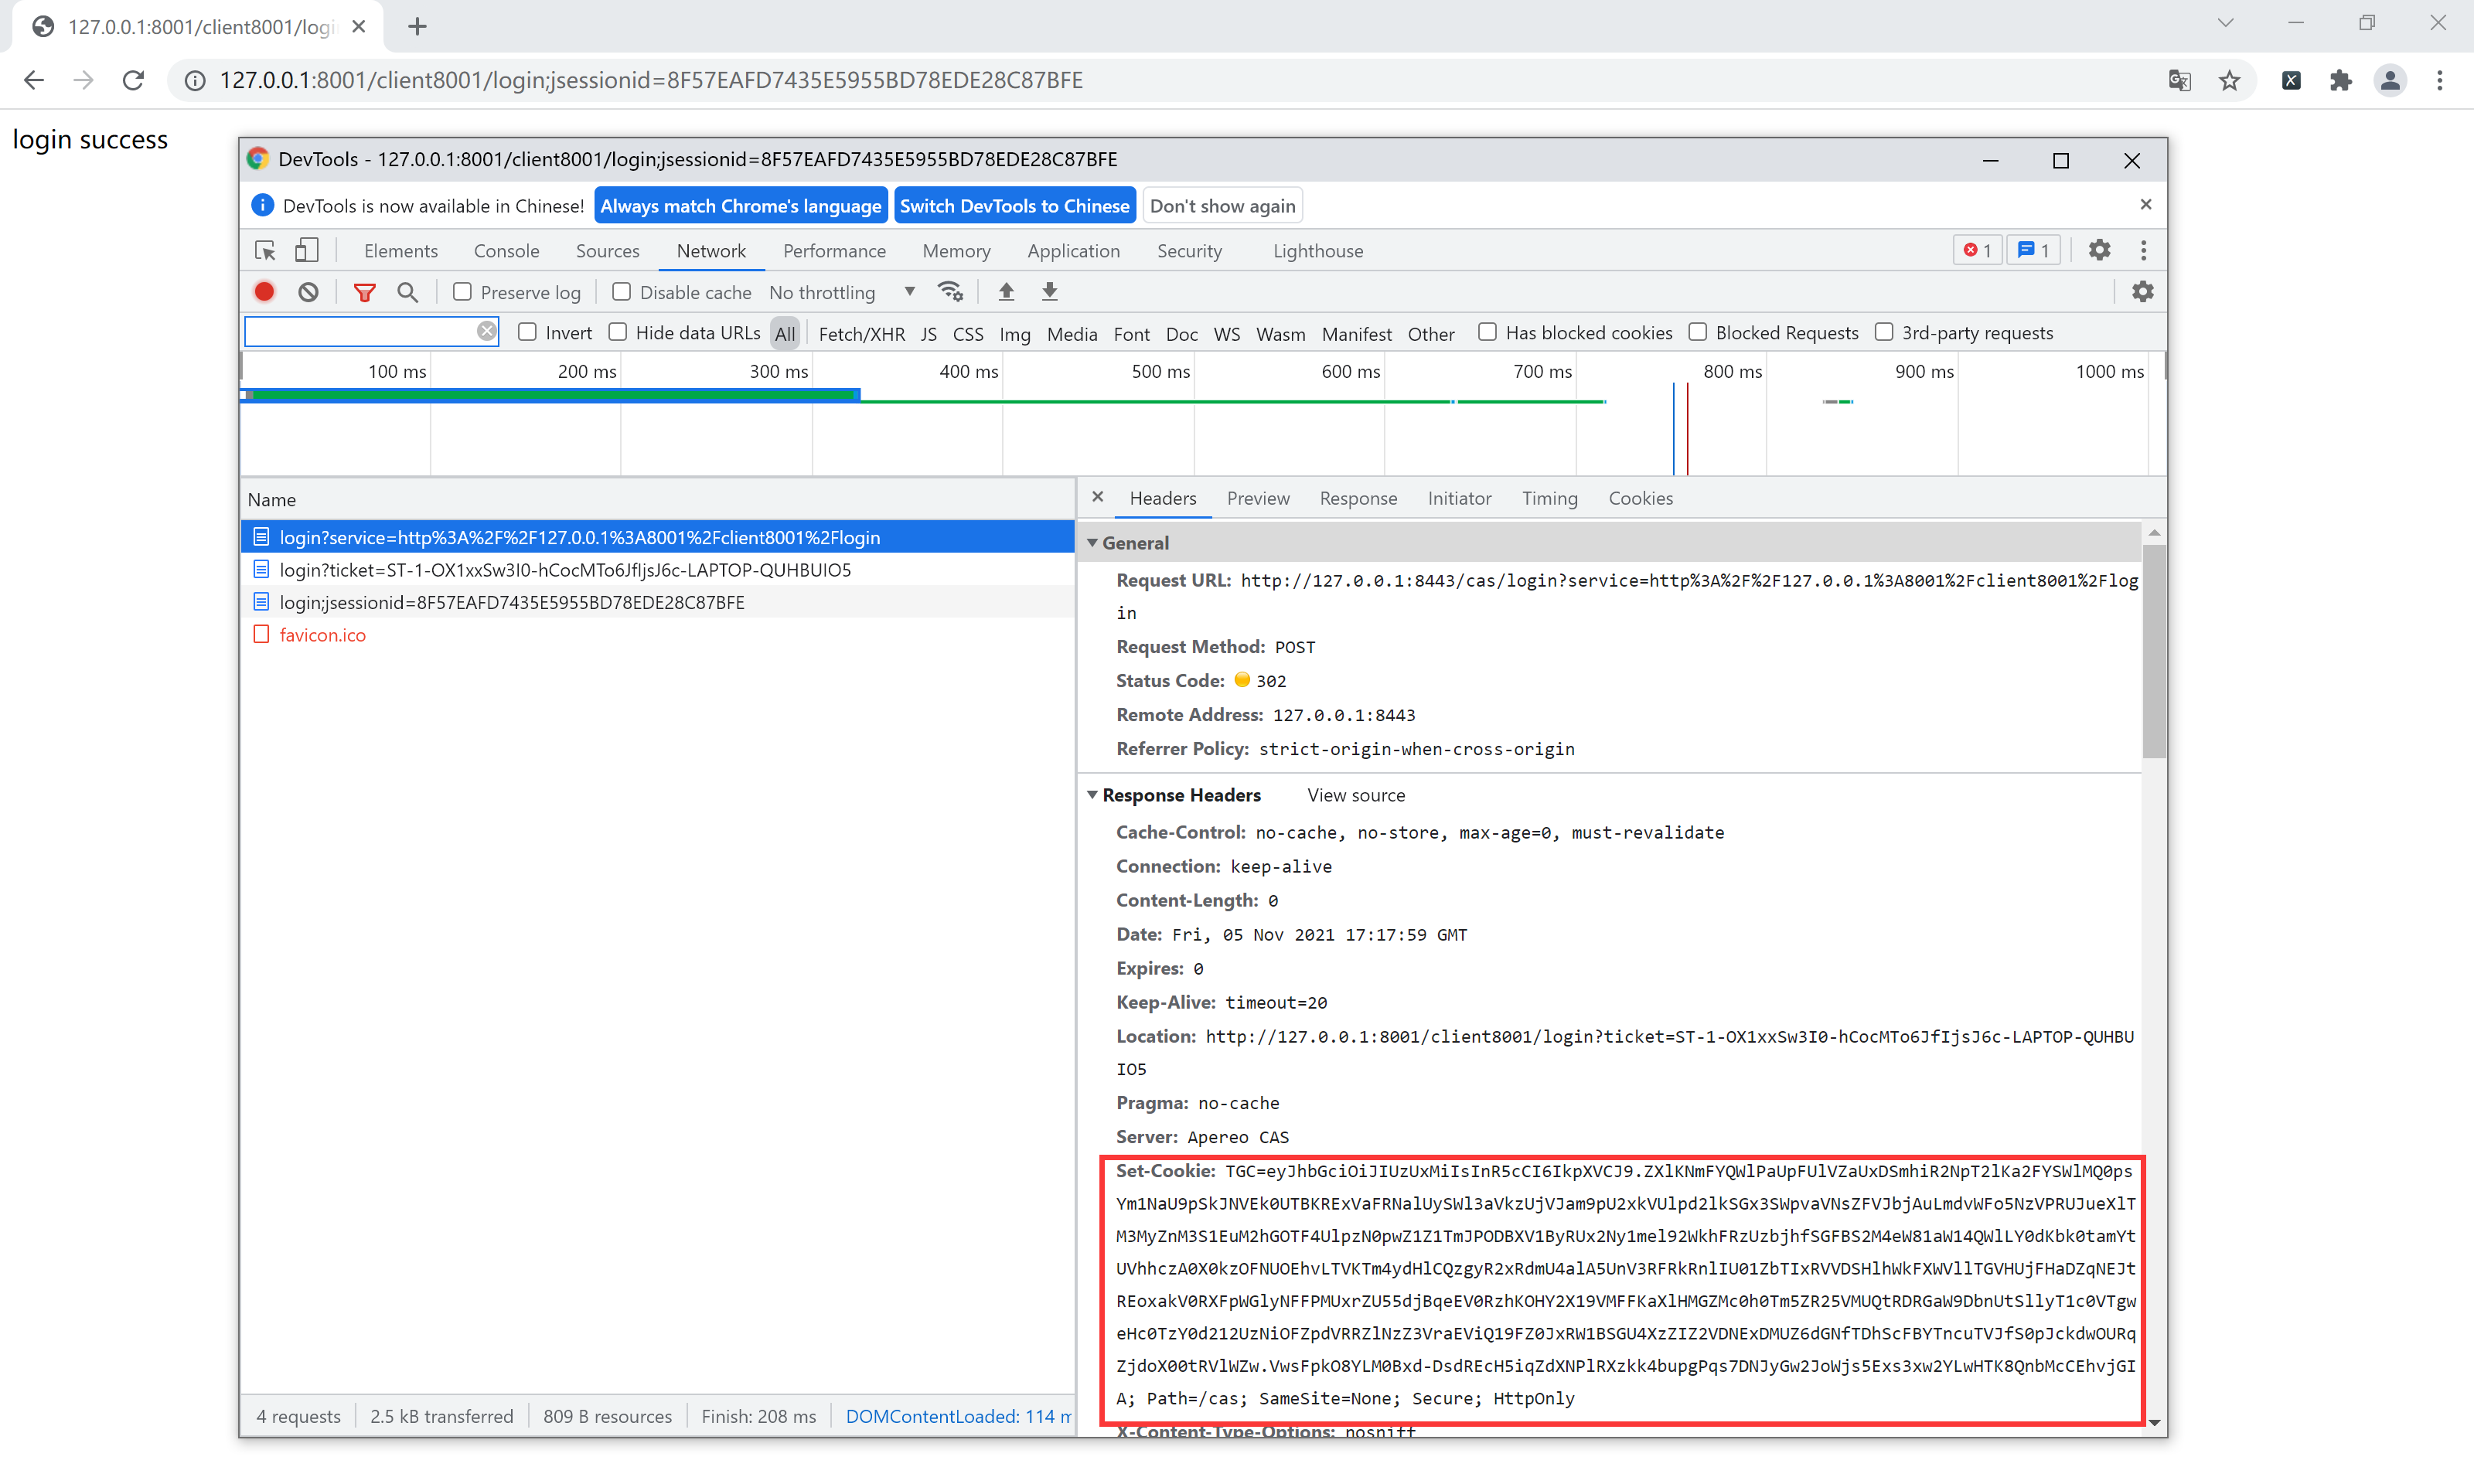
In this place, we found that after successful login, the credentials will be saved in the cookie, and then redirected back to the address originally requested
Finally, let's try to access the interface address of another project to see if we really don't have to log in again
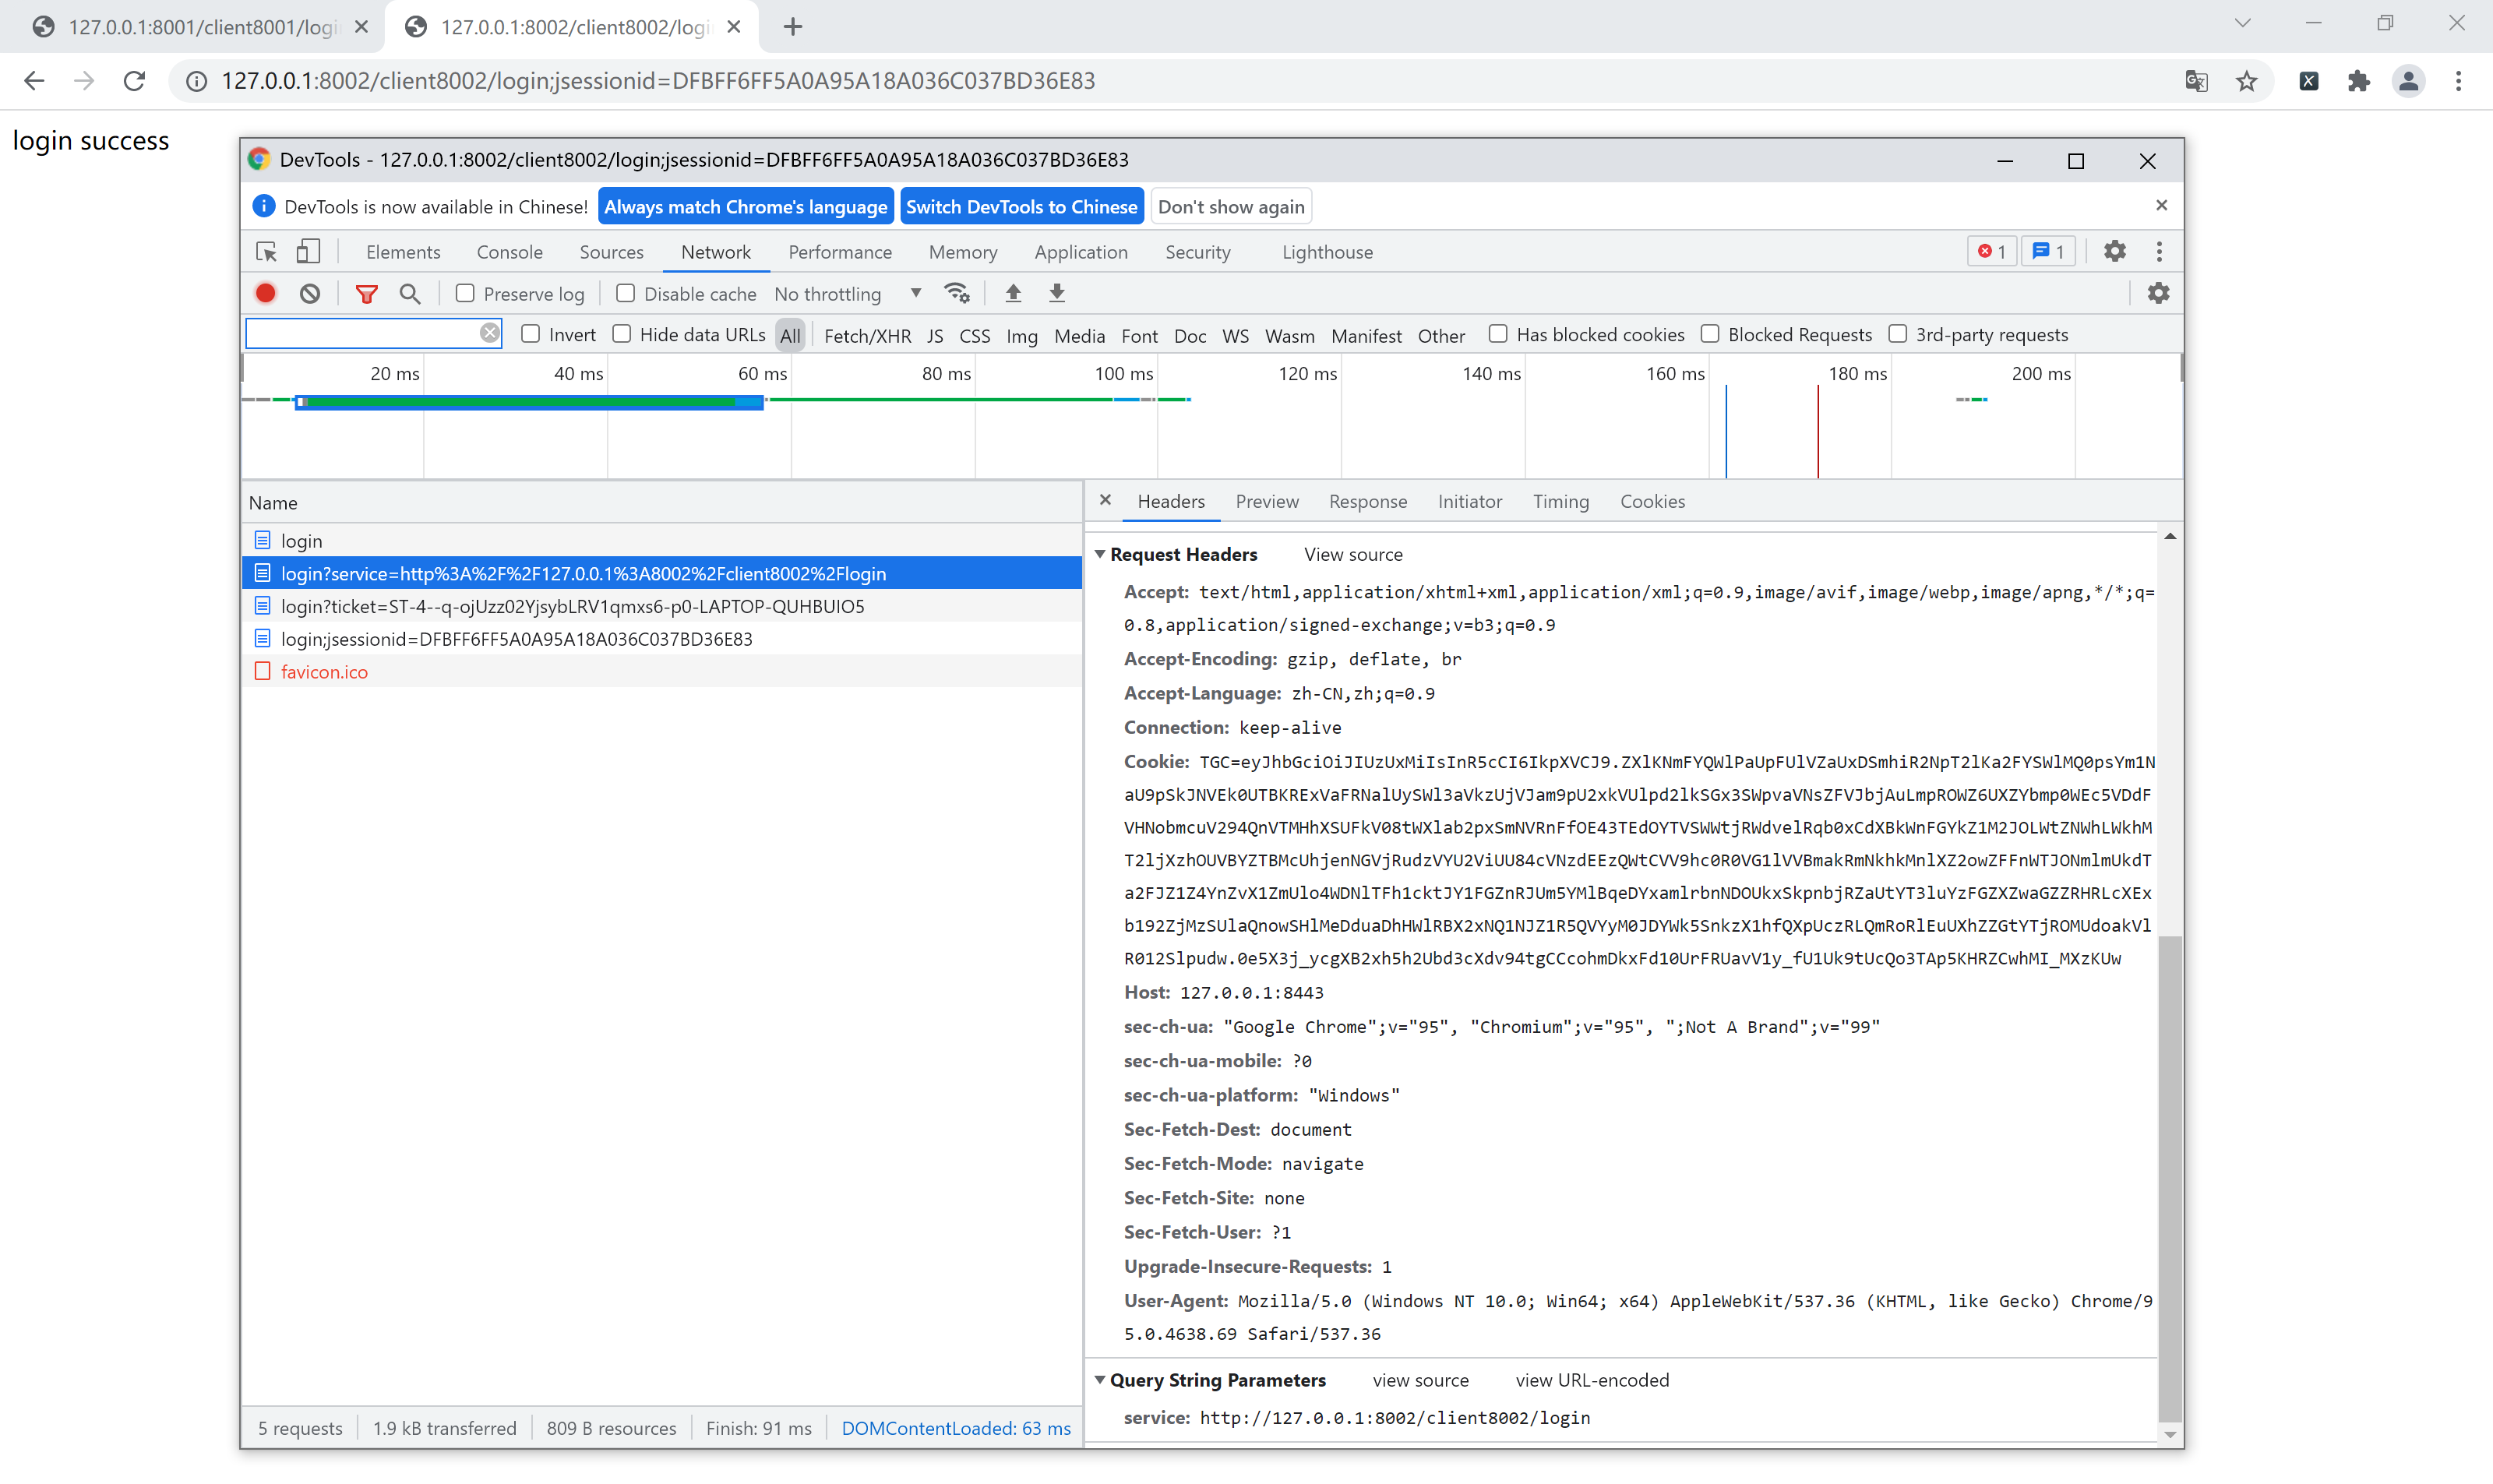
OK, there's no problem. The automatic login succeeds on the spot and accesses the interface to request the address. If you look carefully, you will find that in fact, it will redirect to the CAS login, but soon, ah, the login is completed in a snap. After the interface gets the ticket, it turns back immediately. From the user's perspective, it is completed in an instant, seconds wow ~.
The above is the whole content of CAS single sign on. If the partners think it's good and helpful, they might as well point a praise before going!