Blog address: http://blog.csdn.net/FoxDave
In this article, we continue to see how to create a group of Office 365 using GraphHttpClient, requiring POST requests.
Add buttons and placeholders for results
We need to modify the HTML code again and add a button to create a group.
1. Open the file src webparts helloWorld HelloWorld WebPart. ts in Visual Studio Code.
2. Modify the render() method to include a button and a div to display the results of the successful creation. The modified render method code is as follows:
public render(): void {
    this.domElement.innerHTML = `
      <div class="${styles.helloWorld}">
      <div class="${styles.container}">
      <div class="ms-Grid-row ms-bgColor-themeDark ms-fontColor-white ${styles.row}">
        <div class="ms-Grid-col ms-u-lg10 ms-u-xl8 ms-u-xlPush2 ms-u-lgPush1">
          <span class="ms-font-xl ms-fontColor-white">Welcome to SharePoint!</span>
          <p class="ms-font-l ms-fontColor-white">Customize SharePoint experiences using Web Parts.</p>
          <p class="ms-font-l ms-fontColor-white">${escape(this.properties.description)}</p>
          <a href="https://aka.ms/spfx" class="${styles.button}">
            <span class="${styles.label}">Learn more</span>
          </a>
          <p>
          <input id="readGroups" type="button" value="Read Groups"/>
          <input id="createGroup" type="button" value="Create New Group"/>
          </p>
          <div id="spCreateGroupResults" ></div>
          <div id="spTableContainer" ></div>
        </div>
      </div>
    </div>
  </div>`;
  this.domElement.querySelector('#createGroup').addEventListener('click',() => {this._createGroup();});
  this.domElement.querySelector('#readGroups').addEventListener('click',() => {this._readGroups();});
}protected _createGroup(){
// Use Microsoft Graph to create a sample group.
this.context.graphHttpClient.post(`v1.0/groups`,GraphHttpClient.configurations.v1,{
body: JSON.stringify({"description": "Self help community for library",
"displayName": "Library Assist",
"groupTypes": [
"Unified"
],
"mailEnabled": true,
"mailNickname": "library",
"securityEnabled": false
})
}).then((response: HttpClientResponse) => {
const resultContainer: Element = this.domElement.querySelector('#spCreateGroupResults');
if (response.ok) {
resultContainer.innerHTML = `<p>Sample group created</p>`;
} else {
resultContainer.innerHTML = `<p>Could not create group see console for details</p>`;
console.warn(response.status);
}
});
}The post() method initiates a POST REST interface request to call the URLv1.0/groups. The third parameter is the IGraphHttpClientOptions value, where the JSON body is used to describe the new group to be created. HttpClientResponse is used to determine whether the call was successfully executed and to display appropriate information.
Run the web part to create a new group
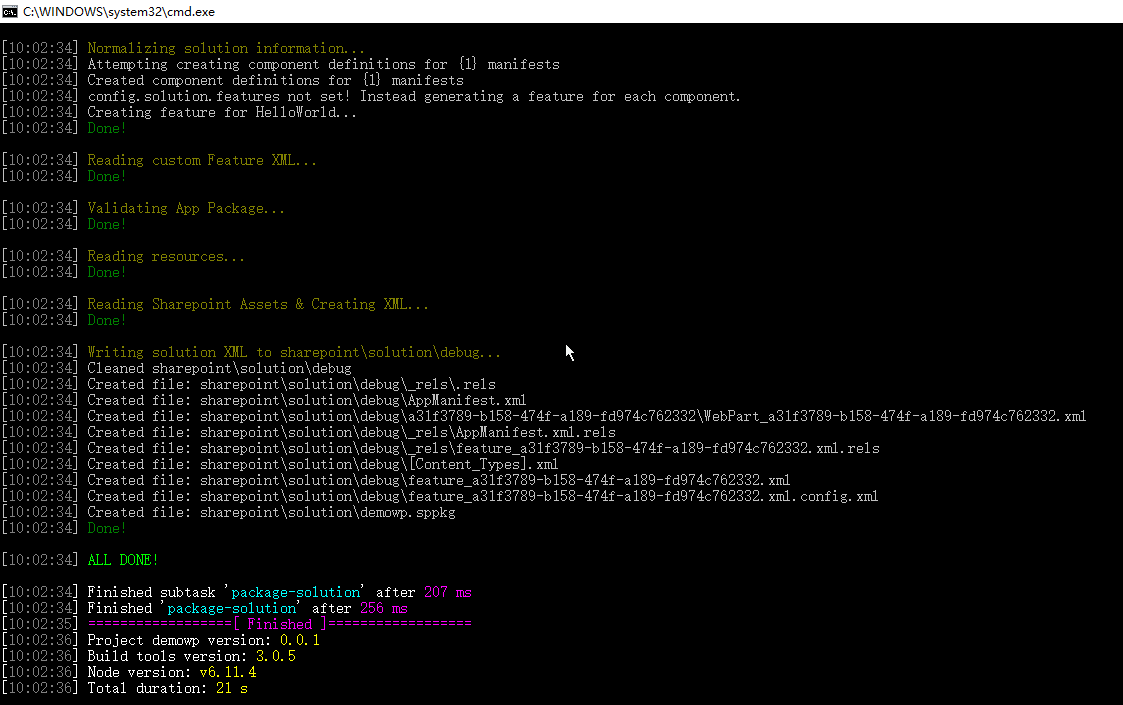
1. Package your solution with gulp
Open the command line, go to the directory where your project is located, and type the command gulp package-solution to package your solution.
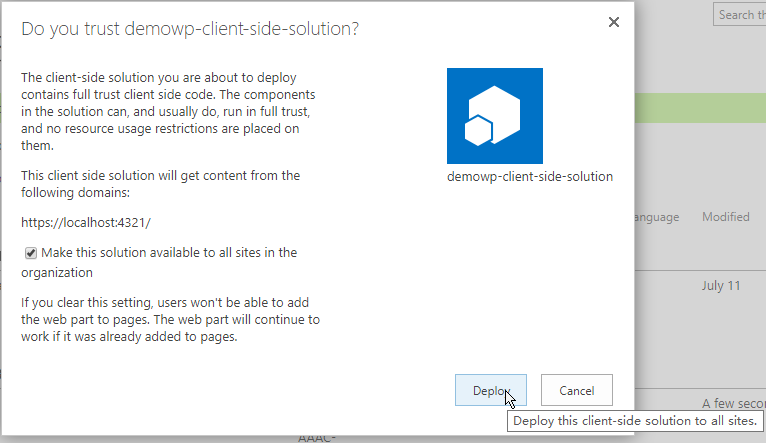
2. Deploy the solution to your SharePoint tenant:
> Visit your application directory website and Apps for SharePoint.
Upload the.sppkg package you just typed ( demowp sharepoint solution) if you prompt that there is a selection override.
> Select deployment in the next pop-up window to indicate whether to trust the solution.
3. Use gulp serve r command to carry the web components we have written. The command is gulp service--nobrowser.
4. Adding web components to any web page or using a workbench for testing is the same as the previous one. At this moment, my network environment is very poor, so I can't map it.
5. When you click the Create New Group button, the code creates a new Office 365 group. Note that if the created group already exists in Office 365, the error message that the group already exists will be returned.
That's all for this article. The next one will briefly introduce how to update group information.