1. Basic description of implementation function
-
Today we're going to use springboot for a non-web project. We're more focused on implementation, so the logic is simple.
-
Implement the function: pass in two numbers through the main() method to sum and print.
2. Specific implementation
1. Initialize a project first
-
We can create a project with the initialization tools officially provided by spring.
- Tool address: https://start.spring.io/
-
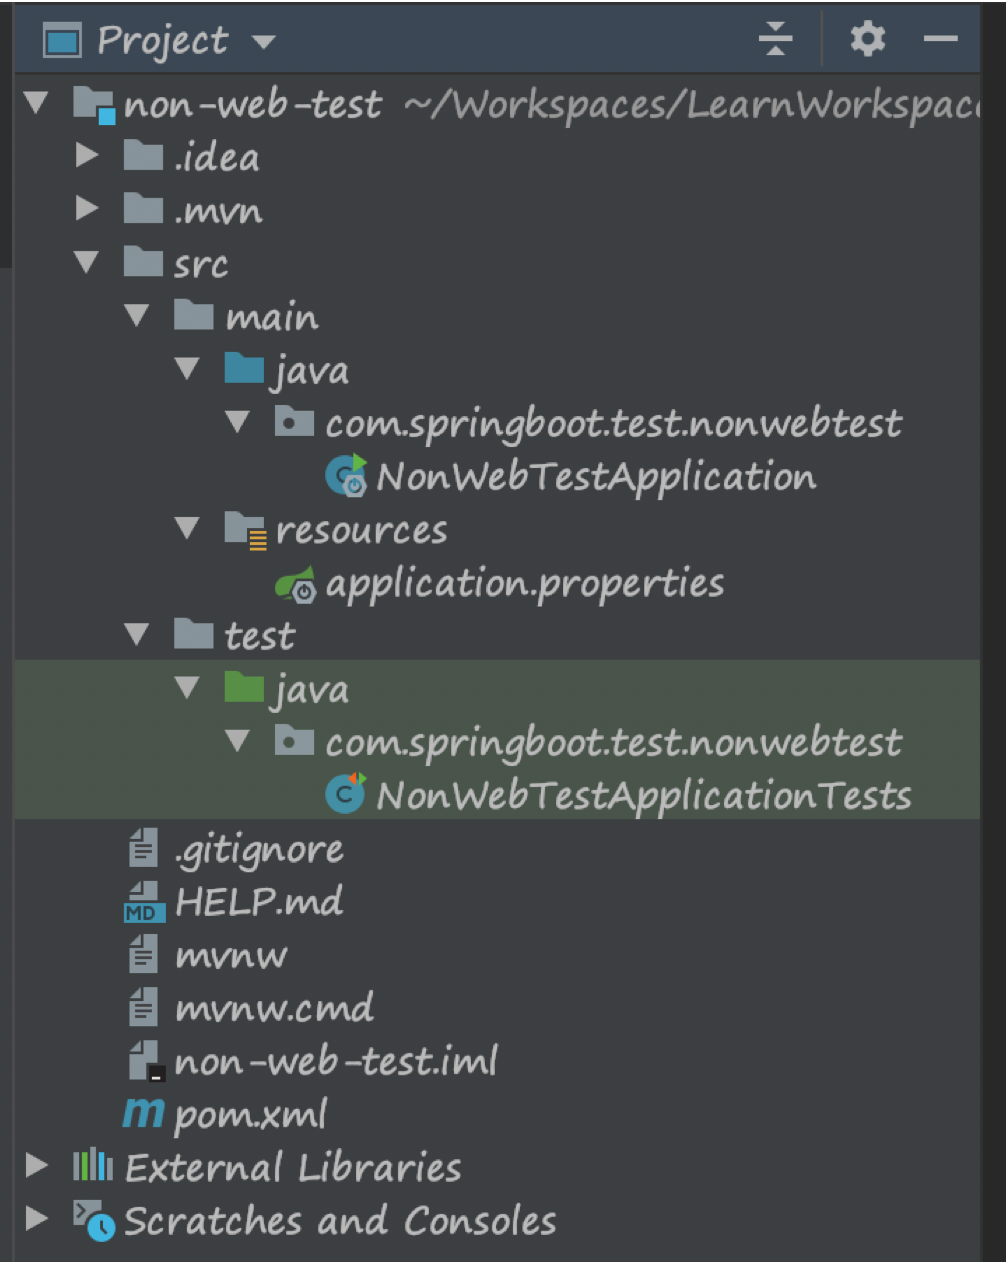
The following is the initial catalog structure for the project
2. Add Dependency
-
We do it in the most convenient way.Use the spring-boot-starter-parent parent project in pom.xml.
-
Of course, once generated using the initialization tool, spring helps us add some dependencies, and the current file is as follows.
<?xml version="1.0" encoding="UTF-8"?>
<project xmlns="http://maven.apache.org/POM/4.0.0" xmlns:xsi="http://www.w3.org/2001/XMLSchema-instance"
         xsi:schemaLocation="http://maven.apache.org/POM/4.0.0 https://maven.apache.org/xsd/maven-4.0.0.xsd">
    <modelVersion>4.0.0</modelVersion>
    <parent>
        <groupId>org.springframework.boot</groupId>
        <artifactId>spring-boot-starter-parent</artifactId>
        <version>2.2.1.RELEASE</version>
    </parent>
    <groupId>com.springboot.test</groupId>
    <artifactId>non-web-test</artifactId>
    <version>0.0.1-SNAPSHOT</version>
    <name>non-web-test</name>
    <description>Demo project for Spring Boot</description>

    <properties>
        <java.version>1.8</java.version>
    </properties>

    <dependencies>
        <dependency>
            <groupId>org.springframework.boot</groupId>
            <artifactId>spring-boot-starter</artifactId>
        </dependency>

        <dependency>
            <groupId>org.springframework.boot</groupId>
            <artifactId>spring-boot-starter-test</artifactId>
            <scope>test</scope>
            <exclusions>
                <exclusion>
                    <groupId>org.junit.vintage</groupId>
                    <artifactId>junit-vintage-engine</artifactId>
                </exclusion>
            </exclusions>
        </dependency>
    </dependencies>

    <build>
        <plugins>
            <plugin>
                <groupId>org.springframework.boot</groupId>
                <artifactId>spring-boot-maven-plugin</artifactId>
            </plugin>
        </plugins>
    </build>

</project>
3. Get the applicationContext
- Because we need to call the service, we need to get the applicationContext.Provide a way to get the applicationContext by providing the following classes.
@Component
public class SpringUtil implements ApplicationContextAware {

    private static ApplicationContext applicationContext = null;

    @Override
    public void setApplicationContext(ApplicationContext applicationContext) throws BeansException {
        if(SpringUtil.applicationContext == null){
            SpringUtil.applicationContext  = applicationContext;
        }
    }

    //Get applicationContext
    public static ApplicationContext getApplicationContext() {
        return applicationContext;
    }

}
4. Create a test service interface and implementation class
- This person should be familiar with the road and go directly to the code without much explanation.
public interface DemoService {
    void addTest(int a, int b);
}
@Service
public class DemoServiceImpl implements DemoService {
    @Override
    public void addTest(int a, int b) {
        System.out.println("a + b = " + a + b);
    }
}
5. Modify Startup Class
-
There are two total steps:
- Specify to start in non-web mode at startup.
- We need to simulate the startup of the main() method, so we need to execute some methods at startup time.This can be achieved by implementing the ApplicationRunner or the CommandLineRunner.This is demonstrated using the implementation of ApplicationRunner.
@SpringBootApplication
public class NonWebTestApplication implements ApplicationRunner {

    public static void main(String[] args) {
        new SpringApplicationBuilder()
                .sources(NonWebTestApplication.class)
                // Specify non-web mode
                .web(WebApplicationType.NONE)
                .run(args);
    }

    @Override
    public void run(ApplicationArguments args) {
        ApplicationContext applicationContext = SpringUtil.getApplicationContext();
        DemoService demoService = applicationContext.getBean(DemoService.class);

        List<String> dateList = args.getNonOptionArgs();
        if (CollectionUtils.isEmpty(dateList) || dateList.size() != 2) {
            demoService.addTest(0, 0);
            return;
        }

        int a = Integer.parseInt(dateList.get(0));
        int b = Integer.parseInt(dateList.get(1));
        demoService.addTest(a, b);
    }
}
3. Verification results
Pack
mvn package
Then run it to see
cd target
java -jar non-web-test-0.0.1-SNAPSHOT.jar 5 6
Result
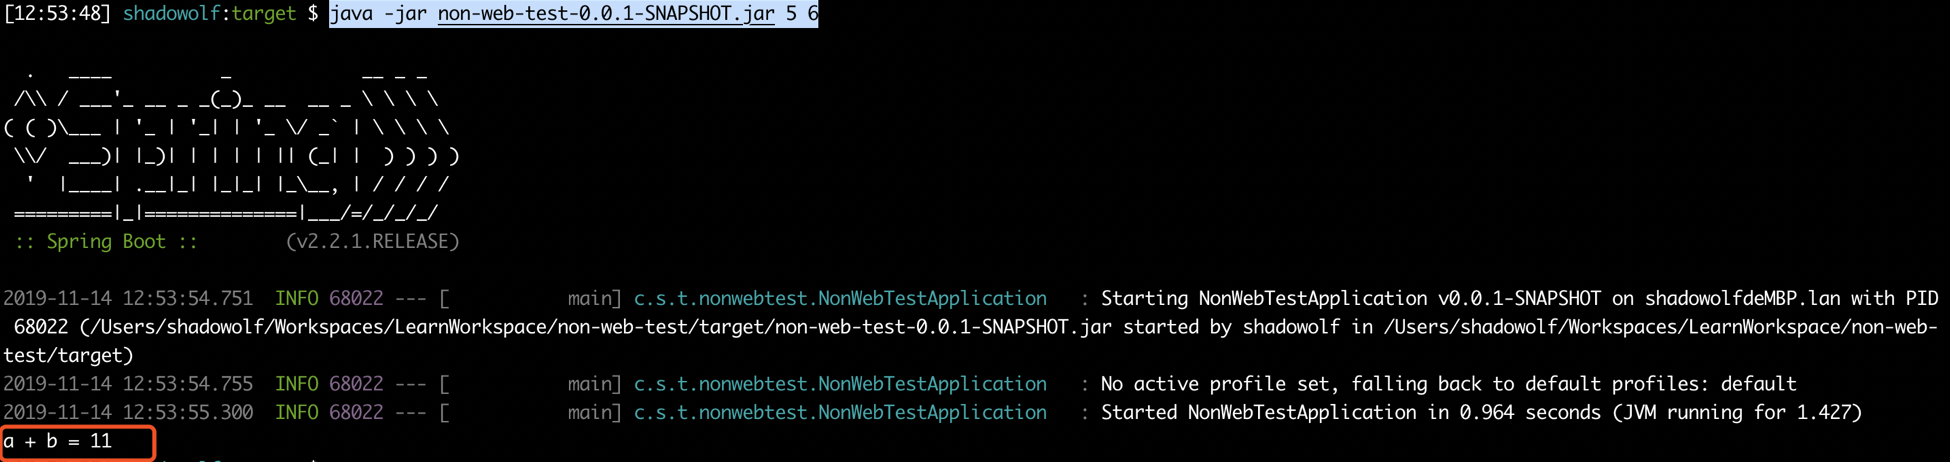
- The execution has been executed, and the project is finished perfectly.
4. Get a thrill
- Seeing the results above, is it the same as running a non-web project before?
- The most important thing is whether direct commands are followed by parameters, which is a bit like executing a script.