First, why don't I use vue-cli scaffolding?
As we all know, Vue is relatively easy to start, build a project, a line of NPM install vue-cli-g can help us quickly build a project architecture, we do not have to think about how to design webpack, what vue-loader is used for, and so on, because cue-cli has helped us build the most basic development environment, we installed cli, you can directly enter the code development. Stage.
Of course, the use of cli alone can also develop excellent projects, but for the diversity of follow-up projects, some excellent plug-ins continue to update, so that we can not better iterate and update our projects, understanding of vue and project co-ordination capabilities have not been greatly improved, such as now let you upgrade webpack2 to webpack4, will you be confused?
So after reading some words and understanding the company's project, we built a framework of vue+webpack, which not only satisfies the development of SPA, but also satisfies some multi-entry project frameworks to build individual web pages. Of course, this 1.0 version is full of basic needs, with more polishing and splitting, you can expand it by yourself.
II. Primary Construction
Create a new some folder, open the terminal and start building
npm init
The basic requirements for the installation of the framework are as follows:
NPM I webpack vue-loader-D (vue-loader: parsing and transforming. Vue files, extracting the logic code script, style code, and HTML template template, and then handing them to the corresponding Loader to process)
NPM I webpack-cli-s-d (webpack 4 has started using webpack-cli)
npm i css-loader vue-template-compiler -D
(css-loader: Load CSS code extracted by vue-loader.)
(vue-template-compiler: compiles the HTML template extracted by vue-loader into the corresponding executable JavaScript code)
Then we create a new app.vue file under the src directory, which can write some business code about the project:
<template>
    <div> luckfine </div>
</template>
<script>
    export default {
        data () {
            //text: 'luckfine'
        }
    }
</script>
<style>
</style>
The file with the suffix. vue cannot run directly in the browser. We have to make it run.
Now we need to create a new webpack.config.js file in the project root directory. What webpack does is to analyze your project structure, find out the JavaScript module and some other extensions (Scss, TypeScript, etc.) that browsers can't run directly, and package it into the appropriate format for browsers to use.
We create a new index.js as the entry file in the src directory, and write something in it by the way:
// index.js
import Vue from 'vue'
import App from './app.vue'

const root = document.createElement('div')
document.body.appendChild(root)

new Vue({
    render: (h) => h(App)
}).$mount(root)
When index.js is ready, it can be written in webpack.config.js as follows:
// webpack.config.js
const path = require('path')
const VueLoaderPlugin = require('vue-loader/lib/plugin');

module.exports = {
    entry:  path.join(__dirname, 'src/index.js'),
    mode:'develop',
    output: {
        filename: 'bundle.js',
        path: path.join(__dirname, 'dist')
    },
    module: {
        rules: [
            {
                test: /.vue$/,
                loader: 'vue-loader'
            }
        ]
    },
    plugins:[
        new VueLoaderPlugin()
    ],
}
webpack packages all files into a bundle.js file and is code that can run directly in the browser. Now we can add a script to the scripts object in the package.json file:
(Note: Web Pack 4 already specifies the boot environment with mode at boot time)
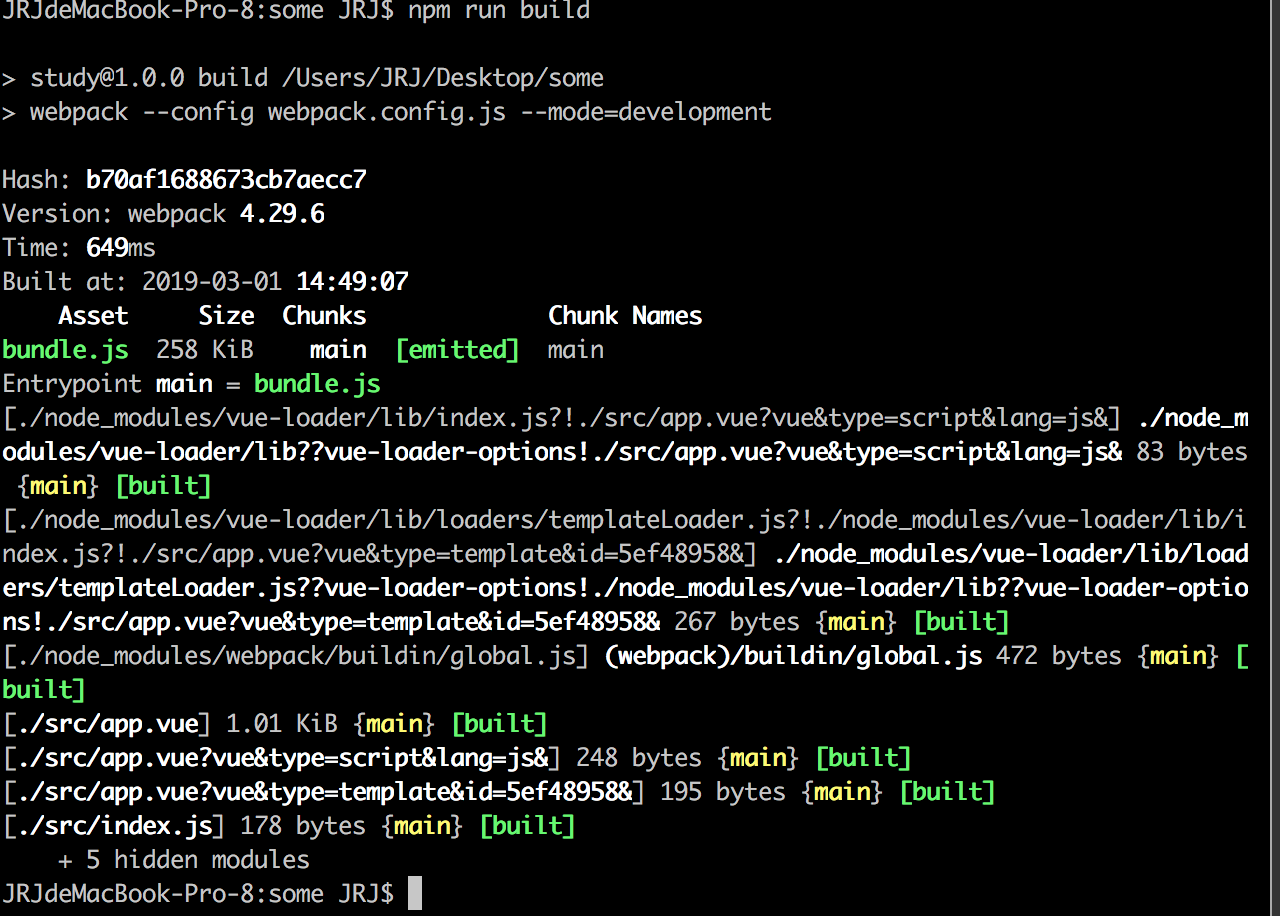
 "scripts": {
    "build": "webpack --config webpack.config.js --mode=development"
  },
After adding this section, let's go to terminal to run NPM build
You will find the build successful
Third, in-depth expansion (SPA)
Now we can parse vue files with browsers, but is it so simple to build a project framework? Now let's start our spa construction path.
Delete the original app.vue and index.js
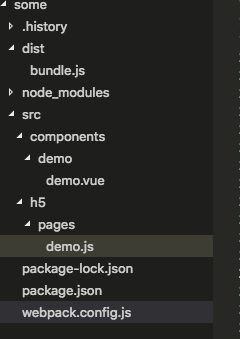
Create a new component in src for us to store vue files
Create a new folder in src, h5, for Project 1 (SPA), where pages contain js of our entry files.
Because the entry file has changed, you need to change webpack.config.js at this time
entry: path.join(__dirname, 'src/h5/pages/demo.js'),
To start our project locally, we can install a devServernpm install webpack-dev-server-s-d, and html-webpack-pluginnpm install html-webpack-plugin-d-s.
At this point, webpack.config.js
// webpack.config.js

const path = require('path')
const VueLoaderPlugin = require('vue-loader/lib/plugin');
const HtmlWebpackPlugin = require('html-webpack-plugin');

module.exports = {
    entry:  path.join(__dirname, 'src/h5/pages/demo.js'),
    mode:'develop',
    output: {
        filename: 'bundle.js',
        path: path.join(__dirname, 'dist')
    },
    module: {
        rules: [
            {
                test: /.vue$/,
                loader: 'vue-loader'
            }
        ]
    },
    resolve: {
        extensions: [
          '.vue', '.js'
        ],
        modules: ["node_modules"],
        alias: {
          vue: 'vue/dist/vue.min.js',
          components: path.resolve(__dirname + '/src/components/'),
          '@': path.resolve('src')
        }
    },
    plugins:[
        new HtmlWebpackPlugin(),
        new VueLoaderPlugin()
    ],
    devServer: {
        historyApiFallback: {
          index: `/dist/h5/index.html`
        },
        host: '0.0.0.0',
        disableHostCheck: true
    }
}
Add the startup entry "dev" in package.json: "webpack-dev-server -- inline -- hot -- mode = development".
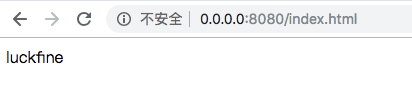
At this point, when we execute npm run dev in terminal, we can see that he automatically creates an index.html for us, inserts the packaged js into it, and the project is ready to run.
In order to enrich our project, we also need to introduce vuexnpm install vuex-s-d into the project.
Create a new stores folder under the src directory and put a getdata.js in it as our first store to get data
// getdata.js

/*
 * Synchronized store, set the value in state
 * namespaced To be true, to avoid naming conflicts between module s of store s, getters, mutations, actions
 */

import $ from 'jquery'
export default {
  namespaced: true,
  state: {
    // When initializing, be sure to initialize all data members, otherwise later updates of data will not trigger updates displayed.
    dataList: []
  },
  mutations: {
    setData(state, res) {
      state.dataList = res;
    }
  },
  // The browser environment can use actions to get data. The server should use Node.js to get data, and then synchronously store the data into the store through mutations.
  actions: {
    getList({
      commit,
      rootState,
      state
    }, options) {
      return $.ajax({
        url: 'http://*******/getLastNotice'+'Corporate Interface, Confidentiality',
        dataType: 'json'
      }).then(data => {
          commit('setData', data)
      })
    }
  }
}
Introduce vuex into our entry file and use getdata as our stoe
// demo.js
import Vue from 'vue'
import Vuex from 'vuex'
import App from 'components/demo/demo'
import data from 'stores/getdata'

Vue.use(Vuex)

const store = new Vuex.Store({
    modules: {
        data
    }
  })

const root = document.createElement('div')
document.body.appendChild(root)

new Vue({
    render: (h) => h(App),
    store
}).$mount(root)
At this point, we can request and retrieve data from the store in the component.
<style>

</style>
<template>
    <div id="test">{{vueData}}</div>
</template>
<script>
import {
    mapState
} from 'vuex'

    export default {
        data () {
            // text: 'demo'
        },
        computed:mapState({
            vueData: state => state.data.dataList
        }),
        mounted () {
            this.$store.dispatch('data/getList')
        }
    }
</script>
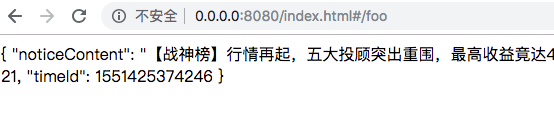
When npm run dev runs, you can see that in the component, we request the interface and render the interface data to the page.
Continue to enrich, introduce vue-routernpm install vue-router-d-s
For simplicity, I don't have to create so many components, and the partners can optimize themselves.
//  demo.js

import Vue from 'vue'
import Vuex from 'vuex'
import VueRouter from 'vue-router'
import App from 'components/demo/demo'
import data from 'stores/getdata'


Vue.use(Vuex)
Vue.use(VueRouter)

const Foo = { template: '<div>foo</div>' }
const Bar = { template: '<div>bar</div>' }

const routes = [
    { path: '/foo', component: Foo },
    { path: '/bar', component: Bar }
  ]

const router = new VueRouter({
    routes // short for `routes: routes`
  })

const store = new Vuex.Store({
    modules: {
        data
    }
  })

const root = document.createElement('div')
document.body.appendChild(root)

new Vue({
    render: (h) => h(App),
    store,
    router
}).$mount(root)
Applying Routing in Components
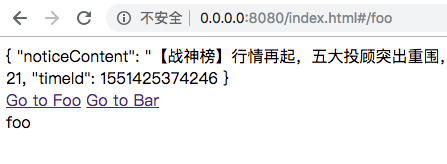
<style>

</style>
<template>
    <div>
        <div id="test">{{vueData}}</div>
        <router-link to="/foo">Go to Foo</router-link>
        <router-link to="/bar">Go to Bar</router-link>
        <router-view></router-view>
    </div>
</template>
<script>
import {
    mapState
} from 'vuex'

    export default {
        data () {
            // text: 'demo'
        },
        computed:mapState({
            vueData: state => state.data.dataList
        }),
        mounted () {
            this.$store.dispatch('data/getList')
        }
    }
</script>
So at this point npm run dev, you can see that the routing is also rendered.
IV. Deep Expansion (Multi-entrance Project)
Okay, so far, the vue architecture of a single page application is ok ay. At this time, if we want to make a simple promotional page, then we create a new route, and then load the whole spa when we request it? Is this a waste of resources, then we in this framework, a new folder, used to store single entry files, so that each page loads only this promotional page js, it is not beautiful.
So we know that vue+webpack projects are basically node-based, we can enter the project, by adding the parameter env='project name, entry file name', to get the js of the entry file we will start.
Small knowledge point, node has a process object, process is a global object, can access it anywhere. Through the properties and methods provided by this object, we can access and control the process of the current running program. We can obtain parameters through process.argv.
Under src, we create a new project folder more-entry and a pages folder under more-entry to store the entry file js. We create a new a.js and b.js.
// a.js
import Vue from 'vue'
import Vuex from 'vuex'
import App from 'components/more-entry/a'
import data from 'stores/getdata'


Vue.use(Vuex)


const store = new Vuex.Store({
    modules: {
        data
    }
  })

const root = document.createElement('div')
document.body.appendChild(root)

new Vue({
    render: (h) => h(App),
    store
}).$mount(root)
// b.js
import Vue from 'vue'
import Vuex from 'vuex'
import App from 'components/more-entry/b'
import data from 'stores/getdata'


Vue.use(Vuex)


const store = new Vuex.Store({
    modules: {
        data
    }
  })

const root = document.createElement('div')
document.body.appendChild(root)

new Vue({
    render: (h) => h(App),
    store
}).$mount(root)
Then the corresponding component is
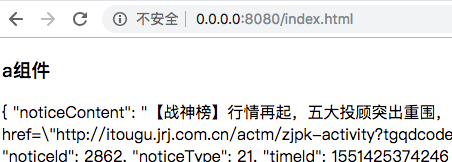
// a.vue
<style>

</style>
<template>
    <div>
        <h3>a assembly</h3>
        <div id="test">{{vueData}}</div>
    </div>
</template>
<script>
import {
    mapState
} from 'vuex'

    export default {
        data () {
            // text: 'demo'
        },
        computed:mapState({
            vueData: state => state.data.dataList
        }),
        mounted () {
            this.$store.dispatch('data/getList')
        }
    }
</script>
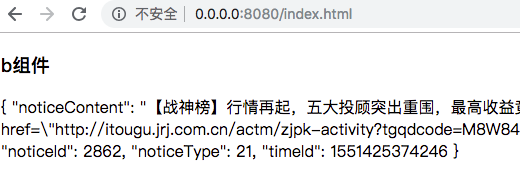
// b.vue
<style>

</style>
<template>
    <div>
        <h3>b assembly</h3>
        <div id="test">{{vueData}}</div>
    </div>
</template>
<script>
import {
    mapState
} from 'vuex'

    export default {
        data () {
            // text: 'demo'
        },
        computed:mapState({
            vueData: state => state.data.dataList
        }),
        mounted () {
            this.$store.dispatch('data/getList')
        }
    }
</script>
Combined with our spa project, webpack.config.js at this time
// webpack.config.js
const path = require('path')
const VueLoaderPlugin = require('vue-loader/lib/plugin');
const HtmlWebpackPlugin = require('html-webpack-plugin');
const fs = require('fs');

let featureName = 'h5';  // The name of the project to start
let page = null; // The entry file js name of the startup project
    process.argv.some(function(arg) {
        console.log(arg)
        let arr = arg.match(/\-\-env=([a-zA-Z0-9\-_,]+)/);
        if (arr) {
            let config = arr[1].split(',');

            featureName = config[0];
            if (config[1]) {
                page = config[1];
            }
        }
    });

module.exports = {
    entry:  path.join(__dirname, 'src/'+featureName+'/pages/'+page+'.js'),
    mode:'develop',
    output: {
        filename: 'bundle.js',
        path: path.join(__dirname, 'dist'),
        filename:featureName + '/[name].js'
    },
    module: {
        rules: [
            {
                test: /.vue$/,
                loader: 'vue-loader'
            }
        ]
    },
    resolve: {
        extensions: [
          '.vue', '.js'
        ],
        modules: ["node_modules"],
        alias: {
          vue: 'vue/dist/vue.min.js',
          stores: __dirname + '/src/stores/',
          components: path.resolve(__dirname + '/src/components/'),
          '@': path.resolve('src')
        }
    },
    plugins:[
        new HtmlWebpackPlugin(),
        new VueLoaderPlugin()
    ],
    devServer: {
        // historyApiFallback: {
        //     index: `/dist/${featureName}/index.html`
        // },
        host: '0.0.0.0',
        disableHostCheck: true
    }
}
Start the project NPM run dev - -- env = more-entry, b, and you can see that the browser has been rendered.
npm run dev -- --env=more-entry,a
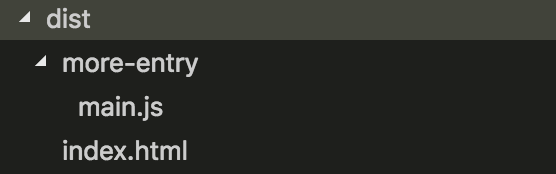
NPM run build - -- env = more-entry, B can be used for individual packaging
So far, a simple project architecture has come out. In the follow-up, we only need to create corresponding folders under src, add common tools such as js, introduce rendering templates, add corresponding loader s, introduce es-lint, parse es6 grammar and so on. You can build your own.
Code words are not easy, welcome to reward.