There are too many photos at home. I found a lot of software, which can't achieve the desired effect of viewing pictures. Now I share a PHP family album program built on raspberry pie, which can be viewed by folders, calendars, keywords, and full screen slide show. I believe that many students are the same as me, Want to build a PHP album program, you can view your photos anytime, anywhere. OK, nonsense. Let's see the effect picture below
Login window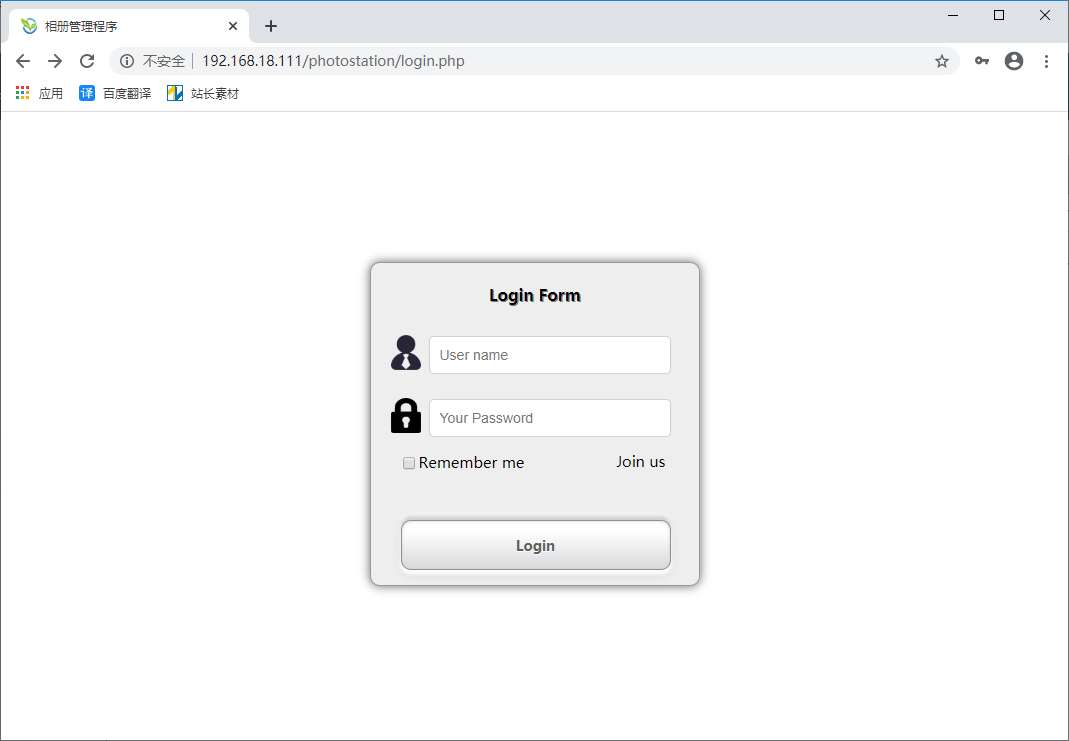
View of folder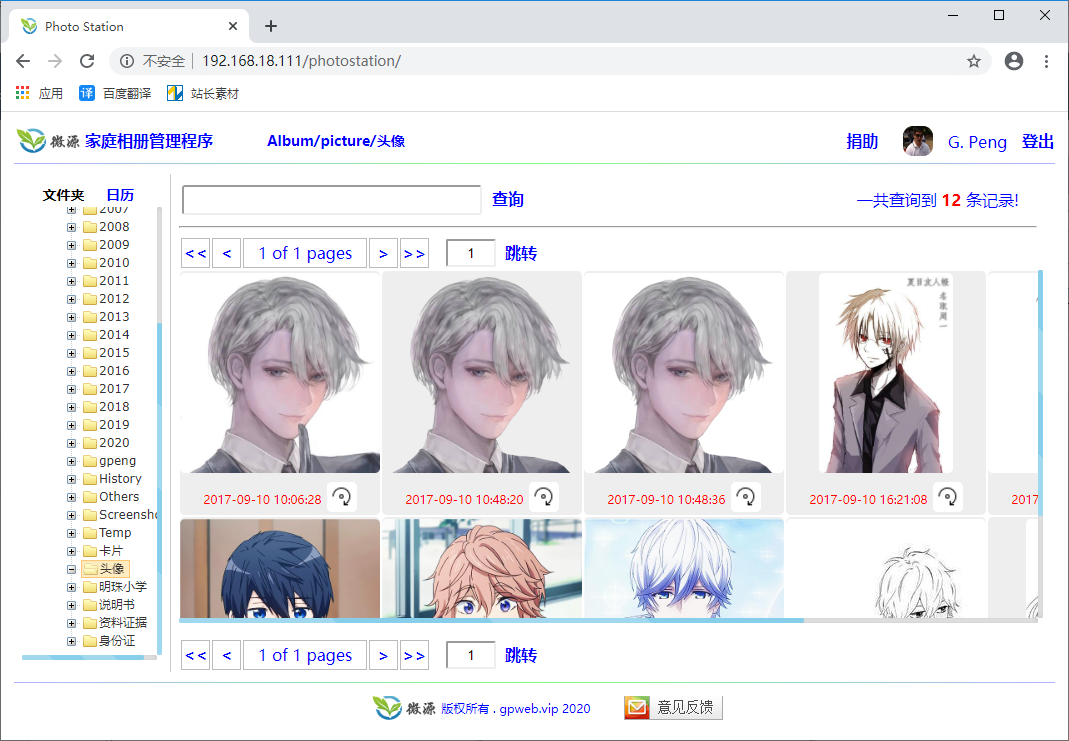
Calendar view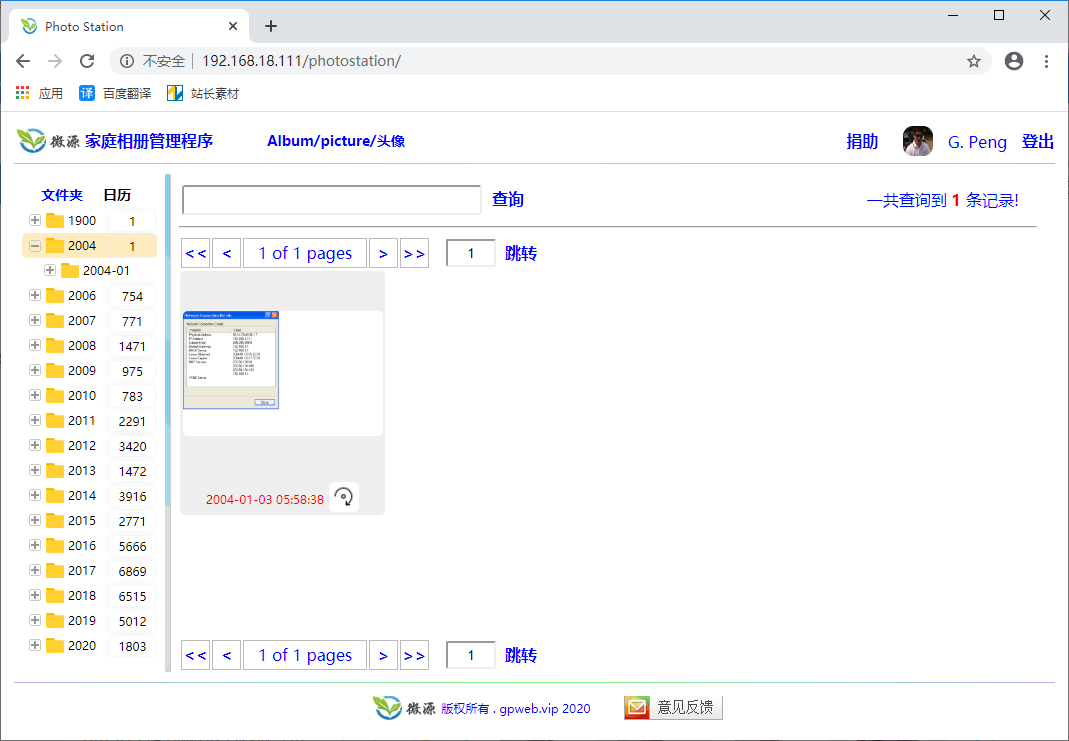
Page setup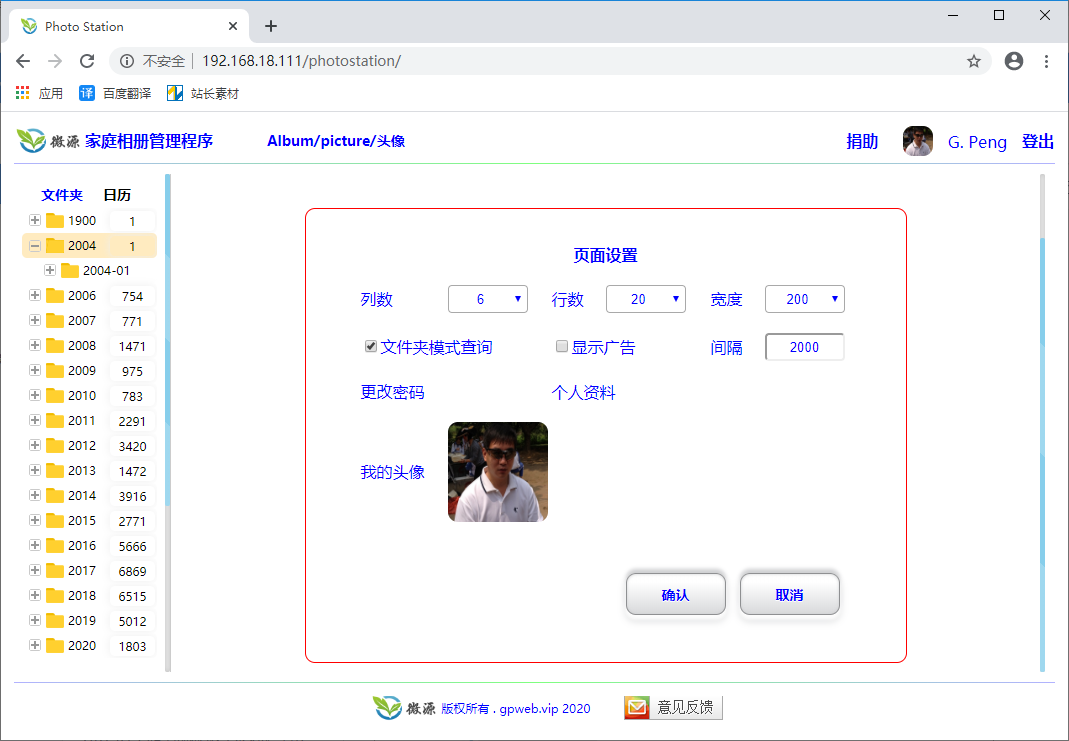
Full screen slide show of all pictures found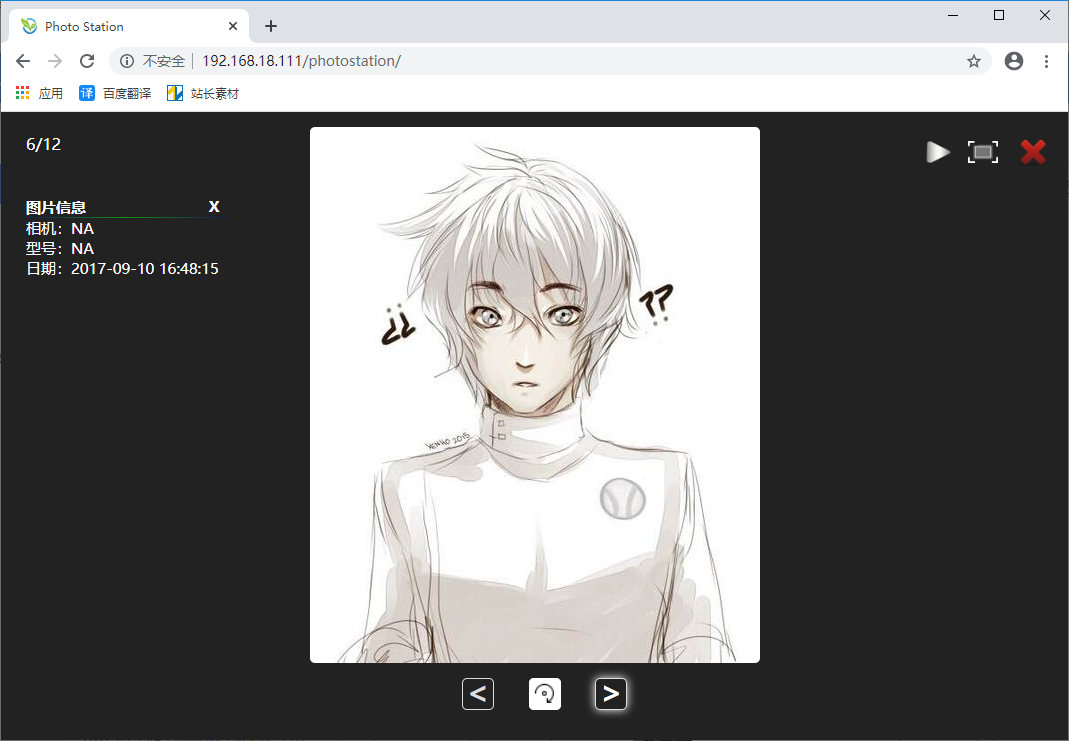
Other functions, to be installed by students to find their own.
Next, I will introduce the process in detail, which can be roughly divided into: first, build PHP environment, python 3 running environment, samba shared folder environment, ssh Remote access to raspberry pie function, and then copy the source code of my album management program to my own raspberry pie with simple settings, and then you can use it.
1, Raspberry sent to build PHP environment first
Hardware requirements:
1. Raspberry pie 3B or above, raspberry Pie 4 has USB3.0, and the network is also fast.
2. Raspberry pie power (5V 2A)
3. 16GB tfcard or less (with raspberry pie system, class 10 or more, faster)
4. USB card reader (for burning Linux system image to tfcard)
5. Display adapter line (for debugging, when SSH Remote Access is set up, it can be used)
6. Mobile hard disk (or other substitutes for photos)
My own mobile hard disk
Software requirement
1. Raspberry pie image
September 26, 2019 raspbian Buster full.img here is the download address
https://downloads.raspberrypi.org/raspbian_lite/images/raspbian_lite-2019-09-30/2019-09-26-raspbian-buster-lite.zip
2. Win32 Diski Mager, download address below
https://sourceforge.net/projects/win32diskimager/
The next step of installation is to select the above decompression image 2019-09-26-raspbian-buster-lite.img device and SD card device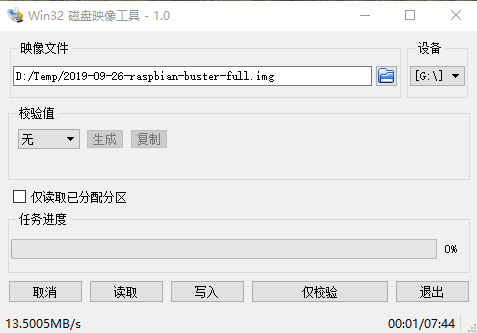
After installation, take out the tfcard and install it on the raspberry pie, ready to start the raspberry pie tour. If the installation is successful, power on raspberry pie, wait for a moment and a picture will appear. The new version of the system requires setting first, as shown in the following figure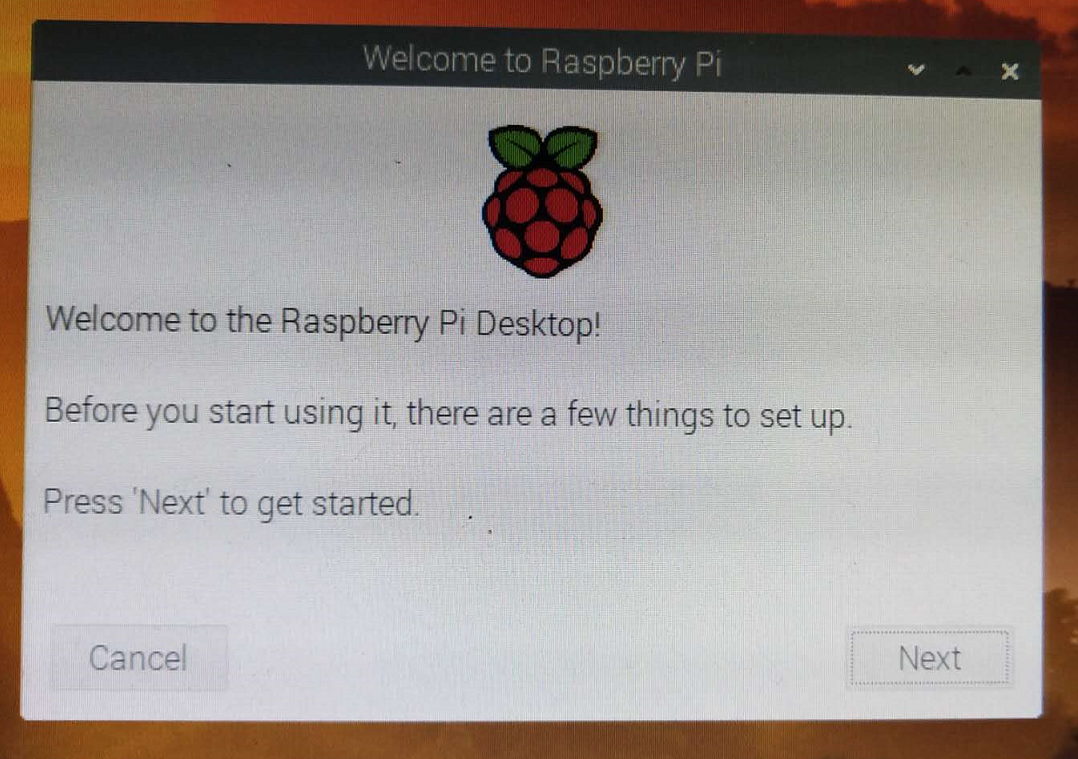
Click Next to set the country. My settings are as follows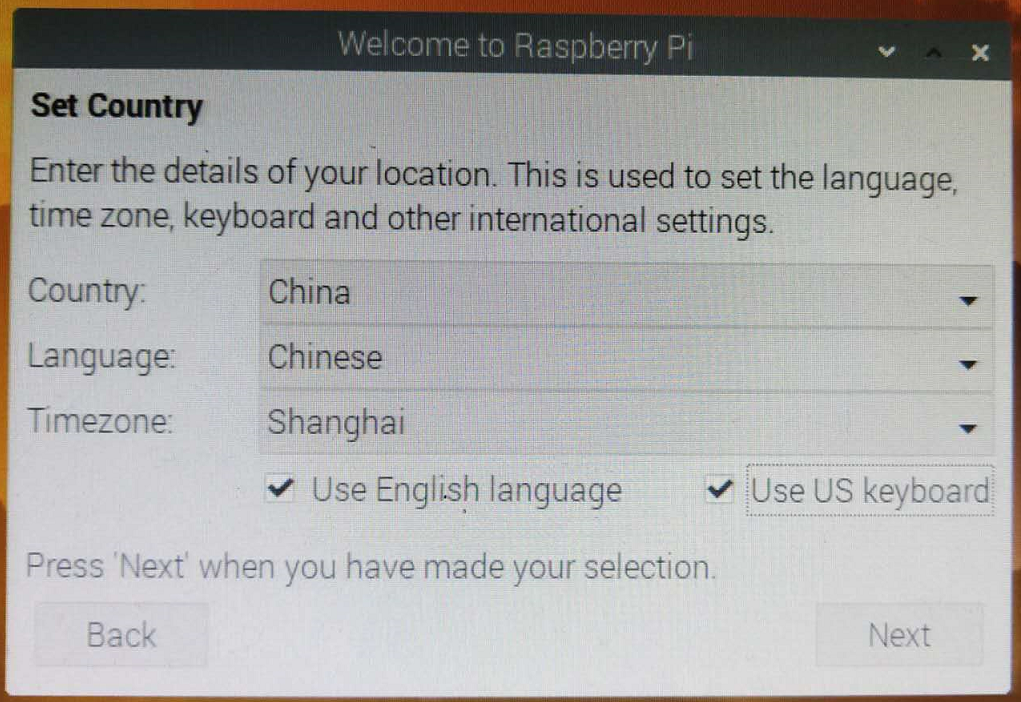
Next, set the login password of the system
The next step is to set up the screen display, which can be set at will. My settings are as follows
The next step is to set up WiFi and password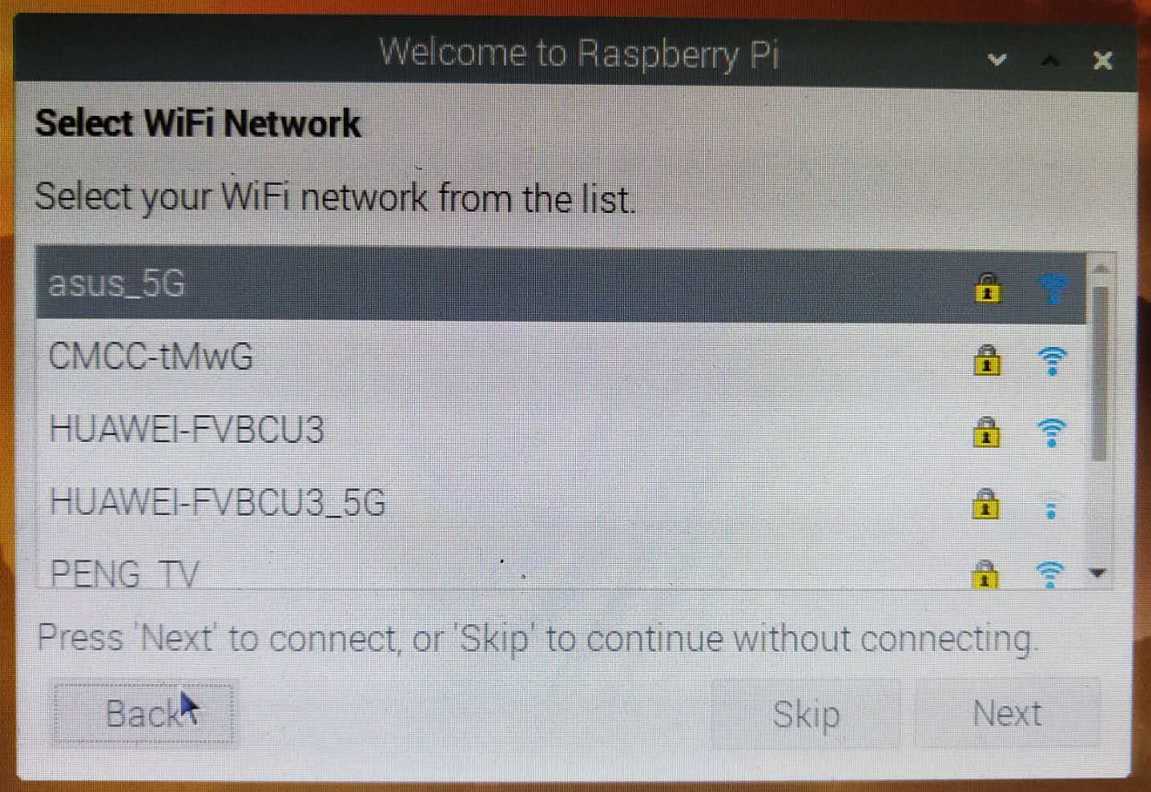
After setting, the system will detect the update. If there is no update source, it is likely that the source will not be updated. No matter whether it can be updated or not, update the source list later.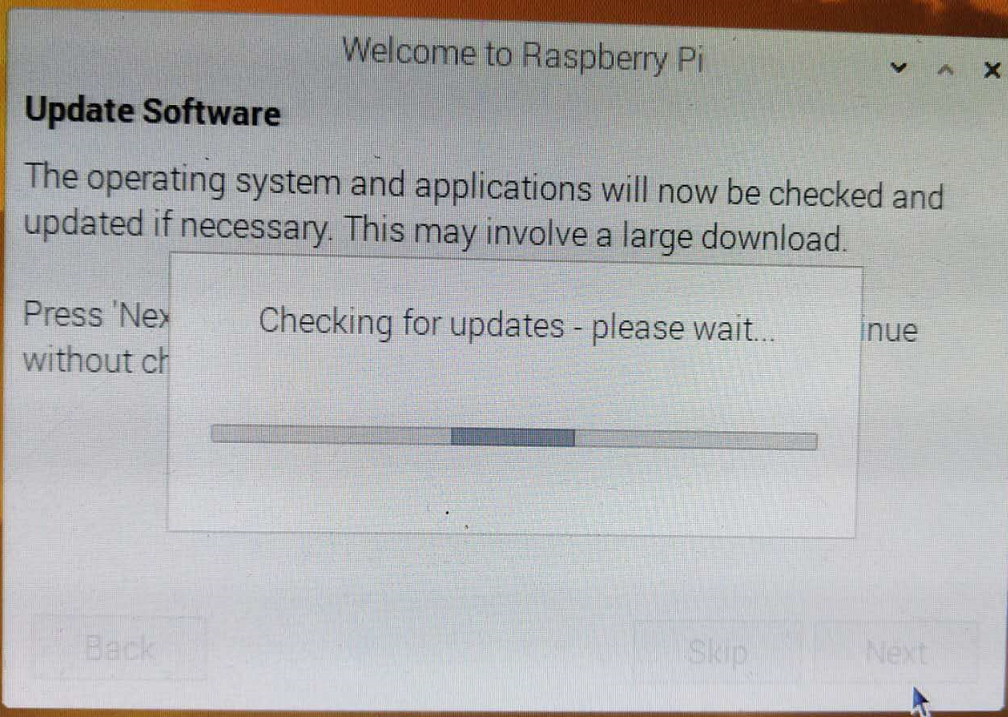
Finally, Restart after setting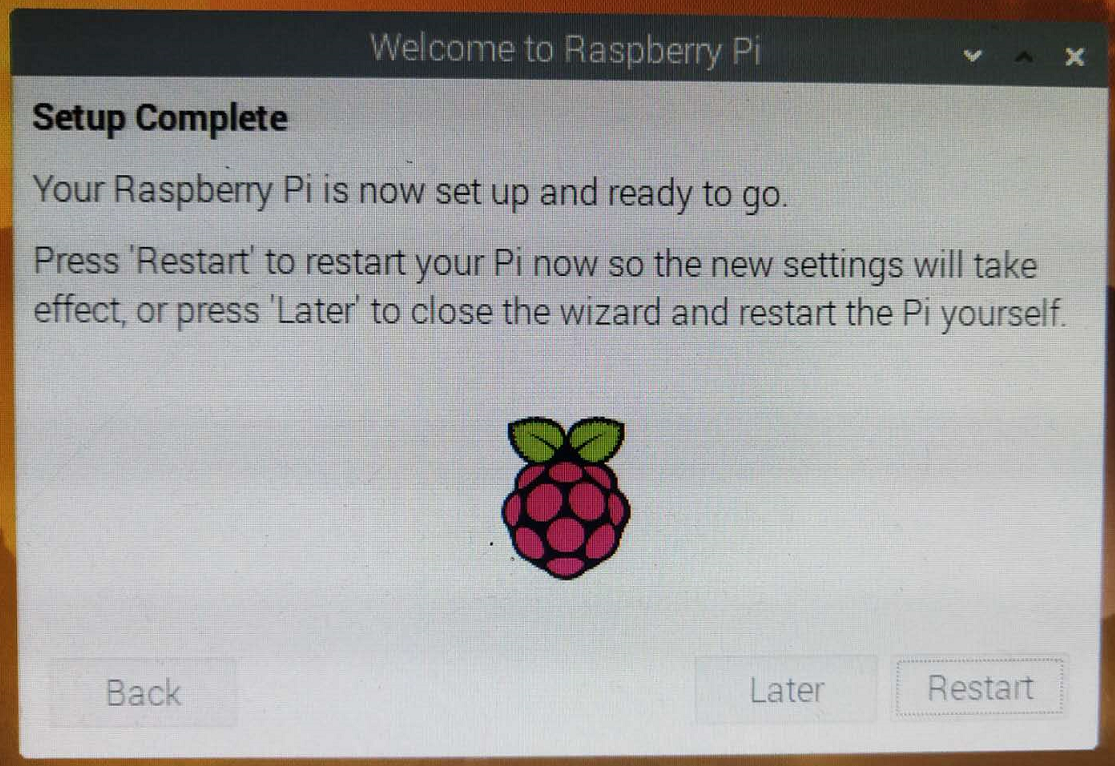
Wait a moment to get into the system. After entering the system, it is recommended to set the IP to static and then SSH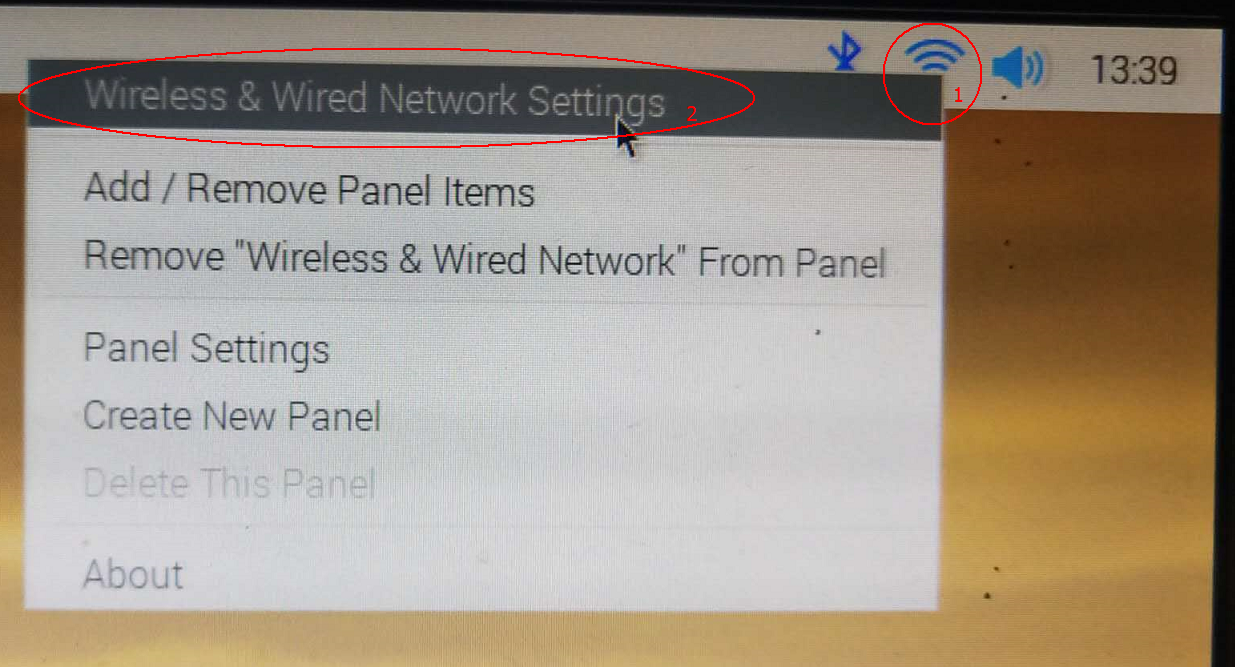
eth0 for wired network and WLAN 0 for wireless network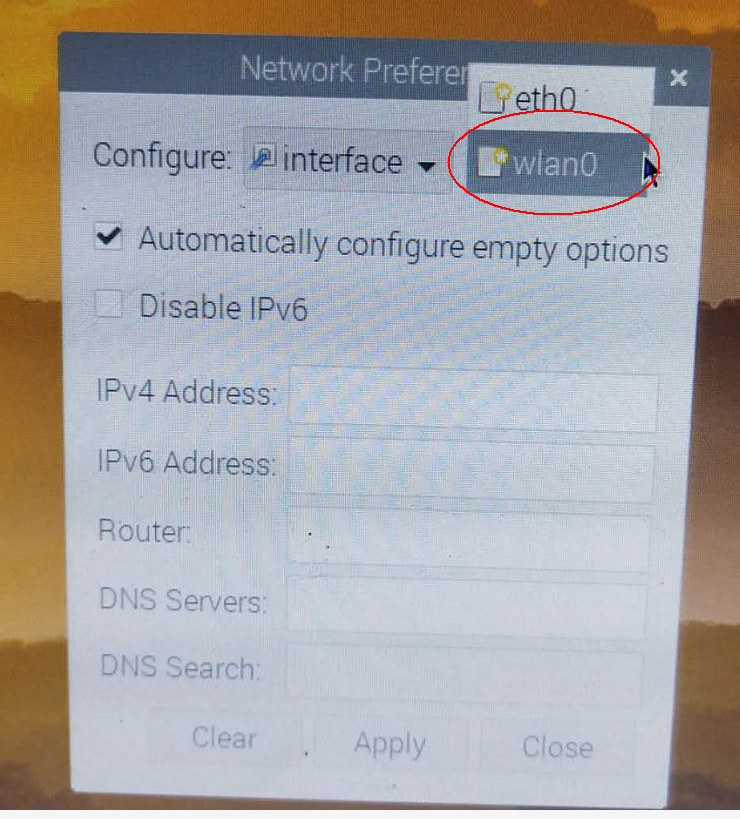
Then fill in the static IP address according to your actual situation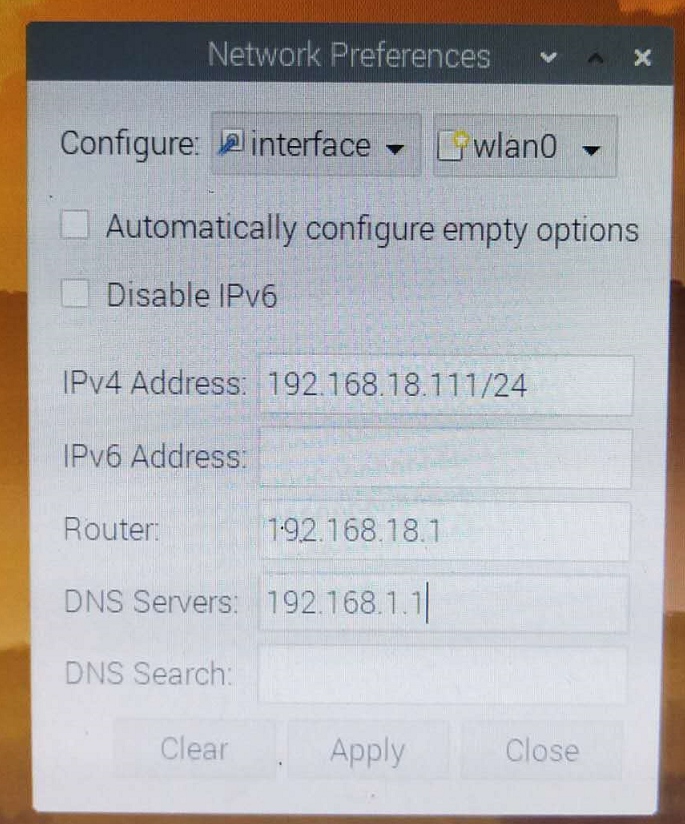
Then SSH settings, menu - > Preferences - > raspberry PI configuration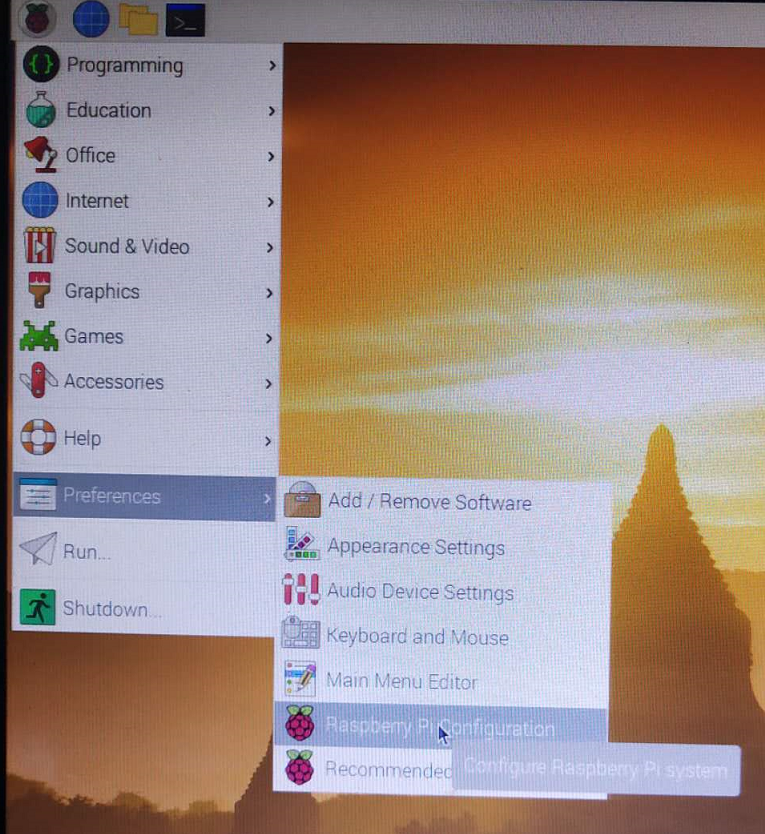
Select SSH enable under Interfaces, as shown below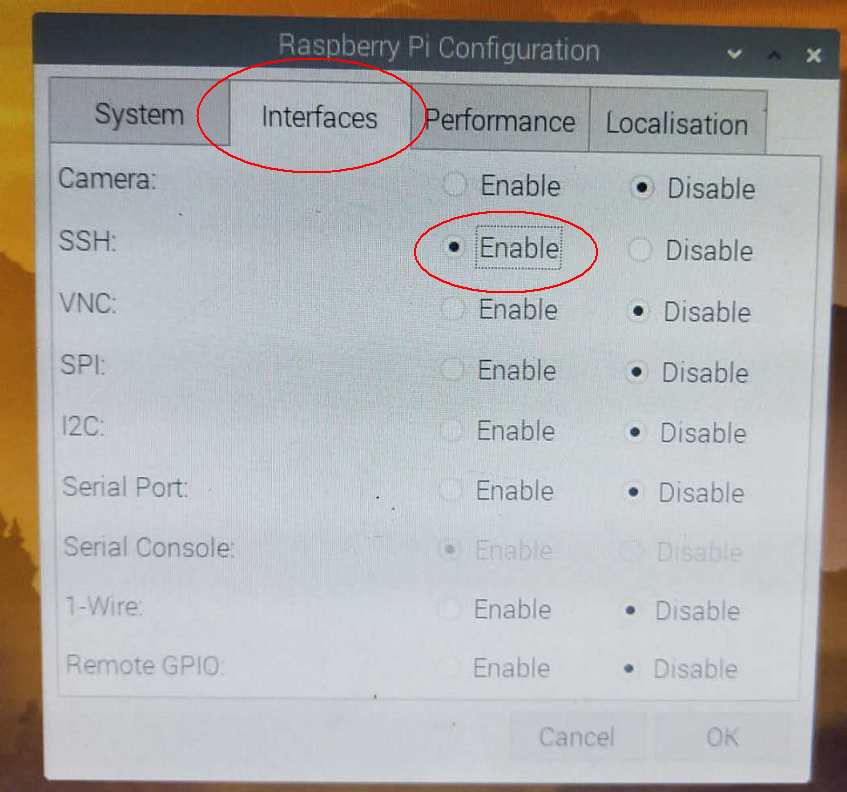
After restarting, you can use the remote connection tool Putty instead of the monitor. Baidu once, everywhere can download
Configure the following IP address, select SSH for PORT, and click Open. If there is no problem with the above settings, you can connect to raspberry pie remotely.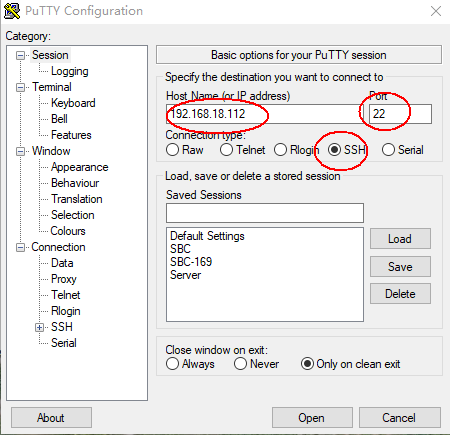
Enter the user name: pi and the password just set, then go to the background of raspberry pie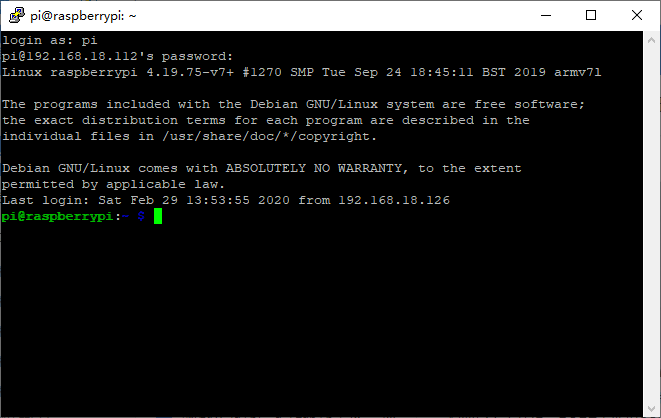
Next, you need to update the source list first. Because the speed of foreign sources is too slow, here is my source list.
Enter the following command in sequence
#Backup source list
sudo cp /etc/apt/sources.list /etc/apt/sources.list.bak
#Open source list with nano
sudo nano /etc/apt/sources.list
The following list of my sources:
deb http://mirrors.ustc.edu.cn/raspbian/raspbian/ jessie main non-free contrib rpi
deb http://mirrors.ustc.edu.cn/raspbian/raspbian/ stretch main non-free contrib rpi

deb http://mirrors.aliyun.com/raspbian/raspbian/ jessie main non-free contrib rpi
deb http://mirrors.aliyun.com/raspbian/raspbian/ stretch main non-free contrib rpi

deb http://mirrors.ustc.edu.cn/raspbian/raspbian/ buster main non-free contrib rpi
deb http://mirrors.aliyun.com/raspbian/raspbian/ buster main non-free contrib rpi

deb http://mirrors.scau.edu.cn/raspbian/raspbian/ jessie main contrib non-free
deb http://mirrors.scau.edu.cn/raspbian/raspbian/ stretch main contrib non-free
deb http://mirrors.scau.edu.cn/raspbian/raspbian/ buster main contrib non-free

deb http://mirrors.neusoft.edu.cn/raspbian/raspbian/ jessie main contrib non-free
deb http://mirrors.neusoft.edu.cn/raspbian/raspbian/ stretch main contrib non-free
deb http://mirrors.neusoft.edu.cn/raspbian/raspbian/ buster main contrib non-free
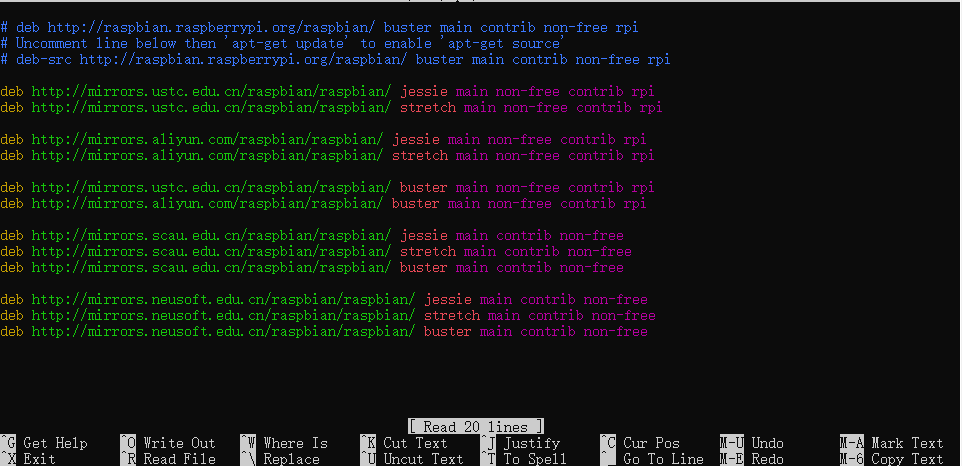
After modification, press Ctrl+x to exit nano, and click Y to confirm saving before exiting.
After the source list is modified, you need to update the source and upgrade it. This process takes a certain time, and you can cook boiled water and drink tea.
The command is as follows:
sudo apt-get update
sudo apt-get upgrade -y
During the update process, the following pictures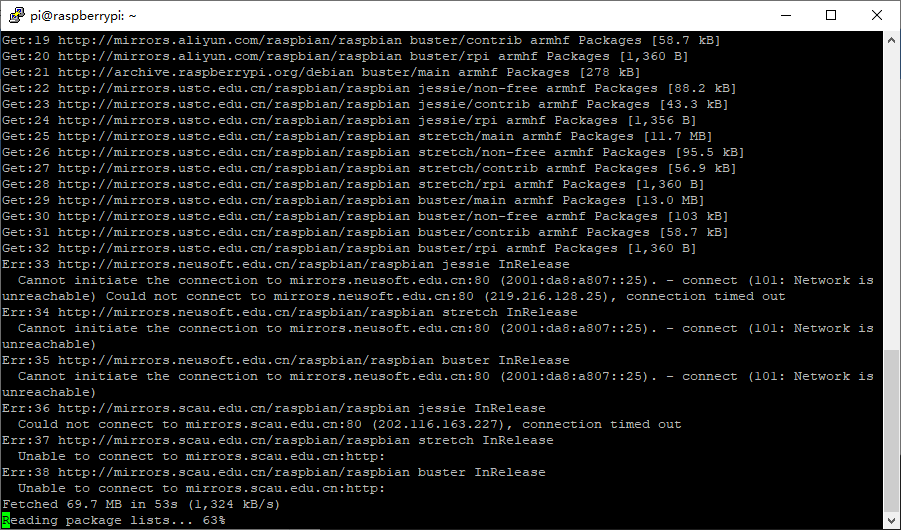
During upgrade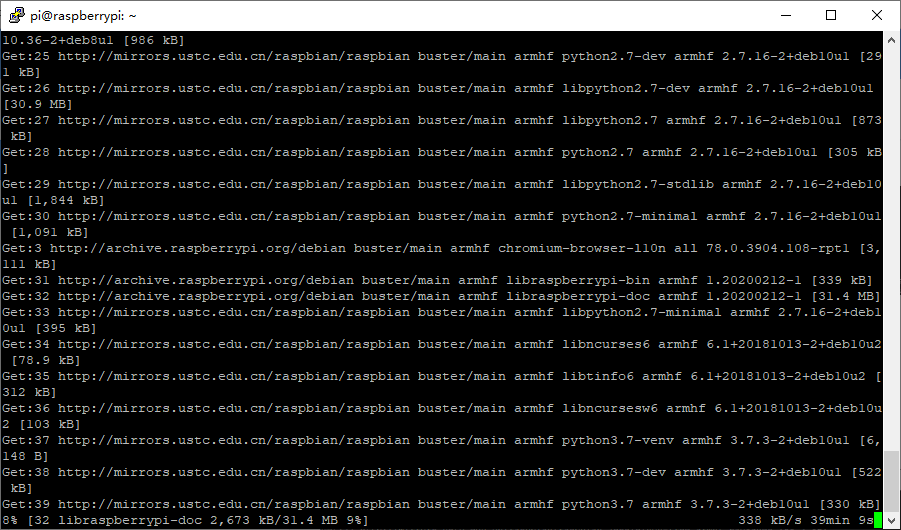
During the upgrade process, some software packages may not be downloaded in place. It is recommended to execute the above two commands several times before executing them
sudo apt autoremove
sudo reboot
The next step is to install the software and set up the operation environment
- Install PHP
sudo apt-get install libapache2-mod-php5 php5 php-pear php5-xcache php5-mysql php5-mcrypt php5-gd -y
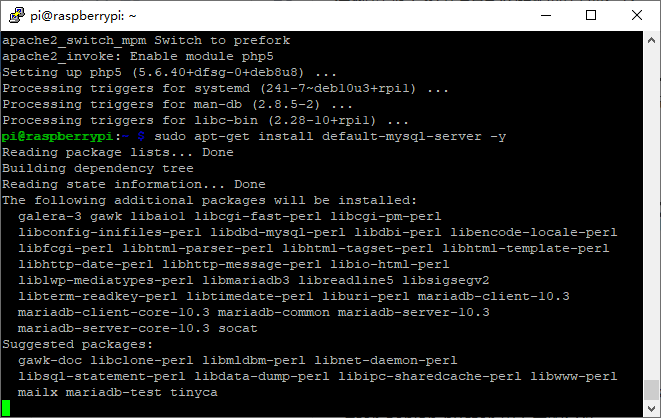
- Install Mysql
sudo apt-get install mysql-server mysql-client -y
#for debian buster, use the following command
sudo apt-get install default-mysql-server -y
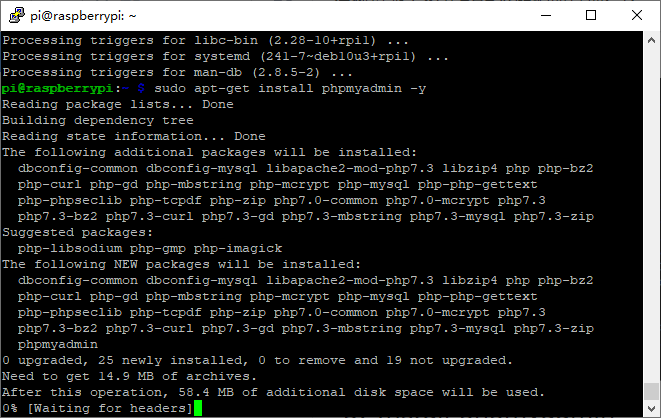
- Install phpmyadmin
sudo apt-get install phpmyadmin -y
Select apache2 and click OK when configuring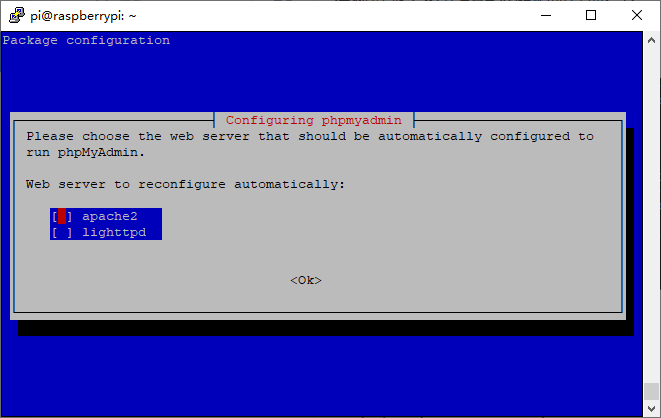
Yes here.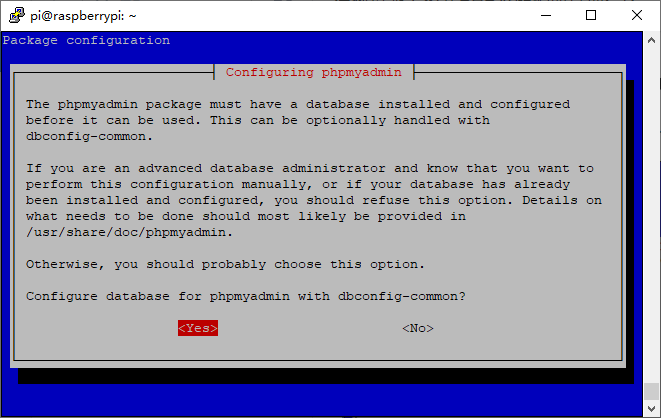
Enter password for database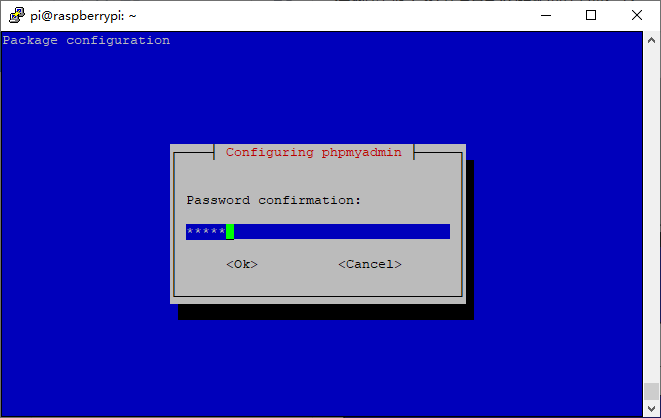
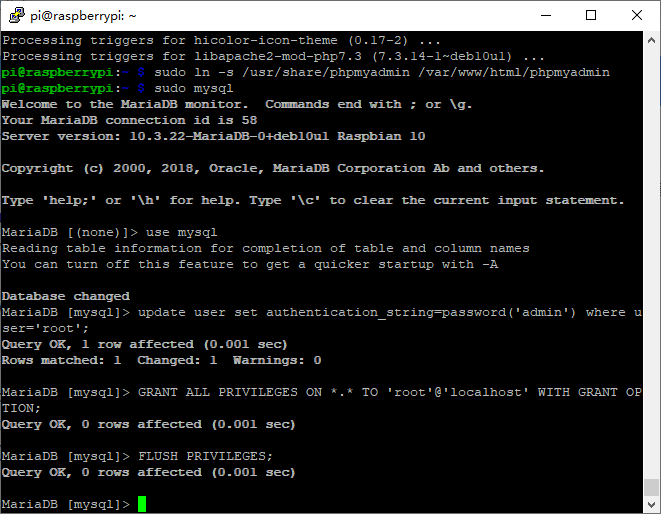
You need to execute the following command to open on a web page
sudo ln -s /usr/share/phpmyadmin /var/www/html/phpmyadmin
- Set Mysql Password
sudo mysql
mysql> use mysql

mysql> # update user set password=PASSWORD("root") where user='root';

mysql> update user set authentication_string=password('admin') where user='root';
Query OK, 0 rows affected (0.00 sec)
Rows matched: 4 Changed: 0 Warnings: 0

mysql> GRANT ALL PRIVILEGES ON *.* TO 'root'@'localhost' WITH GRANT OPTION;
Query OK, 0 rows affected (0.00 sec)

mysql> FLUSH PRIVILEGES;
Query OK, 0 rows affected (0.00 sec)
mysql>quit
Now, if everything is OK, open the browser and enter the IP/phpmyadmin of raspberry pie to access phpMyAdmin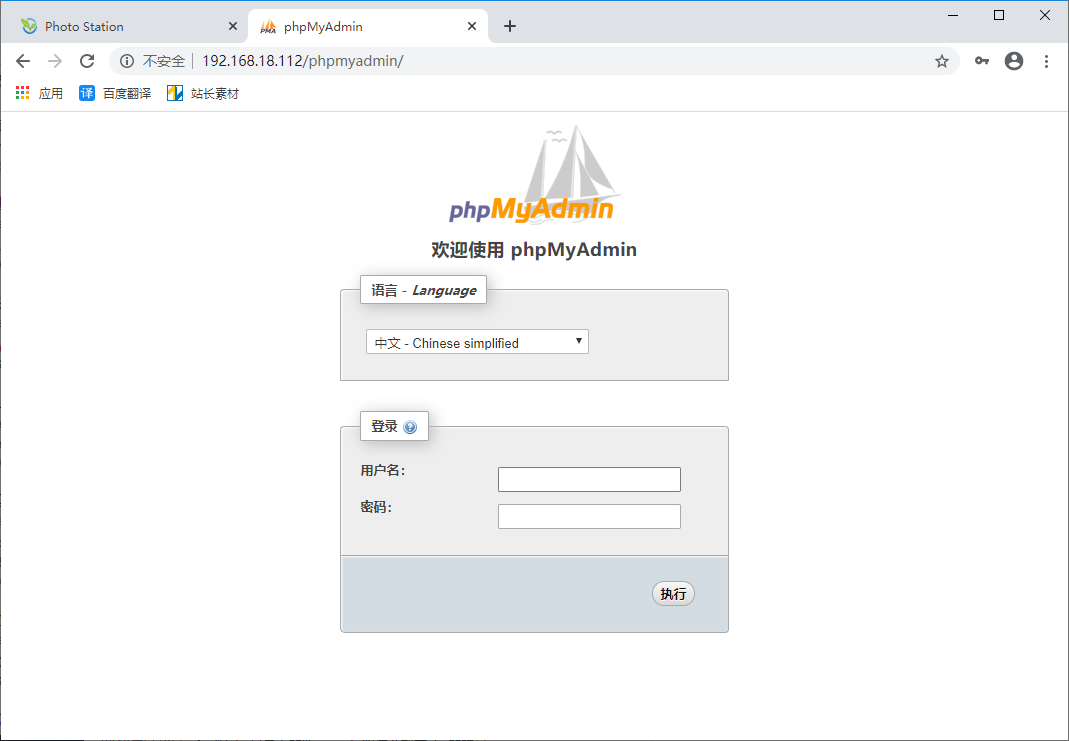
But at this time, we found an error when entering the user name and password. #1698 - Access denied for user ‘root’@‘localhost’
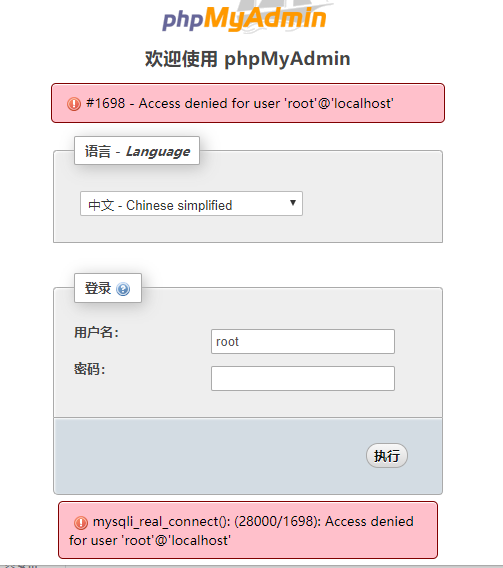
We also need to do the following configuration
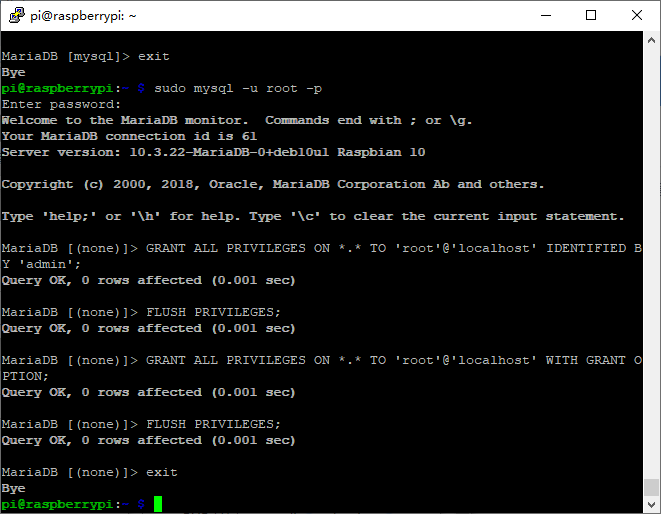
Fix #1698 - Access denied for user 'root'@'localhost' issue.
sudo mysql -u root -p
#After entering the password, enter the following commands continuously
GRANT ALL PRIVILEGES ON *.* TO 'root'@'localhost' IDENTIFIED BY 'admin';
FLUSH PRIVILEGES;
GRANT ALL PRIVILEGES ON *.* TO 'root'@'localhost' WITH GRANT OPTION;
FLUSH PRIVILEGES;
exit
Go to the browser and open phpmyadmin. You can log in normally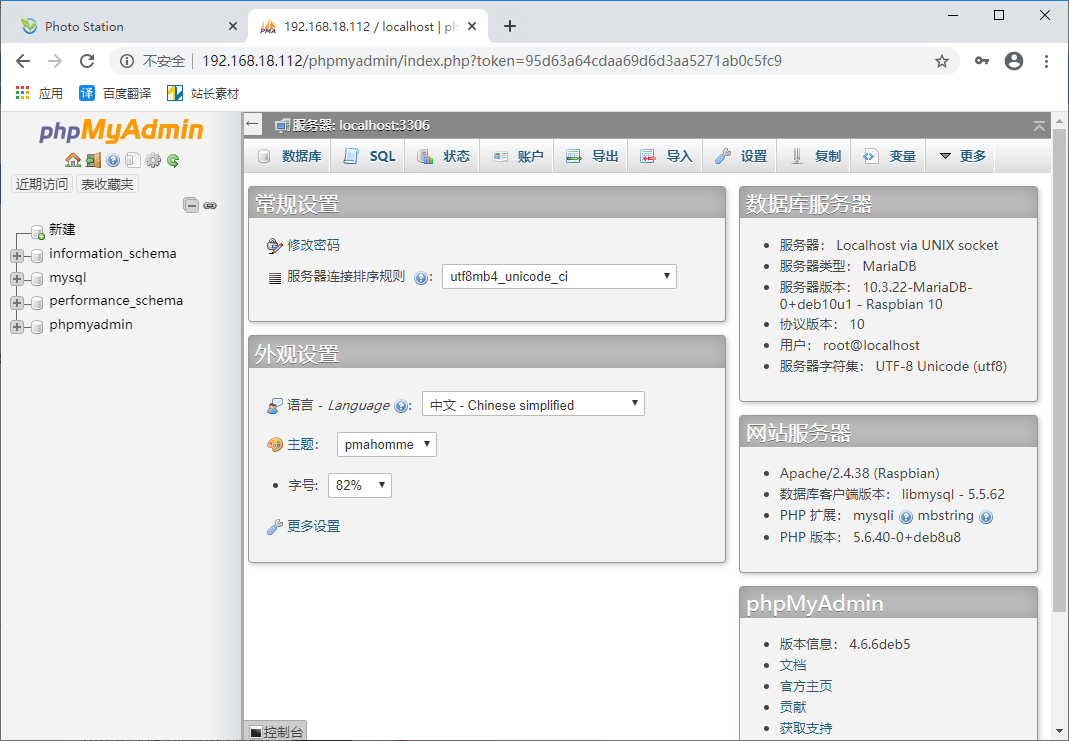
The following is to add remote access to the database, our album manager does not need to use.
/*********************************************************
#Add new users and set other hosts accessible
sudo mysql -u root -p
create user 'admin'@'%' identified by 'Admin*2018';
flush privileges;
grant all privileges on *.* to 'admin'@'%' identified by 'Admin*2018';
flush privileges;
#Modify mysql configuration file
sudo vim /etc/mysql/mariadb.conf.d/50-server.cnf
bind-address = 127.0.0.1     #Comment out this line and you can log in remotely
#Restart mysql
sudo service mysql restart
***************************************************************************************************************/
Next, configure sudo so that php programs can call python scripts as administrators
# When we call pyhon in PHP, if there is an error:
sudo: no tty present and no askpass program specified
# You also need to modify the sudo configuration file. You can edit the configuration file directly by pressing the command visudo

sudo visudo
# take Defaults requiretty Modified to #Defaults required, indicating that the control terminal is not required.
# Otherwise, you must have a TTY to run sudo

# Add rows
Defaults visiblepw
# Otherwise, sudo: no tty present and no askpass program specified will appear

# Give www data users the right to perform svn
# For example, add lines:
www-data ALL=(ALL) NOPASSWD: ALL
# Note: NOPASSWD can make it unnecessary to input the password of www user interactively when the command is executed

# www user is the running user of nginx or apache
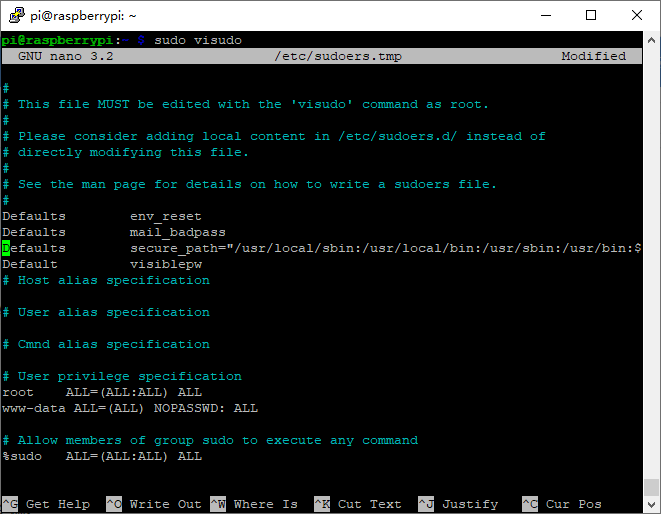
Press Ctrl+x and enter Y to save and exit
If the syntax of sudo file is wrong here, it will be troublesome. Many commands with permission cannot be executed. Unfortunately, I am wrong, but the following is the solution. If students do not have such a problem, the following five steps can SKIP
- Connect two ssh sessions
- Execute "echo $$" in the first ssh session and note the PID

- Execute "pkttyagent --process PID" in the second ssh session
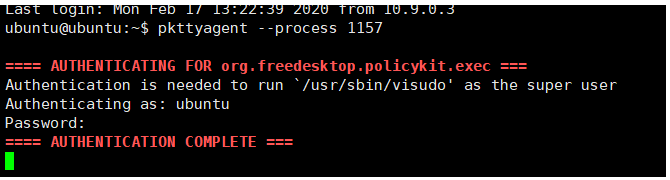
- Execute "pkexec visudo" in the first ssh session and enter the password in the second ssh session.
- Save after modifying the error in the first session.
Restart nginx or apache to give the user access again.
sudo service apache2 restart
Next, install samba network sharing environment
Connect our mobile hard disk to raspberry pie and share the file settings for our photos
- Hard disk mount
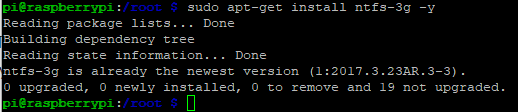
Install NTFS-3G to mount our NTFS file format mobile hard disk
sudo apt-get install ntfs-3g -y
# New mount point
sudo mkdir /mnt/usbdisk1
# Modify boot self mounting hard disk
# Find hard disk UUID
sudo blkid
My UUID is as follows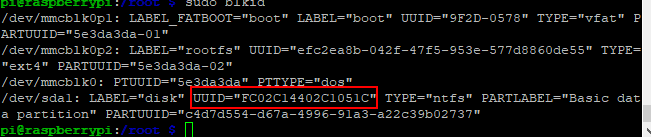
Modify profile
sudo nano /etc/fstab
# Add the next line
UUID=FC02C14402C1051C /mnt/usbdisk1 ntfs defaults 0 2
Following chart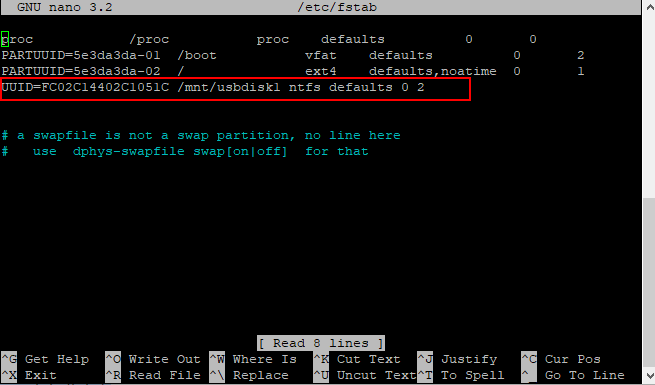
Install samba
sudo apt-get install samba -y
You can click No directly at the bottom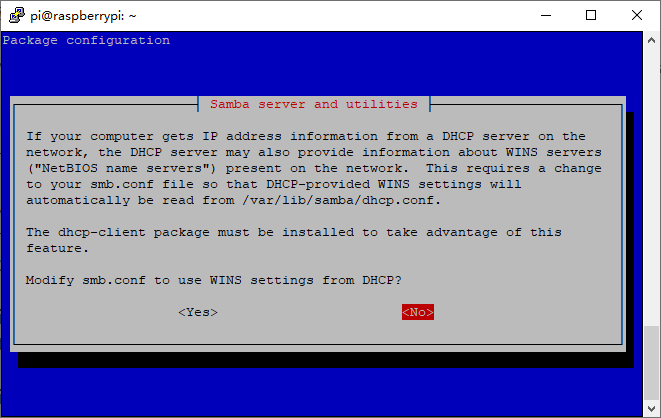
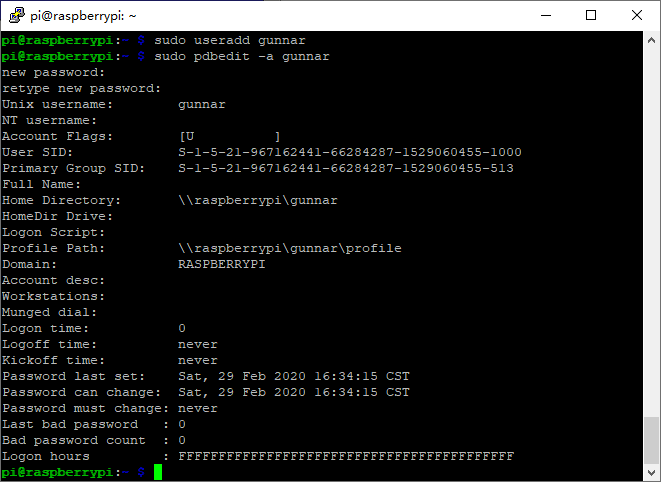
Add shared users
sudo useradd gunnar
pdbedit -a gunnar
/*************************************
Delete a shared user
pdbedit -x user
***************************************/
Configure Samba
sudo nano /etc/samba/smb.conf
You can copy the following text directly, because each user has a configuration file, the first line after global
[global]
   config file = /etc/samba/smb.conf.%U
   workgroup = WORKGROUP
   log file = /var/log/samba/log.%m
   max log size = 1000
   logging = file
   panic action = /usr/share/samba/panic-action %d
   server role = standalone server
   obey pam restrictions = yes
   unix password sync = yes
   passwd program = /usr/bin/passwd %u
   passwd chat = *Enter\snew\s*\spassword:* %n\n *Retype\snew\s*\spassword:* %n\n *password\supdated\ssuccessfully* .
   pam password change = yes
   usershare allow guests = no
   security = user
   passdb backend = tdbsam
   browseable = no

[homes]
   comment = Home Directories
   browseable = no
   read only = yes
   create mask = 0700
   directory mask = 0700
    valid users = %S
[printers]
   comment = All Printers
   browseable = no
   path = /var/spool/samba
   printable = yes
   guest ok = no
   read only = yes
   create mask = 0700

[print$]
   comment = Printer Drivers
   path = /var/lib/samba/printers
   browseable = yes
   read only = yes
   guest ok = no
Configure personal files
sudo nano /etc/samba/smb.conf.gunnar
You can directly copy the following text and make some appropriate changes
[global]
   workgroup = WORKGROUP
   config file = /etc/samba/smb.conf.%U
   log file = /var/log/samba/log.%m
   max log size = 1000
   logging = file
   panic action = /usr/share/samba/panic-action %d
   server role = standalone server
   obey pam restrictions = yes
   unix password sync = yes
   passwd program = /usr/bin/passwd %u
   passwd chat = *Enter\snew\s*\spassword:* %n\n *Retype\snew\s*\spassword:* %n\n *password\supdated\ssuccessfully* .
   pam password change = yes
   map to guest = bad user
   usershare allow guests = yes
   security = user
   passdb backend = tdbsam
   browseable = no

[homes]
   comment = Home Directories
   browseable = no
   read only = yes
   create mask = 0700
   directory mask = 0700
   valid users = %S

[printers]
   comment = All Printers
   browseable = no
   path = /var/spool/samba
   printable = yes
   guest ok = no
   read only = yes
   create mask = 0700
[print$]
   comment = Printer Drivers
   path = /var/lib/samba/printers
   browseable = yes
   read only = yes
   guest ok = no

[Album]
    comment = My Picture Files
    path = /mnt/usbdisk1/album	#It's better not to change the path here. python needs to find all the folders here
    browseable = yes
    available = yes
    valid users = gunnar
    write list = gunnar
    public = no
    create mask = 750
    directory mask = 750
The following two commands can restart the samba server
sudo /etc/init.d/samba restart
sudo service smbd restart
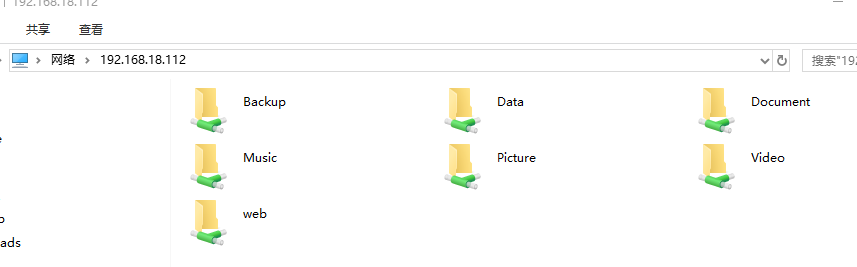
If everything is OK, enter the IP address of raspberry pie in the windows command line, and you will see our shared files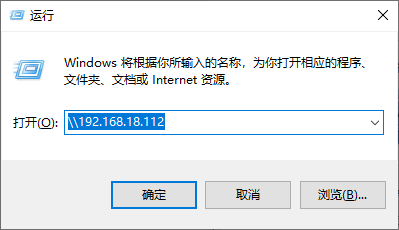
If there is a problem with the configuration, please Baidu yourself. Here are a few test commands for reference
/**********************************************************************
Test samba profile
sudo testparm -s /etc/samba/smb.conf
Test share folder in Linux
sudo apt-get install smbclient -y
smbclient -L //localhost/mnt/data -U root
# List all shares
smbclient -L localhost -U user%password
**********************************************************************/
As far as the directory is concerned, we have a shared folder, and then all our photos are put in this folder
/mnt/usbdisk1/album is the best folder, not photos. Photos should be placed in this folder.
In addition, if there is a folder called photo under this folder, only the id=1 of the login user of PHP album management can view it. No other user can see it, which is a kind of hiding. But it is more perfect to set no sharing in the file share. Please study it yourself.
The next step is to build the third-party library needed by PYTHON
pymysql, exifread
sudo pip3 install pymysql
sudo pip3 install exifread
Installation, installation and Implementation
sudo chmod -R 777 /var/www
Then, congratulations on your success! Start testing!
If you have any questions, please discuss with me! pg2222@163.com
G. Peng
20200301

