Now many webmasters like to build their own private drawing bed to manage pictures. They generally use third-party open-source drawing bed programs. Sometimes, the third-party drawing bed program may not fully meet our needs. For example, after we upload a picture, we will require different resolutions on different pages. Common small thumbnails of 64 * 64 displayed on the picture list page, medium-sized pictures displayed in waterfall flow mode, and full-size original pictures displayed in original mode. In addition, we may also want to compress images to save traffic, such as uploaded png images, but jpeg images are displayed to speed up users' access. What should we do to meet these needs?
After my Google search, I finally found such a magical application imgproxy , the official website is https://imgproxy.net/ . You can know from the name that this is a picture proxy service. In short, this software will reverse the real picture address. When requesting a picture, the picture address of imgproxy is requested, and then imgproxy requests the original picture, converts it into the required size and format, and then sends it to the user. In addition to these, imgproxy can also blur, rotate, adjust brightness, add water and print the original picture. For details, see the official document description.
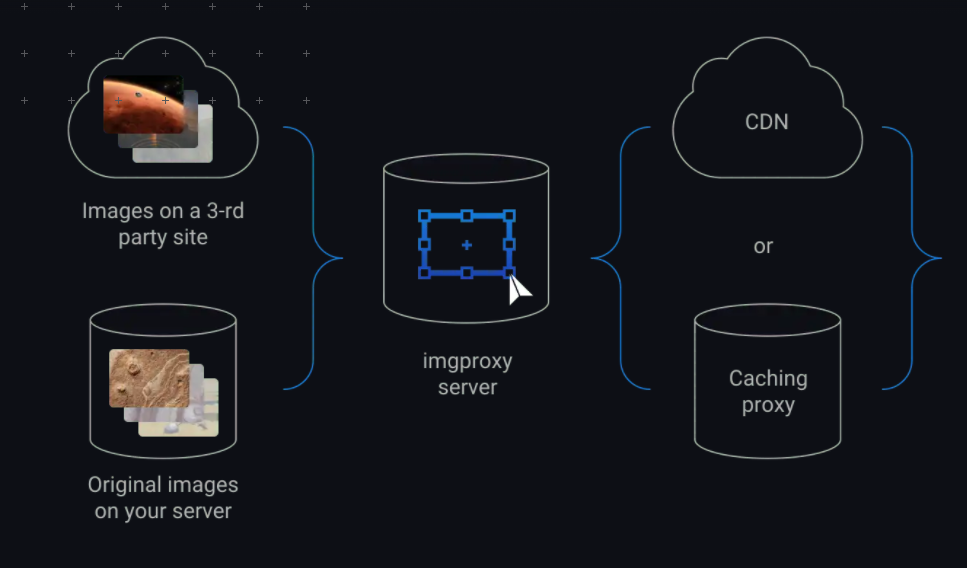
Officials also gave a schematic diagram of its operation. As can be seen from the figure below, a layer of CDN can be configured in front of imgproxy to cache the configured pictures.
Not much to say, let's start the tutorial. If you need it, you can deploy it.
Purchase server
If there is no server, you need to buy a lightweight server of Tencent cloud first.
Lightweight application server TencentCloud Lighthouse is a new generation of out of the box cloud server product for lightweight application scenarios. It helps small and medium-sized enterprises and developers to easily and efficiently build websites, applets / games, e-commerce, cloud disk / drawing bed and various development, testing and learning environments in the cloud. It is simpler and easier to use than ordinary cloud servers, Providing high bandwidth traffic packages, selling basic cloud resources as a whole in the form of packages, and integrating and packaging popular open source software to build applications with one click is the best way for you to get started using Tencent cloud. To facilitate application installation, we need to prepare the Docker environment.
Docker is an open source application container engine, which allows developers to package their applications and dependent packages into a portable container, and then publish them to any popular Linux or Windows operating system machine. It can also realize virtualization. The container completely uses the sandbox mechanism without any interface with each other. Using docker to deploy applications is very simple. Generally, it only needs one line of command.
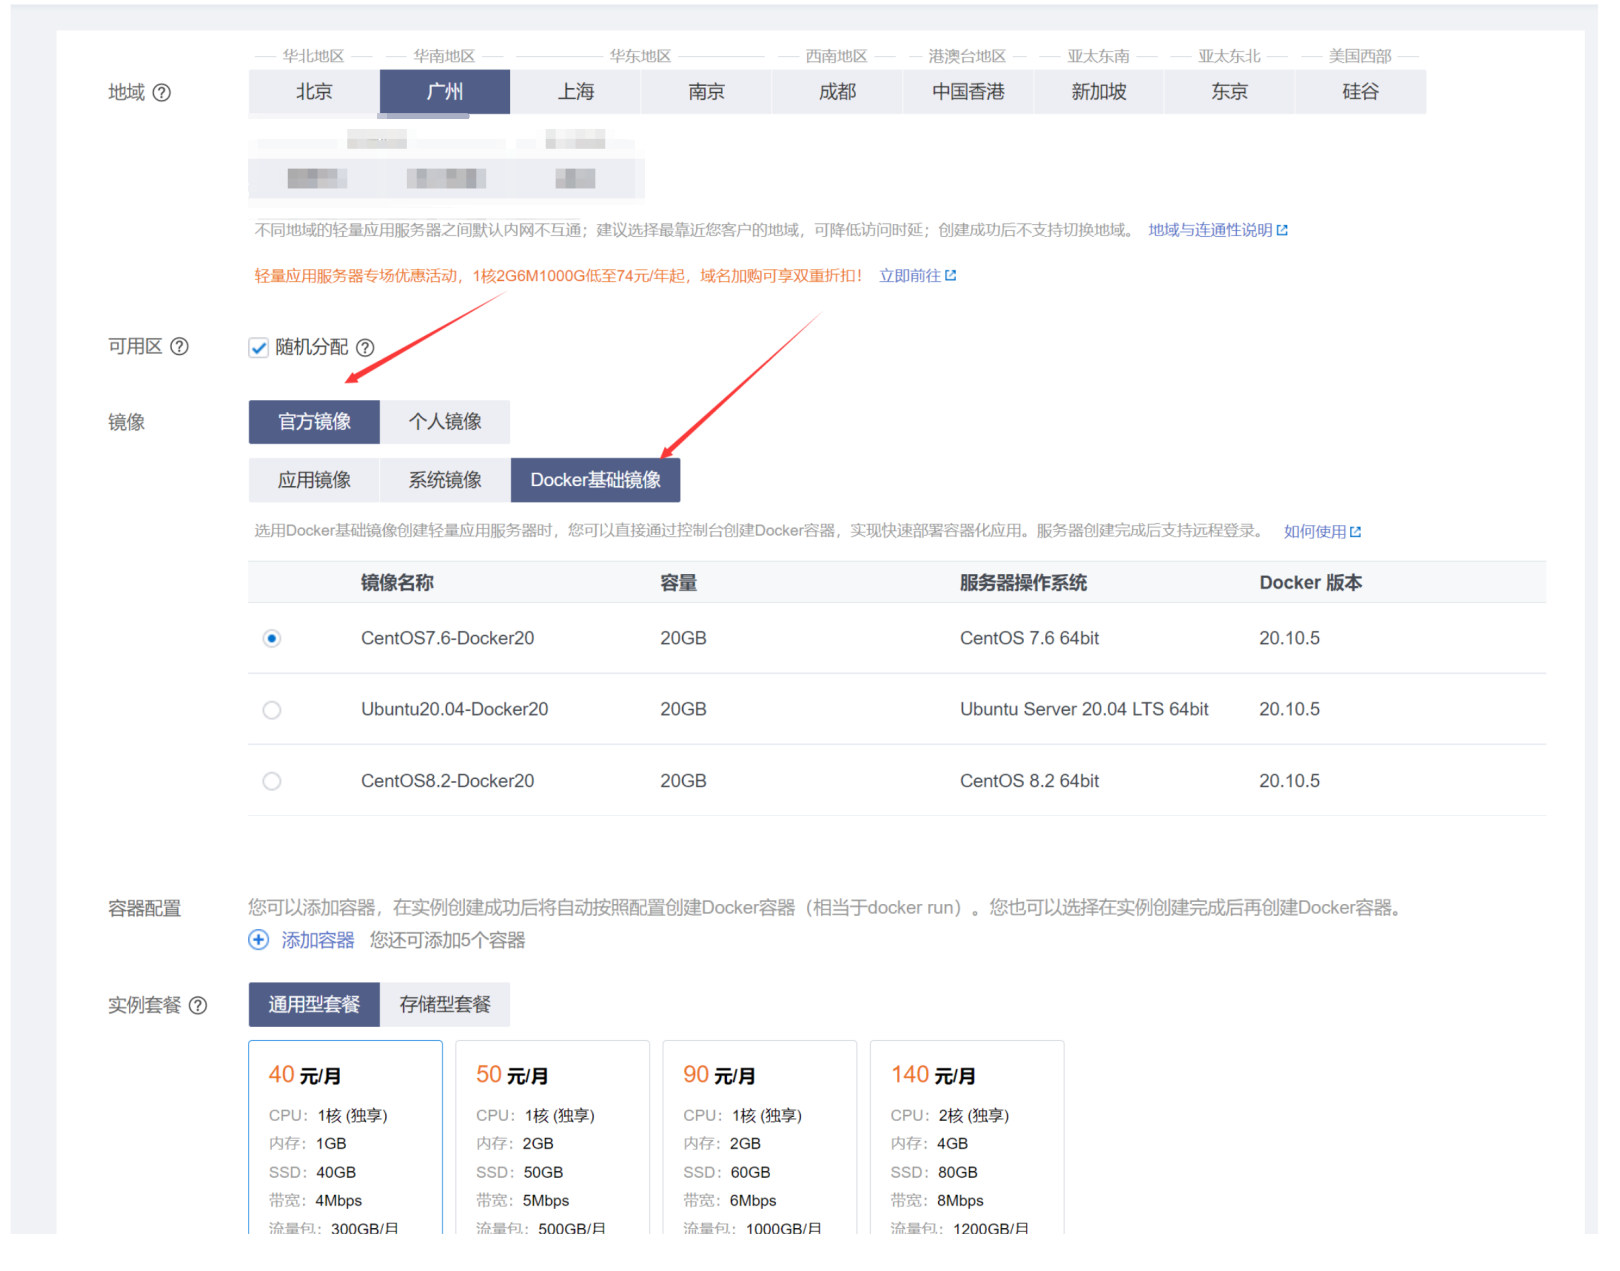
Tencent cloud often holds various activities, You can click here to enter their activity page for purchase , you can choose the nearest region to purchase, but if you don't want to record, you can choose an overseas server (such as Hong Kong region) to purchase. For image, select docker basic image under official image, select the instance package that is suitable for you, then submit the order and pay. If you do not select docker basic image, you need to install the docker container yourself.
Install docker
If the docker basic image is not selected, you need to install the docker image yourself. This assumes that the Ubuntu system is used. The steps to install docker are as follows
sudo apt-get update
sudo apt-get install ca-certificates curl gnupg lsb-release
curl -fsSL https://download.docker.com/linux/ubuntu/gpg | sudo gpg --dearmor -o /usr/share/keyrings/docker-archive-keyring.gpg
echo \
  "deb [arch=$(dpkg --print-architecture) signed-by=/usr/share/keyrings/docker-archive-keyring.gpg] https://download.docker.com/linux/ubuntu \
  $(lsb_release -cs) stable" | sudo tee /etc/apt/sources.list.d/docker.list > /dev/null
sudo apt-get update
sudo apt-get install docker-ce docker-ce-cli containerd.io
Install imgproxy
The installation of imgproxy is very simple. It can be done with one line of command
docker run -d --name imgproxy --restart always -p 8081:8080 darthsim/imgproxy
After the above command runs, imgproxy has already run. We can test the effect
First open http://ip:8081 , you can see the following page
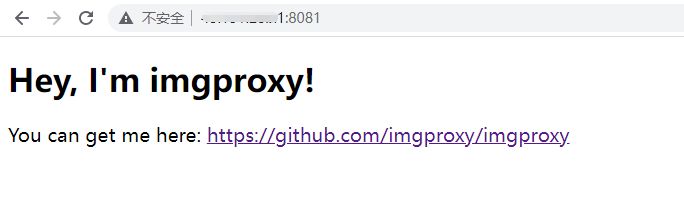
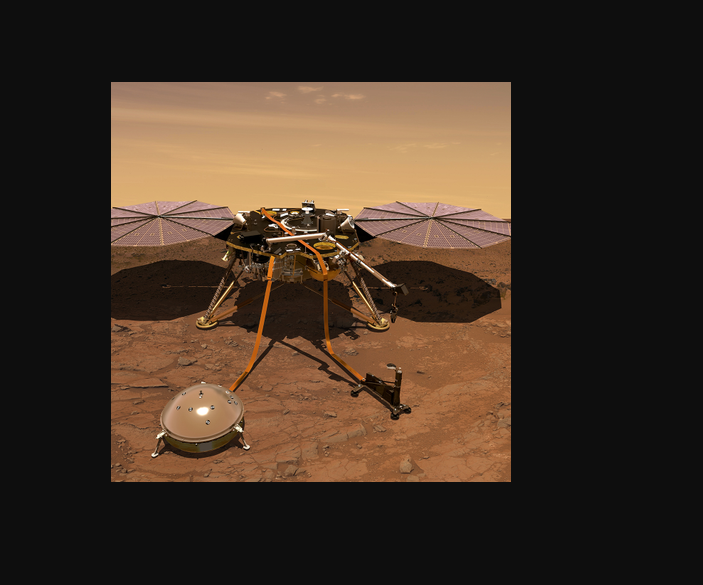
This indicates that imgproxy has started normally. Let's try to test the effect by asking it to represent the large picture of nasa 2000 * 1125
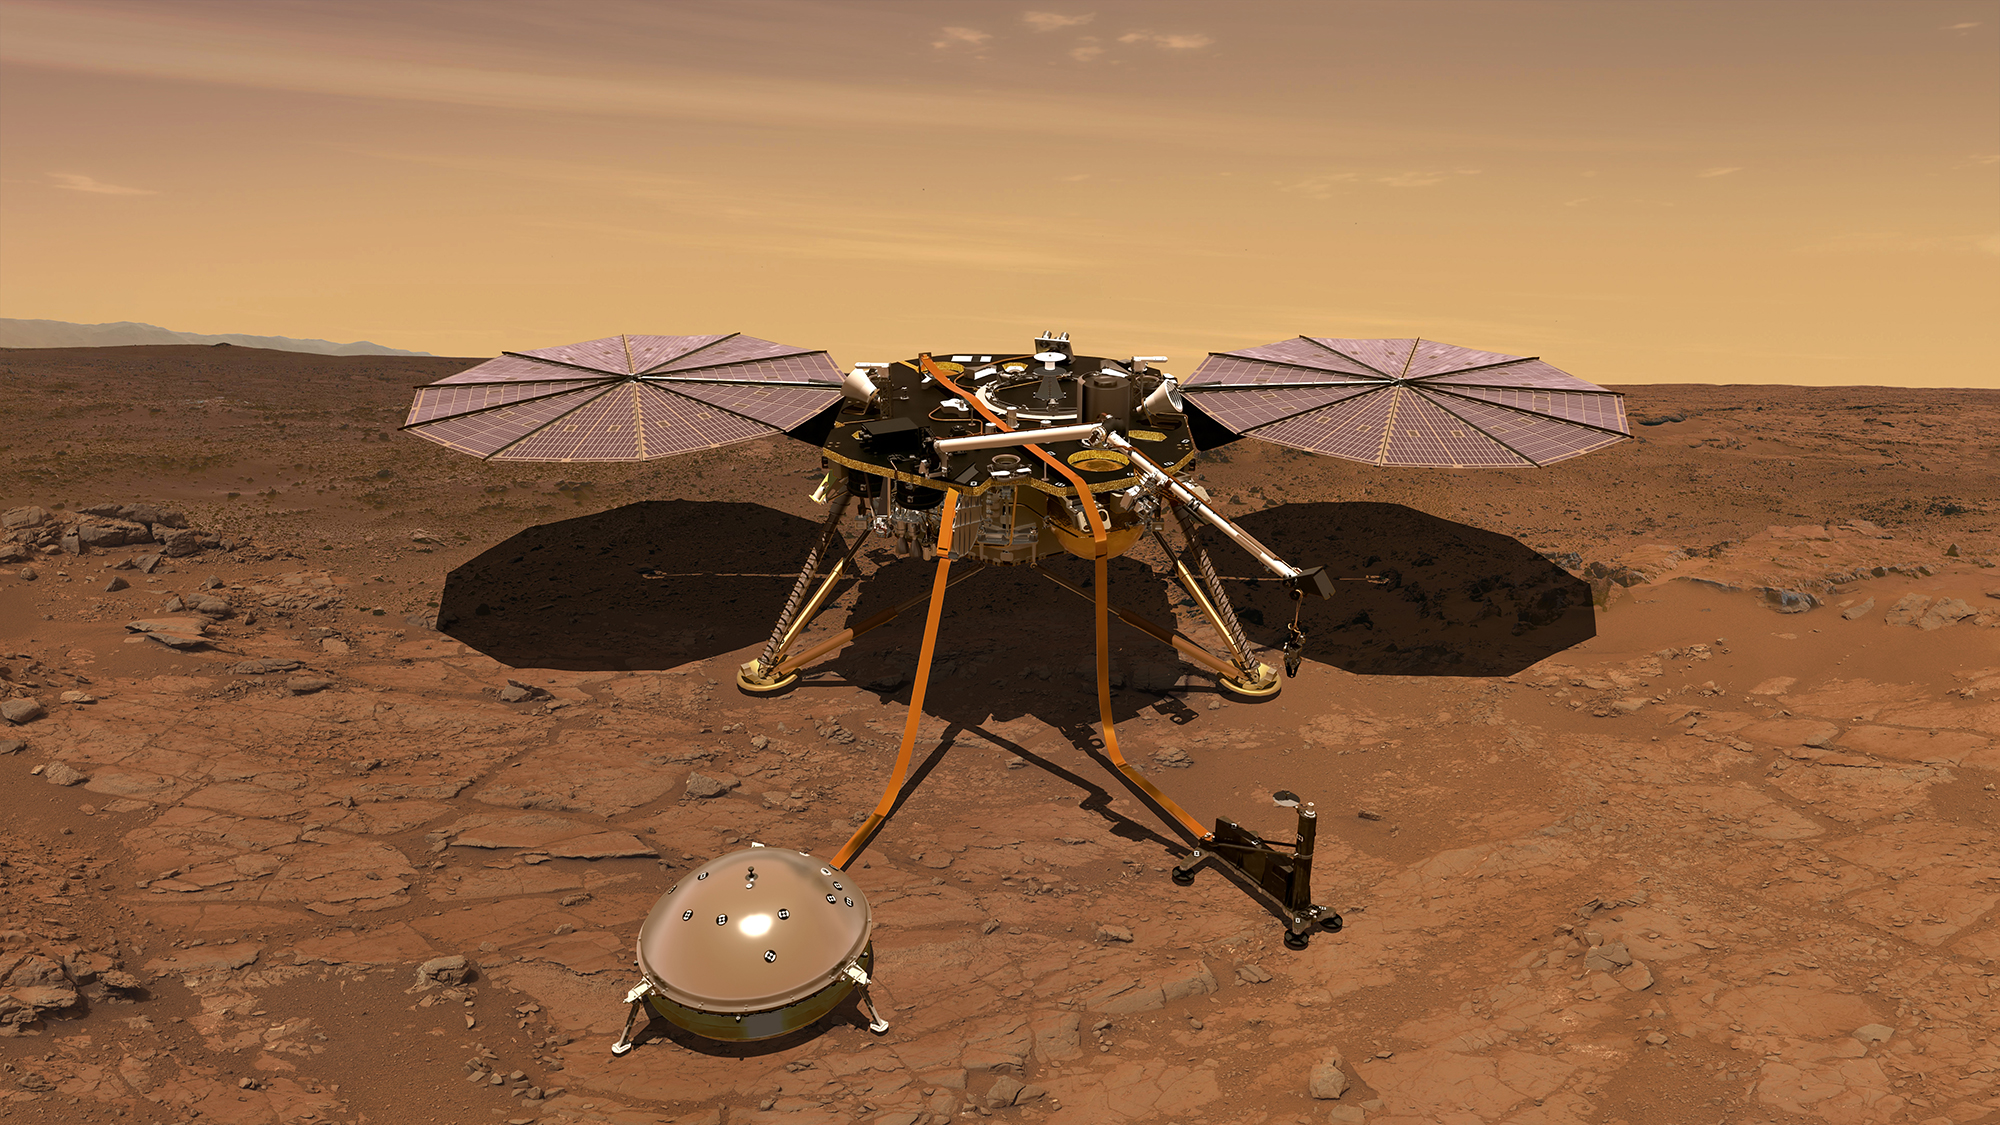
Original drawing
https://www.nasa.gov/sites/default/files/thumbnails/image/pia22228.jpg
Convert it to a 400 * 400 picture
http://ip:8081/xxxxxx/resize:fill:400:400:0/plain/https://www.nasa.gov/sites/default/files/thumbnails/image/pia22228.jpg@png
xxxxxx represents the signature string. The docker container started by default does not enable the signature function, so this signature parameter can be filled in arbitrarily. I fill in xxxxx here. Resize indicates that imgproxy wants to resize the picture. Fill indicates that the resizing mode is the fill mode. There are five modes to choose: fit, fill, fill down, force and auto. 400:400 indicates that the resolution is adjusted to 400 * 400, and the following 0 indicates whether enlarger mode is enabled. If this mode is enabled, imgproxy will enlarge the picture if the given size is greater than the original size of the picture. plain indicates that the following picture address is in clear text mode. plain is followed by the address of the original picture. Finally, @ png means to convert the original jpeg image to png format. For more processing parameters, you can view the original document https://docs.imgproxy.net/generating_the_url
Visiting the address above has become a medium picture of 400 * 400.
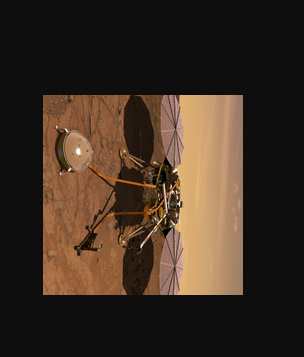
Convert it into a 200 * 200 picture and rotate it 90 degrees
http://ip:8081/xxxxxx/resize:fill:200:200:0/rot:90/plain/https://www.nasa.gov/sites/default/files/thumbnails/image/pia22228.jpg@png
Configure imgproxy
You can configure imgproxy through environment variables to change its working mode. Here are some parameters I use. For more configuration items, please refer to the official documentation https://docs.imgproxy.net/configuration
IMGPROXY_READ_TIMEOUT #The time of reading the original image. If the network between imgproxy and the server of the original image is not very good, this parameter can be adjusted appropriately
IMGPROXY_MAX_SRC_RESOLUTION #The maximum resolution of the original picture is 16.8 by default, and the unit is megapixels. For example, if the resolution of a picture is 5000 * 5000 and the number of pixels is 25000000, that is, 25 megapixels, the picture will be rejected. If our original image has many large images, we need to adjust this value
IMGPROXY_MAX_SRC_FILE_SIZE #Similar to the above parameters, specify the maximum size of the original image, which is not limited by default
IMGPROXY_ALLOWED_SOURCES #Set the allowed original picture addresses separated by commas to prevent others from abusing the service.
To sum up, the command to start imgproxy can be
ocker run -d --name imgproxy --restart always --env "IMGPROXY_MAX_SRC_RESOLUTION=25" --env "IMGPROXY_ALLOWED_SOURCES=https://img.xxxx.cc/,https://img.yyyy.cc/" --env="IMGPROXY_READ_TIMEOUT=1000" darthsim/imgproxy
The above content can meet the needs of ordinary users. In addition, imgproxy also supports a more advanced anti abuse mechanism, that is, signature parameters. However, this method needs to generate the signed url in the background and cannot be spliced directly in the front end, so I don't use it for the time being. Interested partners can study it
last
imgproxy is very powerful. Of course, if you think it's troublesome to use, you can directly try the COS of Tencent cloud, which is easier to use.