Teach you to build a gray publishing environment
Tip: gray release, also known as Canary release, Canary release
The term comes from the tradition of coal miners bringing caged canaries into the mine. Miners know the concentration of carbon monoxide in the mine through canary. If the concentration of carbon monoxide is too high, Canary will be poisoned, so that miners know that they should evacuate immediately—— DevOps Practice Guide
Corresponding to software development, it means that when publishing new product features, a small number of user pilots confirm that the new features are OK, and promote them to a larger user group after ensuring that they are correct.
The pipeline integrating grayscale publishing is a very important tool and efficient practice in DevOps. However, the author knew little about waterline and grayscale publishing before joining the post. When understanding a new thing, first get through all the key links logically, and then complete the simplest Demo. It is an interesting learning path for us, so we have this article.
This paper has less theoretical content, mainly from zero to one construction process practice, which is suitable for junior front-end developers interested in engineering.
01 server preparation
Tool installation
Git
First, make sure that git is installed on your server. If not, use the following command to install it. After installation, generate the ssh public key and put it into your github. It will be used later when pulling the code.
yum install git
Nginx
If your server does not have Nginx, first install it according to the following operations. Installing Nginx under Linux is very simple:
yum install nginx
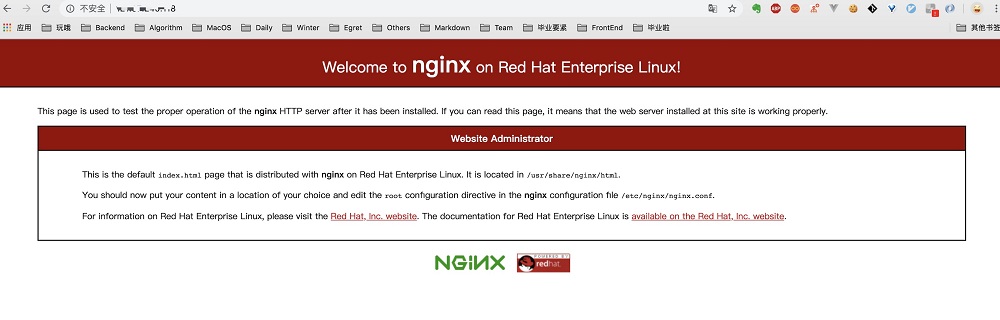
After installation, enter nginx -t in the terminal to check whether the installation is successful. If the installation is successful, it displays the status and location of the Nginx configuration file.

Access your server's public IP in the browser. If you can see the following page, it shows that Nginx can work normally.
Jenkins (it takes a long time) you may have many questions about Jenkins for the first time. What is Jenkins? What can be done? Why should I use Jenkins and so on. It's hard to tell what Jenkins is, so here's a brief introduction to what Jenkins can do. In short, Jenkins can help you complete any operation command you carry out on any server, as long as you create a task on Jenkins in advance and specify the task content and trigger time, such as timing trigger or trigger under specific circumstances.
- install
Jenkins stable version list: http://pkg.jenkins-ci.org/redhat-stable/
// Scientific Internet access will be faster. Remember to pay attention to the matching information of java and jenkins versions on the website. Don't make a mistake
wget http://pkg.jenkins-ci.org/redhat-stable/jenkins-2.204.5-1.1.noarch.rpm
rpm -ivh jenkins-2.204.5-1.1.noarch.rpm
// line 56 JENKINS_PORT
vi /etc/sysconfig/jenkins
- start-up
Start jenkins
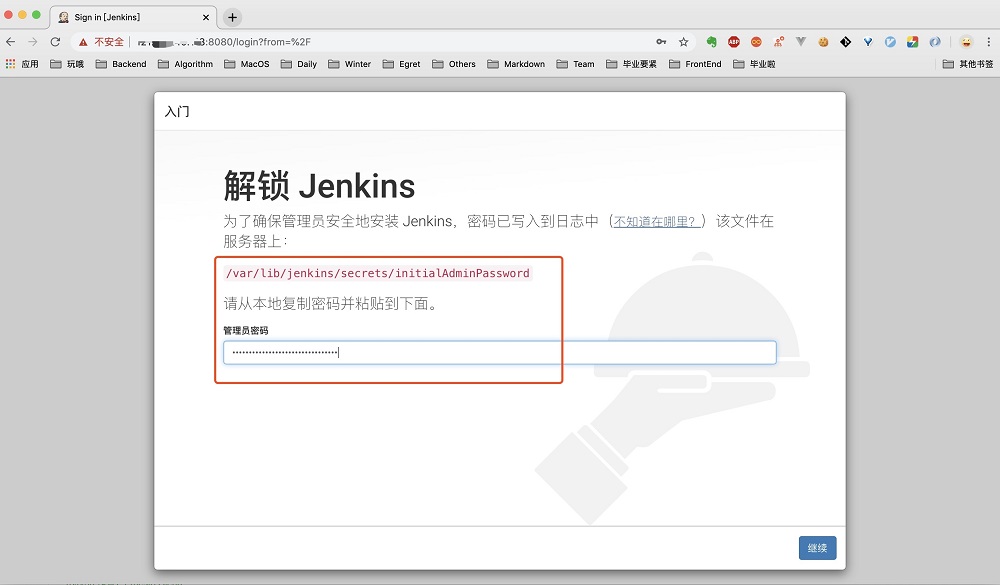
service jenkins start/stop/restart
// Password location
/var/lib/jenkins/secrets/initialAdminPassword
- visit
Access port 8080 of the server, enter the password obtained from the above location, and click continue
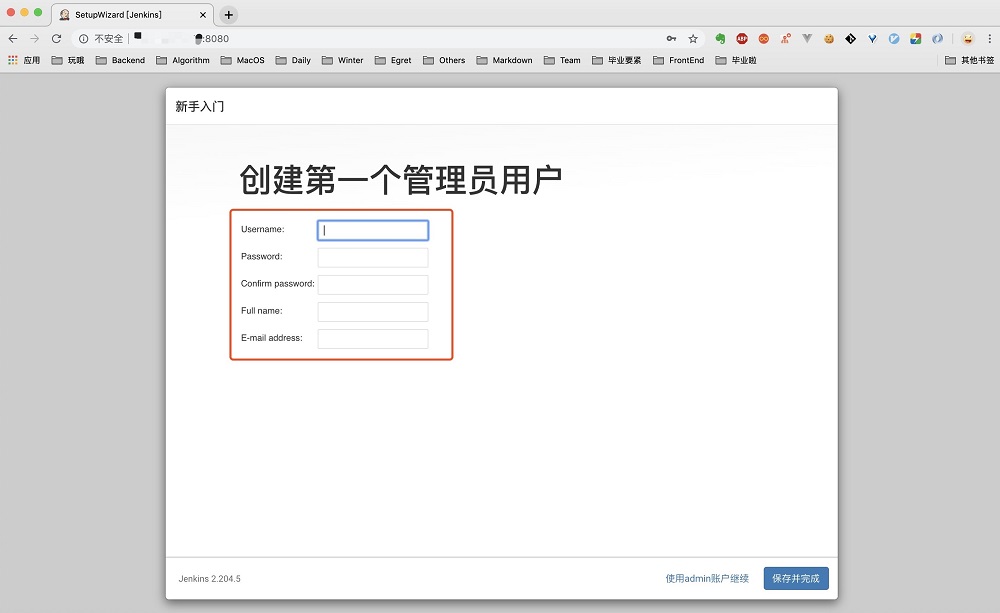
Create an account and log in
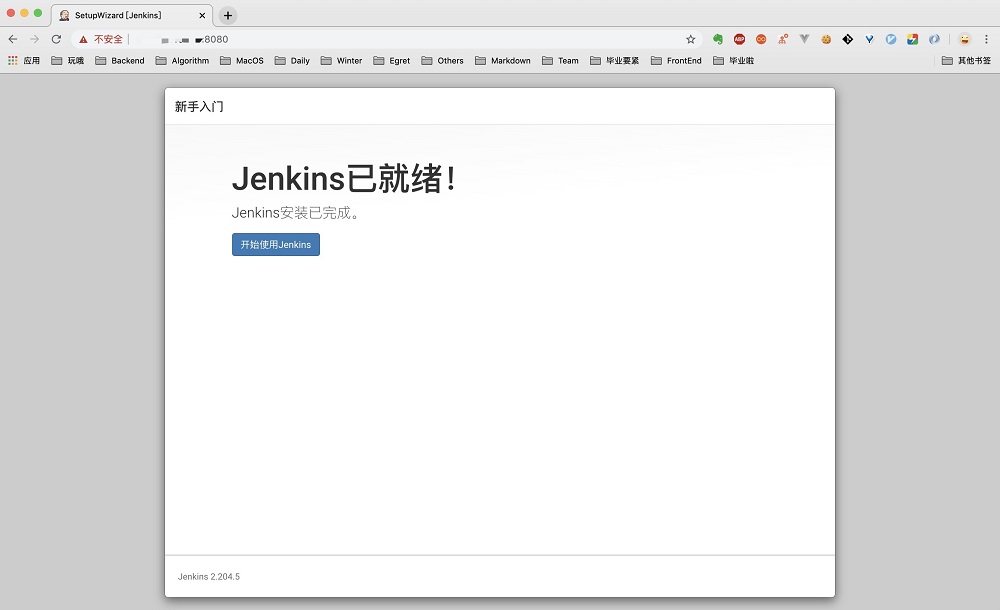
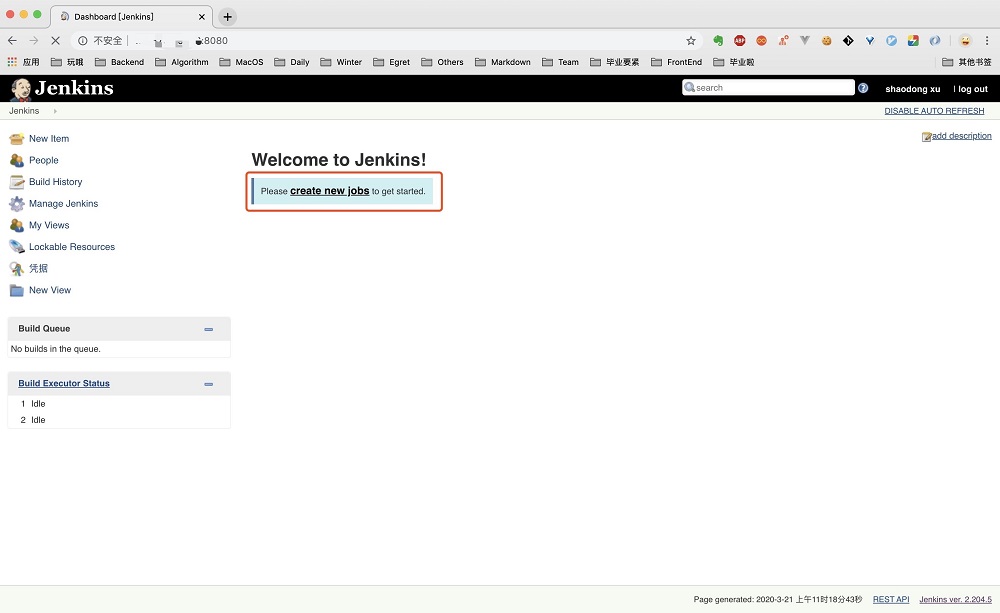
Seeing the Jenkins ready page indicates that the installation has been completed, and the server preparation is over.
02 code preparation
Prepare two copies of the code
Because we want to do grayscale deployment, we need to prepare two different codes to verify whether the grayscale operation we implemented is effective. Here, choose to use Angular cli of Angular to create code. The project created is not concise, but it is easier to operate. We prepare two copies of code at one time to simplify the development side.
// Install angular cli on the premise that node has been installed. If there is no node, you really have to go to Baidu by yourself
npm install -g @angular/cli
// Quickly create a new project and press enter all the way
ng new canaryDemocd canaryDemo
// Access after running this command http://localhost:4200  View page information
ng serve
Visit the 4200 port of localhost to view the page, and then change the title of index.html in src under the project root directory to A-CanaryDemo. You can see that the page will be refreshed in real time. In this example, we use the title to identify the code that needs to be deployed by different services on both sides in the gray publishing process.
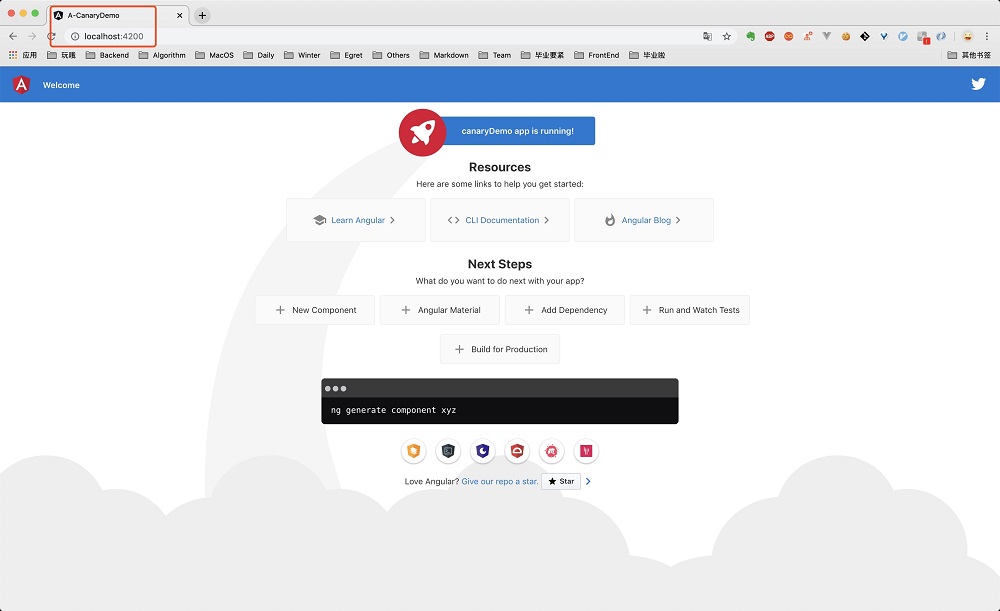
Next, we will package twice. The title s of the two packages are A-CanaryDemo and B-CanaryDemo respectively. Put these two folders for standby as new and old code to be released later.
ng build --prod

Configure Nginx
When completing the above installation of Nginx, we access the server IP to see the page of Nginx. Now we want to access our own page. First, send the A-CanaryDemo packaged above to any location on the two servers. Here, we put it in / var/canaryDemo.
// Copy the A-CanaryDemo folder to your public server. The xx part is your server's public ip address
scp -r ./dist/A-CanaryDemo root@xx.xx.xx.xx:/var/canaryDemo
Go to the / var location on the server to see if you already have this file. If so, go to the next step. That is, modify the Nginx configuration and forward the request to access the server IP to the page we just uploaded. As mentioned above, you can view the location of the Nginx configuration file through the nginx -t command. In this step, we need to edit that file.
vi /etc/nginx/nginx.conf
Modify lines 47-50 and add relevant contents in the following figure, that is, forward the traffic accessing the server IP to index.html under / var/canaryDemo
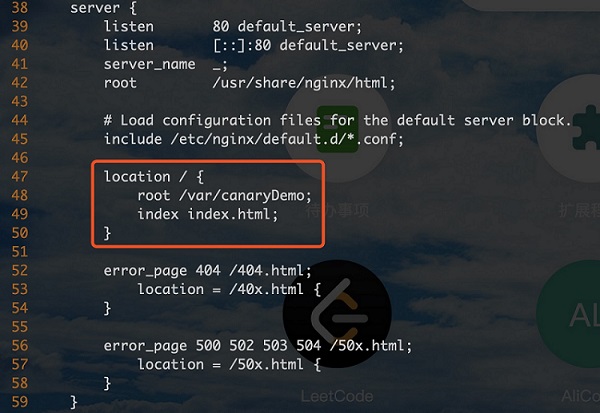
After modification, save, exit and restart nginx
nginx -s reload
At this time, visit the IP address of our server to see that the page has become the page we just changed locally, and the title is indeed A-CanaryDemo. After the operation of both servers is completed, both sides can access the page with the title of A-CanaryDemo. The status at this time is equivalent to two machines in which the production environment is already providing stable services.

03 define grayscale policy
Next, we will start the part of gray publishing. Before relevant operations, we need to define a gray strategy, that is, when the traffic will go to the gray edge and other traffic will go to the normal edge. For simplicity, we use a cookie named canary to distinguish. If it is detected that the value of this cookie is devui, we will access the gray edge machine, otherwise we will access the normal edge machine. The result of configuring Nginx according to this rule is as follows. Here, 11.11.11.11 and 22.22.22 are used to represent the IP addresses of the two servers respectively:
# Canary Deployment
map $COOKIE_canary $group {
  # canary account
  ~*devui$ server_canary;
  default server_default;
}

upstream server_canary {
  # The IP of the two machines. The port number 8000 is set for the first one to prevent the page from reporting errors due to the dead cycle of nginx forwarding
  server 11.11.11.11:8000 weight=1 max_fails=1 fail_timeout=30s;
  server 22.22.22.22 weight=1 max_fails=1 fail_timeout=30s;
}

upstream server_default {
  server 11.11.11.11:8000 weight=2 max_fails=1 fail_timeout=30s;
  server 22.22.22.22 weight=2 max_fails=1 fail_timeout=30s;
}

# Accordingly, to configure the forwarding rules of port 8000, port 8000 does not enable access by default. You need to go to the ECS console security group to add 8000
server {
  listen 8000;
  server_name _;
  root /var/canaryDemo;

  # Load configuration files for the default server block.
  include /etc/nginx/default.d/*.conf;

  location / {
    root /var/canaryDemo;
    index index.html;
  }
}

server {
  listen 80 default_server;
  listen [::]:80 default_server;
  server_name _;
  # root /usr/share/nginx/html;
  root /var/canaryDemo;

  # Load configuration files for the default server block.
  include /etc/nginx/default.d/*.conf;

  location / {
    proxy_pass http://$group;
    # root /var/canaryDemo;
    # index index.html;
  }

  error_page 404 /404.html;
    location = /40x.html {
  }

  error_page 500 502 503 504 /50x.html;
  location = /50x.h
}
At this time, both gray flow and normal flow will be randomly assigned to machines on both sides of AB. Next, we implement grayscale publishing by creating Jenkins task and modifying Nginx file.
04 realize gray Publishing
Process combing
Before creating Jenkins tasks for gray-scale publishing, let's sort out which tasks are required to achieve the goal of gray-scale publishing and what each task is responsible for. Gray level publishing generally follows this process (assuming that we have two AB servers to provide services for the production environment, we call it AB edge):
- Deploy new code to side A
- A small part of the traffic conforming to the gray strategy is switched to side a, and most of the remaining traffic still goes to side B
- Manually verify whether the side A function is normally available
- After verification, most of the flow goes to side A and the gray flow goes to side B
- Manually verify whether side B function is available normally
- After verification, the flow is evenly distributed to side AB as usual
Task Disassembly
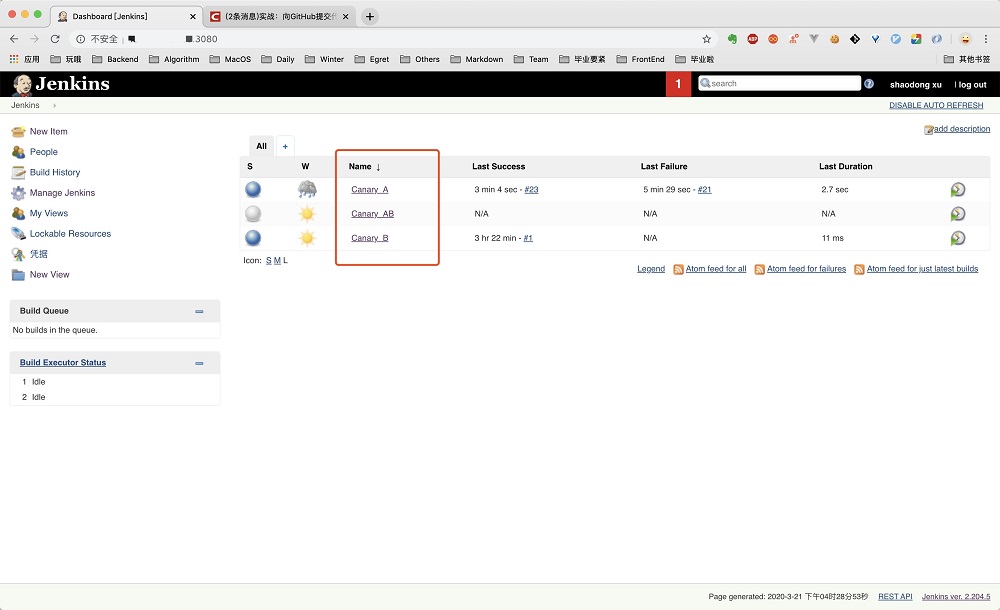
Through the above disassembly, we come to the six steps of gray publishing, of which (3) and (5) are the links that need manual verification. Therefore, we take these two tasks as the dividing point and establish three Jenkins tasks (Jenkins tasks are established on the machine on side A) as follows:
- Canary_A (grayscale test a). This task consists of two parts. Update the code on side a, and then modify the traffic distribution strategy so that grayscale traffic reaches a and other traffic reaches B
- Canary_AB (on-line A, gray test B), update side B code, gray traffic reaches B, and other traffic reaches A
- Canary_B (online b), all flows are distributed to AB
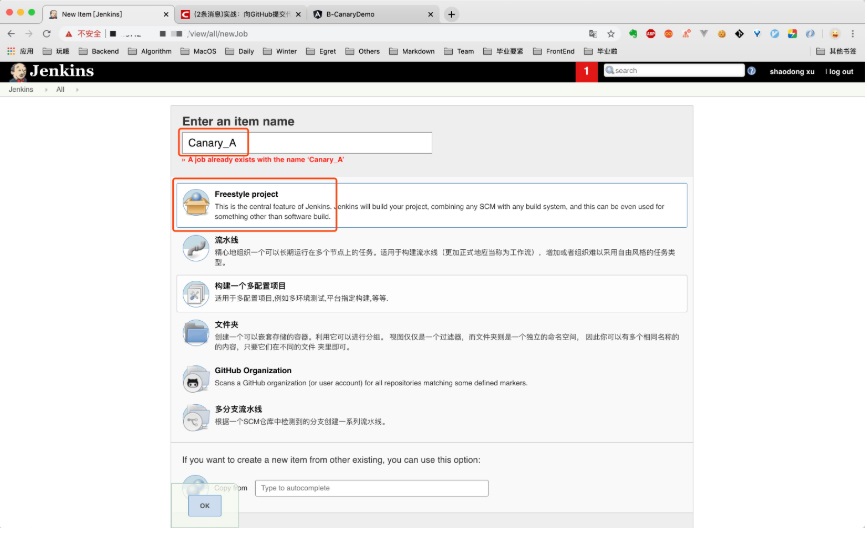
Create task
First create three FreeStyle Jenkins tasks according to the settings in the Task Disassembly section. Remember to use the English name. It's troublesome to build a folder after the Chinese name. Task details can be saved without filling in. Next, we will configure the specific information of each task.
Configure task
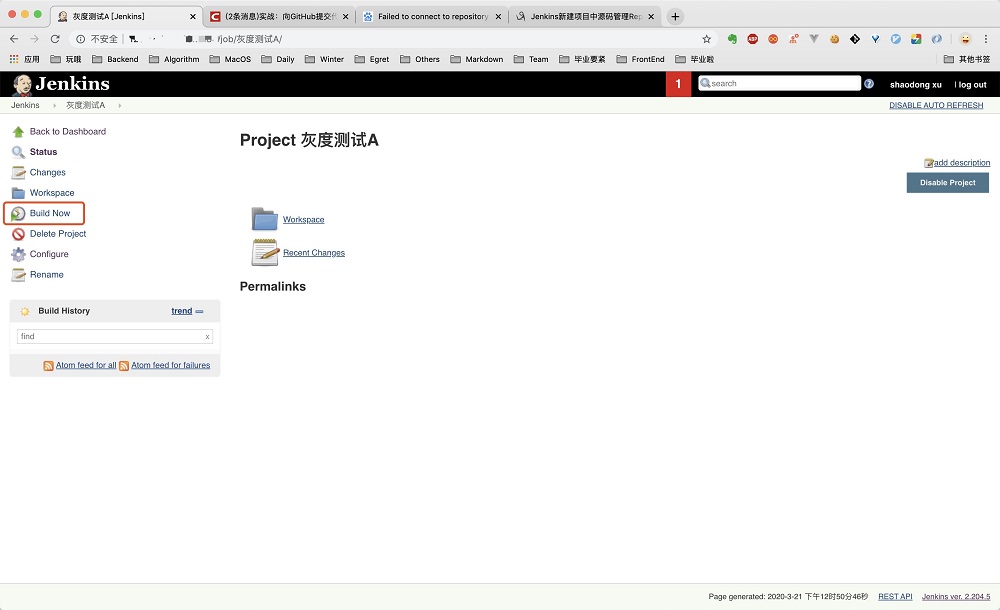
Now that three tasks have been created, click to enter each task for an empty build (otherwise the modified build task may not start later), and then let's configure each task in detail.
Modern front-end projects need to be built and packaged. However, low-cost cloud servers are unable to complete the construction, and the CPU often explodes. Therefore, we include the packaged production package into git management. Each code update will synchronize the latest production package to github. Therefore, Jenkins task pulls down the production package and places it at the specified location to complete the deployment of new code.
In fact, we have completed this step before. We have printed two different tilte production packages on it, which can be used at this time.
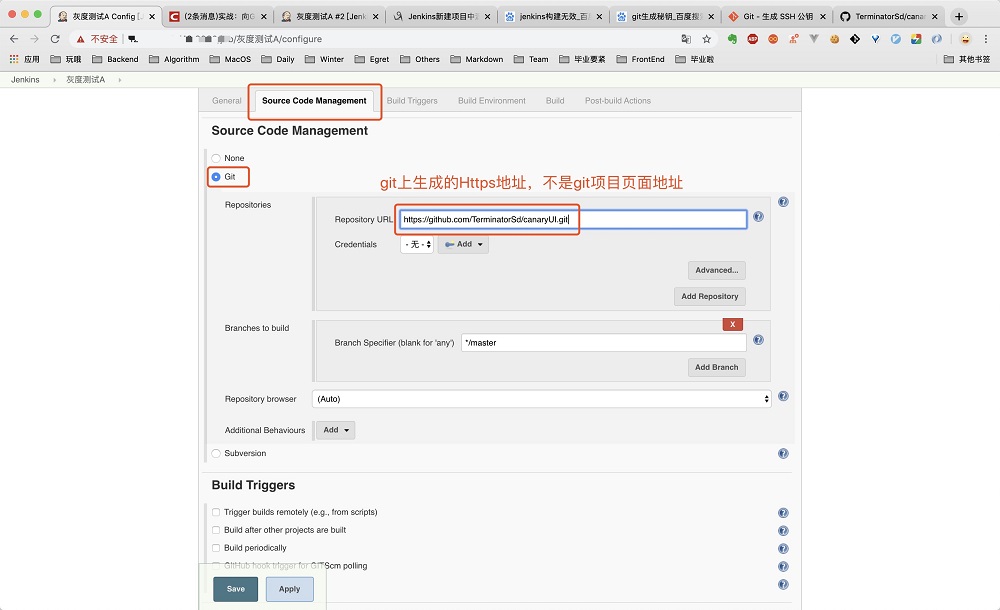
First, configure the gray-scale test A. the content of this task is basically clear above. First, associate the task to the remote github warehouse (you need to manually create one to store the B-CanaryDemo packaged above and name it dist) to let it know where to pull the latest code.
Execute a build task (the git fetch step is time-consuming and sometimes long), and then click this build to view the Console Output. You can determine that the location of Jenkins task is / var / lib / Jenkins / workspace / Canary on the server_ A
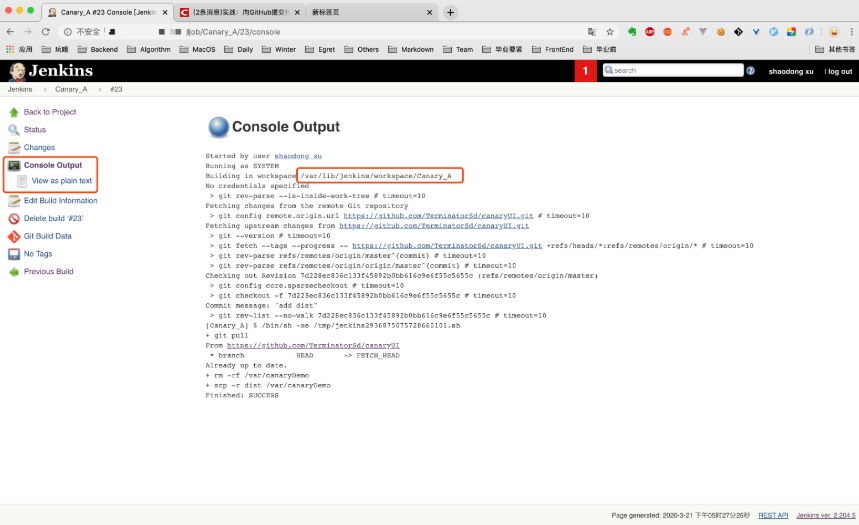
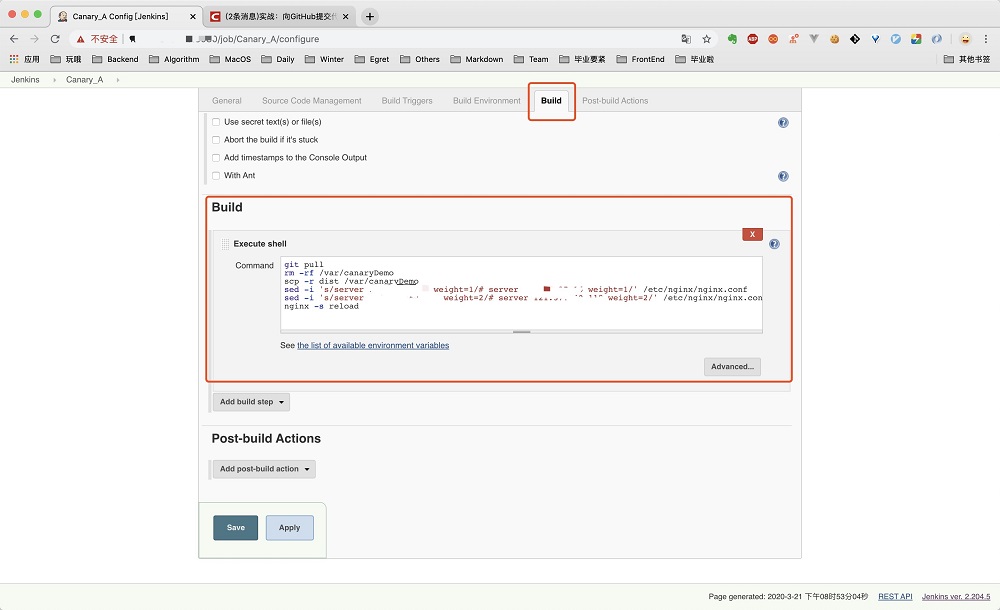
Continue to edit the grayscale test A task and add the build shell, that is, the command to be executed each time the task is executed:
- Pull the latest code first
- Copy the dist directory under the code root directory to the location where the code is deployed. The location we specify here is / var/canaryDemo
- Modify the Nginx configuration to make the gray traffic reach side A
As for step (3), the way to modify the gray traffic is to selectively annotate the contents in the Nginx configuration file. The annotation method is as follows to realize gray test A.
upstream server_canary {
  # Gray traffic access side A
  server 11.11.11.11:8080 weight=1 max_fails=1 fail_timeout=30s;
  # server 22.22.22.22 weight=1 max_fails=1 fail_timeout=30s;
}
upstream server_default {
  # Normal traffic accesses side B in order to compare the configuration of this section with the above server when modifying the file_ Canary, let's set the weight here to 2
  # server 11.11.11.11:8080 weight=2 max_fails=1 fail_timeout=30s;
  server 22.22.22.22 weight=2 max_fails=1 fail_timeout=30s;
}
The shell command filled in this step may encounter permission problems when executed by jenkins user. You can log in as root user first, change the ownership of / var directory to jenkins user, and add writable permissions to / etc/nginx/ngix.conf. The resulting shell command is as follows:
git pull
rm -rf /var/canaryDemo
scp -r dist /var/canaryDemo
sed -i 's/server 22.22.22.22 weight=1/# server 22.22.22.22 weight=1/' /etc/nginx/nginx.conf
sed -i 's/server 11.11.11.11:8000 weight=2/# server 11.11.11.11:8000 weight=2/' /etc/nginx/nginx.conf
nginx -s reload
Gray scale test A task content configuration is completed. Next, configure online A gray scale test B and online B in turn.
The task of gray scale test B is to pull the latest code to side A (because our Jenkins tasks are based on side A), copy the code under dist to the designated access location of Nginx on side B, and then modify the Nginx configuration on side A to make the gray scale traffic reach side B.
git pull
rm -rf canaryDemo
mv dist canaryDemo
scp -r canaryDemo root@xx.xx.xx.xx:/var
sed -i 's/# server 22.22.22.22 weight=1/server 22.22.22.22 weight=1/' /etc/nginx/nginx.conf
sed -i 's/# server 11.11.11.11:8000 weight=2/server 11.11.11.11:8000 weight=2/' /etc/nginx/nginx.conf
sed -i 's/server 22.22.22.22 weight=2/# server 22.22.22.22 weight=2/' /etc/nginx/nginx.conf
sed -i 's/server 11.11.11.11:8000 weight=1/# server 11.11.11.11:8000 weight=1/' /etc/nginx/nginx.conf
nginx -s reload
The task of this step involves sending code from side a server to side B server. Generally speaking, you need to enter the password of side B server. We want to do secret free transmission, so we need to send the A-side machine ~ /. SSH / ID_ The content in rsa.pub is added to the B-side server ~ /. ssh/authorized_keys enables a to obtain the permission to send files to B without secret image.
On line B, all traffic is equally distributed to side AB by canceling the annotation of Nginx configuration on side A
sed -i 's/# server 22.22.22.22 weight=2/server 22.22.22.22 weight=2/' /etc/nginx/nginx.conf
sed -i 's/# server 11.11.11.11:8000 weight=1/server 11.11.11.11:8000 weight=1/' /etc/nginx/nginx.conf
nginx -s reload
summary
This paper introduces the necessary process of building a gray publishing environment from zero from four aspects: server preparation, code preparation, gray strategy formulation and gray publishing. The core of gray publishing is to realize the directional distribution of traffic through the modification of Nginx files. The content is quite simple, but the whole process from zero to one is still cumbersome. I hope you can gain something.
In addition, this is just the simplest Demo. In the real DevOps development process, other operations such as compilation and construction, code inspection, security scanning and automated test cases also need to be integrated. We look forward to more special expansion by other members of the follow-up team!