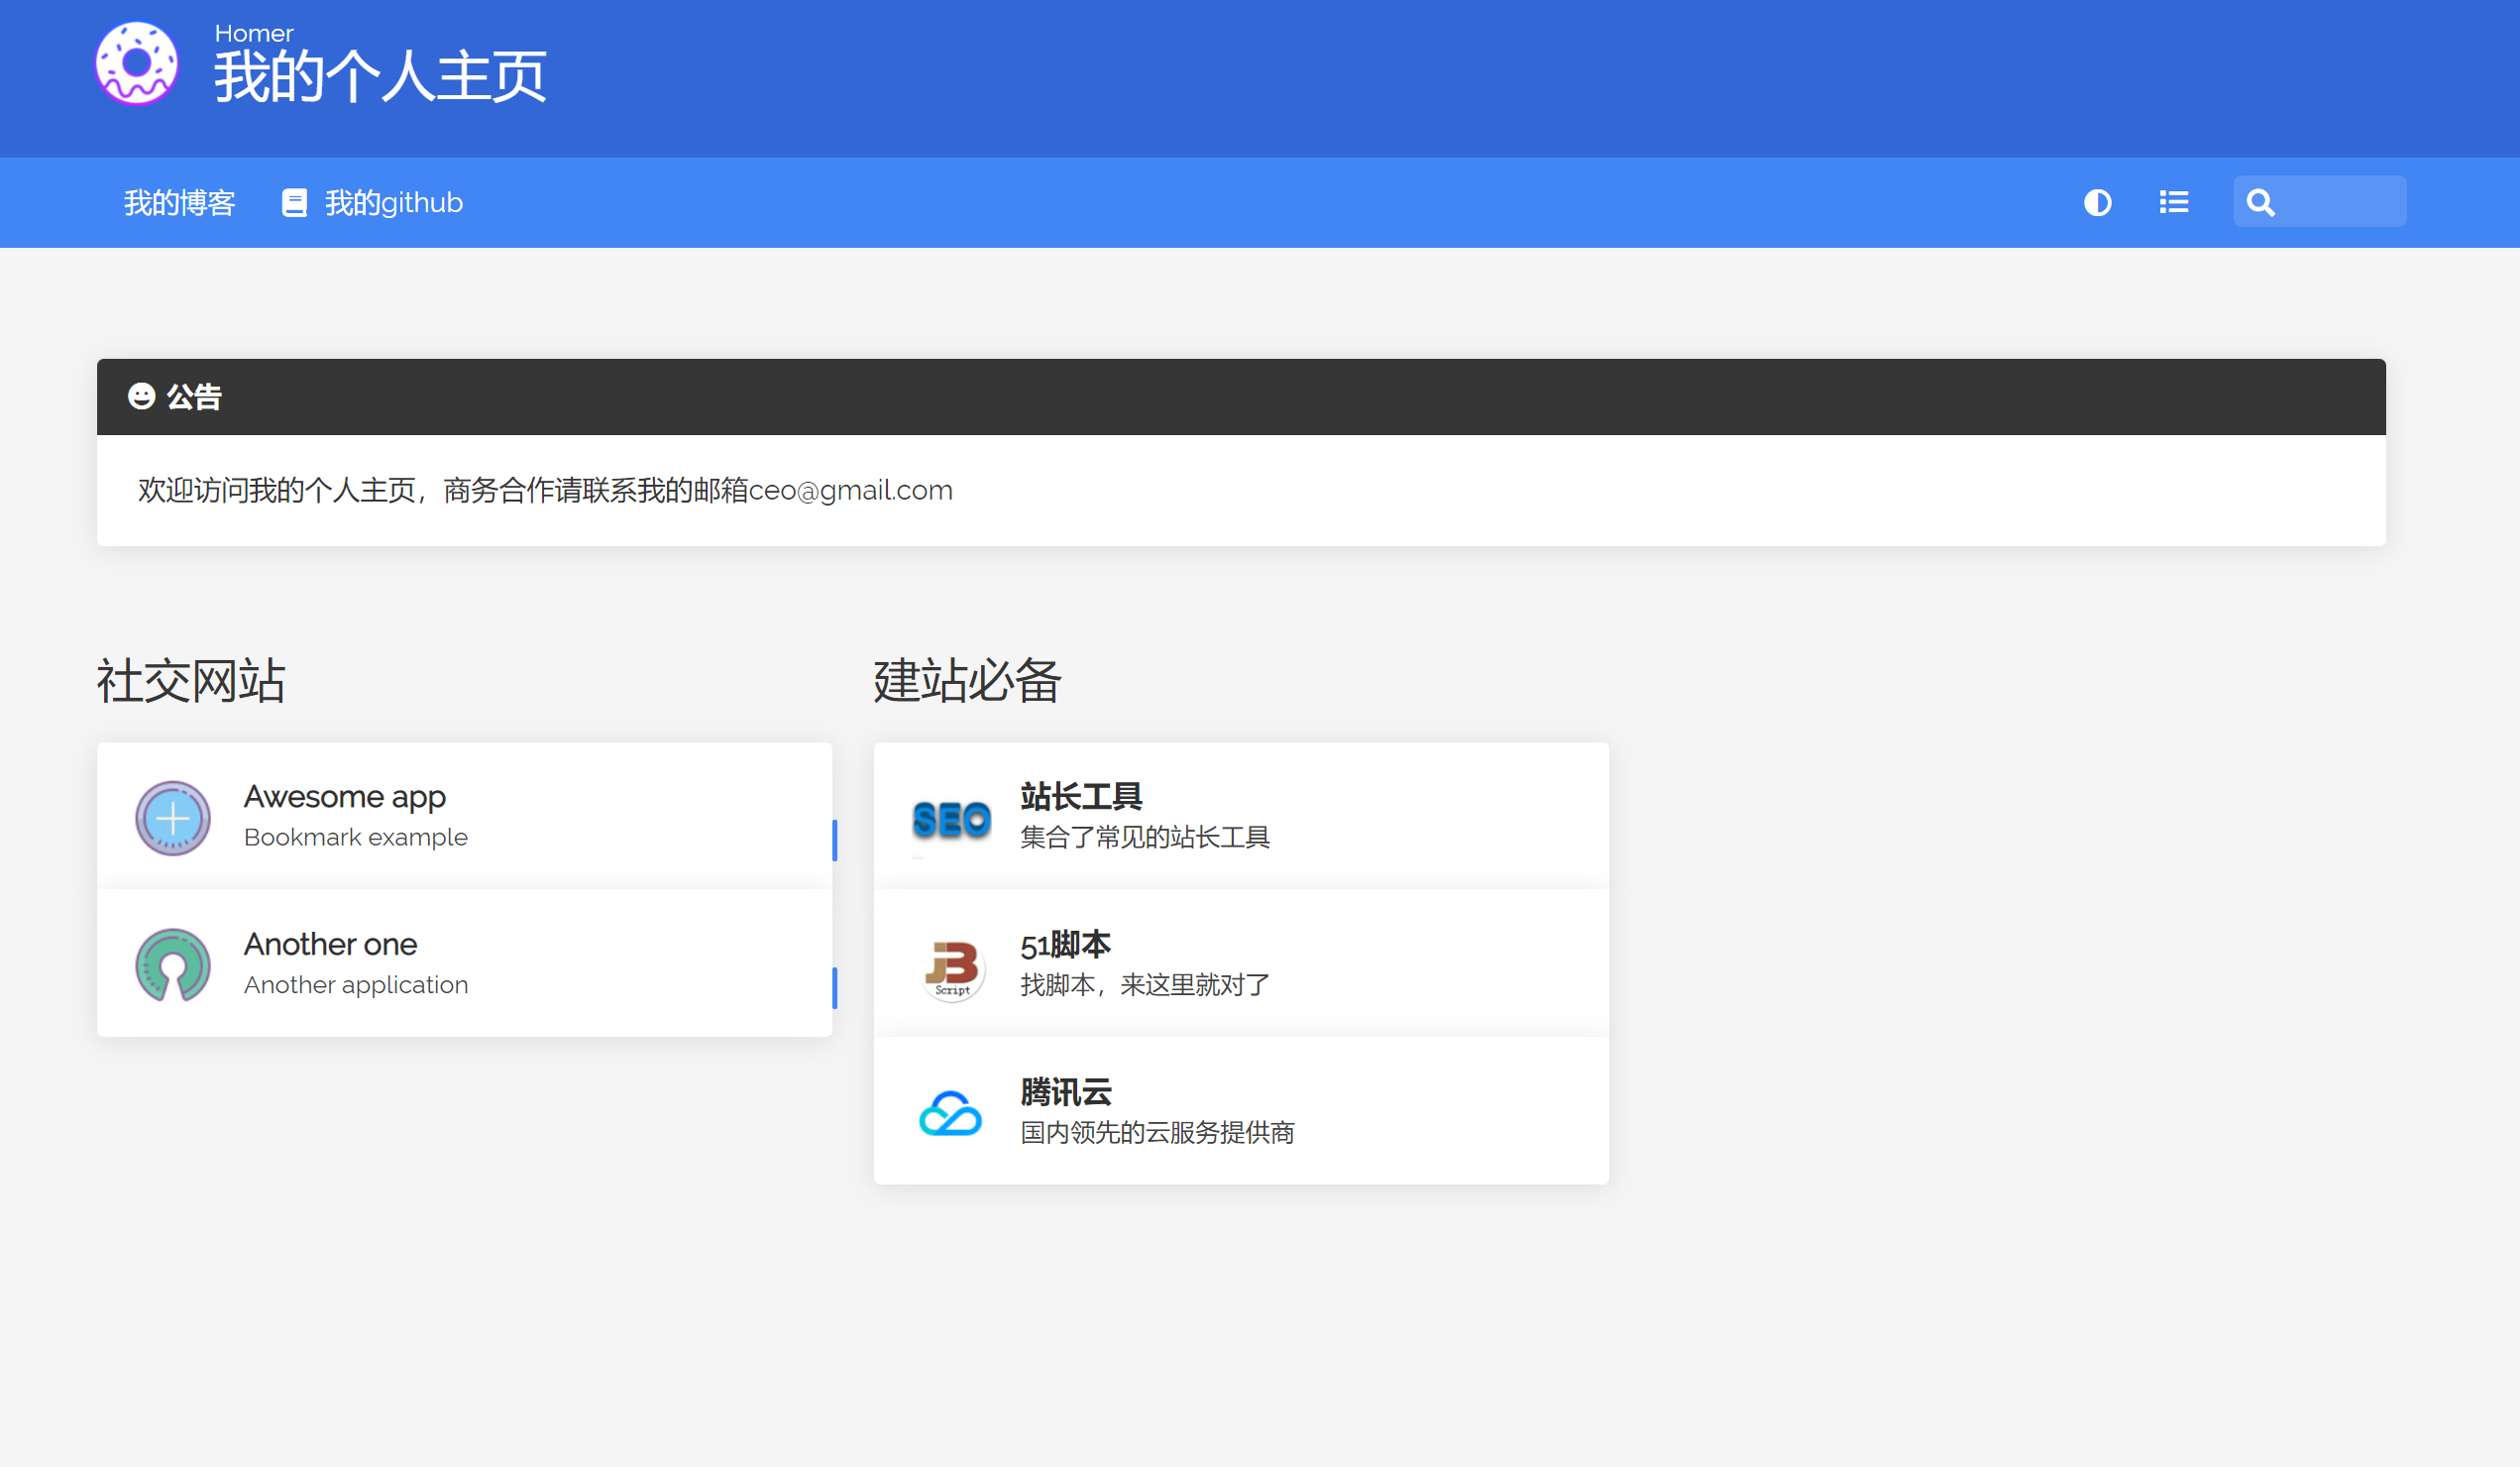
I often envy others for having a beautiful navigation home page. I want to build one myself, but I can only leave tears without technology. Today, I accidentally saw an open source Home page item , it looks very beautiful and can be highly customized. It also provides a docker image, which is very convenient to install.

Just after the promotion of Tencent cloud's double Eleventh National Congress, there were several more lightweight servers that ate ash, so one of them was used to build one. Let's briefly talk about the tutorial of building
Purchase server
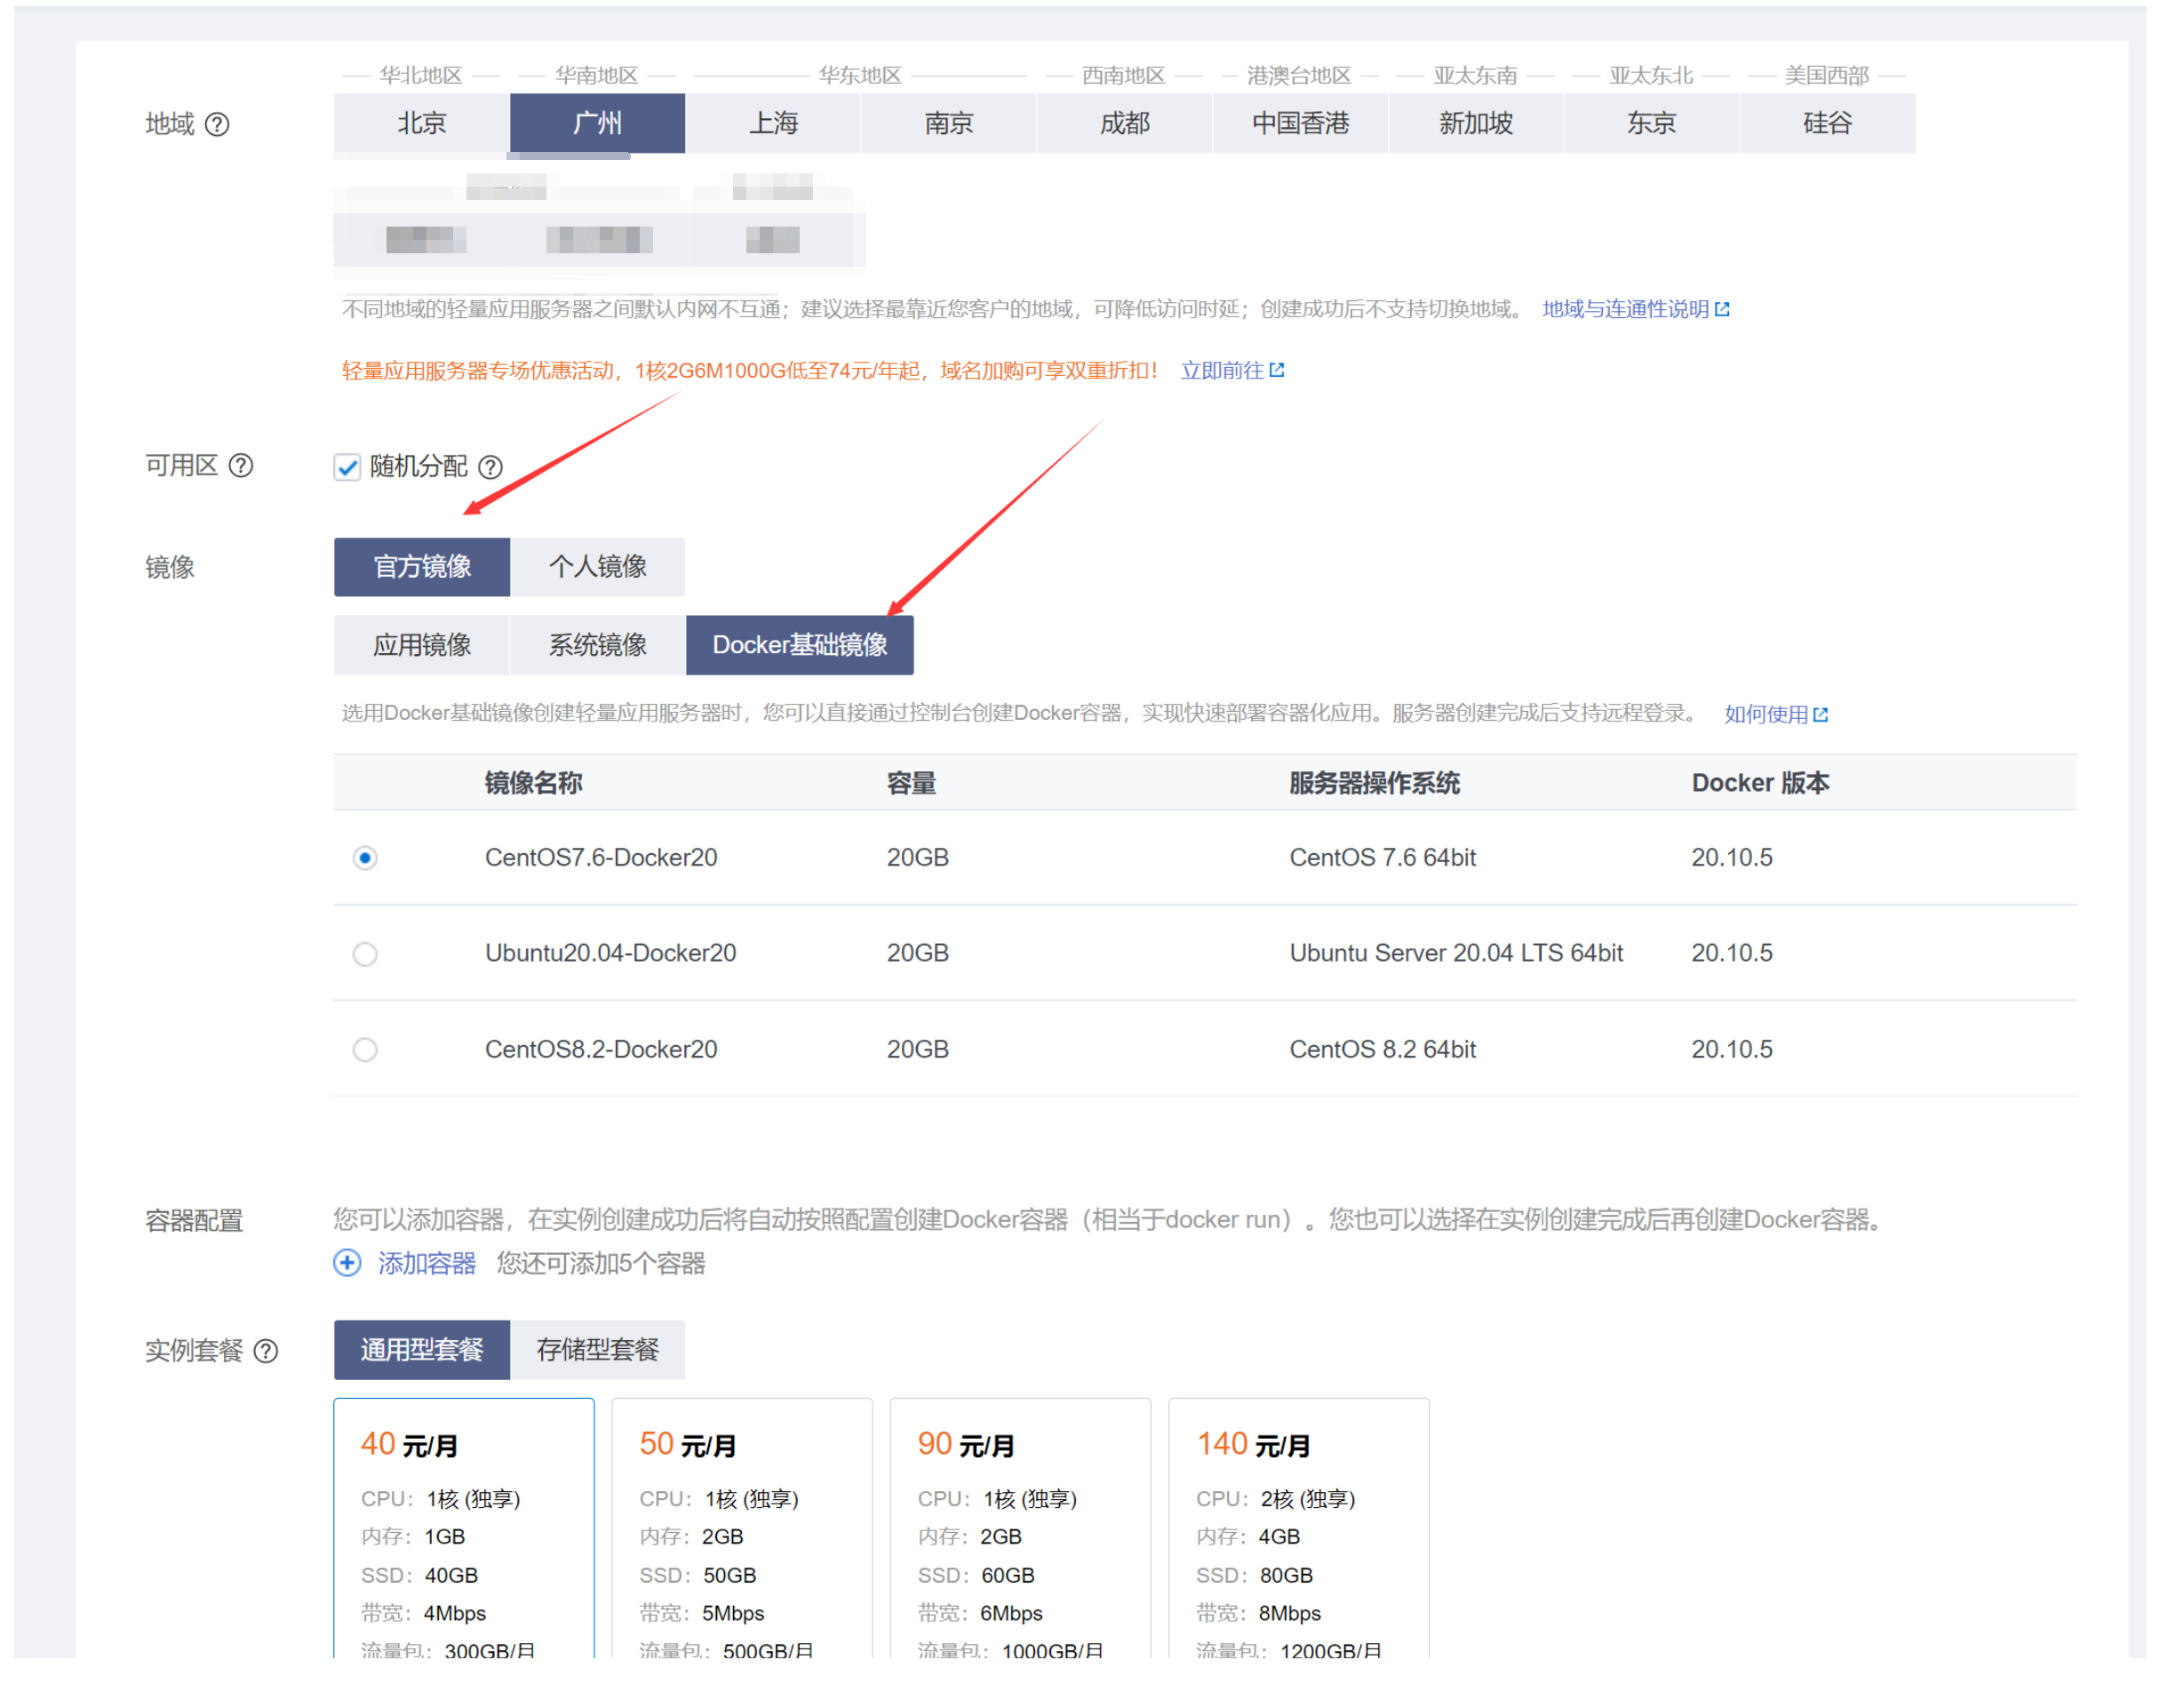
If there is no server, you need to buy a lightweight server of Tencent cloud first. Tencent cloud often holds various activities, which can Click here to enter their activity page for purchase , you can choose the nearest region to purchase, but if you don't want to record, you can choose an overseas server (such as Hong Kong region) to purchase. For image, select docker basic image under official image, select the instance package that is suitable for you, then submit the order and pay. If you do not select docker basic image, you need to install the docker container yourself.

Installing Homer
Because this home page project provides a docker image, the installation is very simple and requires only one line of command. In order to easily configure the information on the home page and upload pictures, we need to mount the directory of the configuration file to the directory of the host computer for us to modify. The command is as follows
mkdir -p /data/homepage/assets   #I mount the configuration file to the directory of the host, or I can specify it to my favorite directory

docker run -d -p 8080:8080 -v /data/homepage/assets:/www/assets --restart always b4bz/homer:latest   # Then start the Docker container
After successful startup, visit it in the browser. If you can see the page open, it means that it is half successful. There is usually no problem with this step. Since we haven't done any configuration yet, what we see here is the default home page. Next, modify the configuration file to change it to its own content.
Configure Homer
Go to the / data / home / assets directory (if the configuration file is not mounted in this directory, go to the directory where you mounted it). You can see that there are more files and folders in it. We focus on the config.yml folder and tools folder. config.yaml is used to configure the content displayed on the page, The tools folder is used to put the picture resources needed on the page. Use your familiar text editing tool to open config.yml for editing. The content is also very simple. You can understand it at a glance. The following is the content I edited. Save it after editing.
If the logo requires image resources, put the image in the tools directory, and then reference it with "assets/tools/xxxx.png" in the configuration file
---
# Homepage configuration
# See https://fontawesome.com/icons for icons options

title: "My home page"
subtitle: "Homer"
logo: "logo.png"
# icon: "fas fa-skull-crossbones" # Optional icon

header: true
footer: 'Collect some interesting websites' # set false if you want to hide it.

# Optional message
message:
  #url: https://b4bz.io
  style: "is-dark" # See https://bulma.io/documentation/components/message/#colors for styling options.
  title: "Notice"
  icon: "fa fa-grin"
  content: "Welcome to my home page. Please contact my email for business cooperation ceo@gmail.com"

# Optional navbar
# links: [] # Allows for navbar (dark mode, layout, and search) without any links
links:
  - name: "My blog"
    icon: "fab fa-blog"
    url: "https://www.lixf.cc"
    target: "_blank" # optional html a tag target attribute
  - name: "my github"
    icon: "fas fa-book"
    url: "https://github.com/lixiaofei123"

# Services
# First level array represent a group.
# Leave only a "items" key if not using group (group name, icon & tagstyle are optional, section separation will not be displayed).
services:
  - name: "Social networking sites"
    items:
      - name: "Awesome app"
        logo: "assets/tools/sample.png"
        subtitle: "Bookmark example"
        tag: "app"
        url: "https://www.reddit.com/r/selfhosted/"
        target: "_blank" # optional html a tag target attribute
      - name: "Another one"
        logo: "assets/tools/sample2.png"
        subtitle: "Another application"
        tag: "app"
        url: "#"
  - name: "Necessary for station construction"
    items:
      - name: "Webmaster Tools "
        logo: "assets/tools/chinaz.png"
        subtitle: "A collection of common Webmaster Tools"
        url: "https://tool.chinaz.com/"
        target: "_blank"
      - name: "51 script"
        logo: "assets/tools/jb.png"
        subtitle: "Find the script. Just come here"
        target: "_blank"
        url: "https://www.51jb.net"
      - name: "Tencent cloud"
        logo: "assets/tools/qqcloud.png"
        subtitle: "Leading cloud service provider in China"
        target: "_blank"
        url: "https://curl.qcloud.com/U8WTYLwt"
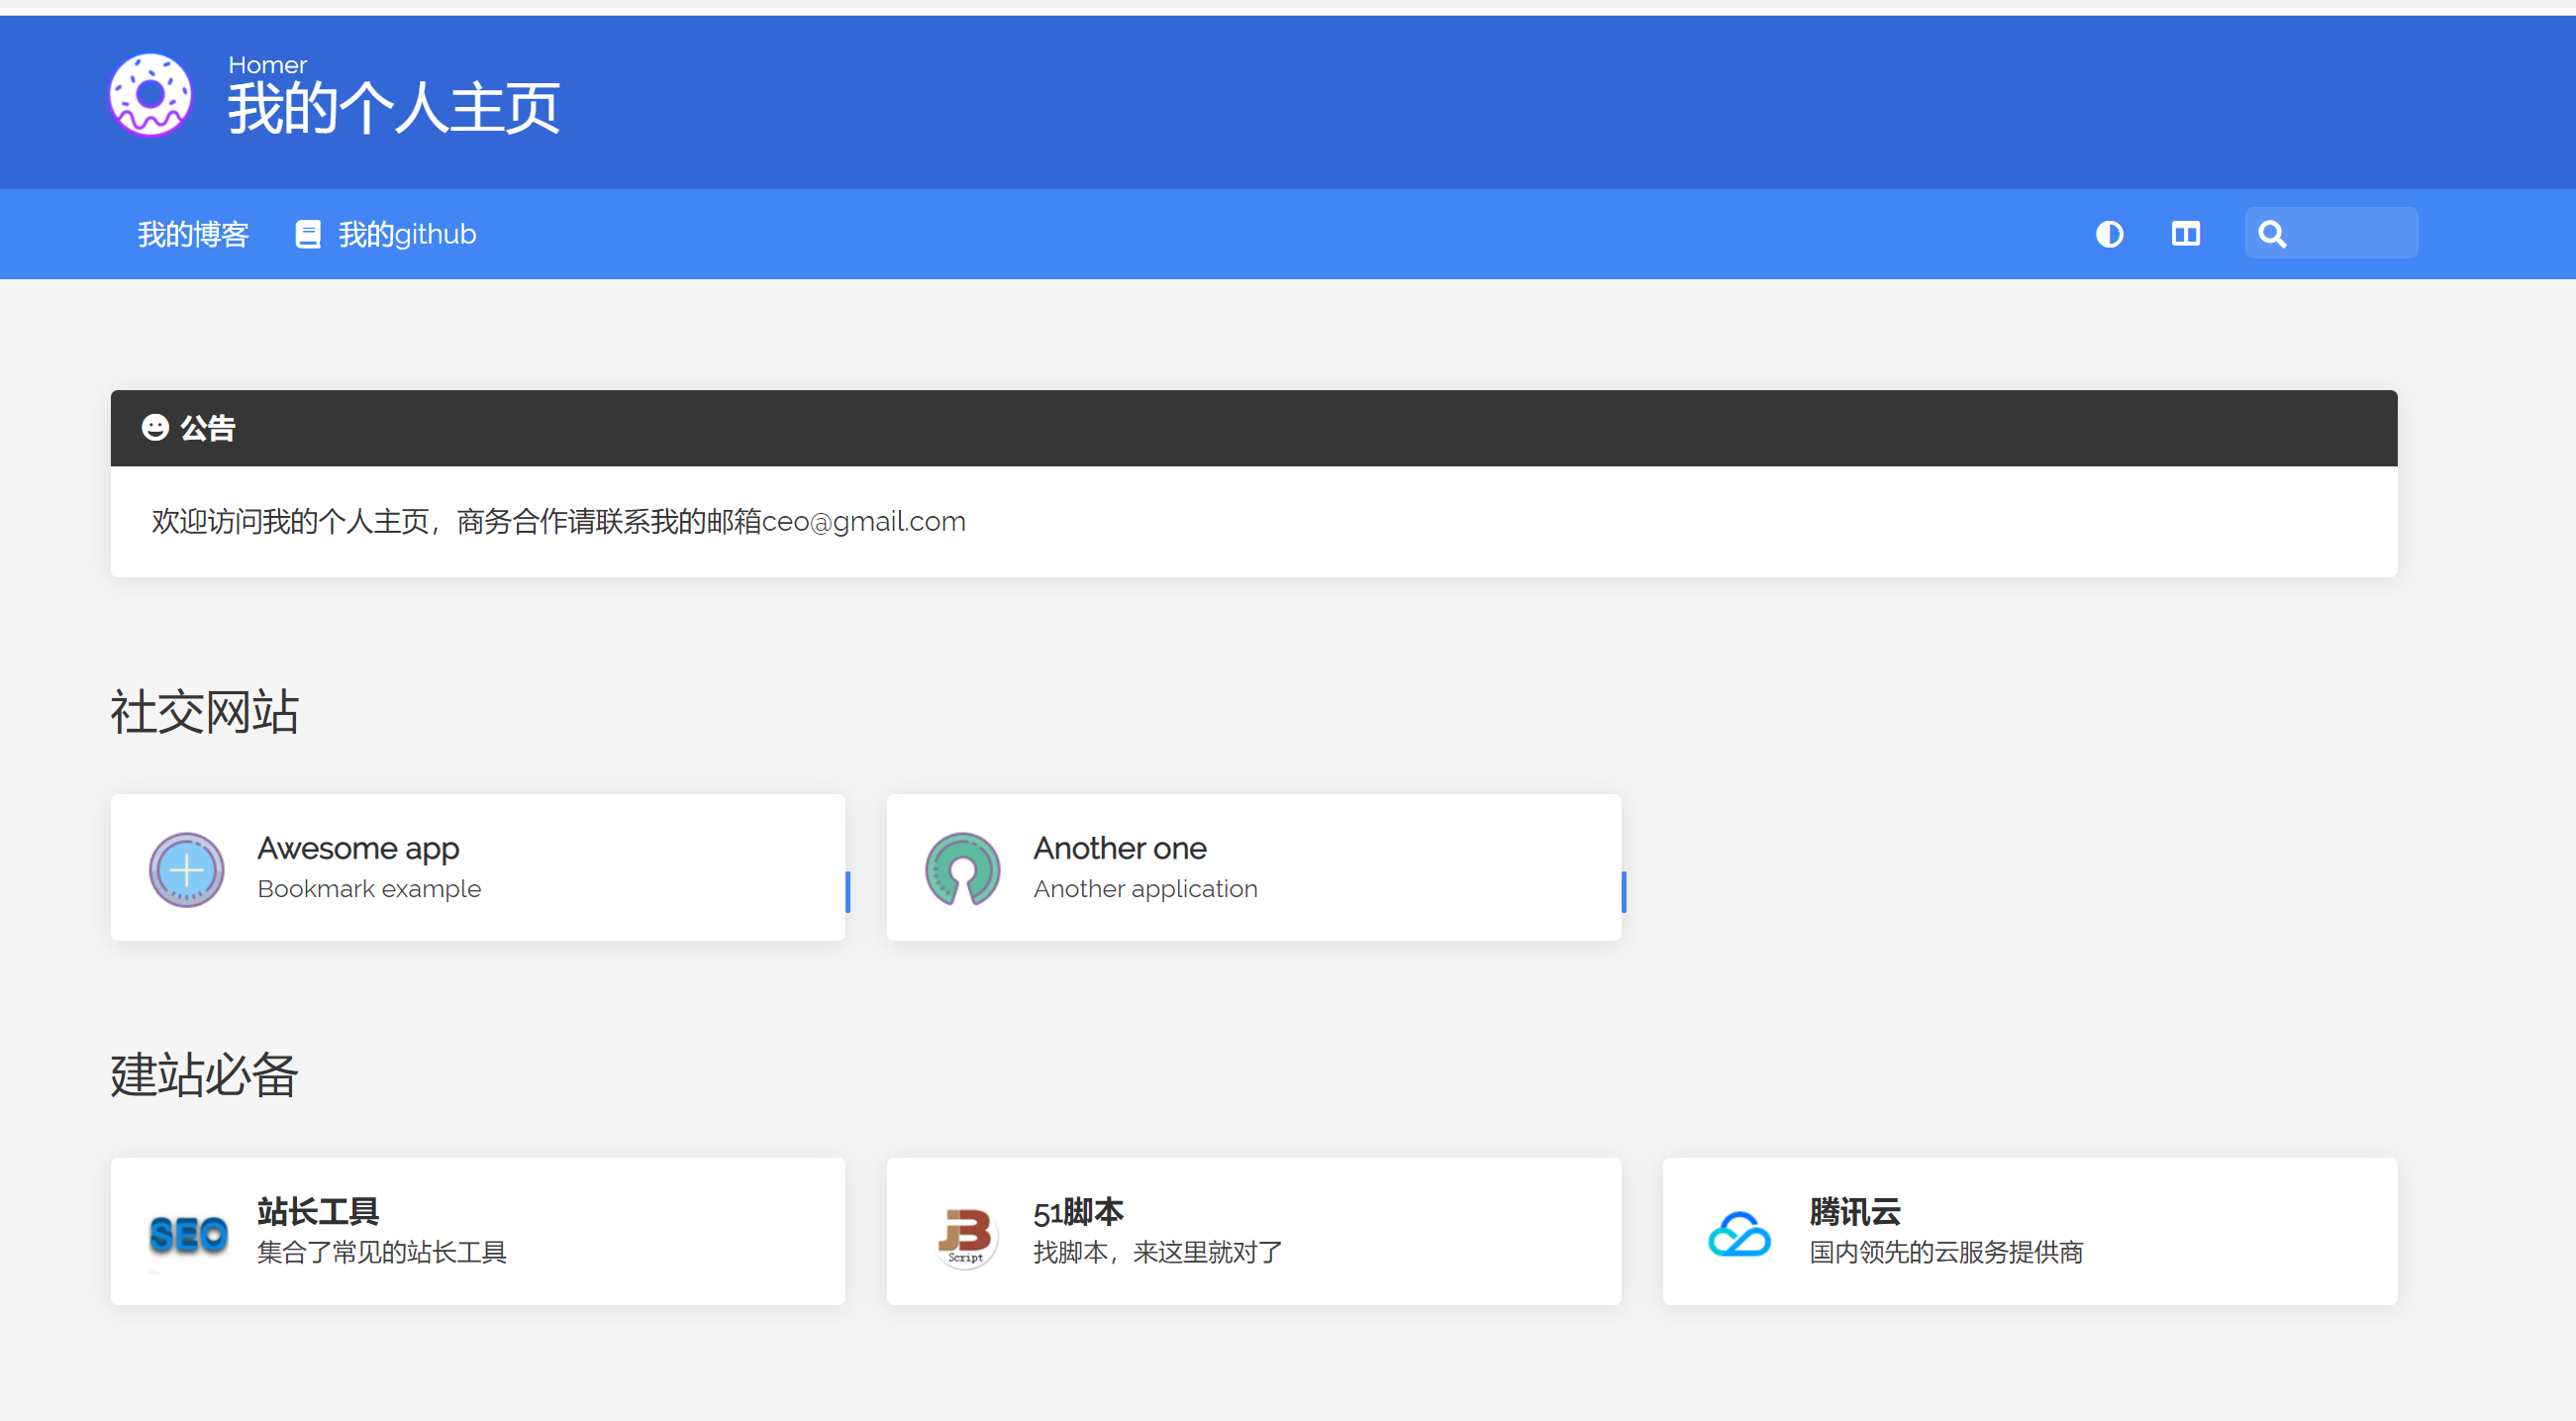
After the configuration is completed, you do not need to restart the docker container. Refresh the page and you can see that our modifications have taken effect.

summary
Generally speaking, this installation configuration is still very easy. Let's try it quickly