When developing, we will inevitably encounter the situation of loading pictures. When the size of pictures is smaller than the size of ImageView, we can certainly happy to load the display directly.
But if we load a picture that is much larger than the size of the ImageView, displaying it directly with the ImageView will have a bad visual effect and will consume too much memory and performance overhead.
Even this picture is big enough to cause the program oom to crash.At this point we need to do special processing on the pictures:
#1. Picture compression
The picture is too big, so I'll try to compress it to a smaller size.Old fellow, this idea is completely free from problems.
The BitmapFactory class provides several parsing methods (decodeResource, decodeStream, decodeFile, and so on) for creating Bitmap.
We can choose the resolution method based on the source of the picture.
- For example, if the picture comes from a network, decodeStream can be used.
- If it is a picture inside the sd card, you can choose decodeFile method.
- If it is a picture inside a resource file, you can use decodeResource method, and so on.
These methods allocate memory for the created Bitmap and cause oom if the picture is too large.
BitmapFactory provides an optional parameter for each of these methods, BitmapFactory.Options, to help us parse pictures.This parameter has a property inSampleSize, which can help us compress pictures.
To explain the effect of inSampleSize, we can raise a chestnut.
For example, if we have a picture of 20481536 and set the value of inSampleSize to 4, we can compress the picture to 51284, reduce the length by four times, and reduce the memory occupied by 16 times.
This shows that the function of inSampleSize is to reduce the length of the picture by a factor of inSampleSize, which takes up less memory than the square of inSampleSize.
The official document also requires that the value of inSampleSize be greater than or equal to 1, which defaults to 1 if the value given is less than 1.
Moreover, the value of inSampleSize needs to be a multiple of 2. If it is not, it will automatically change to the value of the nearest multiple of 2 down. For example, given a value of 3, the final value of inSampleSize will be 2.
Of course, this value of inSampleSize can't be given at will either. It's best to get the original size of the photo and compress it as needed.Don't worry, Google has helped us think about it!BitmapFactory.Options has a property inJustDecodeBounds, which, when true, indicates that we are only trying to get the size of the current picture's boundary, and the return value of BitmapFactory's method of parsing pictures is null, which is a very lightweight method.So we can get the picture size happily, code as follows:
BitmapFactory.Options options = new BitmapFactory.Options();
options.inJustDecodeBounds = true; // Currently only to get the border size of the picture
BitmapFactory.decodeResource(getResources(), R.drawable.bigpic, options);
int outHeight = options.outHeight;
int outWidth = options.outWidth;
String outMimeType = options.outMimeType;
Once we get the size of the picture, we can calculate the size we need to compress according to our needs:
private int caculateSampleSize(BitmapFactory.Options options, int reqWidth, int reqHeight) {
        int sampleSize = 1;
        int picWidth = options.outWidth;
        int picHeight = options.outHeight;
        if (picWidth > reqWidth || picHeight > reqHeight) {
            int halfPicWidth = picWidth / 2;
            int halfPicHeight = picHeight / 2;
            while (halfPicWidth / sampleSize > reqWidth || halfPicHeight / sampleSize > reqHeight) {
                sampleSize *= 2;
            }
        }
        return sampleSize;
}
Here is the complete code:
        mIvBigPic = findViewById(R.id.iv_big_pic);
        BitmapFactory.Options options = new BitmapFactory.Options();
        options.inJustDecodeBounds = true; // Currently only to get the border size of the picture
        BitmapFactory.decodeResource(getResources(), R.drawable.bigpic, options);
        int outHeight = options.outHeight;
        int outWidth = options.outWidth;
        String outMimeType = options.outMimeType;
        System.out.println("outHeight = " + outHeight + " outWidth = " + outWidth + " outMimeType = " + outMimeType);
        options.inJustDecodeBounds = false;
        options.inSampleSize = caculateSampleSize(options, getScreenWidth(), getScreenHeight());
        Bitmap bitmap = BitmapFactory.decodeResource(getResources(), R.drawable.bigpic, options);
        mIvBigPic.setImageBitmap(bitmap);
So the picture is compressed here and it's almost finished.
#2. Partial display
Sometimes we can get a good result by compressing, but sometimes the result is not so good, such as long images such as clear river maps, long maps like this, if we compress the display directly, it will be completely invisible and will affect the experience.At this point, we can use a partial display and then slide through the view to show the picture.
Android uses BitmapRegionDecoder to show pictures locally, showing a rectangular area.To accomplish this, you need a way to set the picture and another way to set the display area.
Initialization
BitmapRegionDecoder provides a series of newInstance s for initialization, supporting incoming file paths, file descriptors, and file streams such as InputStream
For example:
mRegionDecoder = BitmapRegionDecoder.newInstance(inputStream, false);
The above method solves the problem of incoming pictures. Now you have to set the display area.
Bitmap bitmap = mRegionDecoder.decodeRegion(mRect, sOptions);
The first parameter is a Rect and the second parameter is BitmapFactory.Options, which can be used to control inSampleSize, inPreferredConfig, and so on.Here is a simple example showing the large part of the front screen of the picture:
try {
        BitmapRegionDecoder regionDecoder = BitmapRegionDecoder.newInstance(inputStream, false);
        BitmapFactory.Options options1 = new BitmapFactory.Options();
        options1.inPreferredConfig = Bitmap.Config.ARGB_8888;
        Bitmap bitmap = regionDecoder.decodeRegion(new Rect(0, 0, getScreenWidth(), getScreenHeight()), options1);
        mIvBigPic.setImageBitmap(bitmap);
    } catch (IOException e) {
        e.printStackTrace();
    }
of course, it's just the easiest way to use it, and it's not helpful if we want to show the picture completely!Officer, don't be impatient, the future is clear!Now that we can have a regional display, can we customize a View that slides across different areas of the display with our fingers?yes!of course.So let's continue!
Based on the analysis above, the idea of customizing controls is clear:
Provide a way to set up pictures;
Rewrite onTouchEvent to modify the area of the picture display based on the user's mobile gesture;
Each time the region parameter is updated, invalidate is called and onDraw goes inside to regionDecoder.decodeRegion to get bitmap and draw
Say nothing but code directly:
public class BigImageView extends View {
    private static final String TAG = "BigImageView";

    private BitmapRegionDecoder mRegionDecoder;
    private int mImageWidth, mImageHeight;
    private Rect mRect = new Rect();
    private static BitmapFactory.Options sOptions = new BitmapFactory.Options();
    {
        sOptions.inPreferredConfig = Bitmap.Config.ARGB_8888;
    }

    public BigImageView(Context context) {
        this(context, null);
    }

    public BigImageView(Context context, @Nullable AttributeSet attrs) {
        this(context, attrs, 0);
    }

    public BigImageView(Context context, @Nullable AttributeSet attrs, int defStyleAttr) {
        super(context, attrs, defStyleAttr);
    }
    public void setInputStream(InputStream inputStream) {
        try {
            mRegionDecoder = BitmapRegionDecoder.newInstance(inputStream, false);
            BitmapFactory.Options options = new BitmapFactory.Options();
            options.inJustDecodeBounds = false;
            BitmapFactory.decodeStream(inputStream, null, options);
            mImageHeight = options.outHeight;
            mImageWidth = options.outWidth;

            requestLayout();
            invalidate();
        } catch (IOException e) {
            e.printStackTrace();
        }
    }

    int downX = 0;
    int downY = 0;

    @Override
    public boolean onTouchEvent(MotionEvent event) {
        switch (event.getAction()) {
            case MotionEvent.ACTION_DOWN:
                downX = (int) event.getX();
                downY = (int) event.getY();
                break;
            case MotionEvent.ACTION_MOVE:
                int curX = (int) event.getX();
                int curY = (int) event.getY();

                int moveX = curX - downX;
                int moveY = curY - downY;

                onMove(moveX, moveY);

                System.out.println(TAG + " moveX = " + moveX + " curX = " + curX + " downX = " + downX);

                downX = curX;
                downY = curY;
                break;
            case MotionEvent.ACTION_UP:
                break;
        }
        return true;
    }

    private void onMove(int moveX, int moveY) {
        if (mImageWidth > getWidth()) {
            mRect.offset(-moveX, 0);
            checkWidth();
            invalidate();
        }

        if (mImageHeight > getHeight()) {
            mRect.offset(0, -moveY);
            checkHeight();
            invalidate();
        }

    }

    private void checkWidth() {
        Rect rect = mRect;
        if (rect.right > mImageWidth) {
            rect.right = mImageWidth;
            rect.left = mImageWidth - getWidth();
        }

        if (rect.left < 0) {
            rect.left = 0;
            rect.right = getWidth();
        }
    }

    private void checkHeight() {
        Rect rect = mRect;
        if (rect.bottom > mImageHeight) {
            rect.bottom = mImageHeight;
            rect.top = mImageHeight - getHeight();
        }

        if (rect.top < 0) {
            rect.top = 0;
            rect.bottom = getWidth();
        }
    }

    @Override
    protected void onMeasure(int widthMeasureSpec, int heightMeasureSpec) {
        super.onMeasure(widthMeasureSpec, heightMeasureSpec);

        int width = getMeasuredWidth();
        int height = getMeasuredHeight();

        mRect.left = 0;
        mRect.top = 0;
        mRect.right = width;
        mRect.bottom = height;
    }

    @Override
    protected void onDraw(Canvas canvas) {
        super.onDraw(canvas);
        Bitmap bitmap = mRegionDecoder.decodeRegion(mRect, sOptions);
        canvas.drawBitmap(bitmap, 0, 0, null);
    }
}
According to the above source code:
Initial BitmapRegionDecoder in setInputStream method to get the actual width and height of the picture;
The onMeasure method assigns an initialization value to Rect to control the area of the picture that starts to display.
onTouchEvent listens for user gestures, modifies the Rect parameter to modify the picture display area, performs boundary detection, and finally invalidate;
Get Bitmap from Rect in onDraw and draw it.
#Last
Learning is not easy. Share the learning path of our Ali p7 architect
As an Android programmer, there is a lot to learn.
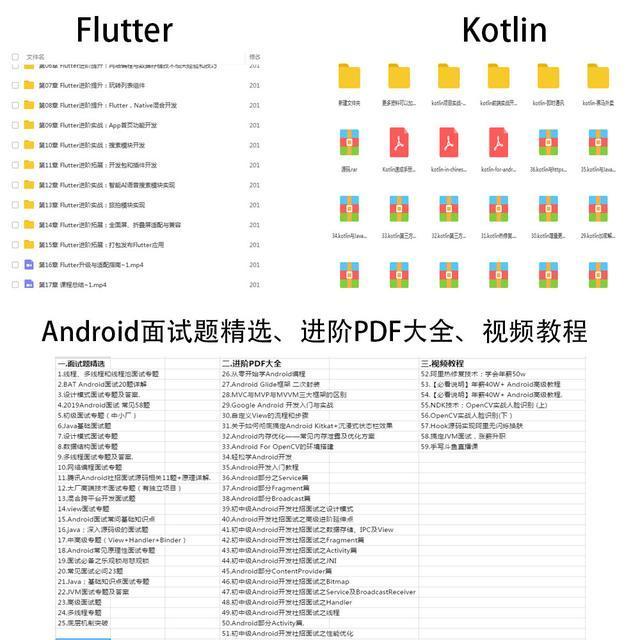
Release your own organized Android learning content to help you learn and advance
- Collection of interview questions
- Introduction book PDF: Java, c, c++.
- Android Advanced Selected Book PDF
- Ali Specification Document
- Android development skills
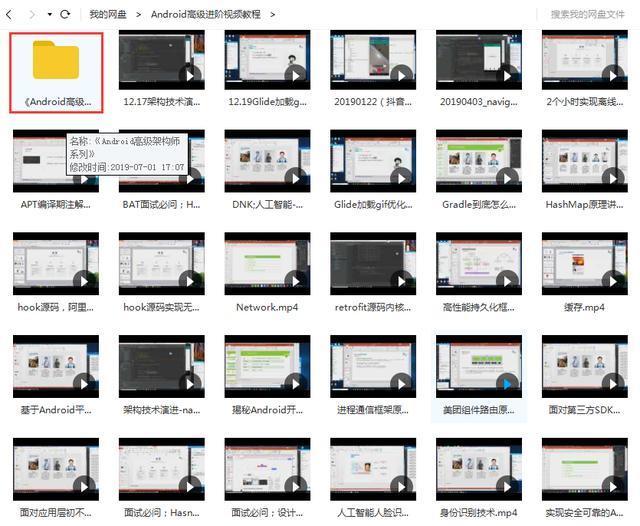
- Advanced PDF Daquan
- Advanced Video
- Source code
- Algorithmic Learning Video
- Not Ended to Continue
There are now learning trends flutter, kotin and other information, have been sorted out, save search time to learn
If you need it, you can compliment + comment, follow me, and trust me privately