Install jdk, tomcat environment
[root@centos6 ~]# tar zxf jdk-8u111-linux-x64.tar.gz -C /usr/local/
[root@centos6 ~]# tar zxf apache-tomcat-8.5.9.tar.gz -C /usr/local/
[root@centos6 local]# export JAVA_HOME=/usr/local/jdk1.8.0_111
[root@centos6 local]# export CLASSPATH=.:$JAVA_HOME/lib/dt.jar:$JAVA_HOME/lib/tools.jar
[root@centos6 local]# export PATH=$JAVA_HOME/bin:$PATH
[root@centos6 local]# export CATALINA_HOME=/usr/local/apache-tomcat-8.5.9
[root@centos6 local]# source /etc/profile
[root@centos6 local]# java -version
java version "1.8.0_111"
Java(TM) SE Runtime Environment (build 1.8.0_111-b14)
Java HotSpot(TM) 64-Bit Server VM (build 25.111-b14, mixed mode)
Installation configuration
I. Jenkins downloads installation packages on the official website
[root@centos6 ~]# wget http://mirrors.jenkins.io/war-stable/latest/jenkins.war
[root@centos6 ~]#cp jenkins.war /usr/local/apache-tomcat-8.5.9/webapps/
[root@centos6 webapps]#../bin/startup.sh &
II. Login WEB Interface for Related Configuration
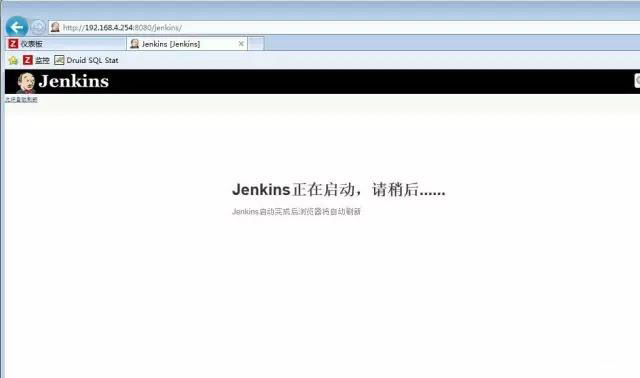
You can find the initial password in the following file
[root@centos6 webapps]# cat /root/.jenkins/secrets/initialAdminPassword
0d647a32992149b3b43f77e4bda93809
Enter your password and jump to the next interface
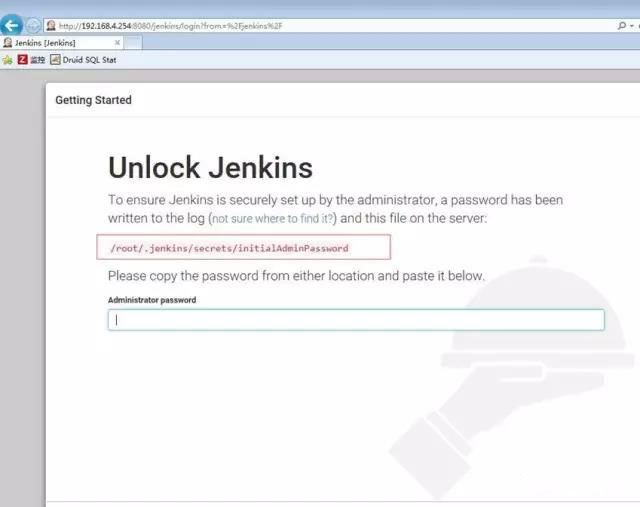
3. Then choose to install the plug-in, the next step is OK.
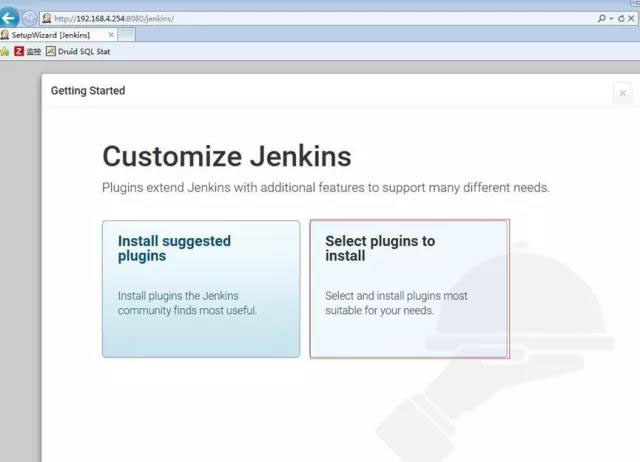
4. Creating Users and Passwords
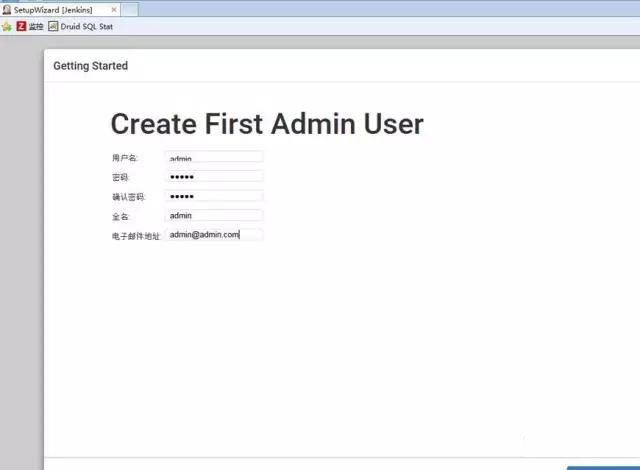
5. Configuration and Management of Home Page Interface
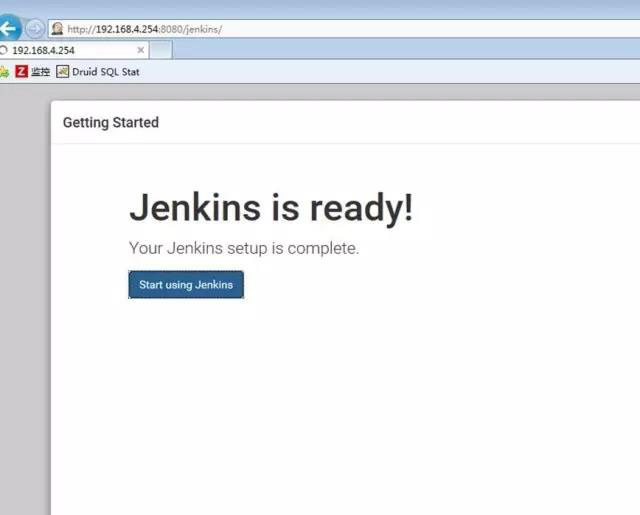
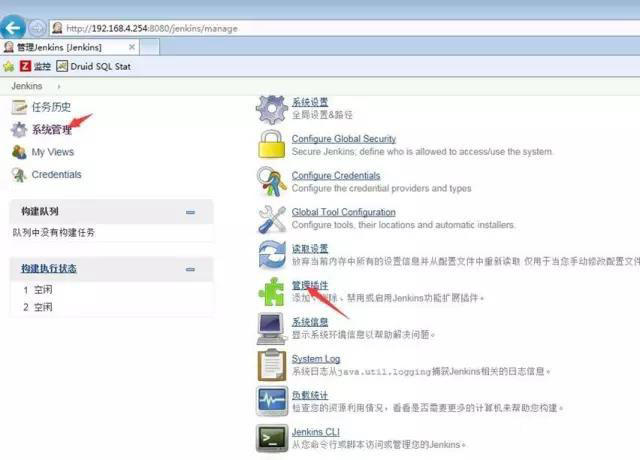
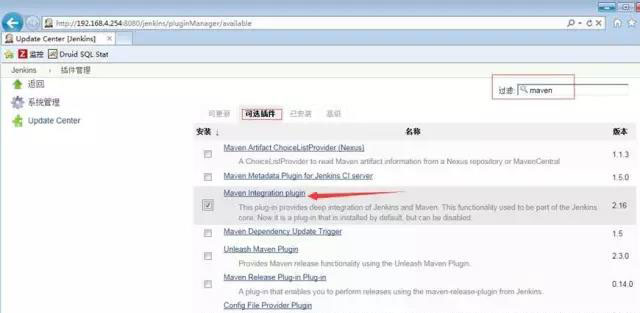
6. Installing maven plug-ins through system management-management plug-ins
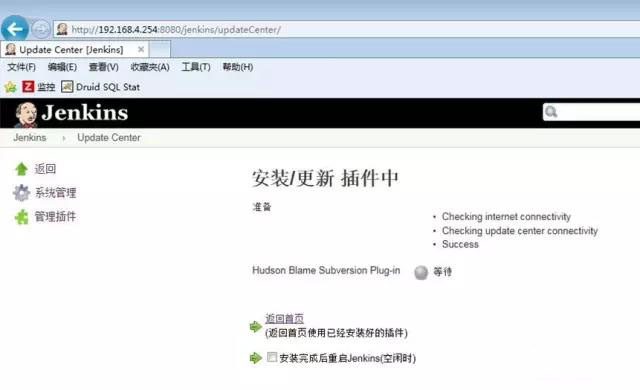
Installation of svn plug-in
8. Install Deploy to container Plugin plug-in

Installation Configuration Maven
I. Download Software on Official Website
wget http://apache.fayea.com/maven/maven-3/3.3.9/binaries/apache-maven-3.3.9-bin.tar.gz
tar zxf apache-maven-3.3.9-bin.tar.gz –C /usr/local/
mv /usr/local/apache-maven-3.3.9  /usr/local/maven-3.3.9
Configuration of environmental variables
echo 'export MAVEN_HOME=/usr/local/maven-3.3.9' >> /etc/profile
echo 'export PATH=$PATH:$MAVEN_HOME/bin' >> /etc/profile
source /etc/profile
3. Inspection is completed
[root@centos6 ~]# mvn -version
Apache Maven 3.3.9 (bb52d8502b132ec0a5a3f4c09453c07478323dc5; 2015-11-11T00:41:47+08:00)
Maven home: /usr/local/maven-3.3.9
Java version: 1.8.0_111, vendor: Oracle Corporation
Java home: /usr/local/jdk1.8.0_111/jre
Default locale: en_US, platform encoding: UTF-8
OS name: "linux", version: "2.6.32-642.el6.x86_64", arch: "amd64", family: "unix"
4. Configuring maven on Jenkins
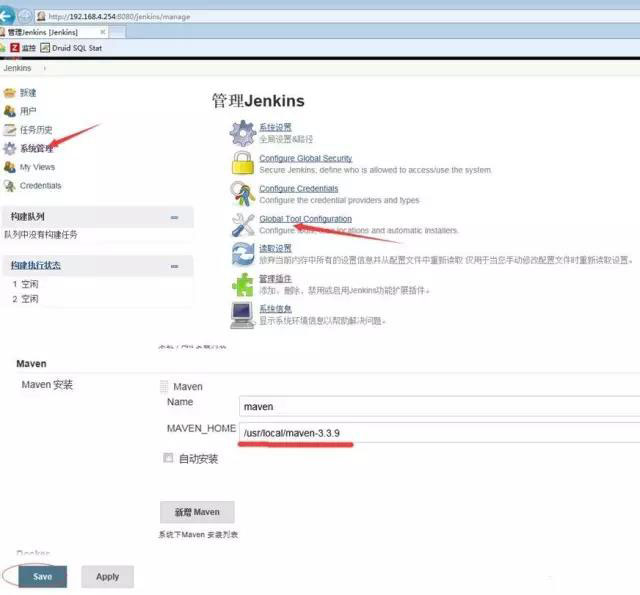
V. Configuration of SVN Ibid.
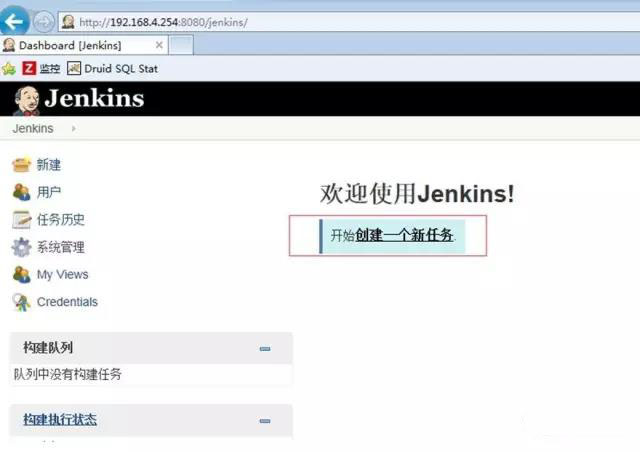
Create Job
Start creating a task or project
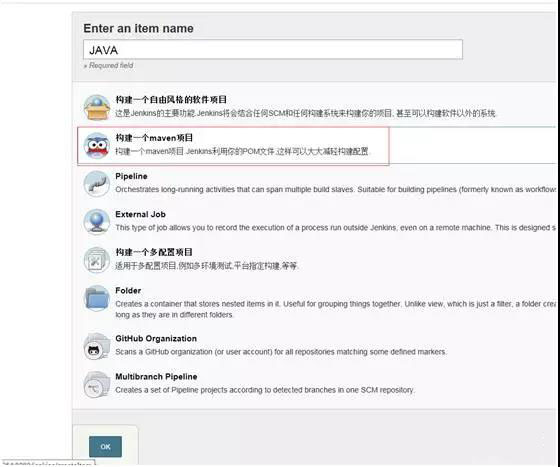
2. Enter the project name and choose to build a maven project
3. Configure the SVN address of the code base. Note that this URL must have access rights. 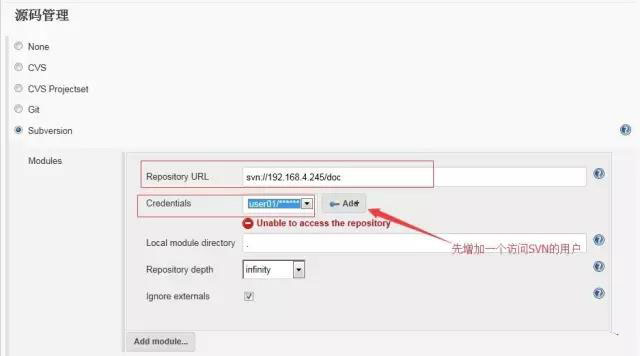
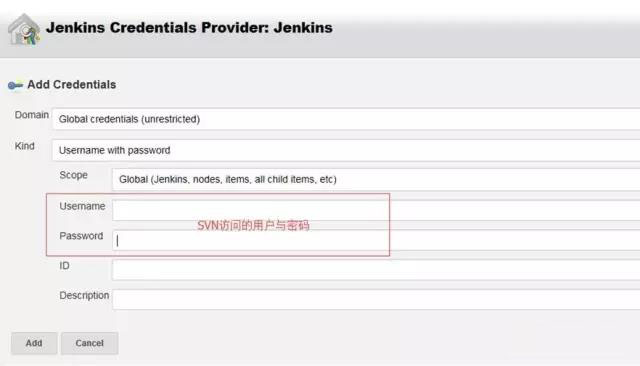
4. If there is no optional user, you need to create one
5. The pom.xml file here in bulid is provided by the developer, without which the automatic packaging can not be completed. 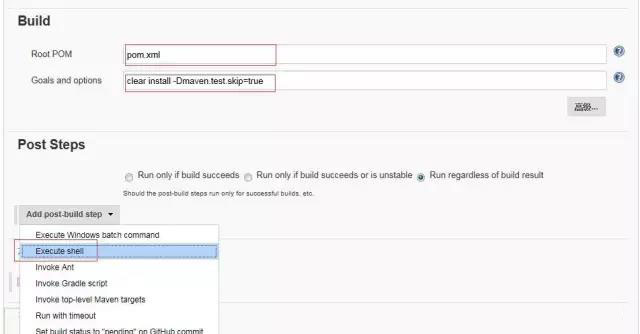
6. Post Steps Here we use an automated release script 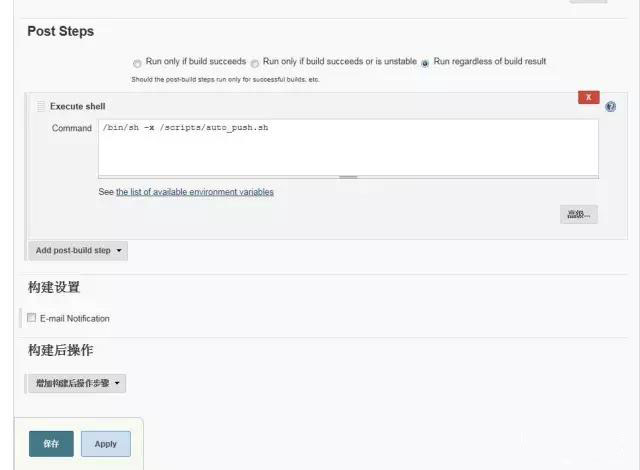
Post-Configuration Point Save
7. You can see the JOB you just created on the home page, build it immediately, and then output information from the console.
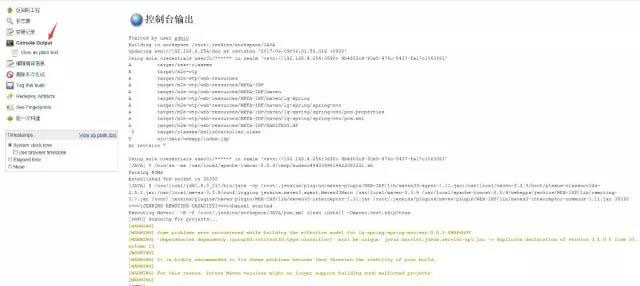
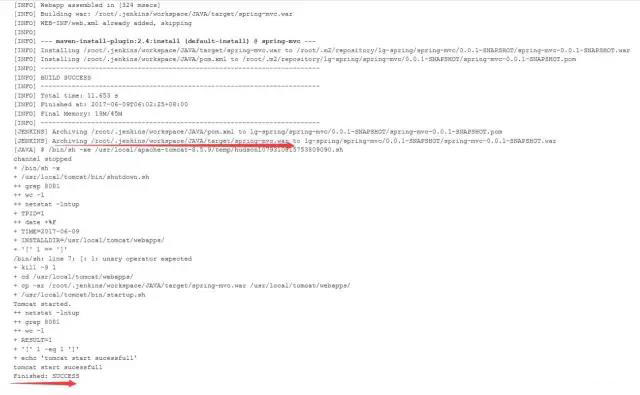
You can see that the word "build success" appears, as well as that the code has been packaged. The directory is as follows:
/root/.jenkins/workapace/JAVA/target/spring-mvc.war
Test access
After completing the above series of actions, let's test whether it has been completed or not.
Browser Input http://192.168.4.254:8081/spring-mvc
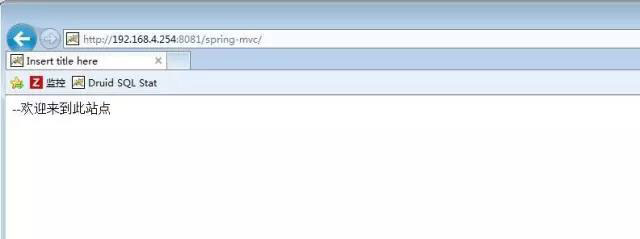
Automated scripts
[root@centos scripts]# cat auto_push.sh
#!/bin/sh
################################################
#stop tomcat service
/usr/local/tomcat/bin/shutdown.sh
TPID=`ps -ef|grep tomcat|grep -v grep|awk '{print $2}'`
TIME=`date +%F`
INSTALLDIR=/usr/local/tomcat/webapps/

if [ $TPID =="" ];then
   echo "tomcat stop sucessfully"
else
   kill -9 $TPID
fi

#push code to server and start server
cd $INSTALLDIR
\cp -ar /root/.jenkins/workspace/JAVA/target/*.war $INSTALLDIR
/usr/local/tomcat/bin/startup.sh
RESULT=`netstat -lntup|grep 8081|wc -l`
if [ $RESULT -eq 1 ];then
   echo "tomcat start sucessfull"
else
   /usr/local/tomcat/bin/startup.sh
fi