1. Introduction to JIRA
Chinese official website: https://www.atlassian.com/zh/software/jira

1.1 what can JIRA do?
plan Create projects, user needs and transactions, plan Sprint, and assign development tasks across teams.
track Fully understand the project progress, arrange and discuss the work priorities of the whole team.
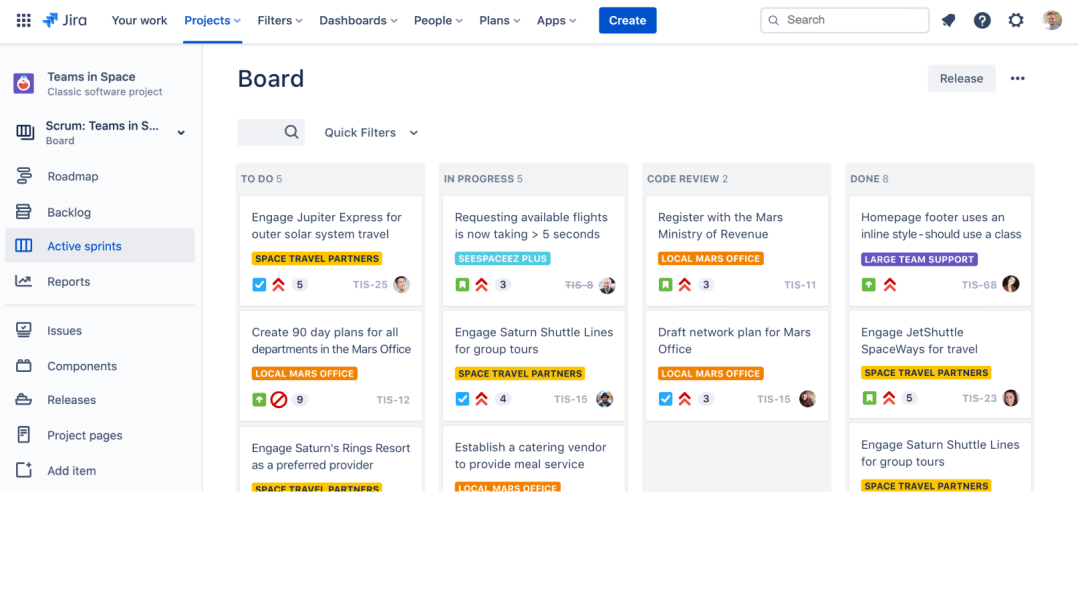
image.png
2. Installation and deployment
2.1 data center version
https://www.atlassian.com/zh/software/jira/pricing?tab=data-center trial

Select historical version download:

Download the latest LTS long-term support version

Select the environment to deploy:

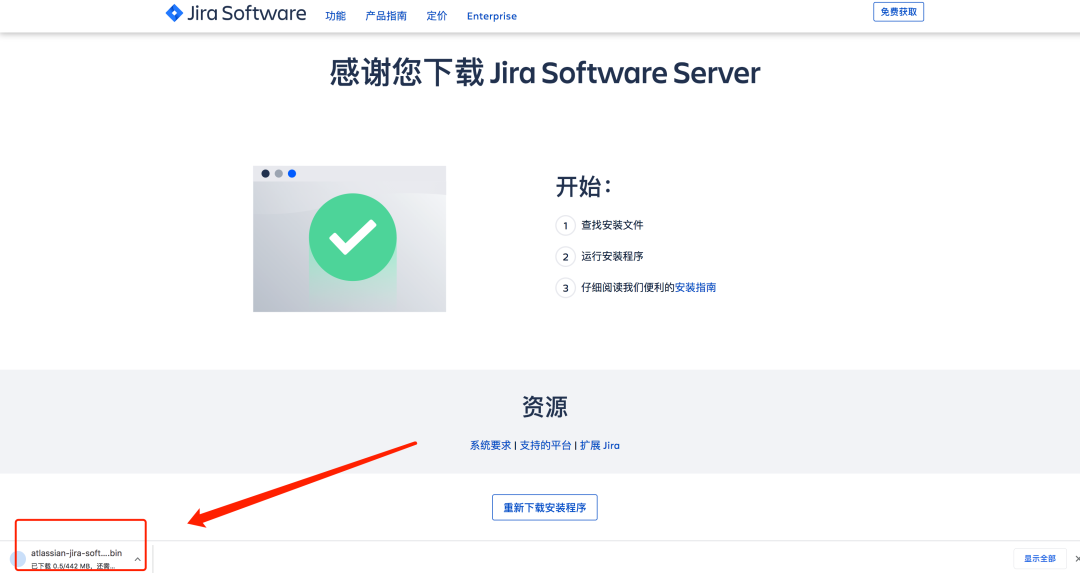
To begin downloading the Jira Software Server installer:
2.2 installation and deployment
scp atlassian-jira-software-8.20.1-x64.bin  root@192.168.1.200:/opt/

## add permission
[root@zeyang-nuc-service opt]# chmod +x atlassian-jira-software-8.20.1-x64.bin


## Run setup
[root@zeyang-nuc-service opt]# ./atlassian-jira-software-8.20.1-x64.bin
Unpacking JRE ...
Starting Installer ...

This will install Jira Software 8.20.1 on your computer.
OK [o, Enter], Cancel [c]      ## enter

Click Next to continue, or Cancel to exit Setup.

Choose the appropriate installation or upgrade option.
Please choose one of the following:
Express Install (use default settings) [1], Custom Install (recommended for advanced users) [2, Enter], Upgrade an existing Jira installation [3]

## Select custom installation here and enter

Select the folder where you would like Jira Software to be installed.
Where should Jira Software be installed?
[/opt/atlassian/jira]

## Select installation directory


Default location for Jira Software data
[/var/atlassian/application-data/jira]

## Select data directory

Configure which ports Jira Software will use.
Jira requires two TCP ports that are not being used by any other
applications on this machine. The HTTP port is where you will access Jira
through your browser. The Control port is used to startup and shutdown Jira.
Use default ports (HTTP: 8080, Control: 8005) - Recommended [1, Enter], Set custom value for HTTP and Control ports [2]
2   ## Enter 2 to customize the service port
HTTP Port Number
[8071]
8801
Control Port Number
[8077]
8802

## Installation services
Jira can be run in the background.
You may choose to run Jira as a service, which means it will start
automatically whenever the computer restarts.
Install Jira as Service?
Yes [y, Enter], No [n]
y


Details on where Jira Software will be installed and the settings that will be used.
Installation Directory: /opt/atlassian/jira
Home Directory: /var/atlassian/application-data/jira
HTTP Port: 8801
RMI Port: 8802
Install as service: Yes
Install [i, Enter], Exit [e]


Extracting files ...


## Start service
Please wait a few moments while Jira Software is configured.

Installation of Jira Software 8.20.1 is complete
Start Jira Software 8.20.1 now?
Yes [y, Enter], No [n]
y

Please wait a few moments while Jira Software starts up.
Launching Jira Software ...


Installation of Jira Software 8.20.1 is complete
Your installation of Jira Software 8.20.1 is now ready and can be accessed
via your browser.
Jira Software 8.20.1 can be accessed at http://localhost:8801
Finishing installation ...
visit: http://serverip:8801
2.3 initialization configuration

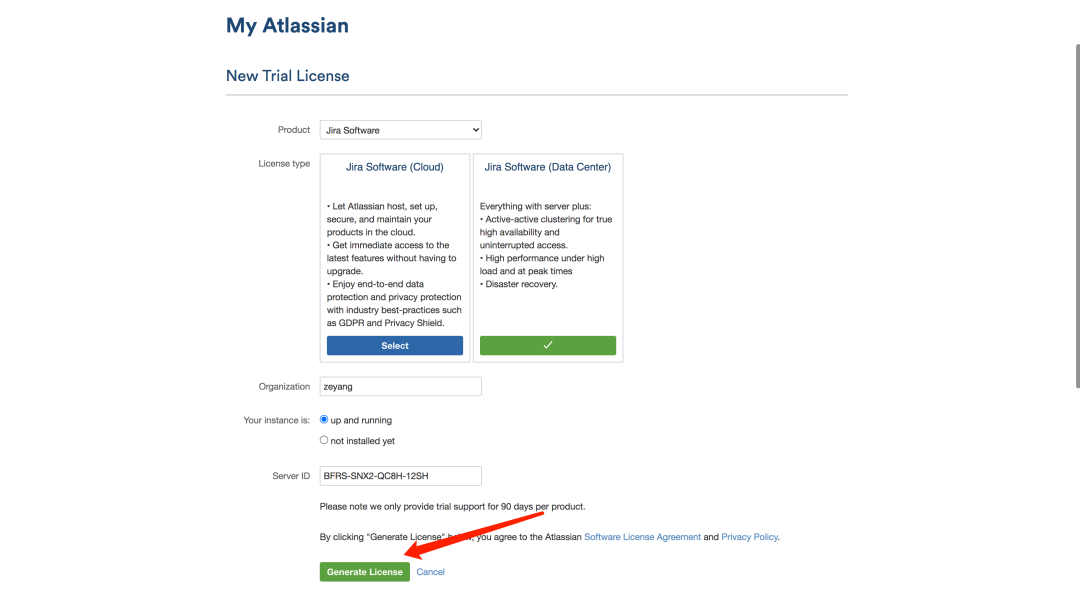
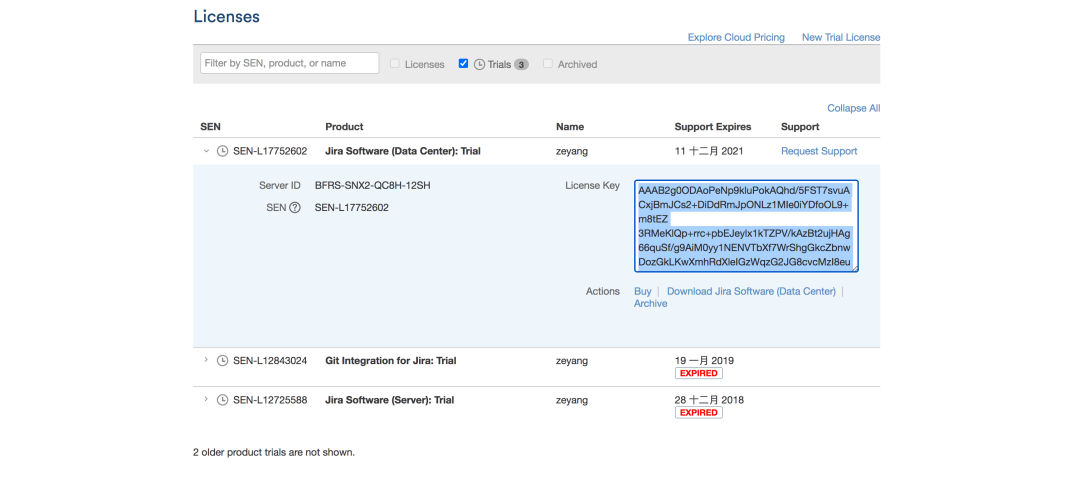
Obtain authorization code:

Login with registered account: generate authorization code and activate instance;

3. Usage practice of JIRA
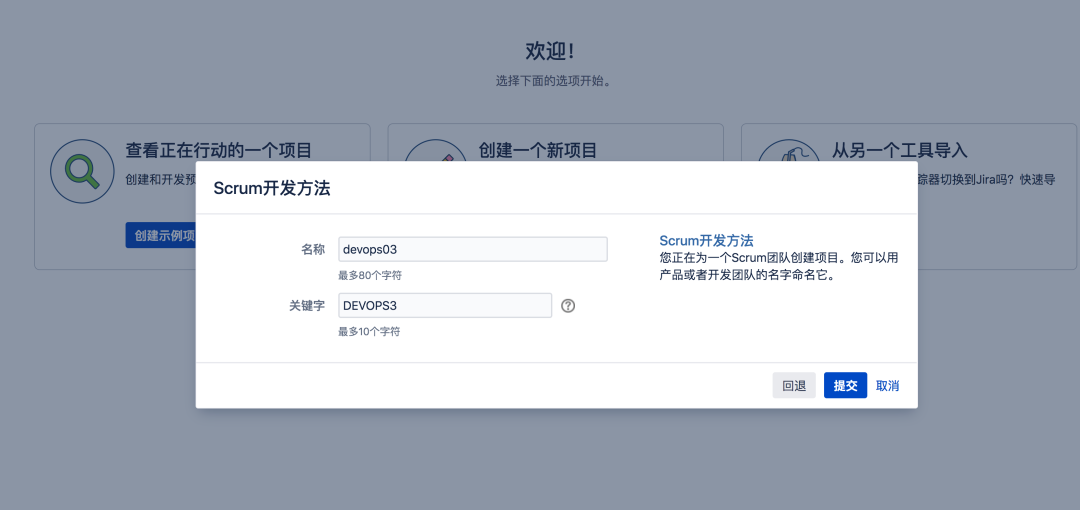
3.1 create a project
Note: a Jira project corresponds to a GitLab project team;

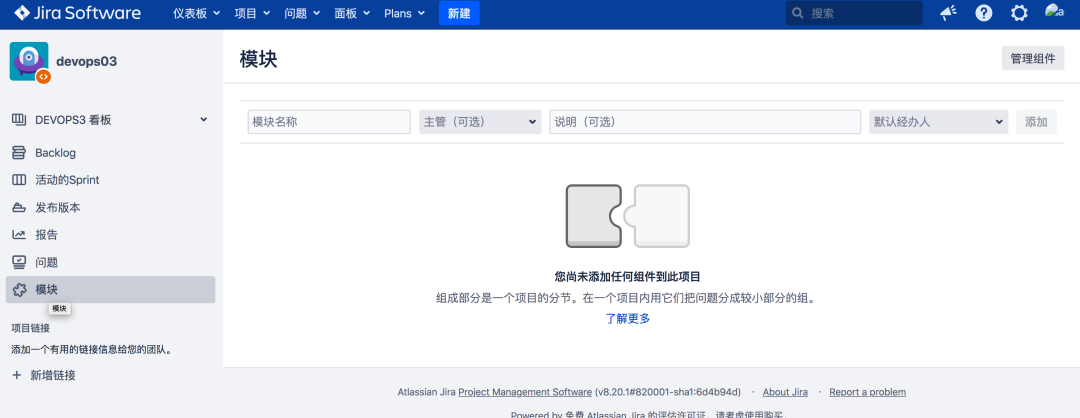
3.2 adding modules to the project
Note: a Jira module corresponds to a GitLab project;

3.3 configuring WebHook
System, web hook

3.4 requirements / task management
Create requirements
Here, the requirement logging error of type story is associated to the devops03 Devops service module on Jira;

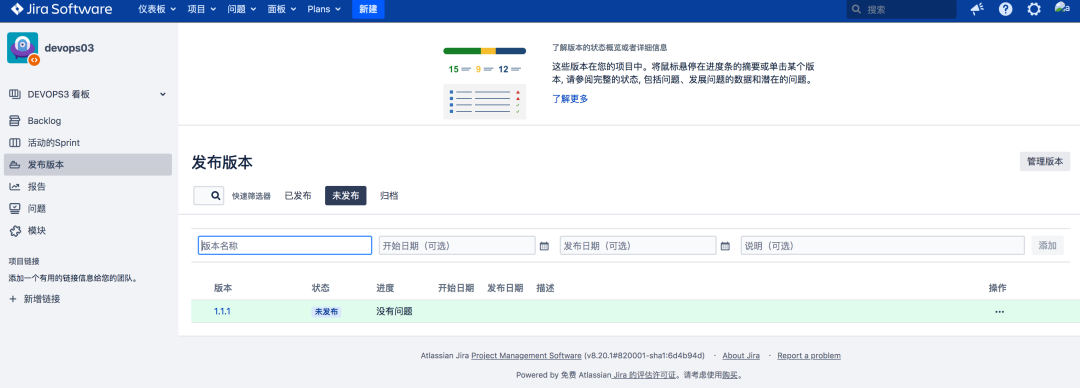
3.5 Release release
In the course, the release is corresponding to the version branch in the GitLab project code base;
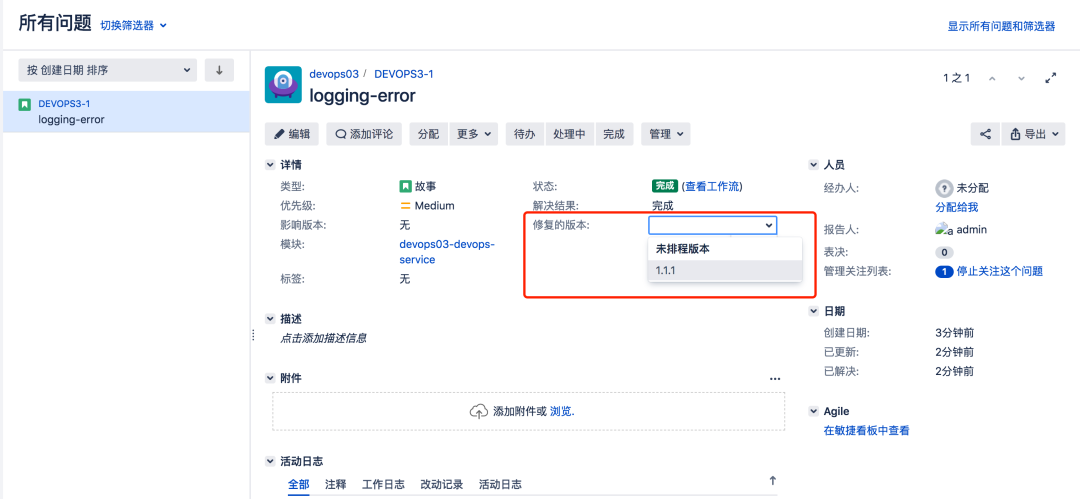
issue associated Publishing: it can be imagined that the GitLab feature branch is merged into the version branch;
4. Jira automation practice
Workflow

Tool chain integration

4.1 requirements and code Association

1. Create Jenkins job and configure webhook
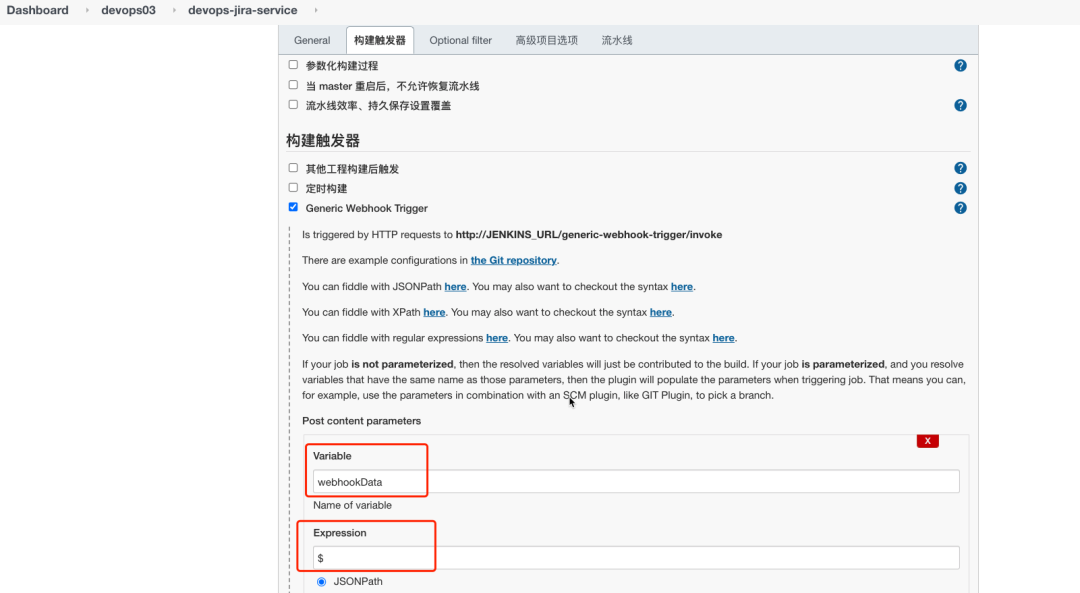
webhookData: this variable stores the data passed by Jira.
2. Configure a system level webhook for Jira

Option explanation:
- Specify the webhook trigger address of Jenkins;
- Specified by JQL, devops03 is allowed to trigger this item;
- Check the action to trigger the event; (what can I trigger after jira does)
3. Jenkins pipeline configuration
Analyze the data transmitted by Jira;
webhookData = readJSON text: "${webhookData}"


// Jira incident
jiraEvent = webhookData.webhookEvent
jiraProjectName = webhookData.issue.fields.project.name

// Get gitlab parameters
gitlabProjects = []
gitlabBranchName = webhookData.issue.key
gitlabGroupName = jiraProjectName

for (i in webhookData.issue.fields.components){
    gitlabProjects.add(i["name"])
}

currentBuild.description = "Trigger by ${jiraEvent} \n project: ${gitlabProjects} \n branch: ${gitlabBranchName}"
Encapsulate GitLab API interface https://docs.gitlab.com/ee/api/branches.html#create-repository-branch
// Create branch
def CreateBranch(projectId, newBranchName, sourceBranchName){
    try {
        apiUrl = "projects/${projectId}/repository/branches?branch=${newBranchName}&ref=${sourceBranchName}"
        response = HttpReq('POST', apiUrl, "")
    }
    catch(Exception e) {
        println(e)

    }
}

// Get the id of all items
def GetProjectsId(gitlabGroupName, gitlabProjects){
    gitlabProjectIds = []
    for (project in gitlabProjects){
        id = GetProjectId(gitlabGroupName, project)
        println(id)
        if (id != 0){
            gitlabProjectIds.add(id)
        }
    }
    return gitlabProjectIds
}

// Get project id based on project name
def GetProjectId(groupName, projectName){
    apiUrl = "projects?search=${projectName}"
    response = HttpReq('GET', apiUrl, "")
    response = readJSON text: response.content - "\n"

    if (response.size() > 1){
        for (i in response){
            println(i["path_with_namespace"])
            println(groupName + projectName)
            if (i["path_with_namespace"] == "${groupName}/${projectName}"){
                println(i["id"])
                return i["id"]
            }
        }
    } else {
        return response[0]["id"]
    }
}


// Encapsulate HTTP
def HttpReq(reqType, reqUrl,reqBody ){
    def gitServer = "http://192.168.1.200/api/v4"
    withCredentials([string(credentialsId: '058b7907-ebe2-4d14-9b91-1ac72e071c59', variable: 'GITLABTOKEN')]) {
        response = httpRequest acceptType: 'APPLICATION_JSON_UTF8',
                          consoleLogResponseBody: true,
                          contentType: 'APPLICATION_JSON_UTF8',
                          customHeaders: [[maskValue: false, name: 'PRIVATE-TOKEN', value: "${GITLABTOKEN}"]],
                          httpMode: "${reqType}",
                          url: "${gitServer}/${reqUrl}",
                          wrapAsMultipart: false,
                          requestBody: "${reqBody}"

    }
    return response
}
Pipeline main program
pipeline {
    agent { label "build" }

    stages{
        stage("Process"){
            steps{
                script{
                    println(gitlabProjects)
                    println(gitlabBranchName)
                    projectIds = GetProjectsId(gitlabGroupName, gitlabProjects)
                    switch(jiraEvent) {
                        case "jira:issue_created":
                            println(projectIds)
                            for (id in projectIds){
                                CreateBranch(id, gitlabBranchName, "master")
                            }
                            break
                        default:
                            println("error...")
                            break
                    }
                }
            }
        }
    }
}
4. Effect verification
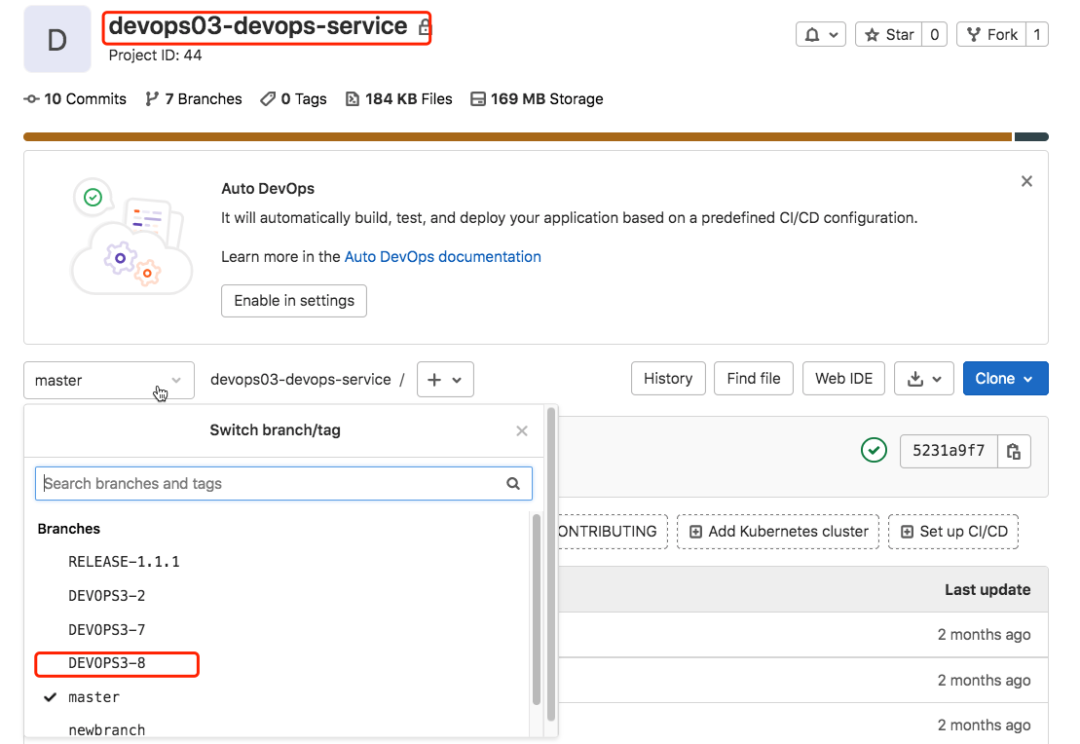
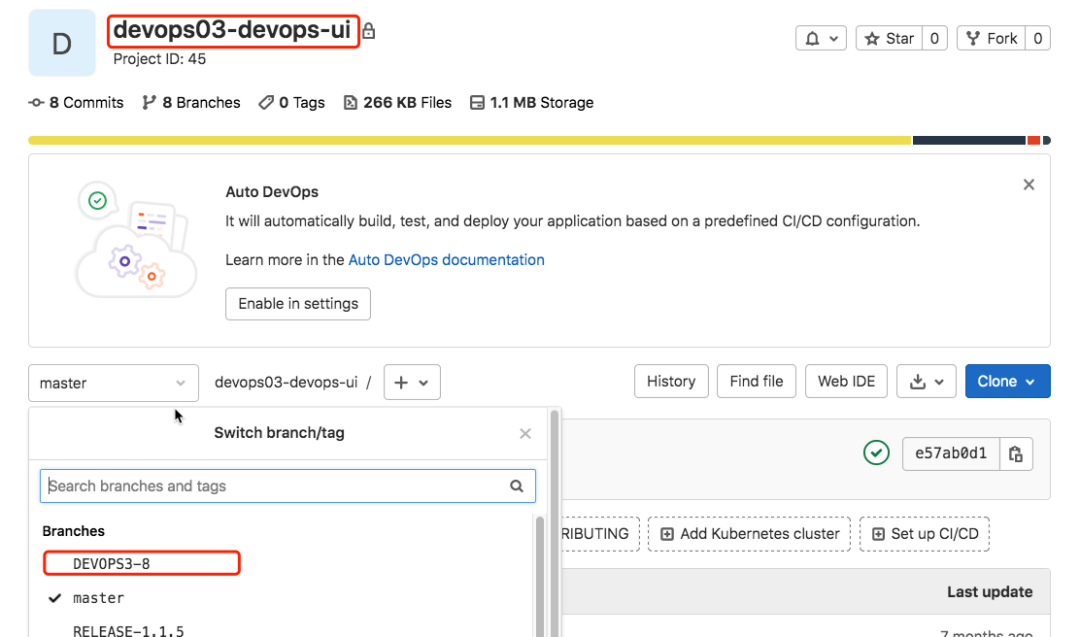
- Create a module and issue in Jira to associate the project;

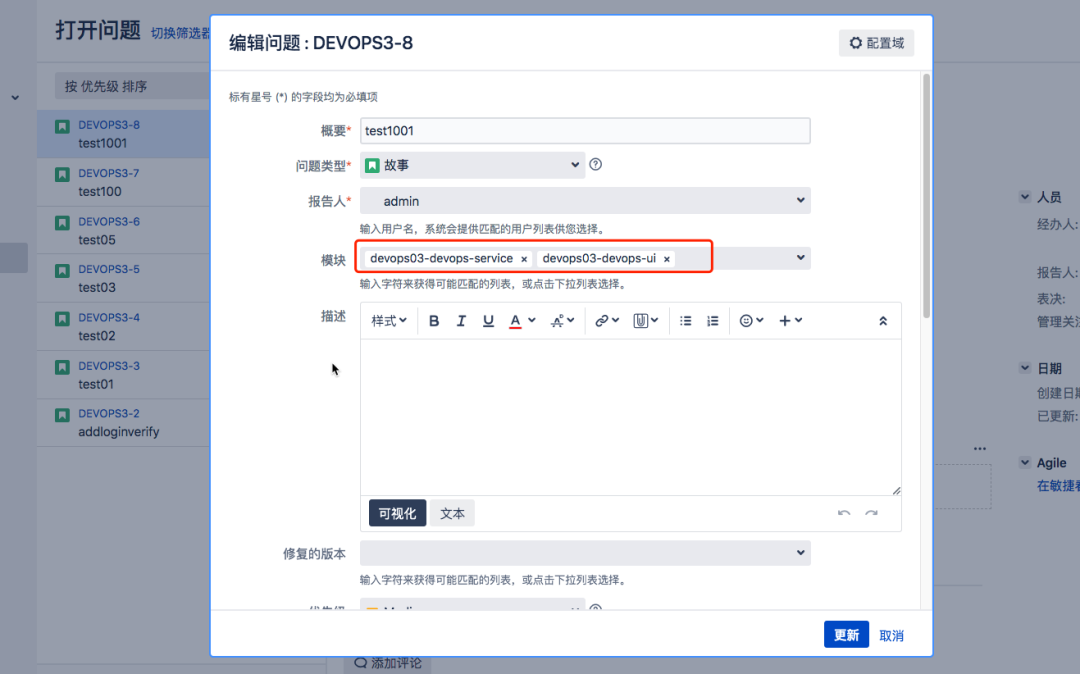
- Jenkins pipeline operation;
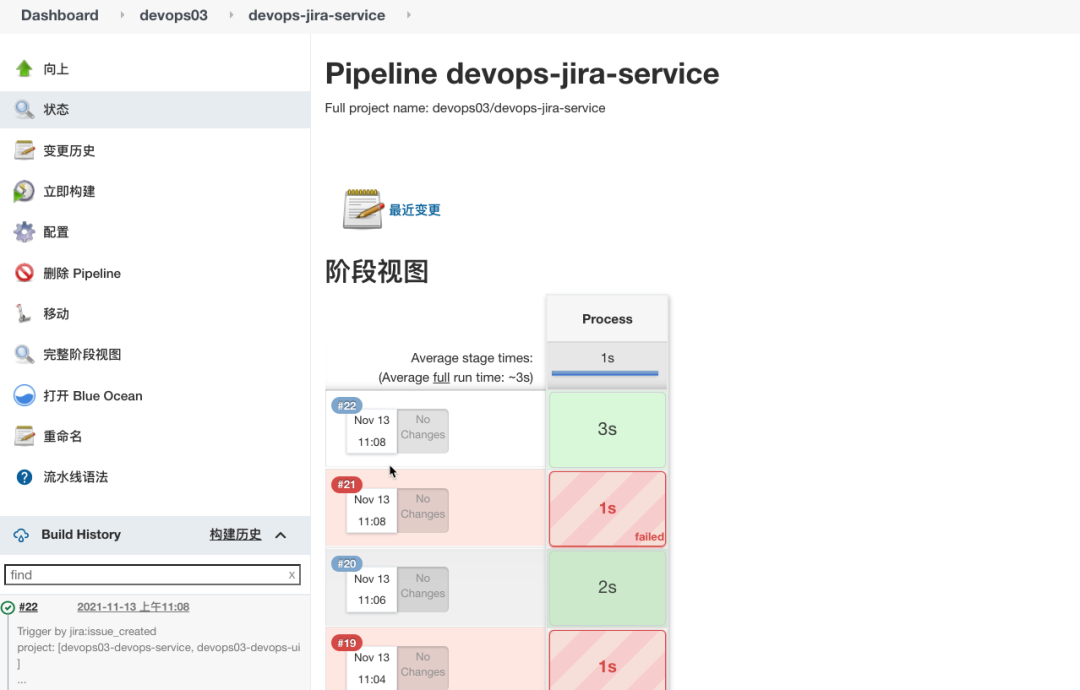
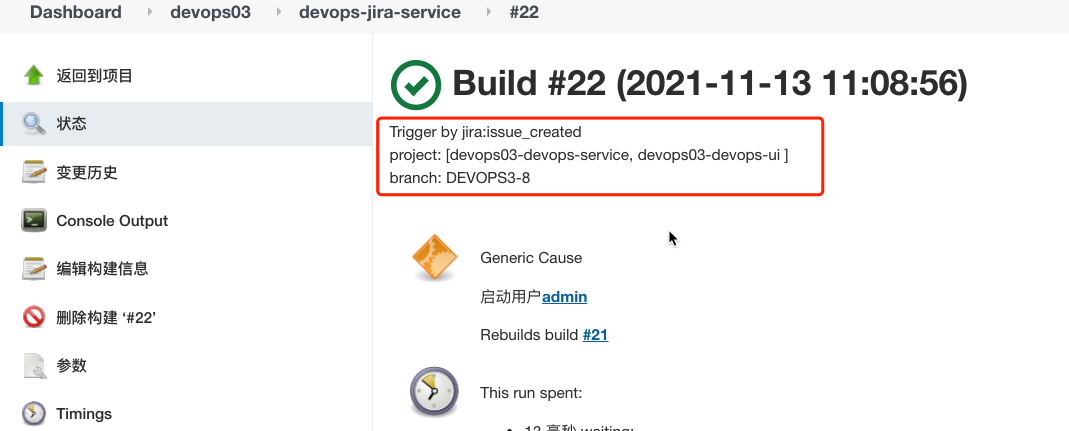
- Verify that there are more branches in Gitlab;
