At present, the latest version of ArcGIS for Android on the official website has been updated to 100.3. Today, use the latest version of sdk to create a map demo application, and use the API to configure the downloaded sdk. Note that you need to register a developer account for the sdk you downloaded. Download it in the following interface.

The link address is as follows: https://developers.arcgis.com/downloads/apis-and-sdks?product=android
Download the compressed file as follows.
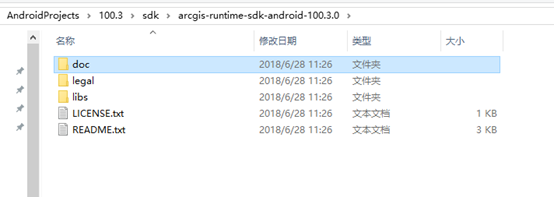
In lib, there are the following SDKs:
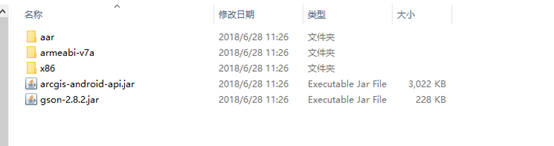
Copy arcgis-android-100.3.0.aar under AAR directory to the lib directory of Android Project. Switch Android Project to Project mode. The gradle in it is configured as follows.
    packagingOptions {
        exclude 'META-INF/LGPL2.1'
        exclude 'META-INF/LICENSE'
        exclude 'META-INF/NOTICE'
    }
The final complete configuration file is as follows.
apply plugin: 'com.android.application'

android {
    compileSdkVersion 27
    defaultConfig {
        applicationId "com.example.arcroid.arcroidfirstdemo"
        minSdkVersion 19
        targetSdkVersion 27
        versionCode 1
        versionName "1.0"
        testInstrumentationRunner "android.support.test.runner.AndroidJUnitRunner"
    }
    buildTypes {
        release {
            minifyEnabled false
            proguardFiles getDefaultProguardFile('proguard-android.txt'), 'proguard-rules.pro'
        }
    }
    packagingOptions {
        exclude 'META-INF/LGPL2.1'
        exclude 'META-INF/LICENSE'
        exclude 'META-INF/NOTICE'
    }
}

dependencies {
    implementation(name: 'arcgis-android-100.3.0', ext: 'aar')
    implementation fileTree(dir: 'libs', include: ['*.jar'])
    implementation 'com.android.support:appcompat-v7:27.1.1'
    implementation 'com.android.support.constraint:constraint-layout:1.1.2'
    implementation 'com.android.support:design:27.1.1'
    testImplementation 'junit:junit:4.12'
    androidTestImplementation 'com.android.support.test:runner:1.0.2'
    androidTestImplementation 'com.android.support.test.espresso:espresso-core:3.0.2'
}
Make the relevant configuration in the external gradle as follows:
flatDir {
    dirs 'libs'
}
The complete documentation is as follows:
buildscript {

    repositories {
        google()
        jcenter()
    }
    dependencies {
        classpath 'com.android.tools.build:gradle:3.1.2'


        // NOTE: Do not place your application dependencies here; they belong
        // in the individual module build.gradle files
    }
}

allprojects {
    repositories {
        google()
        jcenter()
        flatDir {
            dirs 'libs'
        }
    }
}

task clean(type: Delete) {
    delete rootProject.buildDir
}
Because the network permission needs to be configured to load the network map, the network permission needs to be added to the permission list.
<uses-permission android:name="android.permission.INTERNET"></uses-permission>
The whole configuration process is finished. Next, create a point, line and face figure. These are excerpted from esri's github source code. The specific implementation code is as follows.
The code is as follows.
package com.example.arcroid.arcroidfirstdemo;
import android.app.Activity;
import android.graphics.Color;
import android.os.Bundle;
import android.support.design.widget.FloatingActionButton;
import android.support.design.widget.Snackbar;
import android.support.v7.app.AppCompatActivity;
import android.support.v7.widget.Toolbar;
import android.view.View;
import android.view.Menu;
import android.view.MenuItem;
import com.esri.arcgisruntime.geometry.Point;
import com.esri.arcgisruntime.geometry.PolygonBuilder;
import com.esri.arcgisruntime.geometry.PolylineBuilder;
import com.esri.arcgisruntime.geometry.SpatialReferences;
import com.esri.arcgisruntime.mapping.ArcGISMap;
import com.esri.arcgisruntime.mapping.Basemap;
import com.esri.arcgisruntime.mapping.view.Graphic;
import com.esri.arcgisruntime.mapping.view.GraphicsOverlay;
import com.esri.arcgisruntime.mapping.view.MapView;
import com.esri.arcgisruntime.symbology.SimpleFillSymbol;
import com.esri.arcgisruntime.symbology.SimpleLineSymbol;
import com.esri.arcgisruntime.symbology.SimpleMarkerSymbol;
import com.esri.arcgisruntime.symbology.SimpleRenderer;
public class MainActivity extends Activity {
private MapView mapView;
@Override
protected void onCreate(Bundle savedInstanceState) {
super.onCreate(savedInstanceState);
setContentView(R.layout.activity_main);
mapView=findViewById(R.id.mapView);
ArcGISMap mMap = new ArcGISMap(Basemap.Type.TOPOGRAPHIC,
15.169193, 16.333479, 2);
addGraphicsOverlay();
mapView.setMap(mMap);
}
private void addGraphicsOverlay(){
Point pointGeometry = new Point(40e5, 40e5, SpatialReferences.getWebMercator());
SimpleMarkerSymbol pointSymbol = new SimpleMarkerSymbol(SimpleMarkerSymbol.Style.DIAMOND,
Color.RED, 10);
Graphic pointGraphic = new Graphic(pointGeometry);
GraphicsOverlay pointGraphicOverlay = new GraphicsOverlay();
SimpleRenderer pointRenderer = new SimpleRenderer(pointSymbol);
pointGraphicOverlay.setRenderer(pointRenderer);
pointGraphicOverlay.getGraphics().add(pointGraphic);
mapView.getGraphicsOverlays().add(pointGraphicOverlay);
PolylineBuilder lineGeometry = new PolylineBuilder(SpatialReferences.getWebMercator());
lineGeometry.addPoint(-10e5, 40e5);
lineGeometry.addPoint(20e5, 50e5);
SimpleLineSymbol lineSymbol = new SimpleLineSymbol(SimpleLineSymbol.Style.SOLID,
Color.BLUE, 5);
Graphic lineGraphic = new Graphic(lineGeometry.toGeometry());
GraphicsOverlay lineGraphicOverlay = new GraphicsOverlay();
SimpleRenderer lineRenderer = new SimpleRenderer(lineSymbol);
lineGraphicOverlay.setRenderer(lineRenderer);
lineGraphicOverlay.getGraphics().add(lineGraphic);
mapView.getGraphicsOverlays().add(lineGraphicOverlay);
PolygonBuilder polygonGeometry = new PolygonBuilder(SpatialReferences.getWebMercator());
polygonGeometry.addPoint(-20e5, 20e5);
polygonGeometry.addPoint(20e5, 20e5);
polygonGeometry.addPoint(20e5, -20e5);
polygonGeometry.addPoint(-20e5, -20e5);
SimpleFillSymbol polygonSymbol = new SimpleFillSymbol(SimpleFillSymbol.Style.SOLID,
Color.YELLOW, null);
Graphic polygonGraphic = new Graphic(polygonGeometry.toGeometry());
GraphicsOverlay polygonGraphicOverlay = new GraphicsOverlay();
SimpleRenderer polygonRenderer = new SimpleRenderer(polygonSymbol);
polygonGraphicOverlay.setRenderer(polygonRenderer);
polygonGraphicOverlay.getGraphics().add(polygonGraphic);
mapView.getGraphicsOverlays().add(polygonGraphicOverlay);
}
@Override
protected void onPause() {
super.onPause();
mapView.pause();
}
@Override
protected void onResume() {
super.onResume();
mapView.resume();
}
@Override
protected void onDestroy() {
super.onDestroy();
mapView.dispose();
}
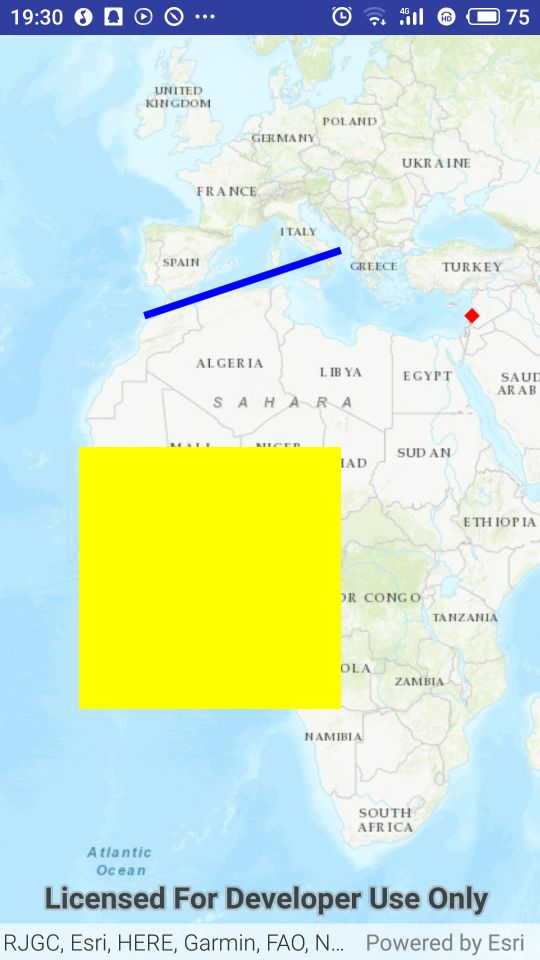
}The final effect is as follows:
More content, WeChat sweep two-dimensional code to pay attention to the public number.

Public address: GIS computer information technology