1, What is Apache
Apache HTTP server, referred to as Apache, is the most widely used web server software. It can be used in almost all widely used computer platforms. It is simple, fast, stable performance, and can be used as a proxy server. Its support for linux is perfect.
Apache is a process based architecture. Processes consume more system expenses than threads and are not suitable for multiprocessor environments. Therefore, when an Apache Web site is expanded, it is usually to add servers or cluster nodes rather than processors. So far, Apache is still the most used web server in the world, with a market share of about 60%. Many famous websites in the world, such as Amazon, Yahoo W3 Consortium and Financial Times are all products of Apache.
- Apache works in the application layer and is one of the server software that implements the http protocol. http is a hypertext transfer protocol. It works at port 80 of tcp in the application layer. The user initiates the request message of the http protocol. After receiving it, the server responds to the client. After receiving it, the client displays it through the browser with html language behind it. html is a hypertext markup language
2, Installation of Apache
In the redhat version
dnf install -y httpd
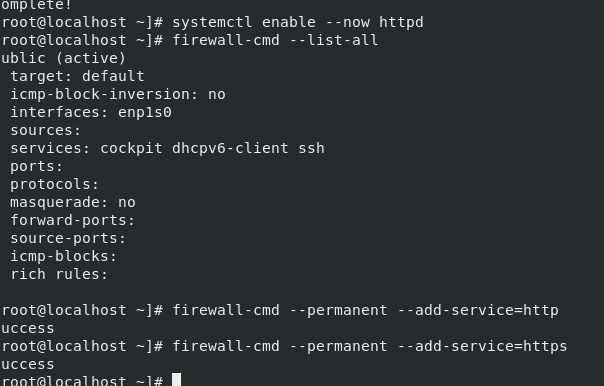
3, Enabling Apache
systemctl enable --now httpd #Start the service and set the service startup
firewall-cmd --list all #View fire wall information
firewall-cmd permanent --add-service=httpd #Permanently turn on httpd access in the firewall
firewall-cmd --permanent --add-service=https #Permanently open https access in the firewall
firewall-cmd --reload #Refresh the fire wall to make the settings take effect
4, Basic information about Apache
| Service name | httpd |
| configuration file | Main configuration file: / etc/httpd/conf/httpd.conf Sub configuration file: / etc/httpd/conf.d/*.conf |
| Default publishing directory | /var/www/html |
| Default publish file | index.html |
| Default port | http:80 https:443 |
| user | apache |
| journal | /etc/httpd/logs |
5, Basic configuration of Apache
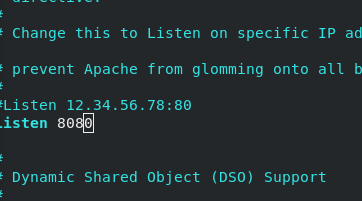
1. Apache port modification
vim /etc/httpd/conf/httpd.conf
modify
listen 8080
firewall-cmd --permanent --add-port=8080/tcp
firewall-cmd --reload
sysytemctl restart httpd
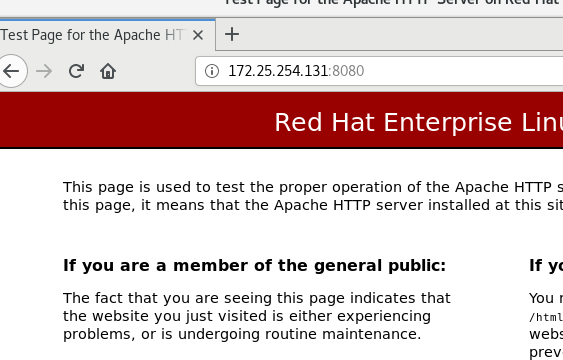
Test in browser
http://172.25.254.131:8080
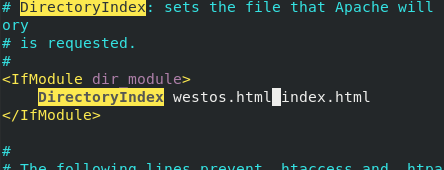
2. Default publish file
vim /etc/httpd/conf/httpd.conf
modify
DirectoryIndex westos.html index.html
systemctl restart httpd
3. Default publishing directory
/var/www/html
By default, the web page file to be published should be configured in / var/www, which can be modified through the DocumentRoot option in the main configuration file.
6, Access control of Apache
- Experimental material
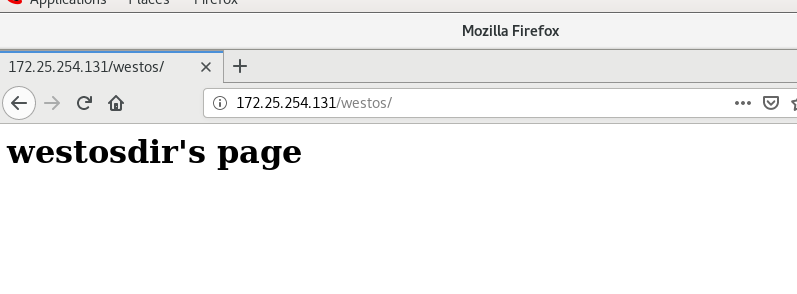
mkdir /var/www/html/westos
vim /var/www/html/westos/index.html
In index.html
<h1>westosdir's page</h1>
Test in browser
http://172.25.254.131/westos
1. Access control based on client ip
In / etc/httpd/conf/httpd.conf
- ip whitelist
 <Directory "/var/www/html/westos">    ##Allow access to all but 23 hosts
        Order Allow,Deny
        Allow from all
        Deny from 172.25.254.23
    </Directory>
- ip blacklist
 <Directory "/var/www/html/westos">    #No one except 23 hosts is allowed to access
        Order Deny,Allow
        Deny from all
        Allow from 172.25.254.23
     </Directory>
Then restart the httpd service
sysytemctl restart httpd
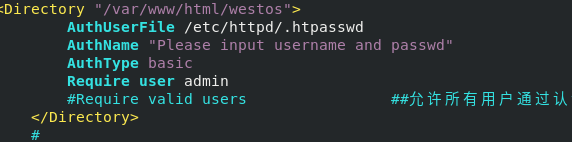
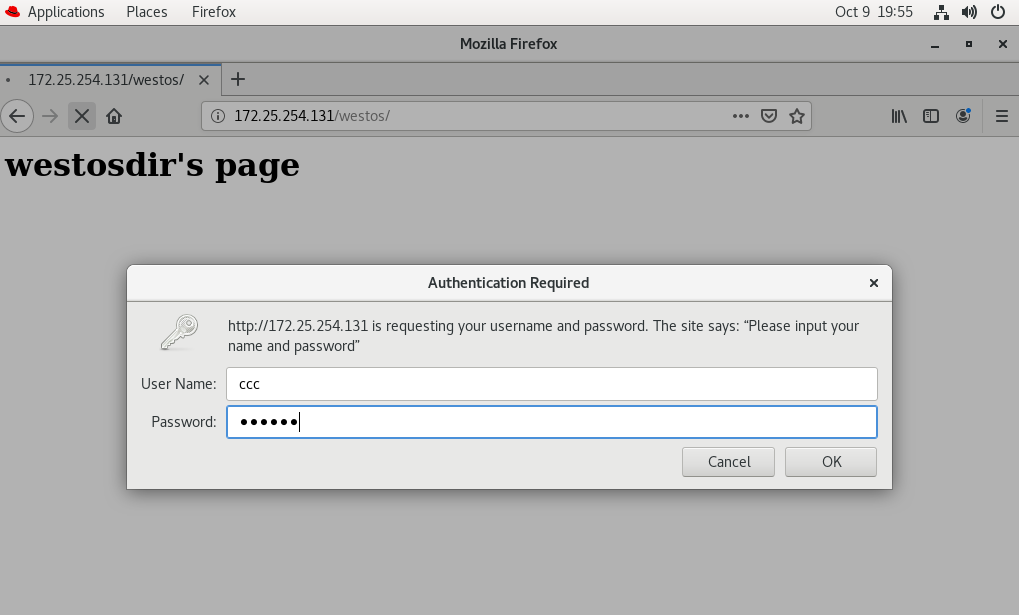
2. Based on user authentication
In / etc/httpd/conf/httpd.conf
<Directory "/var/www/html/westos">
        AuthUserFile /etc/httpd/.htpasswd        ##Specify certification documents
        AuthName "Please input username and passwd"    ##Certification prompt
        AuthType basic                    ##Certification Type
        Require user admin                ##Allowed authenticated users
        #Require valid users                ##Allow all users to pass authentication
    </Directory>
Then generate the authentication file
htpasswd -cm /etc/httpd/htpasswdfile ccc

7, Apache virtual host
mkdir /var/www/html/westos/{lalala,hahaha} -p
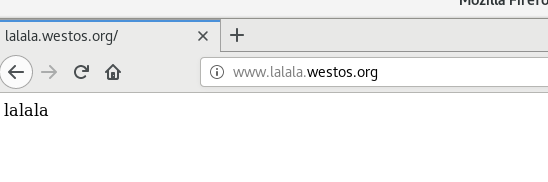
echo "lalala" > /var/www/html/westos/lalala/index.html
echo "hahaha" > /var/www/html/westos/hahaha/index.html
vim /etc/httpd/conf.d/Vhost.conf
vim /etc/hosts
In the sub configuration file
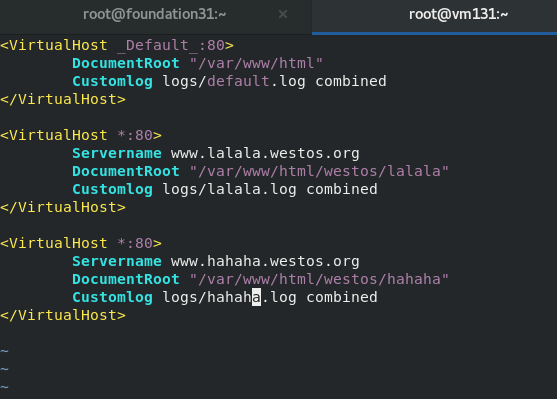
/Modified in / etc/httpd/conf.d/Vhost.conf
<VirtualHost _Default_:80>
DocumentRoot "/var/www/html"
Customlog logs/default.log combined
</VirtualHost>
<VirtualHost *:80>
Servername www.lalala.westos.org
DocumentRoot "/var/www/html/westos/lalala"
Customlog logs/lalala.log combined
</VirtualHost>
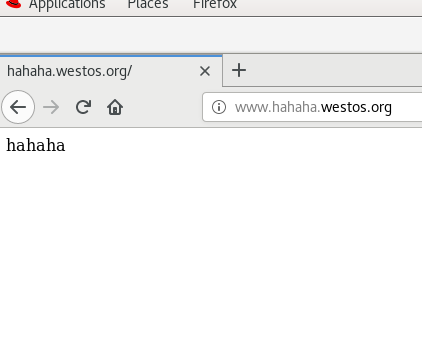
<VirtualHost *:80>
Servername www.hahaha.westos.org
DocumentRoot "/var/www/html/westos/hahaha"
Customlog logs/hahaha.log combined
</VirtualHost>

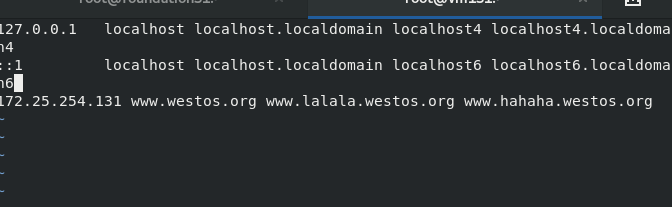
Test in browser
8, Language support for Apache
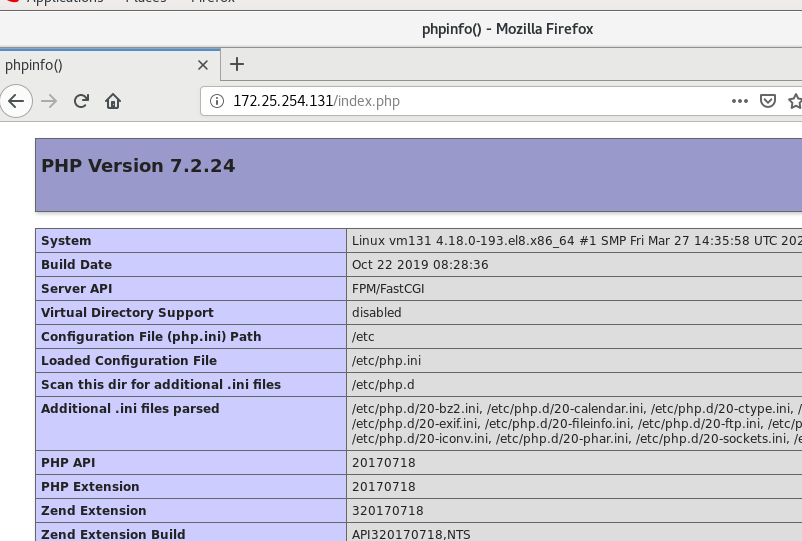
1,php
Write index.php in / var/www/html /
	<?php
		phpinfo();
	?>
Install php
dnf install php -y
Restart httpd
systemctl restart httpd
test
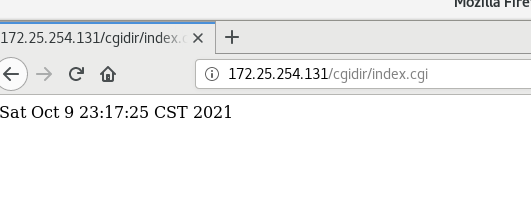
2,cgi
- Be sure to turn selinux off
Write cgidir/index.cgi
#!/usr/bin/perl
print "Content-type: text/html\n\n";
print `date`;
Then modify the configuration file
vim /etc/httpd/conf.d/vhost.conf
 test
test
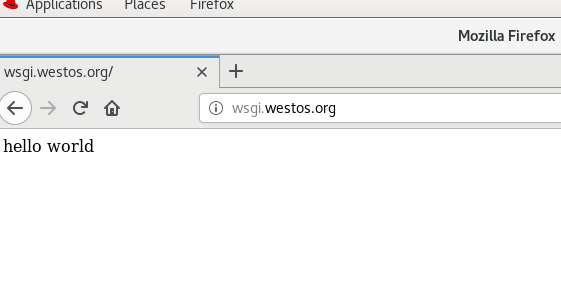
3,wsgi
[root@vm131 html]# mkdir wsgi/
[root@vm131 html]# cd wsgi/
[root@vm131 wsgi]# vim index.wsgi
[root@vm131 wsgi]# dnf install -y python-mod_wsgi
python should be strictly aligned
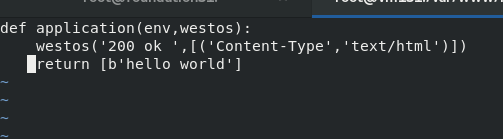
[root@vm131 wsgi]# vim /etc/httpd/conf.d/vhost.conf
[root@vm131 wsgi]# systemctl restart httpd
python requires high execution. Set the boot file location in the sub configuration file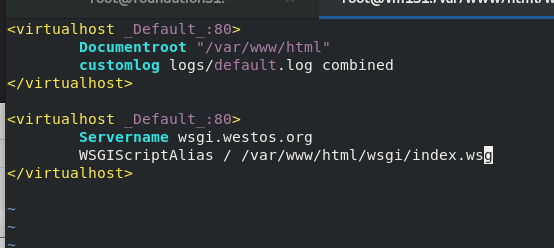
9, Encrypted access to Apache
Install encryption plug-in
dnf install -y mod_ssl
https access has been added to the firewall
Then restart the httpd service
Open browser test
systemctl restart httpd
test
https://172.25.254.131
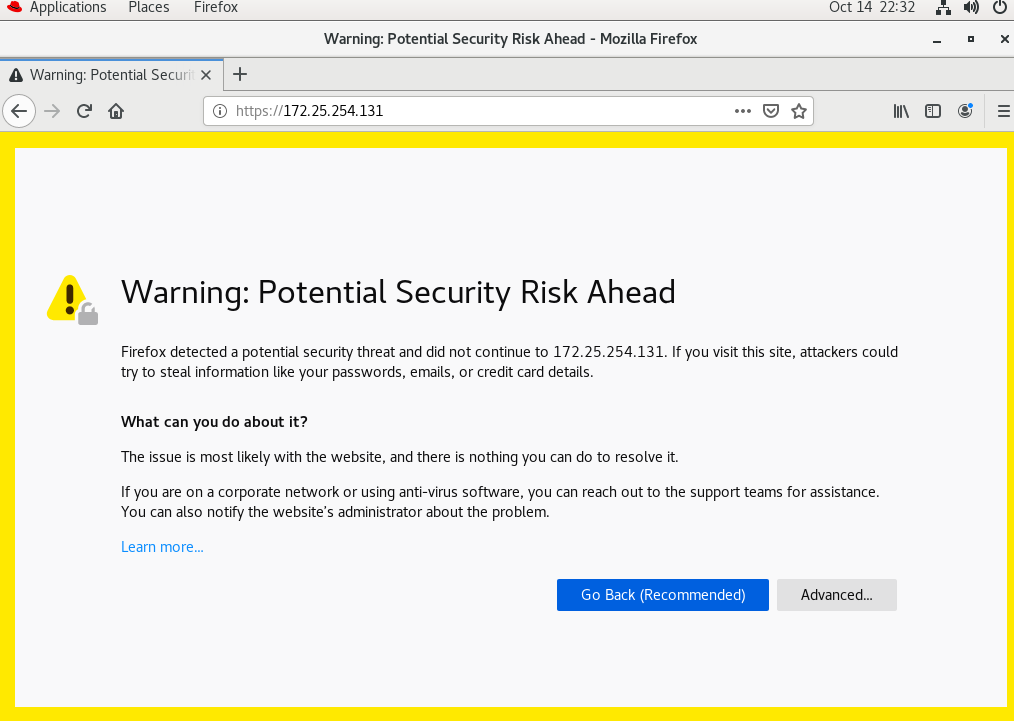
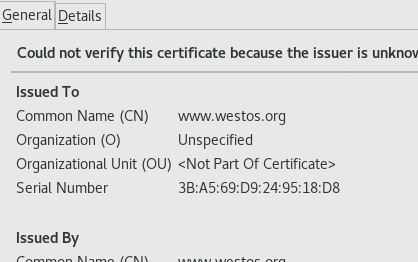
Show that this site is not authenticated
Add certificate after
openssl req -newkey rsa:2048 -nodes -sha256 -keyout /etc/httpd/westos.org.key -x509 -days 365 -out /etc/httpd/westos.org.crt
| x509 | Certificate format |
| req | request |
| rsa:2048 | Encryption format: length unit |
| -sha256 | Encryption method |
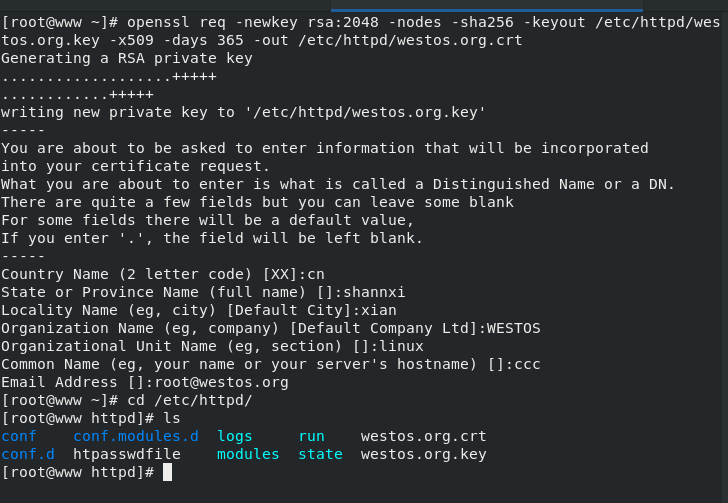
Check the generated certificate and key in / etc/httpd
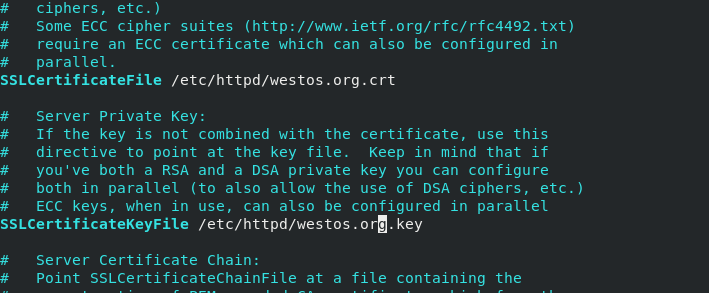
Then activate the certificate
vim ssl.conf
 After that, make the entered web page go to Apache
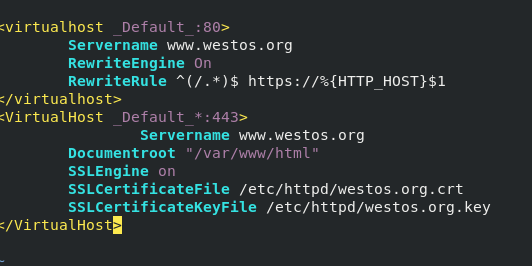
vim /etc/httpd/conf.d/vhost.conf
<virtualhost _Default_:80>
        Servername www.westos.org
        RewriteEngine On
        RewriteRule ^(/.*)$ https://%{HTTP_HOST}$1
</virtualhost>
<VirtualHost _Default_*:443>
                Servername www.westos.org
        Documentroot "/var/www/html"
        SSLEngine on
        SSLCertificateFile /etc/httpd/westos.org.crt
        SSLCertificateKeyFile /etc/httpd/westos.org.key
</VirtualHost>
 Then clear the unauthenticated certificate of the original browser for this web page
Reload the web page to view the certificate
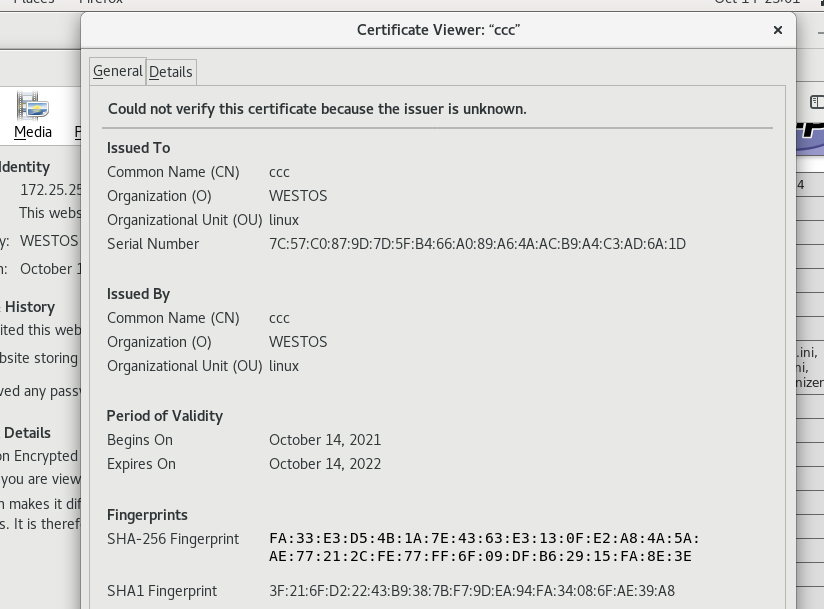
Certificate certification complete
10, squid forward proxy
- Squid is a caching proxy for the Web that supports HTTP, HTTPS, FTP, etc. It reduces bandwidth and response time by caching and reusing frequently requested Web pages. Squid has extensive access control and is an excellent server accelerator. According to the GNU GPL license, it can run on most available operating systems, including Windows and Linux. Hundreds of Internet service providers around the world use squid to provide their users with the best Web access. Squid optimizes data flow between clients and servers to improve performance and caches common content to save bandwidth. Squid can also route content requests to servers in various ways to build a cache server hierarchy that optimizes network throughput. Squid can be divided into forward proxy and reverse proxy. Forward proxy can be divided into standard forward proxy and transparent forward proxy. Different models are applied to different network systems.
The so-called standard forward proxy is to cache the data of the website to the local server to improve the efficiency of resources being accessed again. However, users need to manually fill in the ip and port of the proxy server when surfing the Internet (it is rarely used now, only used by special departments), which is also different from the forward transparent proxy (transparent forward proxy is not required). In short, the standard forward proxy is used to help users access the Internet, that is, to access the Internet. The general mode is as follows:
Users in the LAN access the Internet through squid proxy service. In most enterprises, the squid service program will be deployed to the company's server, and the online policy will be configured through ACL (access control list), such as what kind of website can be accessed, what kind of files are allowed to be downloaded, etc., so as to formulate rules for employees' online behavior.
-
Experimental environment:
The single network card host can not access the Internet by setting ip
Set ip1 for dual network card host to connect to single network card host, and set ip2 to access the Internet -
Experimental effect
So that the single network card host can not access the Internet, but the browser can access the Internet web page
First, set up the real host to turn it into a router
systemctl start firewalld.service
firewall-cmd --add-masquerade
Then set up a dual network card host to enable it to surf the Internet.
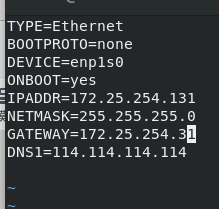
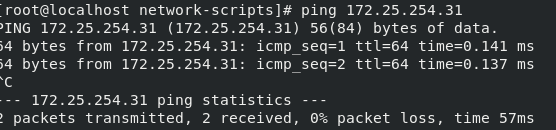
 After that, set the single network card host so that it can not access the Internet, but can ping the real host
At this time, install the agent software in the dual network card host
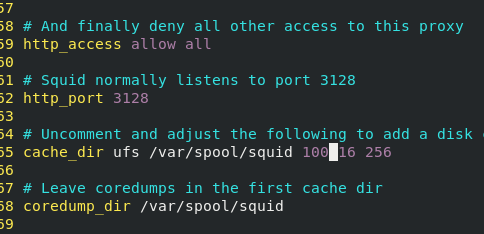
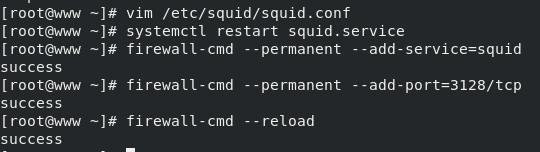
dnf install -y squid
vim /etc/squid/squid.conf
 Then restart the squid service and add squid service and 3128/tcp port in the firewall policy.
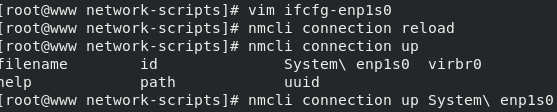
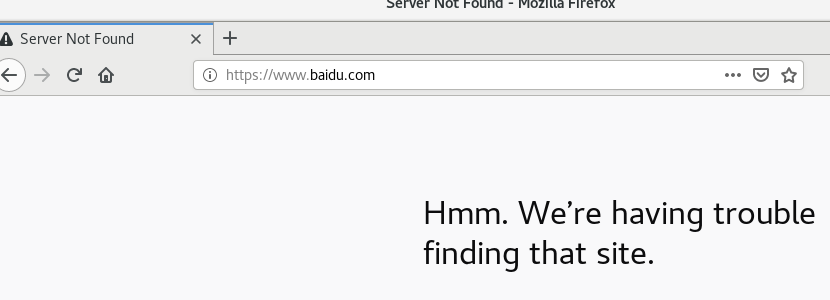
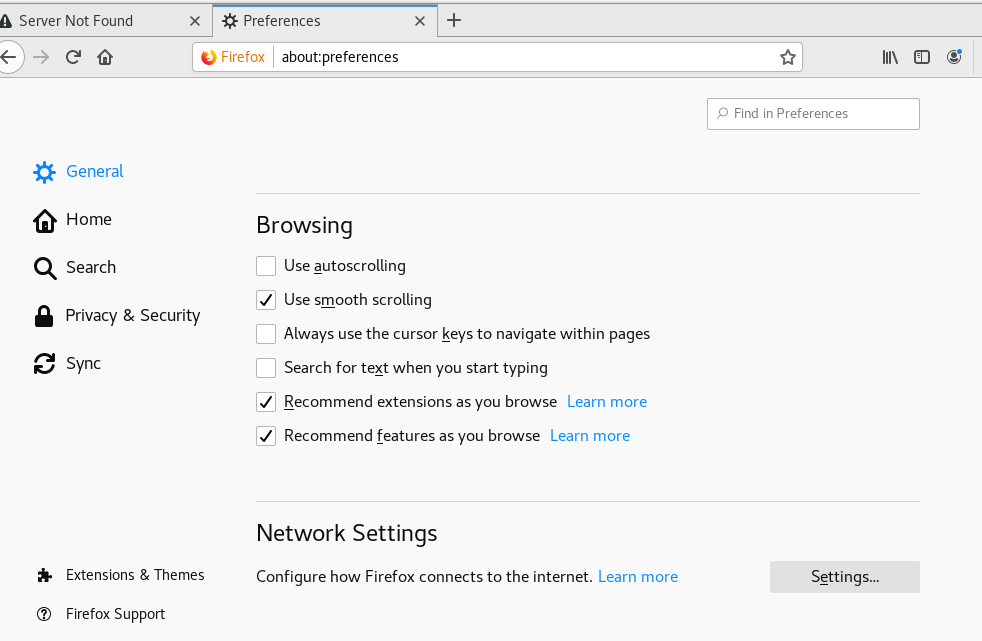
 Then change the settings in the network card host browser
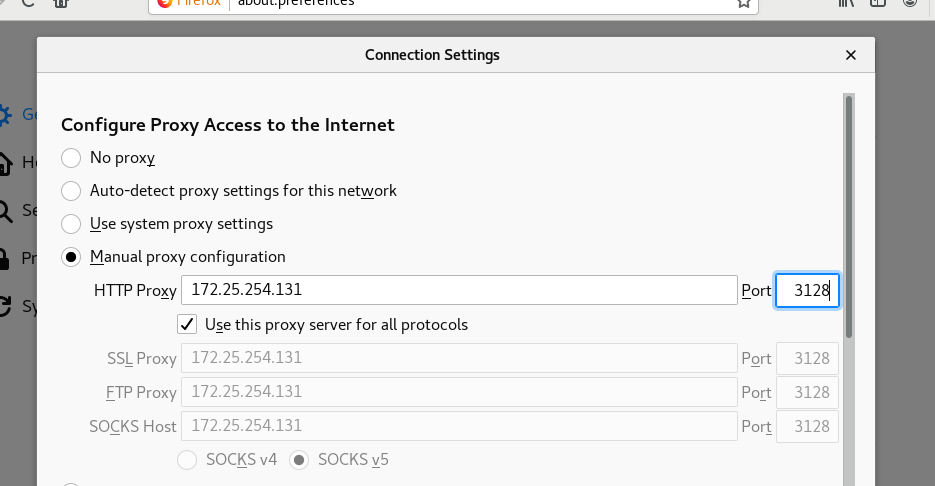
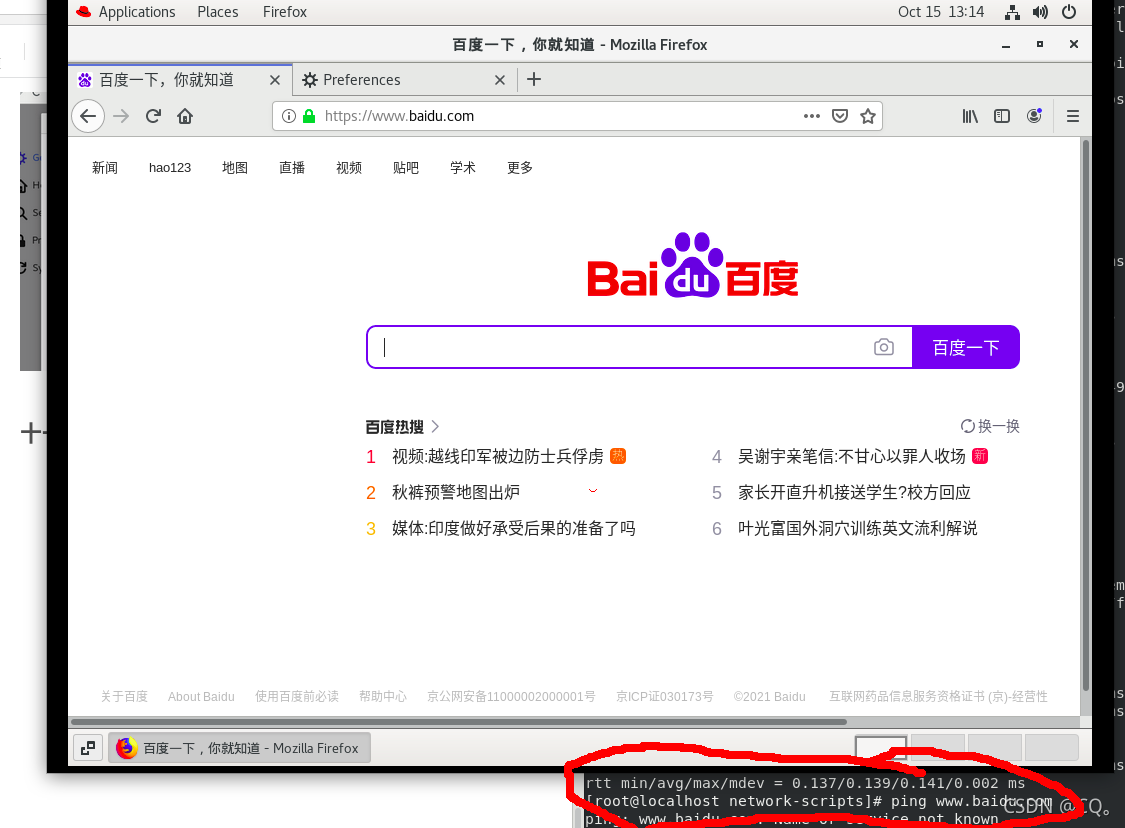 You can see that ping doesn't work, but you can surf the Internet through the browser.
11, squid reverse proxy
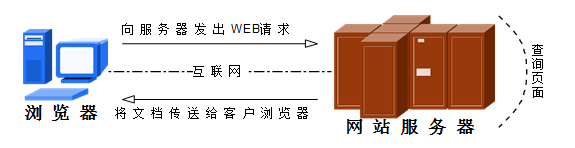
What is reverse proxy? In fact, reverse proxy is commonly referred to as WEB server acceleration. It is a way to reduce the load of the actual WEB server by adding a high-speed WEB buffer server (i.e. WEB reverse proxy server) between the busy WEB server and the Internet. The typical structure is shown in the figure below:
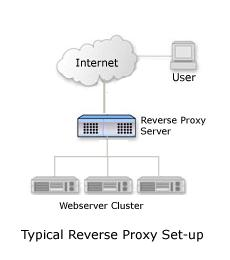
Web server acceleration (reverse proxy) provides acceleration for web servers. It acts as a proxy Cache, but not for browser users, but for one or more specific web servers (which is the origin of the reverse proxy name). To implement reverse proxy (as shown in the figure above), just place the Reverse Proxy Cache device in front of one or more web servers. When an Internet user accesses a web server, the IP address resolved by the DNS server is the IP address of the Reverse Proxy Server, not the IP address of the original web server. At this time, the Reverse Proxy Server device acts as a web server, and the browser can connect to it without directly connecting to the web server. Therefore, a large amount of Web Service workload is unloaded to the reverse proxy service. It can not only prevent the security risks caused by the direct communication between the external network host and the web server, but also reduce the burden of the web server and improve the access speed to a great extent.
- Experimental environment:
172.25.254.25 Apache server
172.25.254.100 squid, no data is responsible for caching
In the dual network card host, the host with squid installed
vim /etc/squid/squid.conf

- vhost # supports virtual domain names
- vport # supports virtual ports
cache_peer 172.25.254.231 parent 80 0 proxy-only
- This statement indicates that when port 80 of native 131 is accessed, data will be cached from port 80 of 231.
The http service has been added earlier
Then restart the squid service
systemctl restart squid
Then shut down the httpd service
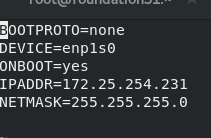
Then in the single network card host
Set default publishing content
[root@localhost html]# vim index.html

Then close selinux, turn on the firewall, add http service in the firewall policy, and turn on http
Then test in the dual network card host
172.25.254.131
What you see is the content published in 231
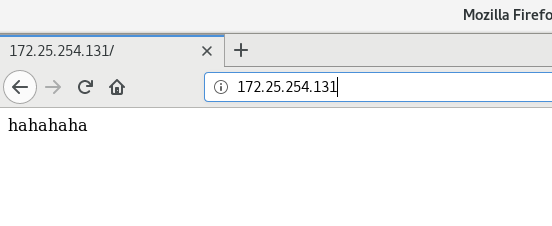 Description reverse proxy succeeded.