I. Nexus Environment Construction
When looking for information online, I found that the file structure of each version of Nexus is very different. I used Nexus 3.4, which is the latest version up to July 8, 2017.
1. Download
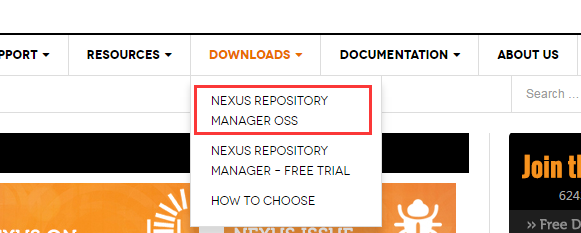
Download address: http://www.sonatype.org/nexus/
NEXUS REPOSITORY MANAGER OSS [Open Source Software - Free]
NEXUS REPOSITORY MANAGER-FREE TRIAL [Professional Version-Fee]
So we can choose OSS.
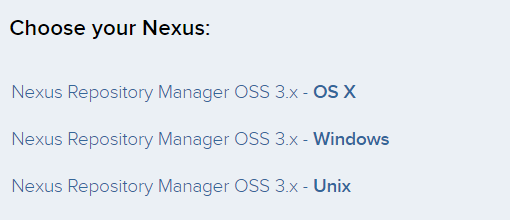
Choose the appropriate platform. I'm Windows here.
2. configuration
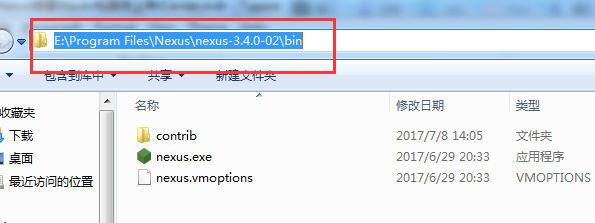
2.1 Unzip the downloaded ZIP and get two folders, nexus-3.4.0-02 and sonatype-work. The first folder varies according to the version downloaded.
2.2 Add bin in the nexus-3.4.0-02 directory to the Path of the environment variable
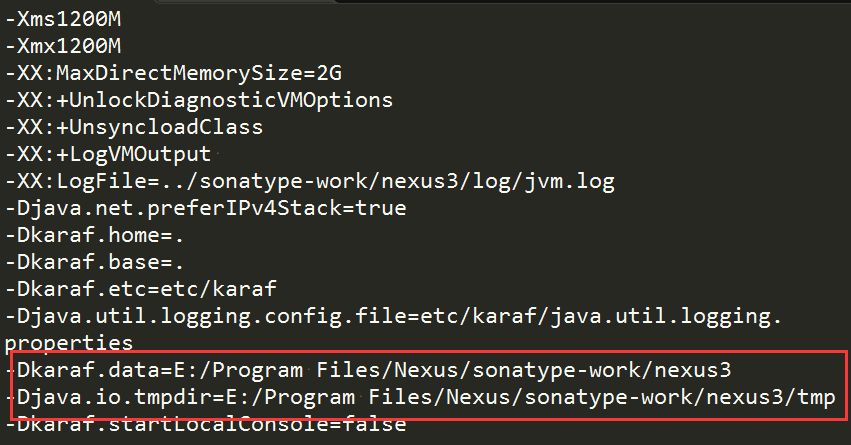
2.3 Open the nexus.vmoptions under bin folder and configure Dkaraf.data and Djava.io.tmpdir. E:/Program Files/Nexus is my zip decompression path. Note the slash direction. Other configurations I haven't studied yet can be studied by myself.
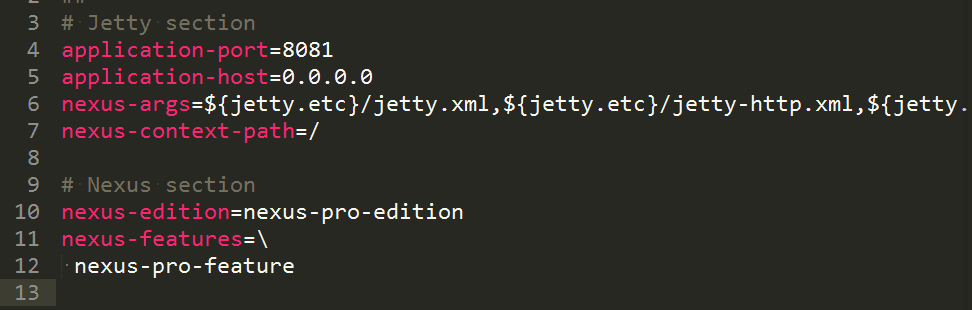
In addition, there is a configuration file named nexus-default.properties under the folder etc. If necessary, you can modify the parameter of nexus-context-path by yourself. This is the root path when nexus starts, and the default is "/".
3. boot
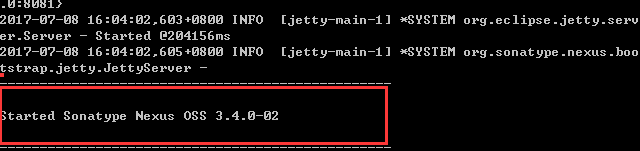
Open the CMD, and then execute the command: nexus.exe/run. If the following interface appears, the startup is successful
After successful startup, access: localhost:8081.
Default username and password: admin/admin123
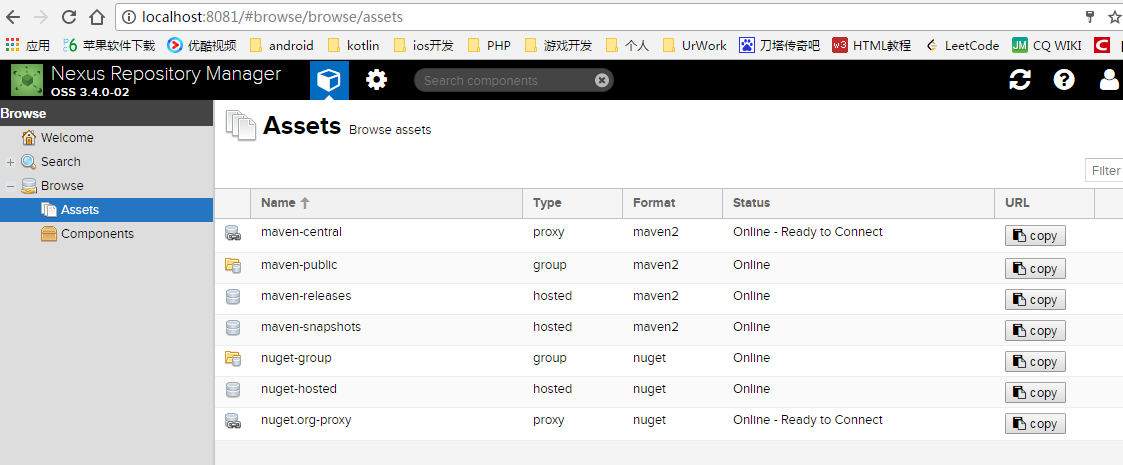
Some explanations of component name:
- maven-central: maven central library, default from https://repo1.maven.org/maven2/pull jar
- maven-releases: private library distribution jar
- maven-snapshots: private library snapshot (debug version) jar
- maven-public: Warehouse grouping, which combines the above three warehouses to provide services to the outside world, is used in the local maven infrastructure configuration settings.xml.
Some descriptions of component type:
- hosted: type of warehouse, release warehouse for internal projects
- releases: the release module's release repository in the internal module
- snapshots: repository for publishing internal SNAPSHOT modules
- 3rd party: a third-party-dependent warehouse, which is usually downloaded by internal staff and published on its own.
- proxy: A type of warehouse that looks for data from a remote central warehouse
2. Android Studio Mobles Uploaded to Maven Private Servers
The project I want to operate on has two Module s:
- jbottomtabbar: Functional Module, which you upload to maven as a public repository
- app: Default Module to call jbottomtabbar
1. Writing scripts
First, create a gradle file for uploading in the target module (I'm here jbottomtabbar) directory, which I call nexus-push.gradle.
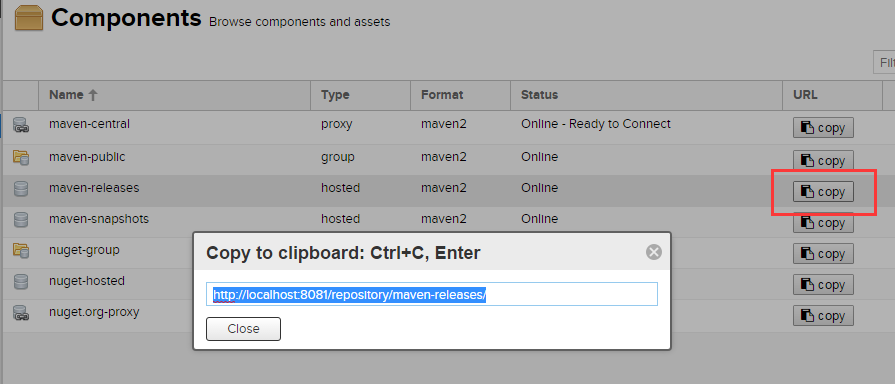
apply plugin: 'maven'

task androidJavadocs(type: Javadoc) {
    source = android.sourceSets.main.java.srcDirs
    classpath += project.files(android.getBootClasspath().join(File.pathSeparator))
}

task androidSourcesJar(type: Jar) {
    classifier = 'sources'
    from android.sourceSets.main.java.srcDirs
}

artifacts {
    archives androidSourcesJar
}

//Task name
uploadArchives {
    repositories {
        mavenDeployer {
            //The url here is the path of maven-releases in nexus. You can click the copy button to see the replication.
            repository(url: "http://localhost:8081/repository/maven-releases/") {
                // nexus account user name and password, I do not use the default admin here
                authentication(userName: "jcking", password: "jcking123")
            }

            // The following three pom parameters are called as follows: compile'com.jcking.jbottomtabbar: jbottomtabbar: 0.0.1'
            // The package name of library
            pom.groupId = 'com.jcking.jbottomtabbar'
            // The project name of library
            pom.artifactId = 'jbottomtabbar'
            // Version number of library
            pom.version = '0.0.1'

            pom.project {
                licenses {
                    license {
                        name 'The Apache Software License, Version 2.0'
                        url 'http://www.apache.org/licenses/LICENSE-2.0.txt'
                    }
                }
            }
        }
    }
}
Then call it on the build.gradle of the target mudule
apply from: './nexus-push.gradle'
2. Upload project
Okay, the script is basically finished. Now you can run it. Do you remember the task name above? Upload Archives, of course, you want to rename yourself. Execute the following commands in the Terminal panel of Android Studio:
// windows
gradlew uploadArchives

// macOS
./gradlew uploadArchives
If you upload successfully, you will see something similar:
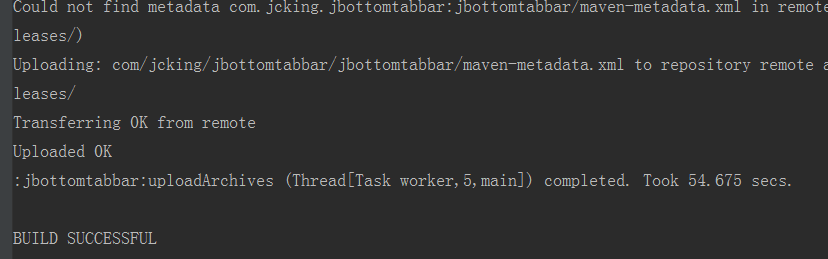
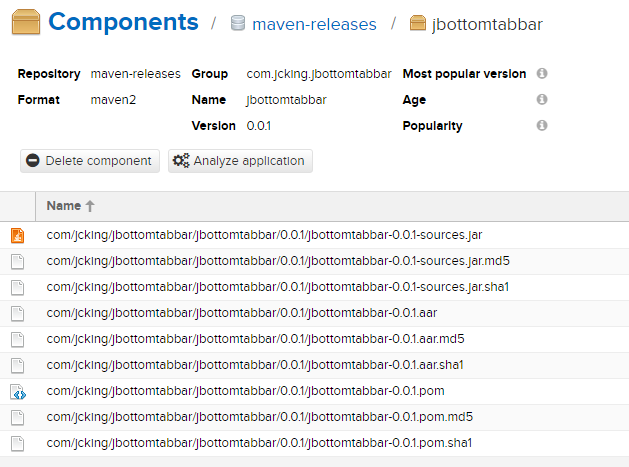
Then we can see our uploaded project in nexus
3. Call dependency
Now that we have uploaded it to the maven private library, we can call it in our local project. First, add the warehouse url address to the build.gradle file in the project root directory.
allprojects {
    repositories {
        jcenter()

        maven {
            url "http://localhost:8081/repository/maven-releases/"
        }
    }
}
Then add dependencies to the build.gradle file of the required module (I'm app here)
compile 'com.jcking.jbottomtabbar:jbottomtabbar:0.0.1'
3. Publish the project to JCenter
JCenter Warehouse It is from bintray Provide and maintain, this warehouse is similar to Maven Central Warehouse. As long as you can connect to the Internet, you can download dependency packages from the repository to your own projects through Gradle or Maven. JCenter is now the default node for repositories in Android Studio. It used to be Maven, but JCenter is compatible with Maven, so you can use it safely.
1. Application for Bintray Account
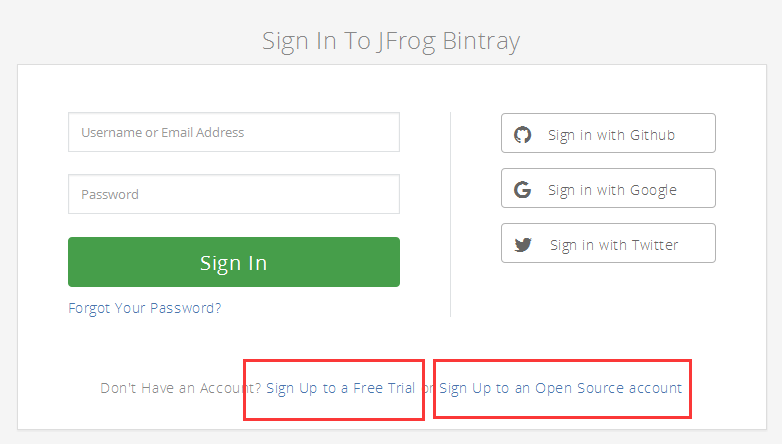
reach Bintray official website Just sign up for one, or you can log in with a github account. Note that there are two types of Bintray registration:
- Sign up to a Free Trial
- Sign up to an Open Source account (Open Source Free Edition)
Usually the free version is used, of course, if you need to choose the first one. Of course, I used the second type, the first type of pit I did not fill. See for details. This article I met the same pit. Thank you for helping me with this article.
2. Writing scripts
First, add the dependencies required by bintray to the build.gradle of the project.
classpath 'com.jfrog.bintray.gradle:gradle-bintray-plugin:1.3.1'
classpath 'com.github.dcendents:android-maven-gradle-plugin:1.5'
Create a gradle file for uploading under the target module directory, which I call jcenter-push.gradle here.
apply plugin: 'com.jfrog.bintray'
apply plugin: 'com.github.dcendents.android-maven'

def siteUrl = 'https://github.com/aoshiwenrou/NewsWithKotlin'//Project Home Page
def gitUrl = 'https://url of github.com/aoshiwenrou/News WithKotlin.git'//Git warehouse

group = 'com.jcking.jbottomtabbar'  // Write a unique package name
version = '0.0.1'  // version number

install {
    repositories.mavenInstaller {
        pom {
            project {
                packaging 'aar'
                name 'bottom tabbar for android'  //Project description
                url siteUrl

                licenses {
                    license {
                        name 'The Apache Software License, Version 2.0'
                        url 'http://www.apache.org/licenses/LICENSE-2.0.txt'
                    }
                }

                developers {
                    developer {  //Some basic information to fill in
                        id 'jcking'
                        name 'Jcking.Wang'
                        email '380488695@qq.com'
                    }
                }

                scm {
                    connection gitUrl
                    developerConnection gitUrl
                    url siteUrl
                }
            }

        }
    }
}

task androidJavadocs(type: Javadoc) {
    source = android.sourceSets.main.java.srcDirs
    classpath += project.files(android.getBootClasspath().join(File.pathSeparator))
}

task androidSourcesJar(type: Jar) {
    classifier = 'sources'
    from android.sourceSets.main.java.srcDirs
}

artifacts {
    archives androidSourcesJar
}
Properties properties = new Properties()
properties.load(project.rootProject.file('local.properties').newDataInputStream())
bintray {
    user = properties.getProperty("bintray.user")
    key = properties.getProperty("bintray.apikey")
    configurations = ['archives']
    pkg {
        version {
            name = '0.0.1'
            desc = 'bottom tabbar bar 0.0.1'
        }
        repo = 'maven'    // The name of the warehouse created on bintray, maven I used
        name = 'bottom-tabbar'  //Project name published to JCenter
        licenses = ['Apache-2.0']
        vcsUrl = gitUrl
        publish = true
    }
}
After configuring the above, you need to configure your bintray account information in the local.properties file in the root directory of your project (generally this file needs gitignore to prevent leakage of account information), bintray.user for your user name, and bintray.apikey for your account. You can click into your account information and then click Edit to view API Key, and copy it. Come on.
The call is then made on the build.gradle of the target mudule.
//Apply from:'. / nexus-push. gradle'This can be deleted, otherwise it will conflict.
apply from: './jcenter-push.gradle'
Next, execute the command in the Terminal panel of Android Studio:
// windows
gradlew bintrayUpload

// macOS
./gradlew bintrayUpload
After success, you will see something like this.
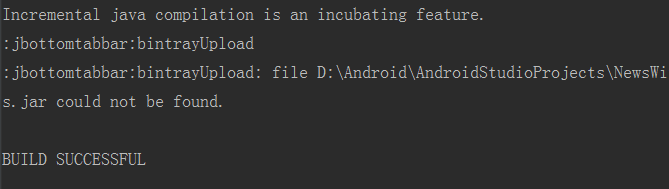
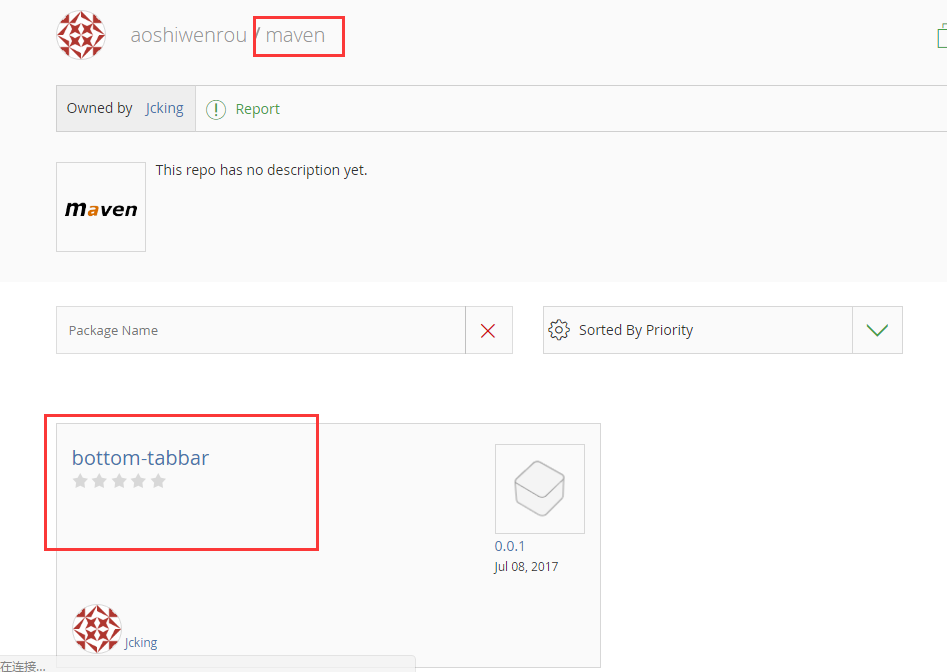
After success, you can view your published projects in your Maven repository on the bintray website:
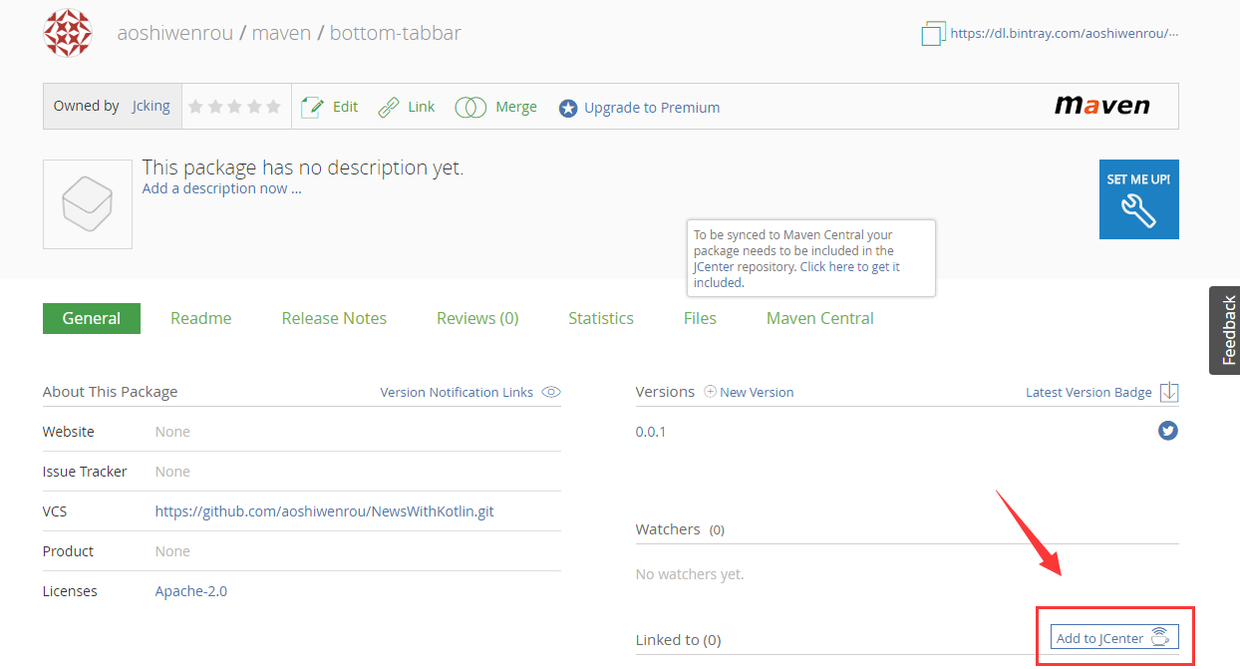
3. Publishing projects
include the project in your Maven warehouse under bintray into JCenter warehouse and click a button. Specifically, click into the details page of the package you just uploaded. In the lower right corner, there is an Add to JCenter button. Click on it, write some message s, and finally click the send button.
Written in the end
That's all about building Maven private clothes on Android Studio through Nexus and uploading JCenter. The content is not very much, but the pit is really many, tossing around for a whole day, my successful process is all above, according to this process, basically no problem. If you have any other questions, please leave a message for discussion.
Reference resources:
Android Studio releases projects to Maven Warehouse
Use Gradle to publish projects to JCenter warehouse
#