        RecyclerView mainMenu = findViewById(R.id.fragmentMain);
        mainMenu.setLayoutManager(new GridLayoutManager(getActivity(),4));
        mainMenu.setAdapter(new MainAdapter(getActivity(),items));
There are a lot of online tutorials about RecyclerView, which are very detailed, but it seems that it is difficult for beginners to start talking too much. The above is the most basic usage of RecyclerView.
Analyze these three lines of code.
The first sentence is to get the RecyclerView object, where R.id.fragmentMain corresponds to the RecyclerView control, and the code is as follows
...
    <android.support.v7.widget.RecyclerView
        android:id="@+id/fragmentMain"
        android:layout_width="match_parent"
        android:layout_height="wrap_content">
    </android.support.v7.widget.RecyclerView>
...
The second sentence is to set the layout type of RecyclerView. There are three types. In addition to the GridLayoutManager used above, there are linear layout manager and cascaded GridLayoutManager. Four of these refer to the number of elements displayed per line (adjust as needed).
The third sentence is to set the RecyclerView adapter, where MainAdapter is a custom class inherited from RecyclerView.Adapter, and items is the data source. This MainAdapter should be the most complex part in the use process.
class MainAdapter extends RecyclerView.Adapter<MainViewHolder> {
    Context context;
    List<MenuItem> list;
    public MainAdapter(Context context, List<MenuItem> list) {
        this.context = context;
        this.list = list;
    }

    @NonNull
    @Override
    public MainViewHolder onCreateViewHolder(@NonNull ViewGroup parent, int viewType) {
        return new MainViewHolder(LayoutInflater.from(context).inflate(R.layout.main_menu_view, null));
    }

    @Override
    public void onBindViewHolder(@NonNull MainViewHolder holder, final int position) {
        MenuItem menuItem = list.get(position);
        holder.icon.setImageResource(menuItem.getIcon());
        holder.name.setText(menuItem.getName());
    }

    @Override
    public int getItemCount() {
        return list.size();
    }
}
In fact, it is to set the layout file onCreateViewHolder of each element, specify the data onBindViewHolder for each element, and set the getItemCount method to get the number of elements. The MainViewHolder also needs to be defined.
class MainViewHolder extends RecyclerView.ViewHolder {
    ImageView icon;
    TextView name;
    public MainViewHolder(View itemView) {
        super(itemView);
        icon = itemView.findViewById(R.id.mainMenuIcon);
        name = itemView.findViewById(R.id.mainMenuText);
    }
}
At this point, pass in the corresponding data source, and you can run it
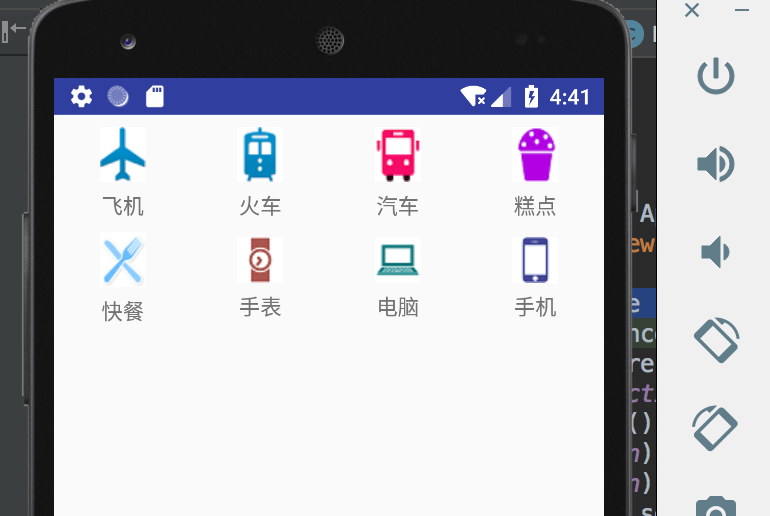
    int icons[] = {R.drawable.fly1,R.drawable.car,R.drawable.autombile1,R.drawable.cake,
            R.drawable.food,R.drawable.watch,R.drawable.cp,R.drawable.phone};
    String names[] = {"aircraft","Train","automobile","Cakes and Pastries","Fast Food","Wrist Watch","Computer","Mobile phone"};
    List<MenuItem> items = new ArrayList<>();
    @Nullable
    @Override
    public View onCreateView(@NonNull LayoutInflater inflater, @Nullable ViewGroup container, @Nullable Bundle savedInstanceState) {
        ...
        for(int i = 0; i < icons.length; i++) {
            items.add(new MenuItem(icons[i],names[i]));
        }
        ...
    }
The operation effect is as follows