Android Detailed QQ Third Party Login
1. Registration QQ interconnection related information
1. Enter the official website: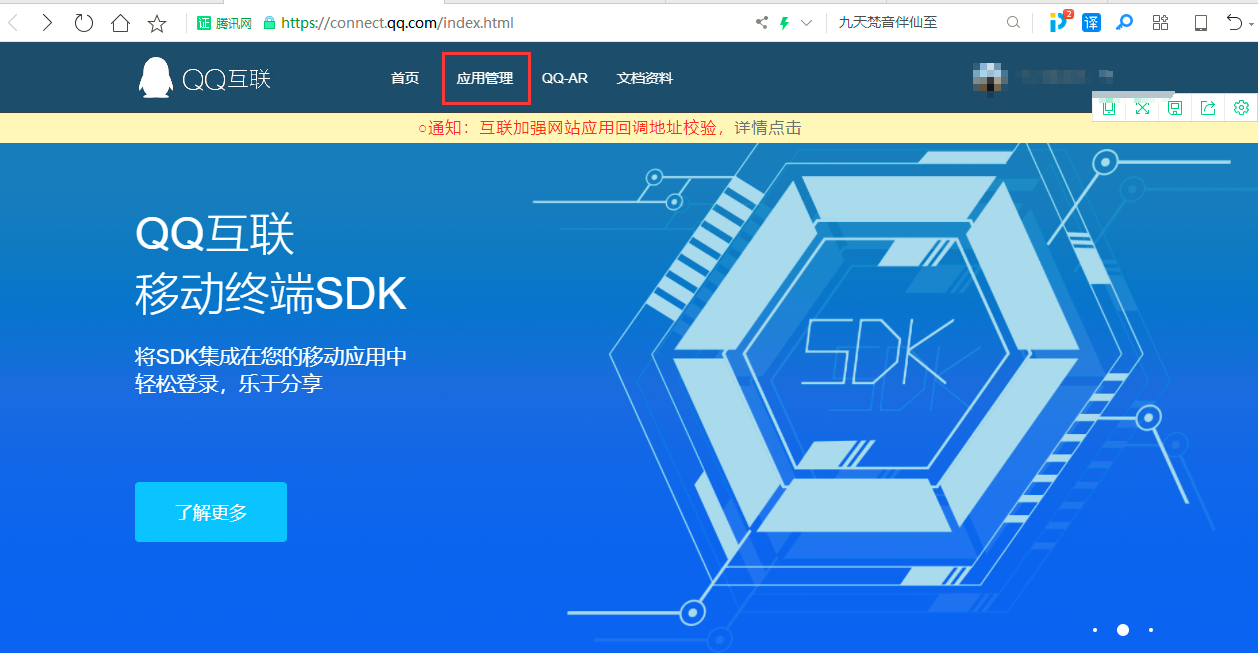
2. Create your app: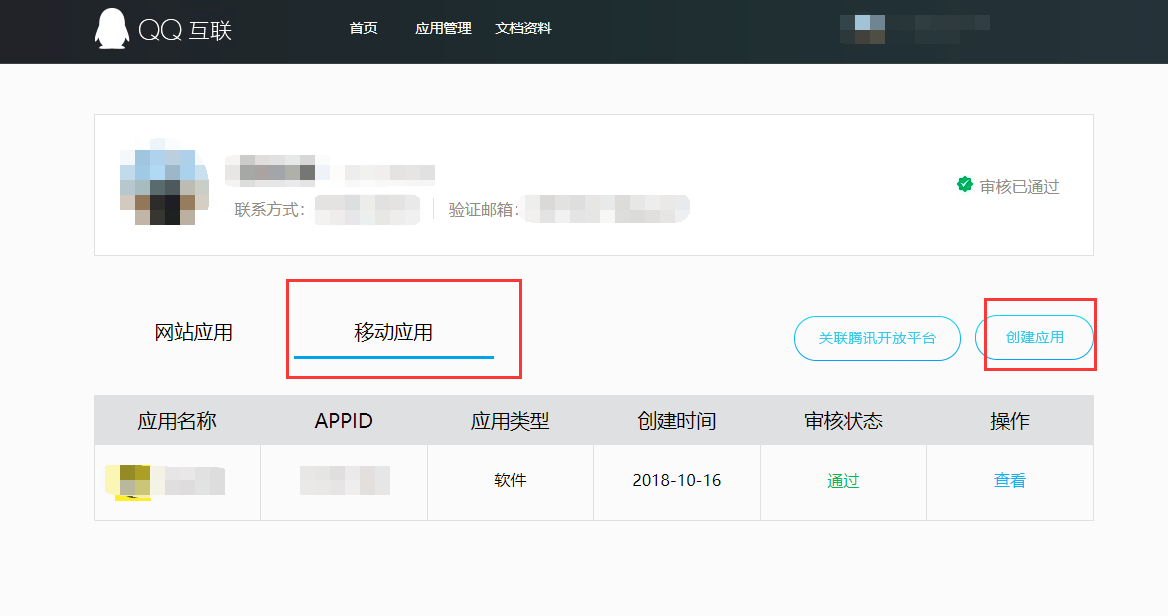
3. Fill in relevant information to create new applications
4. Perfect information: There are three things that need to be filled out! Be sure to fill it out! Be sure to fill it out! Important things are to be repeated for 3 times.
5. The name of the installation package and the signature of the installation package can be obtained by downloading the signature tool provided by QQ: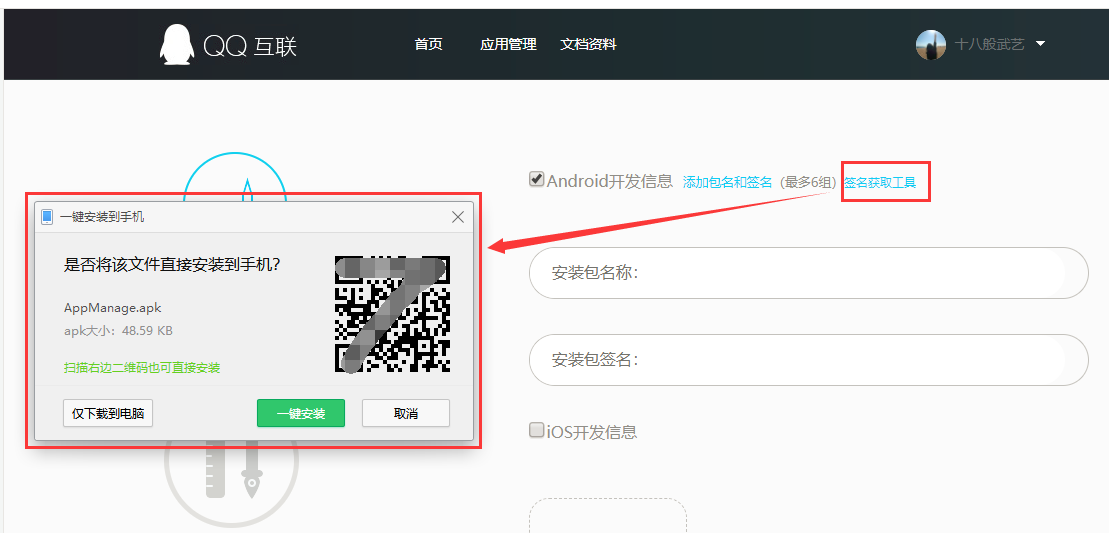
6. Open the downloaded app and select your app. Just click on one button to copy.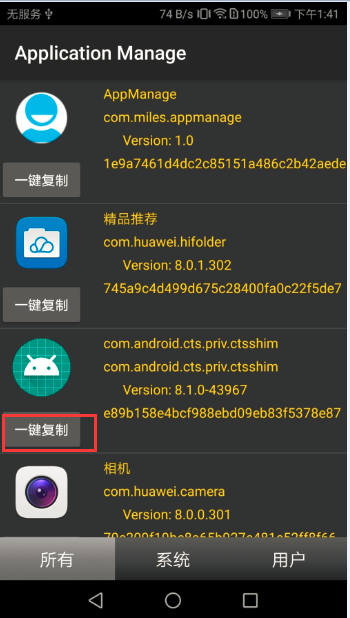
7. This is the replicated information:
8. Fill in and create an application.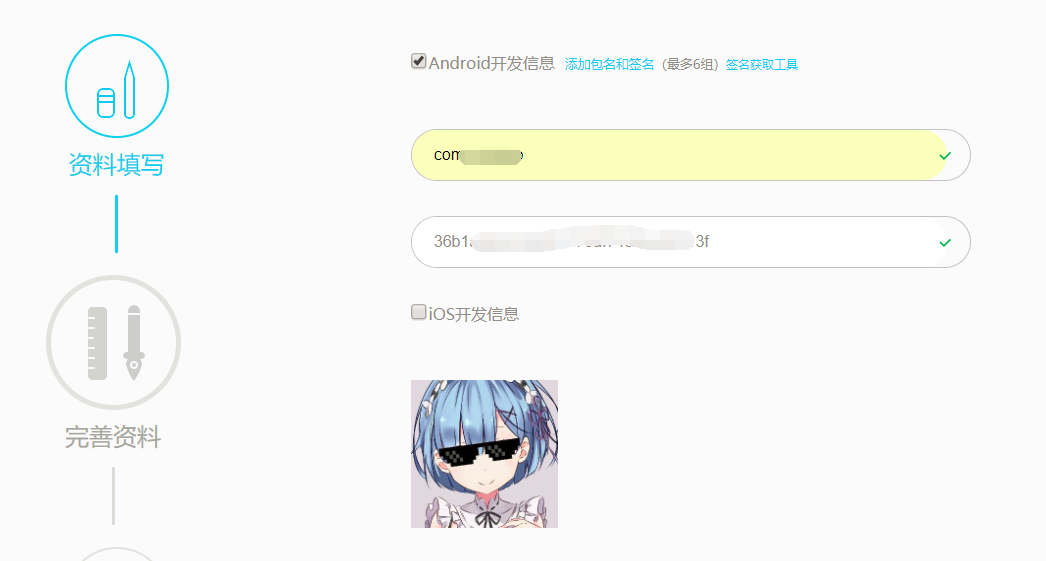
8. Create and wait for approval (Quick, about a morning)
2.jar package introduction
Find the sdk you need: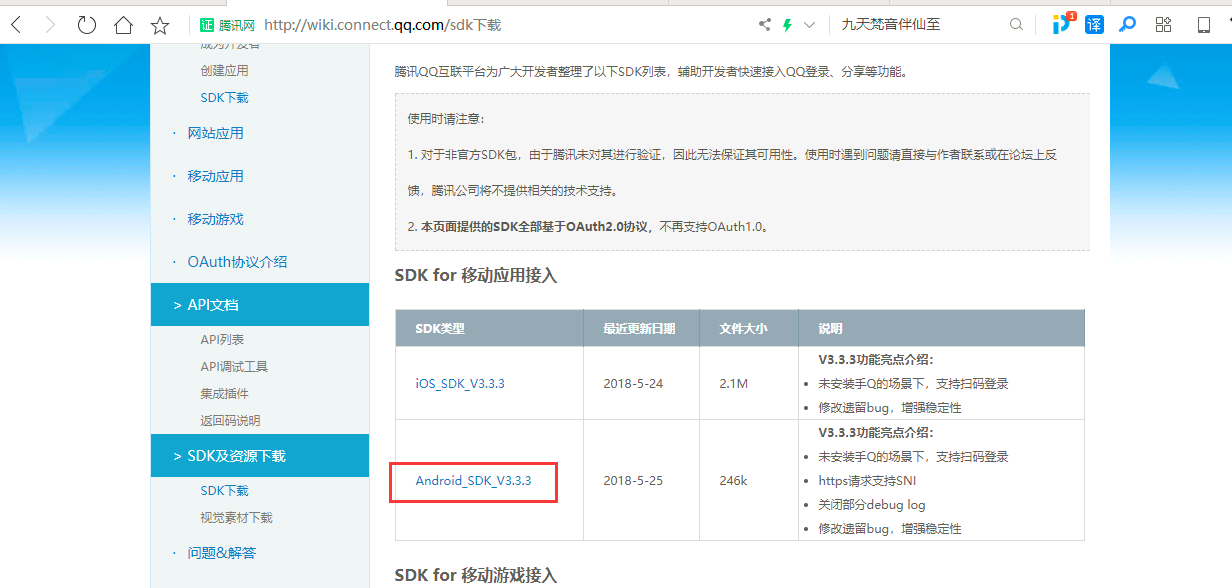
Introduce your own project: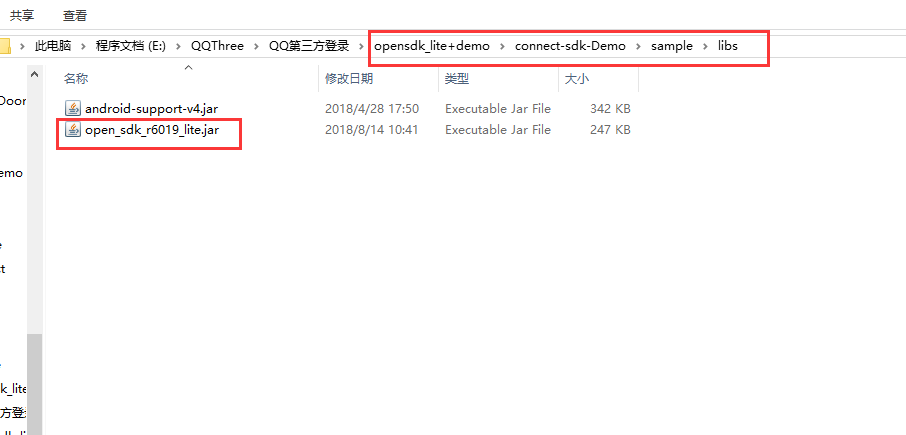
Introducing jar packages: If you don't know how to introduce jar packages, please refer to this (Duniang has both): https://jingyan.baidu.com/article/e6c8503c7190b7e54f1a1893.html

3. Execute your code
- Configure Android Manifest. xml:
Add permissions:
  <uses-permission android:name="android.permission.ACCESS_NETWORK_STATE" />
    <uses-permission android:name="android.permission.INTERNET" />
    <uses-permission android:name="android.permission.WRITE_EXTERNAL_STORAGE" />
- Add two Activities: Instead of creating the new two Activities, they have recently been encapsulated in the jar package
  <!-- QQjar The package is encapsulated -->
        <activity
            android:name="com.tencent.tauth.AuthActivity"
            android:launchMode="singleTask"
            android:noHistory="true">

            <intent-filter>
                <action android:name="android.intent.action.VIEW" />

                <category android:name="android.intent.category.DEFAULT" />
                <category android:name="android.intent.category.BROWSABLE" />
                <data android:scheme="Here it's yours. APPID On the official website" />
            </intent-filter>
        </activity>
        <!-- QQjar The package is encapsulated -->
        <activity
            android:name="com.tencent.connect.common.AssistActivity"
            android:configChanges="orientation|keyboardHidden|screenSize"
            android:theme="@android:style/Theme.Translucent.NoTitleBar" />
3. Code:
The code is more detailed, here note: 1. You can use this function completely after the approval of APP; 2. Initialize Tencent method; 3. Trigger login events through buttons; 4. Rewrite onActivityResult (), which is the way to get the login status after login. 5.LogUtil is my own encapsulation method, you can continue to use Log.i("""); method.
public class TextActivity extends AppCompatActivity implements View.OnClickListener {
private Button btnQQ;
private Button btnWX;
private Tencent mTencent;
@Override
protected void onCreate(Bundle savedInstanceState) {
super.onCreate(savedInstanceState);
setContentView(R.layout.activity_text);
initView();
initListener();
}
private void initView() {
btnQQ = findViewById(R.id.btn_login_qq);
btnWX = findViewById(R.id.btn_login_wx);
initQQ();
}
private void initQQ() { //Initialize QQ
mTencent = Tencent.createInstance(This is yours. APPID, TextActivity.this);
}
private void initListener() {
btnQQ.setOnClickListener(this);
btnWX.setOnClickListener(this);
}
@Override
public void onClick(View v) {
switch (v.getId()) {
case R.id.btn_login_qq: // QQ login
if (mTencent.isQQInstalled(TextActivity.this)) { // Determine whether QQ is installed
goQQLogin();
} else {
Toast.makeText(this, "Please install it first. QQ", Toast.LENGTH_SHORT).show();
}
break;
case R.id.btn_login_wx:
ToastUtil.showShort(this, "Functions not yet developed,Coming soon!");
break;
}
}
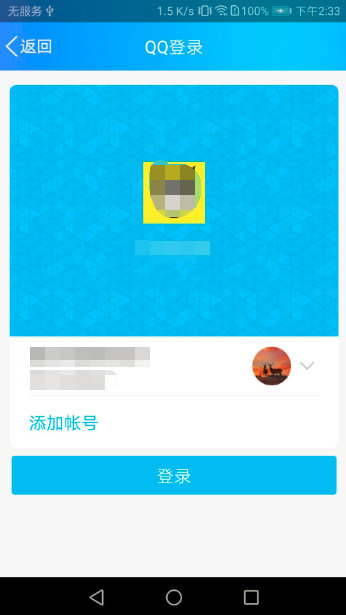
/**
* Jump QQ login
*/
private void goQQLogin() {
mTencent.login(this, "all", new QQLoginCallBack());
}
/**
* QQ Return after login
*/
private class QQLoginCallBack implements IUiListener {
@Override
public void onComplete(Object o) {
Toast.makeText(TextActivity.this, "Log in successfully:", Toast.LENGTH_SHORT).show();
LogUtil.i("QQ Log in successfully:" + o.toString());
}
@Override
public void onError(UiError uiError) {
Toast.makeText(TextActivity.this, "Logon failure:", Toast.LENGTH_SHORT).show();
LogUtil.i("QQ Logon failure:" + uiError.toString());
}
@Override
public void onCancel() {
Toast.makeText(TextActivity.this, "Cancel Logon", Toast.LENGTH_SHORT).show();
LogUtil.i("QQ Logon Cancel:");
}
}
@Override
protected void onActivityResult(int requestCode, int resultCode, Intent data) {
super.onActivityResult(requestCode, resultCode, data);
Tencent.onActivityResultData(requestCode, resultCode,
data, new QQLoginCallBack());
if (requestCode == Constants.REQUEST_API) {
if (resultCode == Constants.REQUEST_LOGIN) {
Tencent.handleResultData(data, new QQLoginCallBack());
}
}
}
}
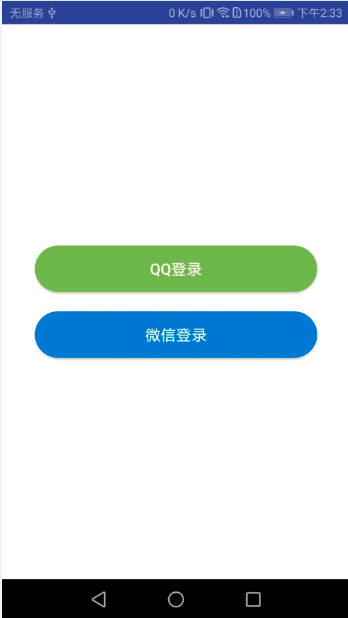
Design sketch: