Preface
Now Elasticsearch is used by more and more companies. I have learned some simple operations of Elasticsearch before, but I haven't recorded them carefully, so I forgot them soon after I learned them. Now let's take this time to learn again. This article will mainly introduce how to build a single node Elasticsearch 7.2 on Alibaba cloud server Services, the system uses Centos7, the purchase of alicloud server will not be described here. If you need to check it on alicloud official website, please make sure the java environment is ready before installation. Please refer to your notes for java environment installation http://note.youdao.com/noteshare?id=0c4ab6a961a5577154eaf560ff79787d.
Install Elasticsearch
Step 1: Download elastic search 7.2 package
wget https://artifacts.elastic.co/downloads/elasticsearch/elasticsearch-7.2.0-linux-x86_64.tar.gz
Step 2: extract to the specified directory
tar -zvxf elasticsearch-7.2.0-linux-x86_64.tar.gz -C /home/yuhao/apps/
Step 3: enter the elasticsearch-7.2.0 directory and edit the config/elasticsearch.yml configuration file
vim config/elasticsearch.yml
Create the data folder in the elastic search-7.2.0 directory
mkdir data
Add the following configuration at the bottom of the file:
#Cluster name
cluster.name: pid
#Node name
node.name: pid_node_1
#Storage directory for data and logs
path.data: ./data
path.logs: ./logs
##After setting the bound ip to 0.0.0.0, any computer node can access it
network.host: 0.0.0.0
http.port: 9200 #port
##Set the names of all nodes in the cluster. This node name is the one previously modified. Of course, you can also use the default one. The item > is a stand-alone node. Just put one node in it
cluster.initial_master_nodes: ["pid_node_1"]
Step 4: modify the memory used when Elasticsearch starts according to the memory size of the server
Edit config/jvm.options
vim config/jvm.options
My server memory is 8G, so the default startup memory is used, as follows (lines 22 and 23):
-Xms1g
-Xmx1g
Step 5: create an es user, because Elasticsearch does not allow root user to start, otherwise an error will be reported
#Create es user
adduser es
#Set password for es user
passwd es
Step 6: change the user name and user group of all files in the elastic search-7.2.0 directory
chown -R es:es /home/yuhao/apps/elasticsearch-7.2.0/
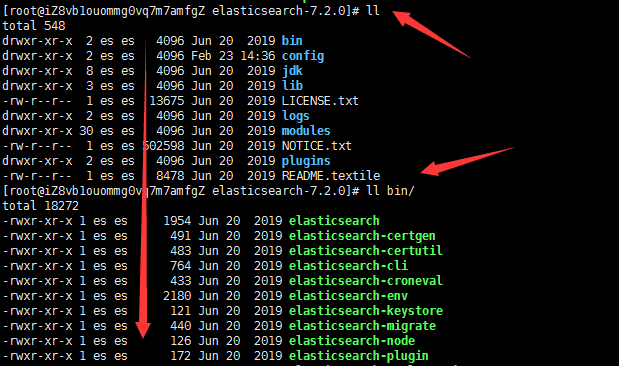
As shown in the figure after modification, the user names and user groups of all files, folders and all files under the elasticsearch-7.2.0 directory are es:
Step 7: limit the maximum number of files, threads, memory and other resources available to es users
vim edit vim /etc/security/limits.conf, and add:
es soft nofile 65536
es hard nofile 65536
#No one in the es group can have more than 4096 processes and will issue a warning if they have 4096 processes
es soft nproc 4096
es hard nproc 4096
vim edit vim /etc/security/limits.d/20-nproc.conf, change * to user name (es):

vim edit vim /etc/sysctl.conf and add:
vm.max_map_count = 655360
Finally, make the modified configuration file effective:
sysctl -p
Step 8: switch to es user and start elastic search
#Switching users
su es
#Enter the elastic search-7.2.0 directory
cd /home/yuhao/apps/elasticsearch-7.2.0
#Start elasticsearch
./bin/elasticsearch
#To start in the background, execute the following command
./bin/elasticsearch -d
Check whether the start is successful after the start
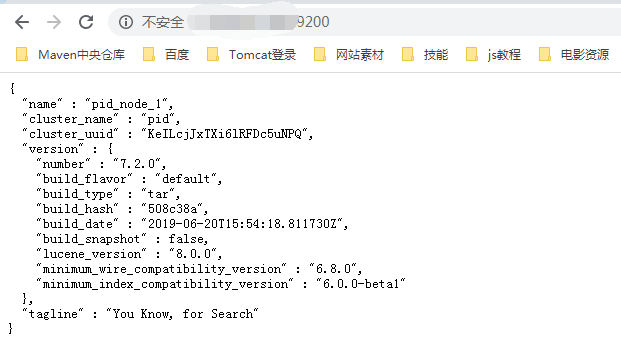
[root@iZ8vb1ouommg0vq7m7amfgZ download]# curl localhost:9200
#The output in the following json format indicates that the startup is successful
{
  "name" : "pid_node_1",
  "cluster_name" : "pid",
  "cluster_uuid" : "KeILcjJxTXi6lRFDc5uNPQ",
  "version" : {
    "number" : "7.2.0",
    "build_flavor" : "default",
    "build_type" : "tar",
    "build_hash" : "508c38a",
    "build_date" : "2019-06-20T15:54:18.811730Z",
    "build_snapshot" : false,
    "lucene_version" : "8.0.0",
    "minimum_wire_compatibility_version" : "6.8.0",
    "minimum_index_compatibility_version" : "6.0.0-beta1"
  },
  "tagline" : "You Know, for Search"
}
For public ip access, please pay attention to the port release, as shown in the figure:
Install kibana
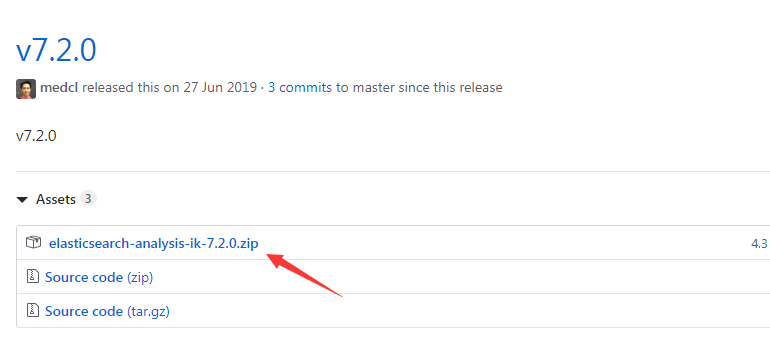
Step 1: download the corresponding version of IK word breaker according to the version of Elasticsearch. Download address:
https://github.com/medcl/elasticsearch-analysis-ik/releases
The Elasticsearch we installed this time is 7.2.0, so choose elasticsearch-analysis-ik-7.2.0.zip
Step 2: create ik directory in / home/yuhao/apps/elasticsearch-7.2.0/plugins directory, and extract it to ik directory
#Create ik folder
mkdir /home/yuhao/apps/elasticsearch-7.2.0/plugins/ik
#Ignore if already installed
yum install -y unzip zip
#Unzip to ik folder
unzip elasticsearch-analysis-ik-7.2.0.zip -d /home/yuhao/apps/elasticsearch-7.2.0/plugins/ik/
#Change the user name and user group of ik directory and all subfolders under the directory to es
chown es:es -R  /home/yuhao/apps/elasticsearch-7.2.0/plugins/ik/
Step 3: restart elasticsearch (note that it is started by es user). You can see in the log that the plug-in has been loaded:
,
Step 4: download the kibana7.2 installation package and extract it to the directory / home/yuhao/apps. Finally, set the user name and user group of the extracted directory to es
#Download kibana 7.2 installation package
wget https://artifacts.elastic.co/downloads/kibana/kibana-7.2.0-linux-x86_64.tar.gz
#Extract the installation package to the specified directory
tar -zxvf kibana-7.2.0-linux-x86_64.tar.gz -C /home/yuhao/apps/
#Change user name and user group
chown -R es:es /home/yuhao/apps/kibana-7.2.0-linux-x86_64/
Step 5: modify the configuration file
Release comment on line 2
 Line 7 release the comment and change to server.host: "0.0.0.0"
Line 28 (change to your virtual machine IP)elasticsearch.hosts: ["http://192.168.69.110:9200"]
113 release the comment and change to I18N. Locale: "zh CN"
Step 6: switch users and start kibana
#Switching users
su es
#Enter kibana-7.2.0-linux-x86_directory
cd /home/yuhao/apps/kibana-7.2.0-linux-x86_64
#Create log folder
mkdir logs
#Start kibana
nohup ./bin/kibana >> logs/kibana-start.log 2>&1
#view log
tail -100f logs/kibana-start.log
The browser access management interface is as follows: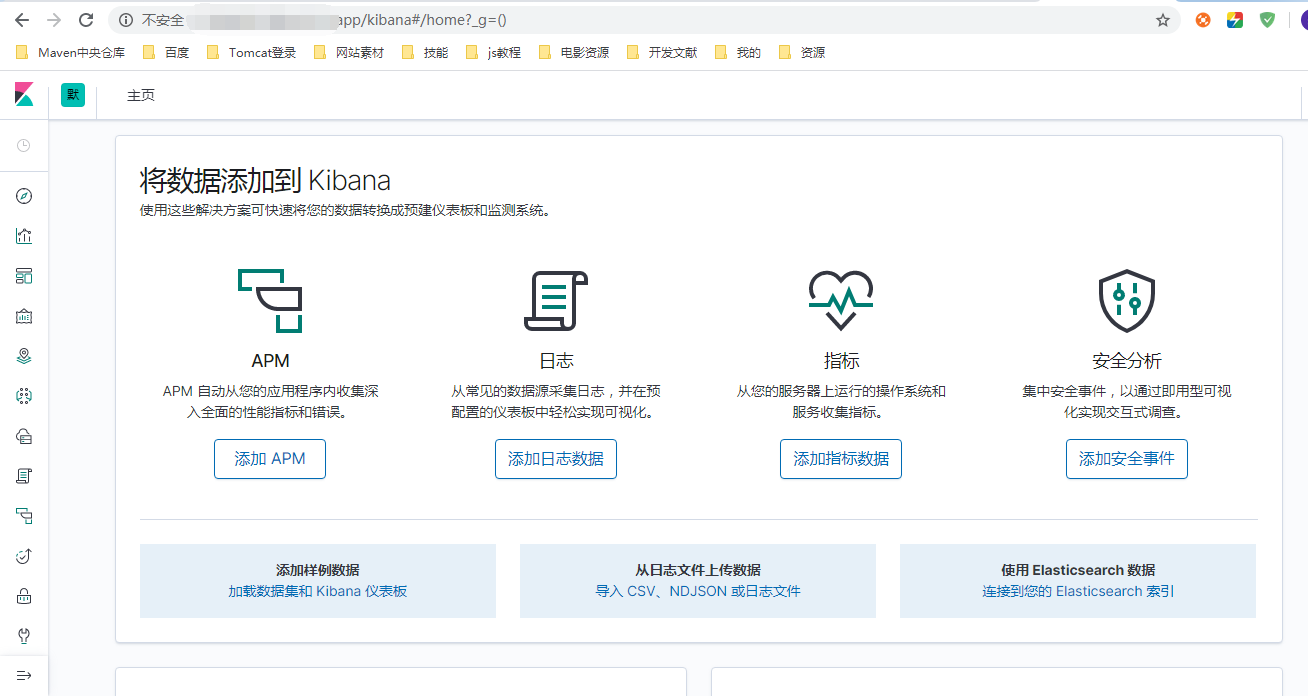
Public IP access to kibana requires the release of port 5601 in the security group
epilogue
This installation is carried out in accordance with the steps in this article, and there is no error for the time being. You will continue to learn how to use it in the future. Please look forward to it.

