preface
For work reasons, you need to contact the XGBoost model. For convenience, in addition to the Linux server provided by the company, I also installed XGBoost locally. Since then, I have encountered various problems and even reinstalled anaconda3, which is a history of blood and tears. Therefore, I would like to record all kinds of problems I have encountered and the final solutions. You are also welcome to leave a message in the comment area to give your unique opinions~
Start running
Operating environment
MacBook Pro (13-inch, M1, 2020)
Chip Apple M1
Memory 16 GB
Python environment 3.7
Compiler pychar
My Python is anaconda3-2019.10-mac OS x-x86 installed from anaconda3_ 64.sh, the following are the addresses of various installation packages. They are really complete. Thank you for the open source mirror station of Tsinghua University!
Installing XGBoost
I downloaded the latest version of XGBoost installation from Github library. Github address is as follows:
https://github.com/dmlc/xgboost
1. Install Homebrew
HomeBrew is the package management software of mac system, similar to apt get of ubuntu or yum of centos. The installation method is as follows. Enter in the terminal:
/usr/bin/ruby -e "$(curl -fsSL https://raw.githubusercontent.com/Homebrew/install/master/install)"
I installed HomeBrew before, so I don't know whether this link needs to climb over the wall. If there is Caton, you can also choose the domestic download station and search it online
2. Install gcc-6
brew install gcc --without-multilib
This process may take a long time. If there is a code error, you can remove -- without multilib
If necessary, it may also need to be installed
brew install llvm
and
brew install clang-omp
3. Select the root directory
Select the root directory as the address to install xgboost
cd ~
According to the experience of many previous blood and tears, this step really can't be saved
4. Start cloning xgboost
git clone --recursive https://github.com/dmlc/xgboost
At this step, I cloned it until half of it was broken. Later, I directly went to the github website, opened it with the desktop version, and directly copied it to the root directory. You can get the download package according to your own convenient way
5. Type directly
cd xgboost; cp make/config.mk ./config.mk; make -j4
6. Type
cd python-package; sudo python setup.py install
Problems encountered in other installation methods
1. Direct installation in pycham
At first, what I thought was very simple. Just like other algorithm packages, I just installed them directly in the compiler
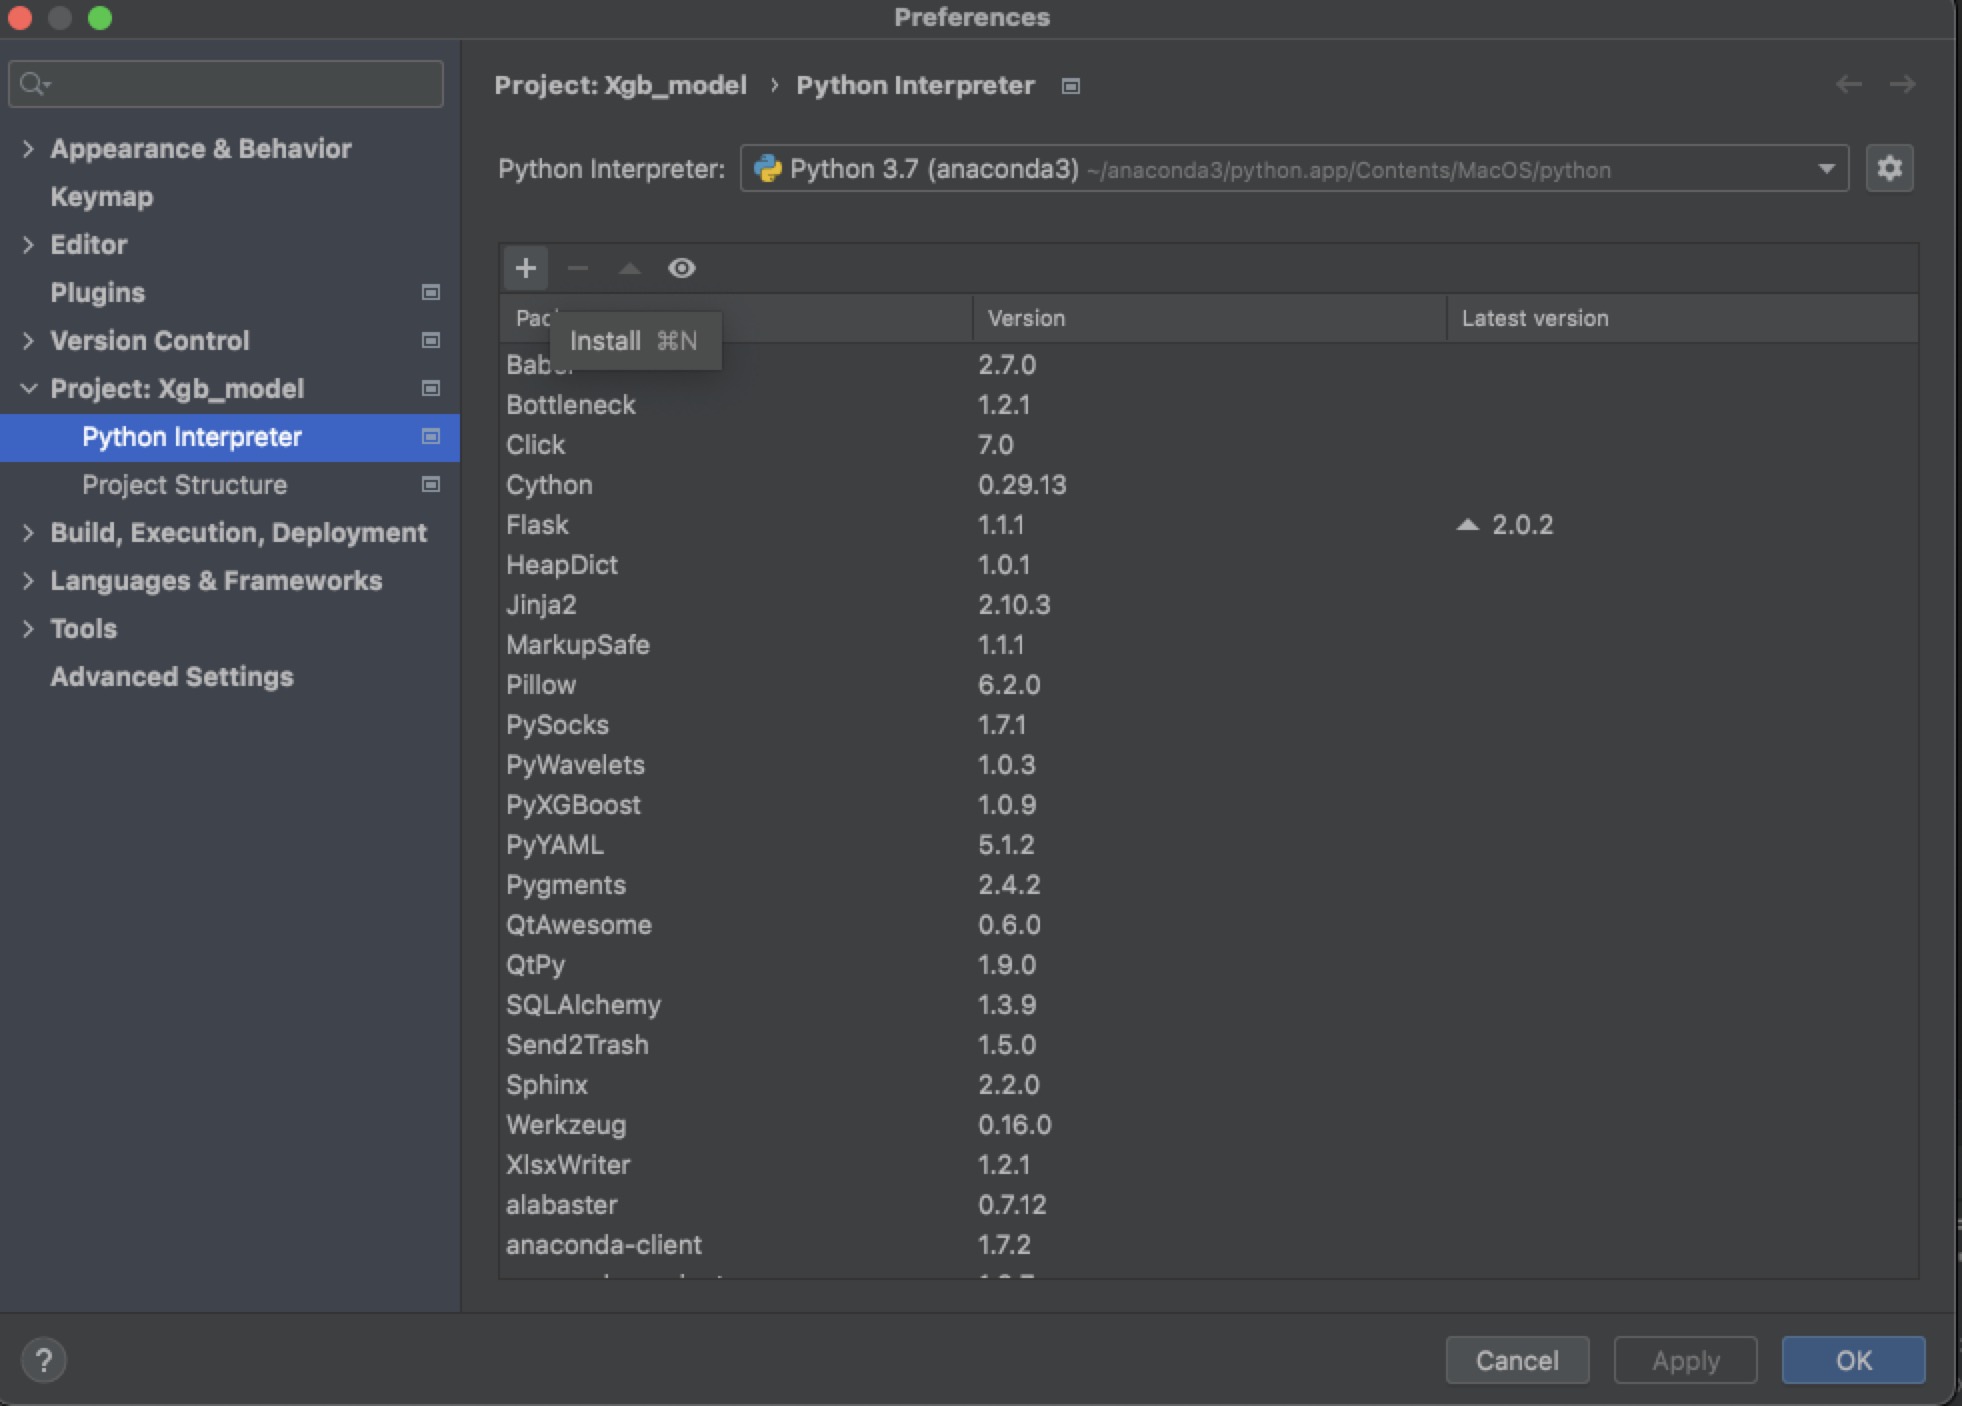
It's really light and simple, but it will encounter various problems
First
import xgboost
Errors will be reported at this stage. Later, the package can be imported by deleting and reloading, but more errors will be reported directly at the code running stage, such as XGBoostError: XGBoost Library (libxgboost.dylib) could not be loaded and AttributeError: /home/hp/anaconda3/lib/libxgboost.so: undefined symbol: XGDMatrixSetDenseInfo and llysm: symbol not found
Posting goodbye is the last mistake. I really encountered it countless times and couldn't solve it at all. Finally, I solved it by reinstalling python. So reloading can really solve many problems! Remember the software image station provided above~
2. Install via pip or conda
In fact, I believe conda is the right way to install pyxgboost, but when I install it myself, it automatically downgrades my anaconda3, resulting in obstacles to my normal Python operation, which is also the reason why I reinstall python. However, the installation method of conda is provided here. After all, many online tutorials are recommended:
conda install py-xgboost
If an error occurs in the previously installed version, you need to uninstall the previously installed version first:
pip uninstall xgboost
perhaps
pip3 uninstall xgboost
Test your xgboost
The following is a simple xgb code. If it can run successfully, it shows that there is no problem with the installation of the algorithm package. Let's try it quickly~
#%%
from sklearn import datasets
from sklearn.model_selection import train_test_split
import xgboost as xgb
from sklearn import metrics

# Import iris data
iris = datasets.load_iris()
# Characteristic data
data = iris.data[:100] # There are four characteristics
# label
label = iris.target[:100]

# Extract training set and test set
# random_state: is the seed of a random number.
train_x, test_x, train_y, test_y = train_test_split(data, label, random_state=0)

dtrain = xgb.DMatrix(train_x, label = train_y)
dtest = xgb.DMatrix(test_x)

# Parameter setting
params={'booster':'gbtree',
    'objective': 'binary:logistic',
    'eval_metric': 'auc',
    'max_depth':4,
    'lambda':10,
    'subsample':0.75,
    'colsample_bytree':0.75,
    'min_child_weight':2,
    'eta': 0.025,
    'seed':0,
    'nthread':8,
     'silent':1}

watchlist = [(dtrain,'train')]

bst=xgb.train(params,dtrain,num_boost_round=100,evals=watchlist)
ypred=bst.predict(dtest)

# Set the threshold and output some evaluation indicators
# 0.5 is the threshold, and ypred > = 0.5 outputs 0 or 1
y_pred = (ypred >= 0.5)*1

# Area enclosed by coordinate axis under ROC curve
print ('AUC: %.4f' % metrics.roc_auc_score(test_y,ypred))
# Accuracy
print ('ACC: %.4f' % metrics.accuracy_score(test_y,y_pred))
print ('Recall: %.4f' % metrics.recall_score(test_y,y_pred))
# Harmonic mean of precision and recall
print ('F1-score: %.4f' %metrics.f1_score(test_y,y_pred))
print ('Precesion: %.4f' %metrics.precision_score(test_y,y_pred))
metrics.confusion_matrix(test_y,y_pred)
summary
The above are the various problems I encountered when installing and running xgboost locally. Because the whole process is very long, I feel it is worth taking notes. You are welcome to express your opinions. We can solve the problems together. thank you