preface
Hello, guys, hello. Yesterday, we made a simple extension to the original voting function: we realized a simple questionnaire function. When implementing the questionnaire function, we encapsulated several different types of components: voting component, single choice component, multiple choice component, input component and scoring component. I wonder if any partners found that although most of the functions of the questionnaire have been realized, the questionnaire topics can be configured freely, and users can click and enter to fill in the questionnaire, they found that clicking the submit button did not respond after completing the questionnaire. Was it a waste of time? Yes, the questionnaire lacks a submission function. Next, we will supplement the submission function of the questionnaire and make a simple optimization of the App.vue component.
Add a change event to the custom questionnaire component
In our encapsulated questionnaire component, whether it is a voting component, a multi-choice component, a radio component or an input component, the final selection result is saved in a responsive attribute selectValue, which can only be used inside the component and cannot be accessed outside. Our questionnaire finally submits the questionnaire result through the submit button in the parent component, In other words, we need to obtain the selected results of each sub component in the parent component, so we need to use the sub component to transfer values to the parent component. In this sharing, we choose to transfer values to the parent component in the form of custom events. Except for the voting component, the codes of other components are basically the same, so it is explained here. The specific implementation steps are as follows:
- Deconstruct the emit method in the context of the second parameter of the setup function
- A method valChange is defined, a parameter Val is received, and the emit method is invoked in this method, and two parameters are passed at the same time: the custom event select and the selected result value val. Note that here we uniformly specify a custom event select for all custom components (including voting components)
- Expose the valChange method to the template through return
- Finally, modify the template to add a change event to the component
Next, take the radio component myradio as an example to show the modified code. Several other components (except voting components) are the same and will not be repeated
<!--...Apply to myradio.vue, mycheck.vue, myinput.vue, mystar.vue-->
<template>
<!--...ellipsis-->
	<el-radio-group v-model="selectedValue" @change="valChange">
	<!--...ellipsis-->
	</el-radio-group>
<!--...ellipsis-->
</template>
//Applicable to myradio.vue, mycheck.vue, myinput.vue, mystar.vue
//... omitted
setup(props, context){
	//... omitted
	const {emit} = context;
	const valChange = () => {
		emit('select', val);//Customize the select event through the emit method and pass the selection result to the parent component
	}
}
//... omitted
Transformation of voting component vote.vue
The transformation of voting components is because the voting components are relatively complicated, and the elements in the voting components are all native html elements except button el-button and card el-card. These elements do not have change events, so we should call emit from the click point event of the button to define event select and to cast the result. (number of supporters, number of opponents and support rate) return to the main questionnaire page
- Deconstruct the emit method in the context of the second parameter of the setup method
- Define a result variable to receive voting results
- Define a method, calcResult, in which the number of supporters, the number of opponents and the support rate are spliced into a string with a fixed string template and assigned to the variable result
- Invoke the emit method in calcResult and pass "select" and result as parameters.
- Finally, the calcResult method is invoked in the original support and oppose.
//... omitted
setup(props, context){
	//... omitted
	const { emit } = context;
	let result = "";
	const calcResult = () => {
		result = `Number of people supported: ${supCount.value}/${supCount.value+oppCount.value};Number of opponents: ${oppCount.value}/${supCount.value + oppCount.value};Support rate: ${supRate.value}%`
		emit('select', result);
	}
	// Support method
    const support = () => {
      supCount.value++;
      calcResult();
    };
    //Objection method
    const oppose = () => {
      oppCount.value++;
      calcResult();
    };
}
Encapsulating Home components
In the previous case, we wrote all the business logic in App.vue, but as an entry component, we should write as few business logic in App.vue as possible. Therefore, starting from this sharing, we will take the code related to business logic from App.vue and put it separately in the component of Home.vue. At the same time, because the responsive variables in this component are more complex The more we come, so we also replace ref with reactive to define responsive variables.
- Add a component of Home.vue
- Cut the code from the original App.vue into Home.vue (note the change of the path of importing custom components after code switching)
- Change the original response variables declared with ref to be declared with reactive (note that when return ing, you need to call the toRefs method first and then construct it to avoid damaging the response)
- Declare a common variable result, whose default value is null, to save the selected questionnaire results
- Define a submit method, which is called when the submit button is clicked. In this method, the result object is traversed and the questionnaire subject and results are output circularly
- Define a getValue method, receive three parameters, and add the questionnaire subject and result to the object result in the form of string. The three parameters are:
- val: selected result, used to receive the selected result value returned by the sub component
- title: questionnaire topic, used to show which questionnaire topic the currently selected result belongs to
- flag: questionnaire identification. Because the number of questionnaire topics of each type is not fixed, our customized components are generated through the v-for instruction loop, and each component will call the method. Therefore, we need to make a unique identification for each questionnaire topic when the method is called to facilitate differentiation
- Expose the above response variables and two methods through return
- Finally, add a select event to each custom component in the template (Note: the event is returned by the child component definition), invoke the above getValue method in the event and pass 3 arguments.
The modified code is as follows:
<template>
	<div class="main">
		<!--$event The selected result passed back for the subcomponent, item.title As the subject of the questionnaire, vote${item.id}Is a string vote Add questionnaire topic id Unique identification of spliced-->
		<!--Only the newly added code is shown here, and the original code is omitted-->
		<vote  @select="getValue($event, item.title, `vote${item.id}`)"></vote>
		<myradio @select="getValue($event, radio.title, `radio${radio.id}`)"></myradio >
		<mycheck @select="getValue($event, check.title, `check${check.id}`)"></mycheck>
		<myinput  @select="getValue($event, inp.title, `input${inp.id}`)"></myinput>
		<mystar @select="getValue($event, star.title, `star${star.id}`)"></mystar>
	</div>
</template>
// ... omitted
import { reactive, toRefs } from 'vue'

export default {
	//... omitted
	setup(){
		const state = reactive({
			data:[],
			radios:[],
			checks:[],
			inputs:[],
			stars:[]
		})

		http.get('/data.json').then(res=>{
			state.data = res.data;
			state.radios = res.radios;
			state.checks = res.checks;
			state.inputs = res.inputs;
			state.stars = res.stars;
		});

		const result = {}
		const submit = () => {
			for(const key in result){
				console.log(result[key])
			}
		}
		const getValue = (val, title, flag) => {
			result[flag] = `${title} >>> ${val}`
		}

		return {
			...toRefs(state),
			submit,
			getValue
		}
	}
}
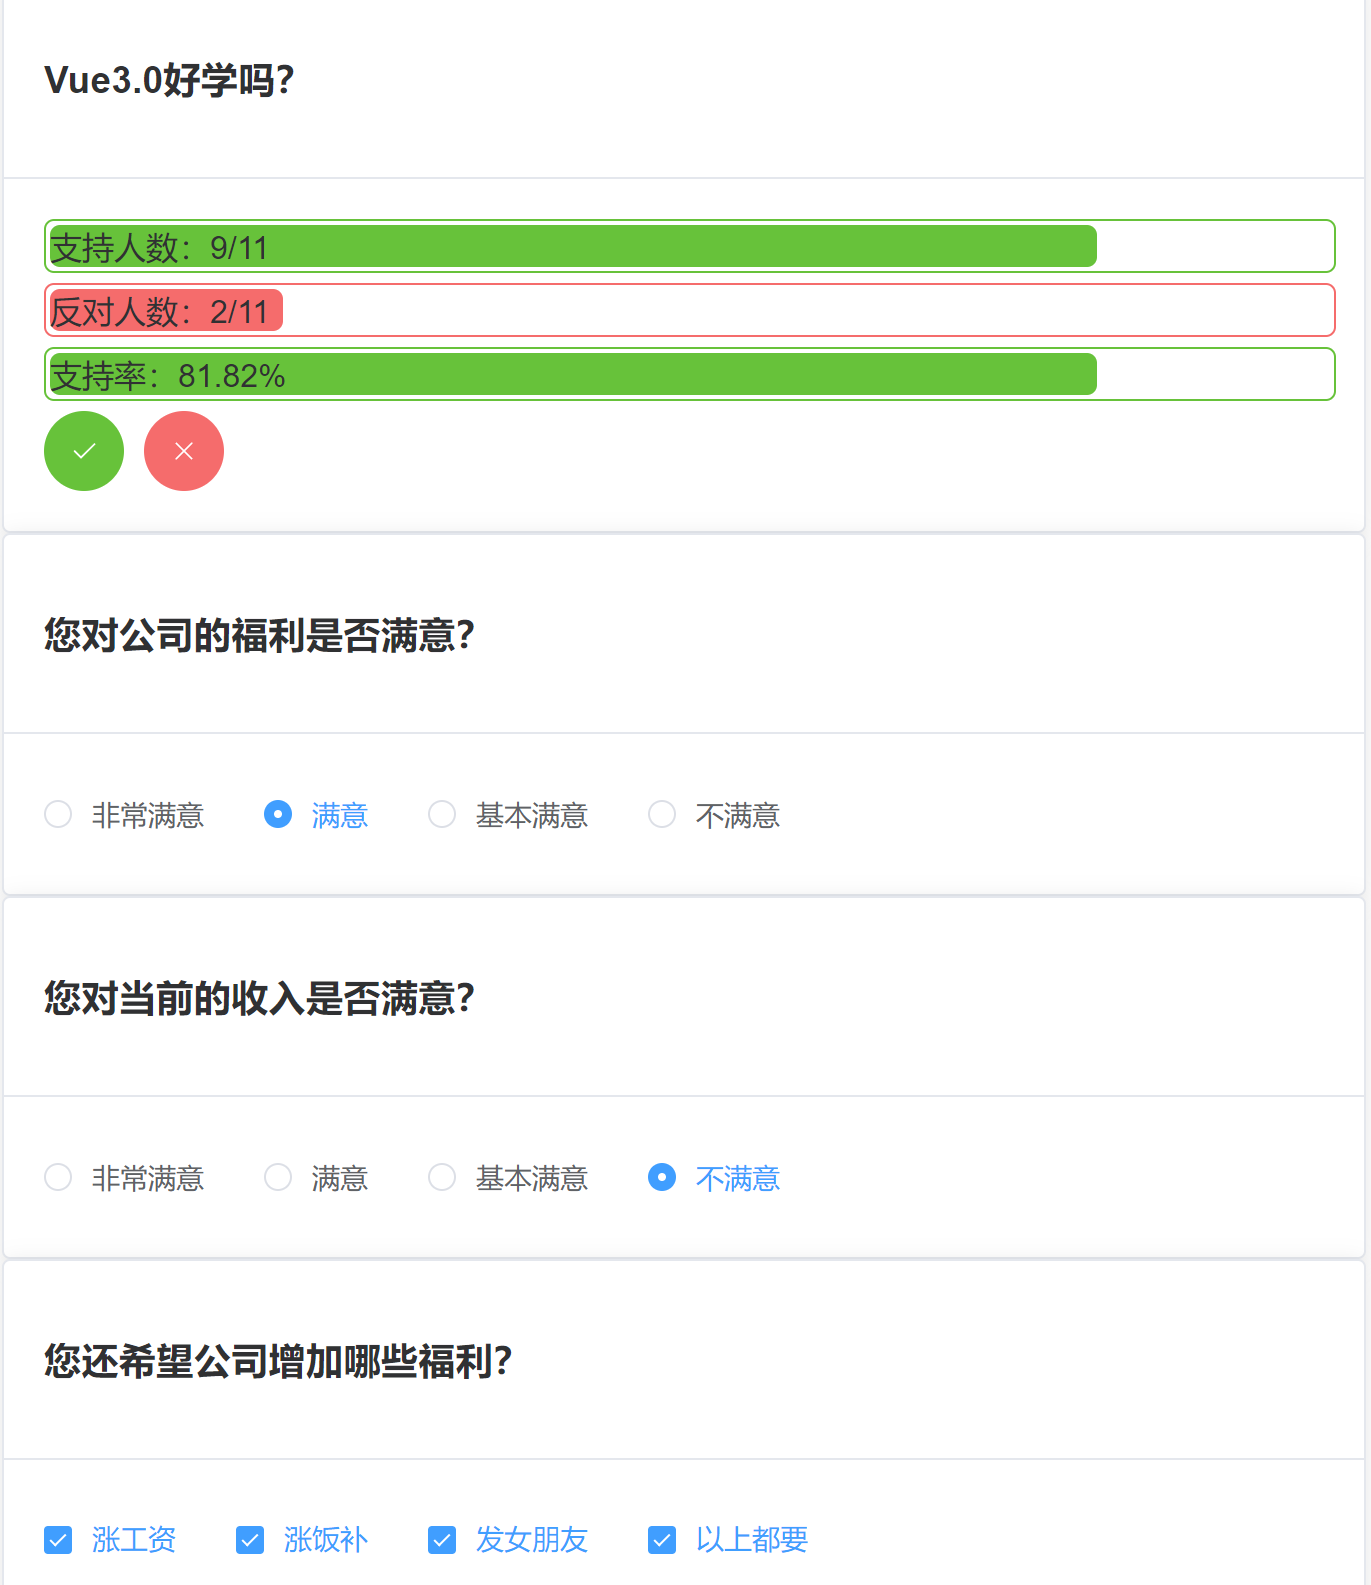
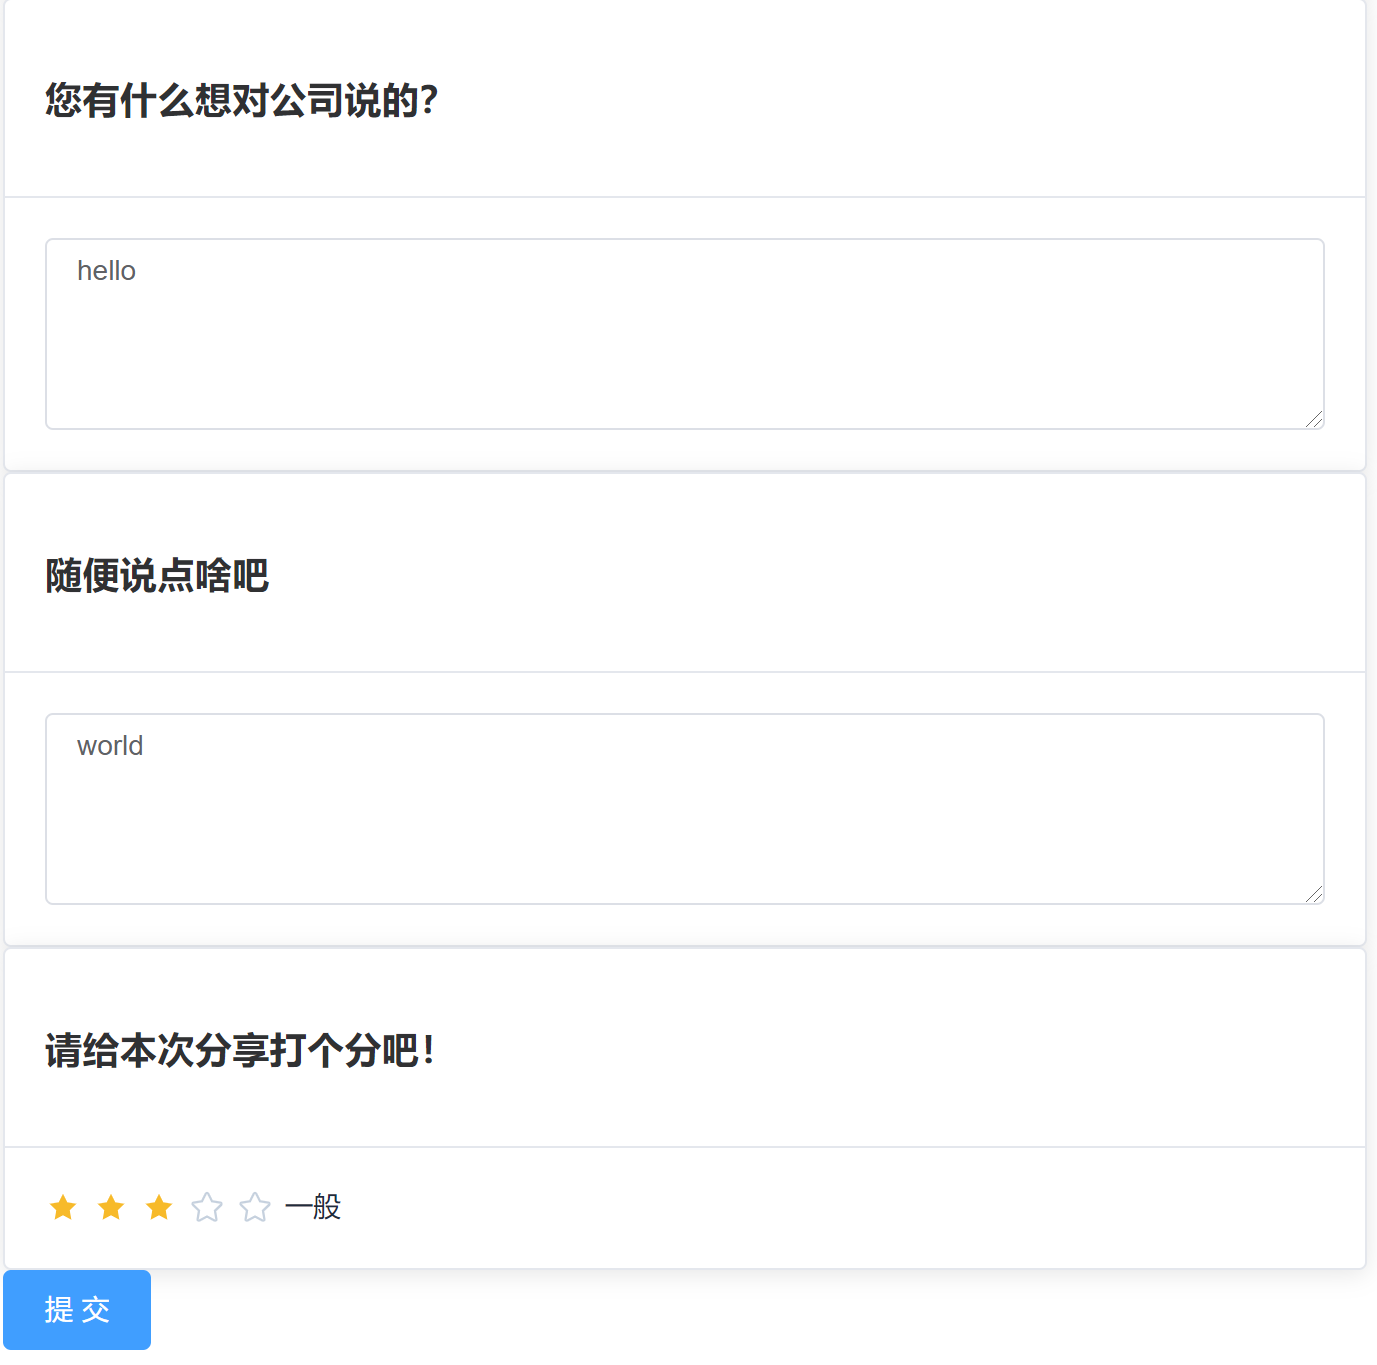
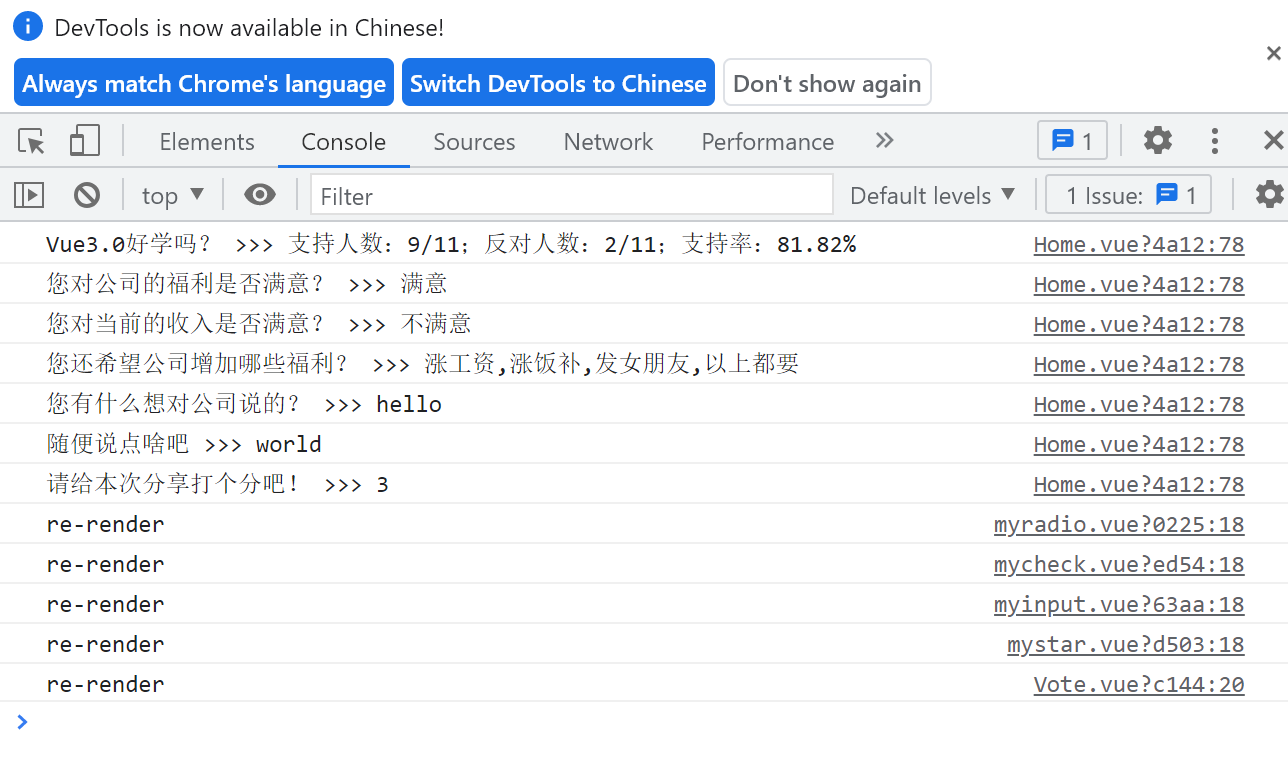
Effect display


summary
In this sharing, we continue to expand based on the previous cases and realize the submission function of the questionnaire, which involves the transfer of values from the sub component to the parent component, the user-defined events in the sub component and the definition of responsive attributes based on reactive. Finally, we can click the submit button to output the questionnaire results to the console.
That's all for this sharing. Your favorite friends are welcome to comment and pay attention!