Proxmox virtualization environment, PVE for short, is an open-source and free enterprise virtualization scheme based on linux, and its function is not inferior to VMware at professional fees. In short, PVE is a linux system based on Debian. It has built-in a set of virtual machine management tools and provides Web management pages, so that we can easily manage virtual machines through web pages.
DoraCloud is a multi platform, integrated and distributed desktop virtualization solution. Based on the open architecture, it supports a variety of virtualization platforms (Hyper-V, VMware, Proxmox, XenServer) and a variety of desktop protocols (RDP, PCoIP, SPICE). Adopt the all in one design mode and the deployment mode of virtual devices.
NVIDIA Tesla P4's single precision computing capacity will reach 5.5FLOPS, which can perform 22 trillion calculations per second. It has 2560 stream processors and 8GB GDDR5 video memory.
Server configuration: i7-8700, 32G, 1TB nvme, Tesla P4 graphics card.
This article describes the process of deploying Proxmox and DoraCloud on the server and creating a virtual desktop with vGPU.
1. Download and install Proxmox 5.4.1.
2. Modify the source of China University of science and technology, update
cp /etc/apt/sources.list /etc/apt/sources.list.backup
sed -i 's|^deb http://ftp.debian.org|deb https://mirrors.ustc.edu.cn|g' /etc/apt/sources.list
sed -i 's|^deb http://security.debian.org|deb https://mirrors.ustc.edu.cn/debian-security|g' /etc/apt/sources.list

mv /etc/apt/sources.list.d/pve-enterprise.list /etc/apt/sources.list.d/pve-enterprise.list.bak
CODENAME=`cat /etc/os-release |grep PRETTY_NAME |cut -f 2 -d "(" |cut -f 1 -d ")"`
echo "deb https://mirrors.ustc.edu.cn/proxmox/debian $CODENAME pve-no-subscription" > /etc/apt/sources.list.d/pve-no-subscription.list

apt update && apt upgrade -y
3. Enable IOMMU
The server is an Intel processor. Enable IOMMU through the following script. If it is an AMD processor, the configuration is different.
# Copy the following script to enable IO-MMU

# /etc/default/grub of GRUB_CMDLINE_LINUX_DEFAULT,increase intel_iommu=on iommu=pt
sed -i 's/GRUB_CMDLINE_LINUX_DEFAULT="quiet"/GRUB_CMDLINE_LINUX_DEFAULT="quiet intel_iommu=on iommu=pt"/g' /etc/default/grub

update-grub

# Load vfio_ iommu_ type1 vfio_ pci vfio_ Virqfd 4 Modules
echo vfio >> /etc/modules
echo vfio_iommu_type1 >> /etc/modules
echo vfio_pci >> /etc/modules
echo vfio_virqfd >> /etc/modules


echo "options vfio_iommu_type1 allow_unsafe_interrupts=1" > /etc/modprobe.d/iommu_unsafe_interrupts.conf
echo "options kvm ignore_msrs=1" > /etc/modprobe.d/kvm.conf
echo "blacklist nouveau" >> /etc/modprobe.d/blacklist.conf

update-initramfs -u
reboot
After executing the script, the server will be restarted automatically, and then check the log to confirm that IOMMU has been enabled.
root@pveserver:~# dmesg | grep -e DMAR -e IOMMU
[ 0.000000] ACPI: DMAR 0x0000000079A48648 0000A8 (v01 INTEL EDK2 00000002 01000013)
[ 0.000000] DMAR: IOMMU enabled
[ 0.004000] DMAR: Host address width 39
[ 0.004000] DMAR: DRHD base: 0x000000fed90000 flags: 0x0
[ 0.004000] DMAR: dmar0: reg_base_addr fed90000 ver 1:0 cap 1c0000c40660462 ecap 19e2ff0505e
[ 0.004000] DMAR: DRHD base: 0x000000fed91000 flags: 0x1
[ 0.004000] DMAR: dmar1: reg_base_addr fed91000 ver 1:0 cap d2008c40660462 ecap f050da
4. Install DKMS and NVIDIA kernel drivers
#Install DKMS dependency package
apt install -y git build-essential pve-headers dkms pve-headers-4.15.18-12-pve

#Download nvidia driver
wget http://www1.deskpool.com:9000/software/NVIDIA-Linux-x86_64-460.32.03-grid.run
wget http://www1.deskpool.com:9000/software/NVIDIA-Linux-x86_64-460.32.04-vgpu-kvm.run

chmod +x NVIDIA-Linux-x86_64-460.32.04-vgpu-kvm.run

#Install the drive
./NVIDIA-Linux-x86_64-460.32.04-vgpu-kvm.run -dkms

systemctl daemon-reload
reboot
After the system starts, check the log to confirm that the vgpu driver has started.
4. Deploy DoraCloud
To verify the effect of vGPU, we deployed DoraCloud on Proxmox. DoraCloud can be installed online using the following script
cd /var/lib/vz/dump; wget -qO- https://dl.doracloud.cn/dpinstall.pl --referer https://doracloud.cn | perl
To enable vGPU, you need to enter the Linux system of DoraCloud and modify the configuration file. Please log in to DoraCloud VM Linux and the account is root dora@cloud
At ~ / jy/store.properties Add the following two lines to save. And restart the DoraCloud VM.
server.proxmox.vgpu = true
server.proxmox.hostpci0=01:00.0,mdev=nvidia-63
[root@vdimgr ~]# cat >>~/jy/store.properties
server.proxmox.vgpu = true
server.proxmox.hostpci0=01:00.0,mdev=nvidia-63
^Z
[1]+ Stopped cat >> ~/jy/store.properties
[root@vdimgr ~]# reboot
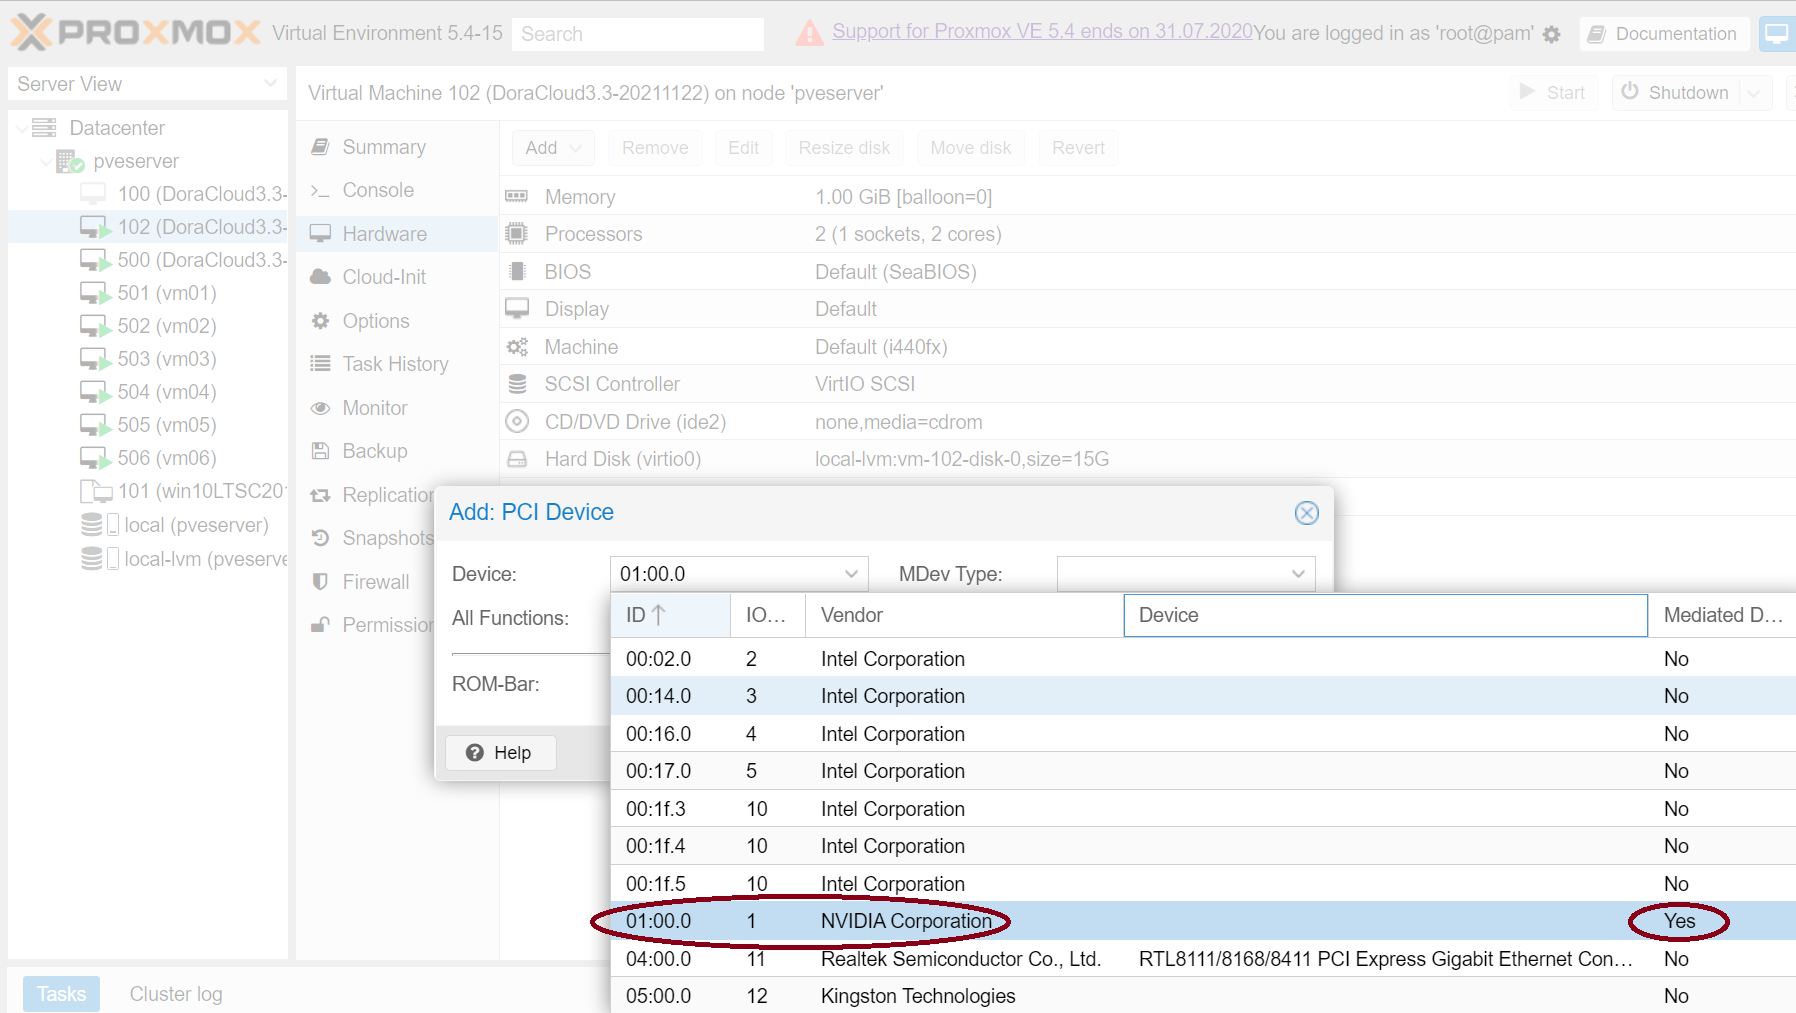
nvidia-63 type corresponds to vGPU of P4-1Q type. 01:00.0 is the device number of P4 in Proxmox host.
In the Proxmox management interface, add PCI Device to the virtual machine. You can see that the device ID of NVIDA P4 graphics card supporting mdev is 01:00.0.
P4 graphics card supports virtual graphics card types, which can be accessed through mdevctl Types command (mdevctl tool needs to be installed first). It can also be viewed in the Add PCI Device menu of Proxmox. However, due to the defects of the Proxmox interface, you can't see the complete information.
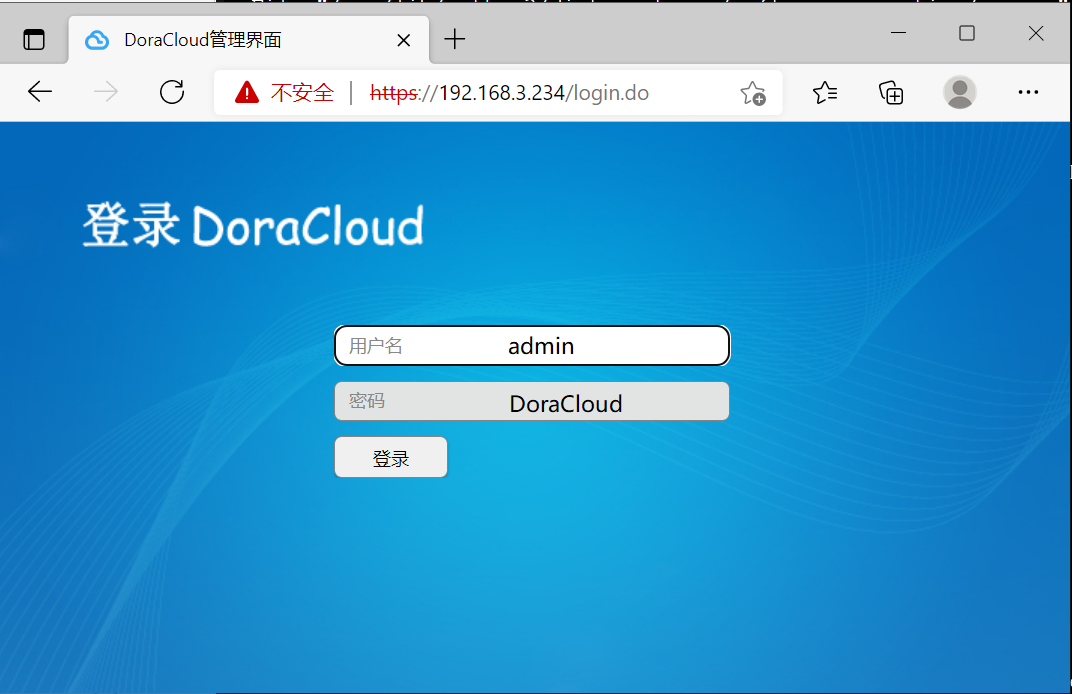
After restarting, log in the DoraCloud management background with the browser and enter the account admin DoraCloud, log in to the background.
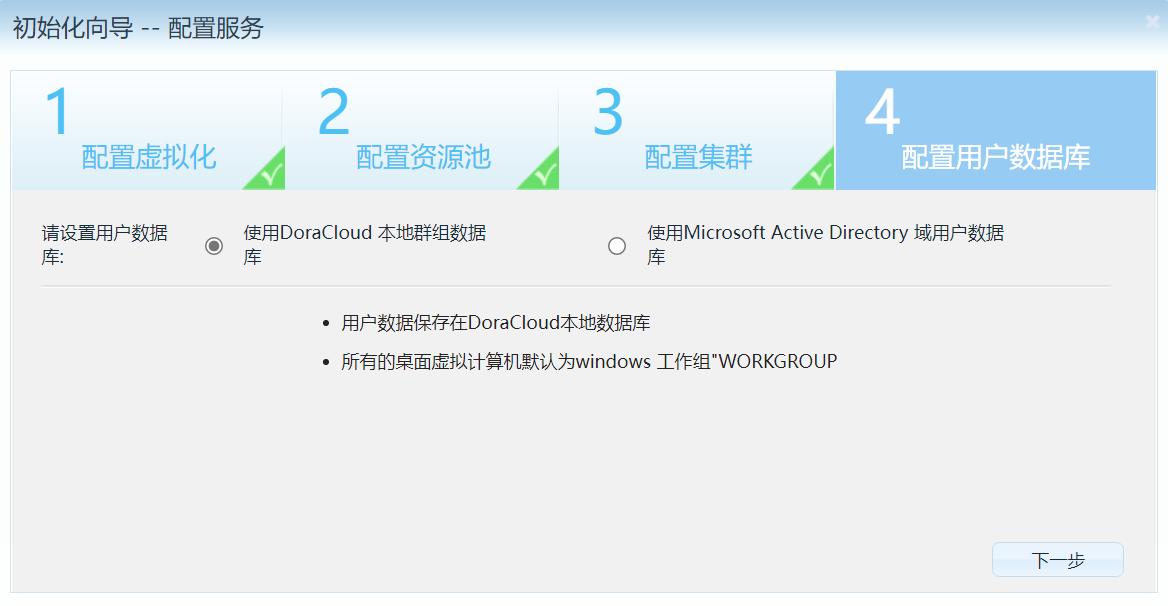
According to the configuration wizard, complete the initialization configuration of DoraCloud.
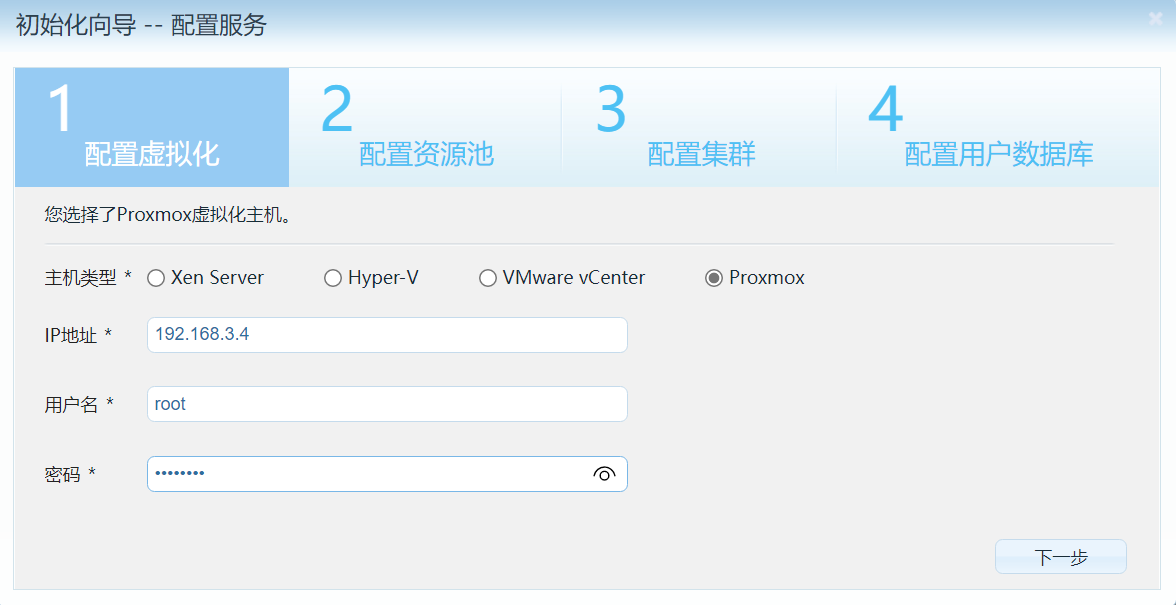
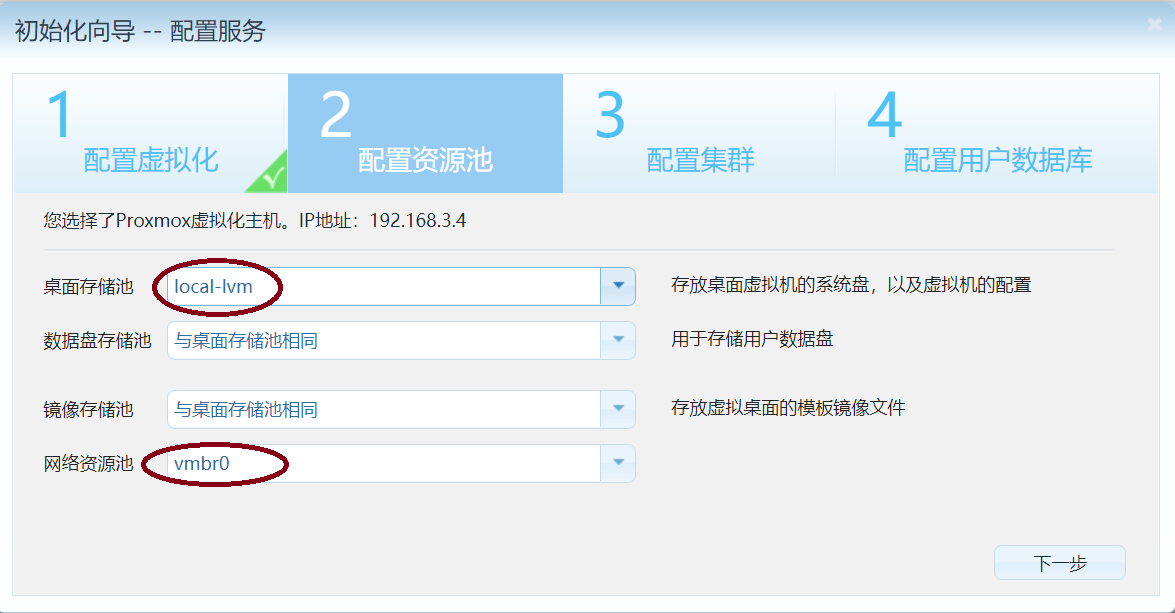
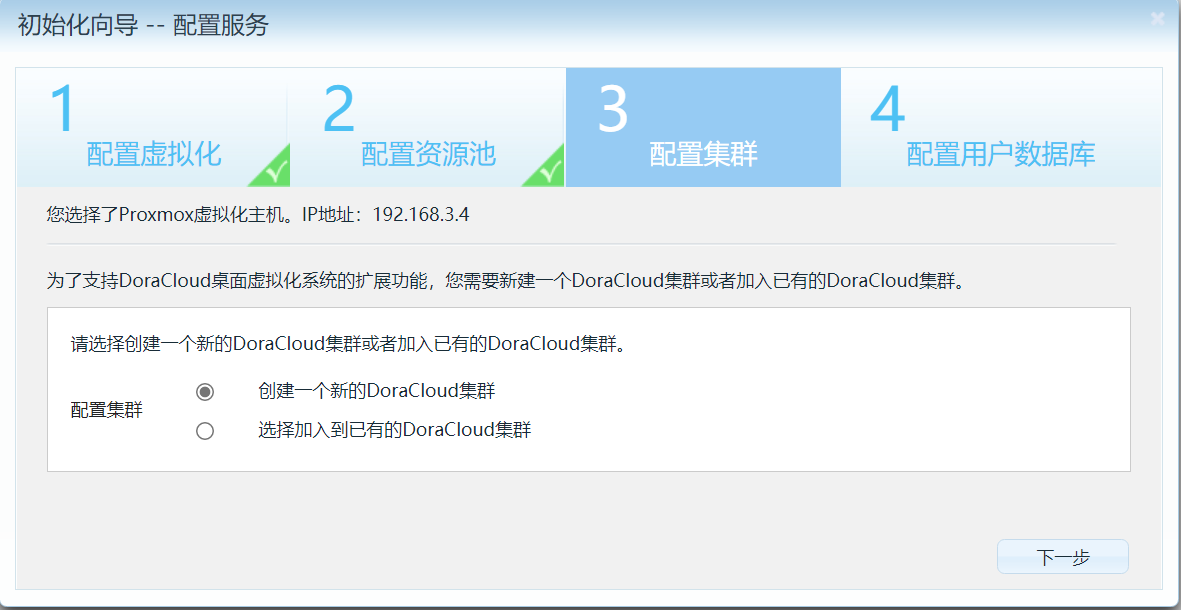
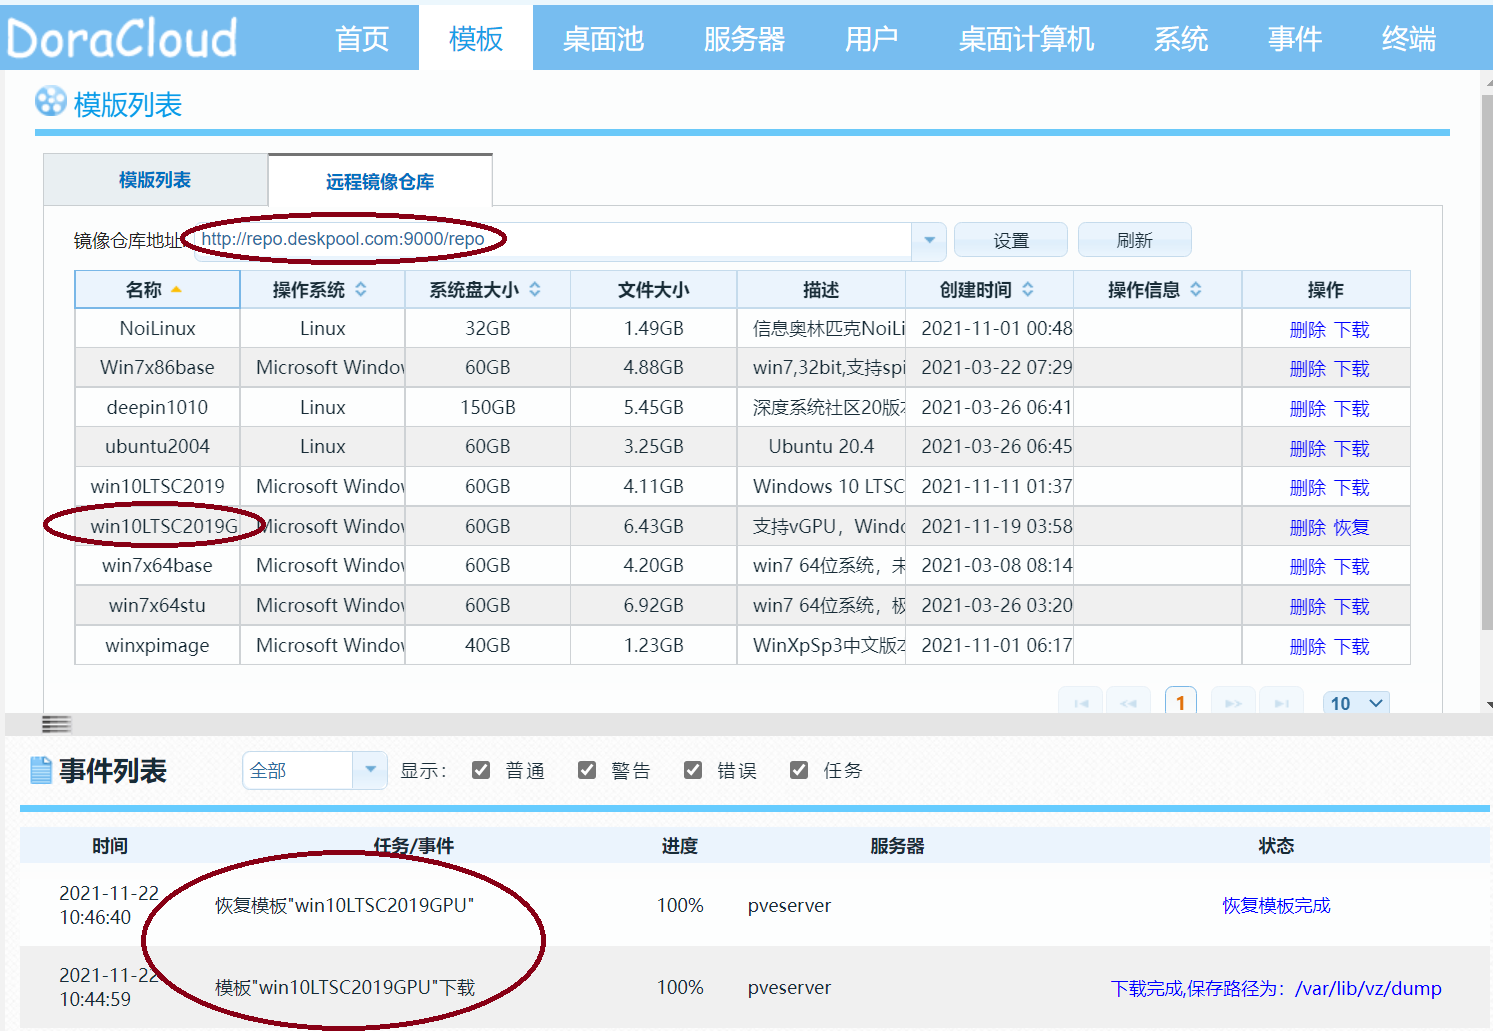
Next, we download the desktop template that supports vGPU. win10LTSC2019GPU.
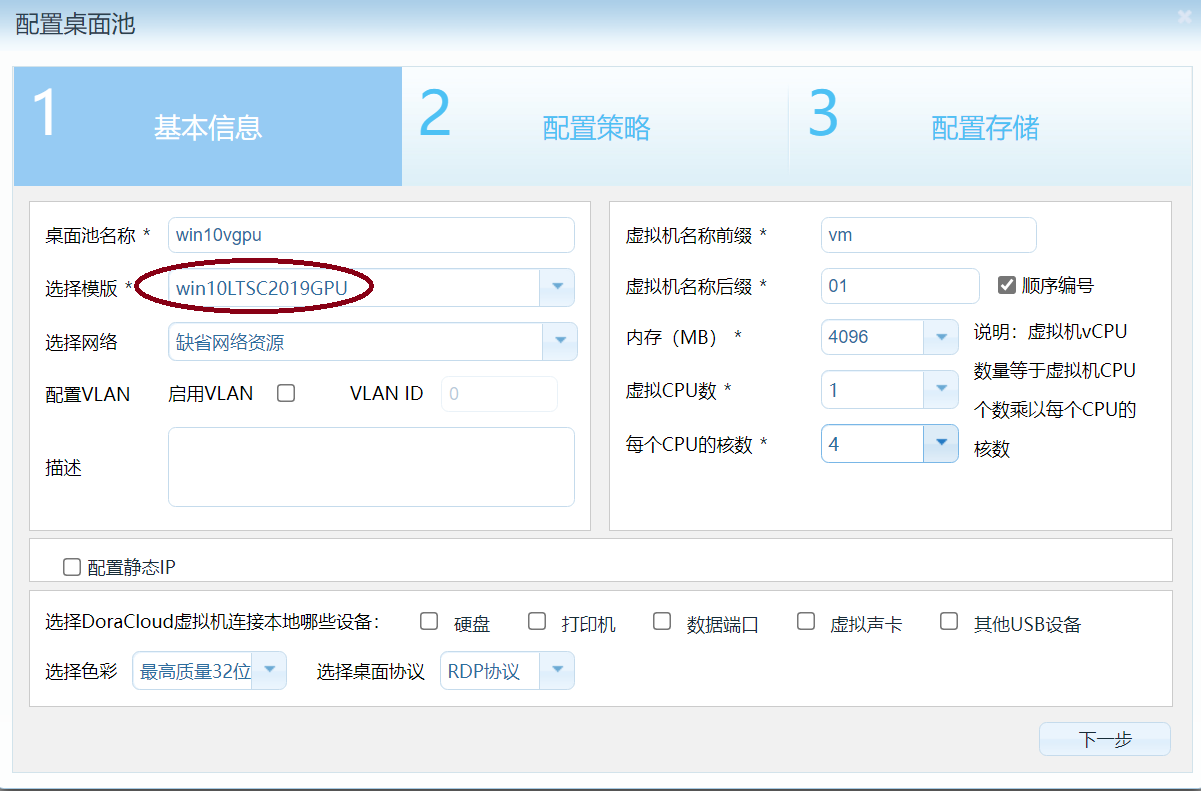
Then create a desktop pool and select the win10LTSC2019GPU template.
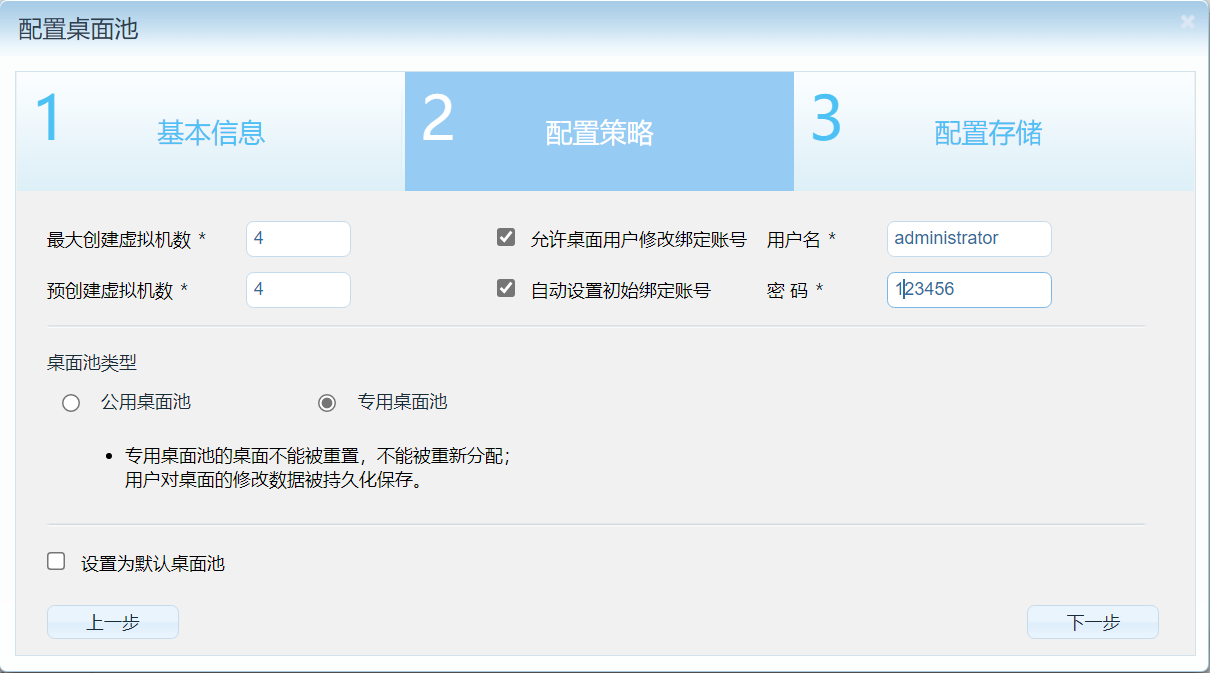
Configure the desktop pool to create 4 desktops. Then set the binding account of the desktop pool to administrator 123456 . This account is the Windows account of the windows7x64 template.
After the binding account is enabled, the terminal can recognize the binding account and log in to the desktop windows.
After the desktop is created, you can view the hardware configuration of the desktop virtual machine in PVE and confirm that the desktop virtual machine is normally configured with PCI device.
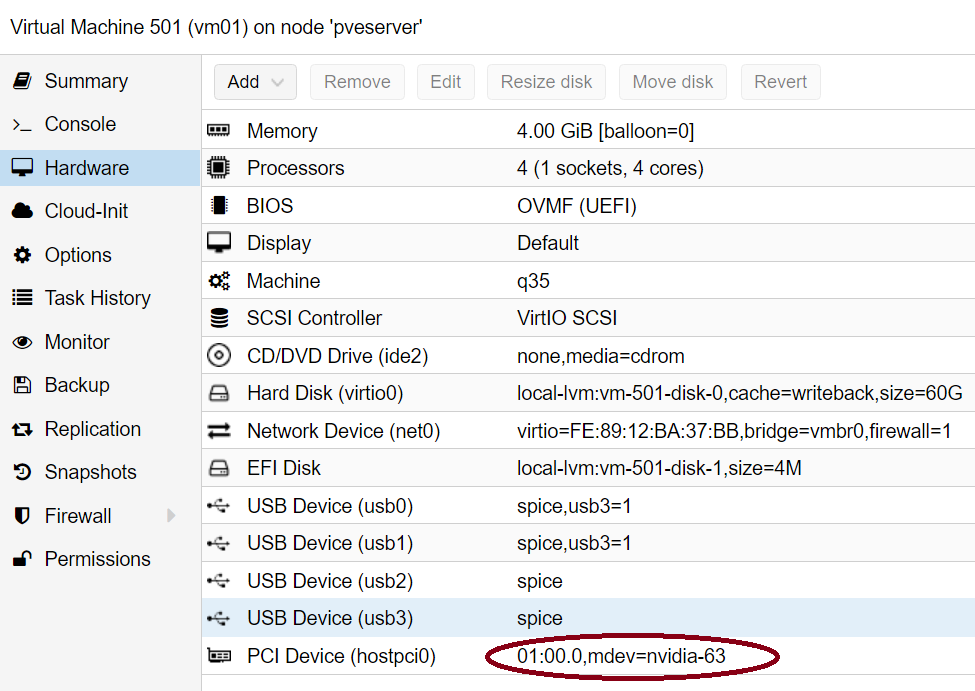
Next, go back to the DoraCloud management background, add users and assign desktop pools to users.
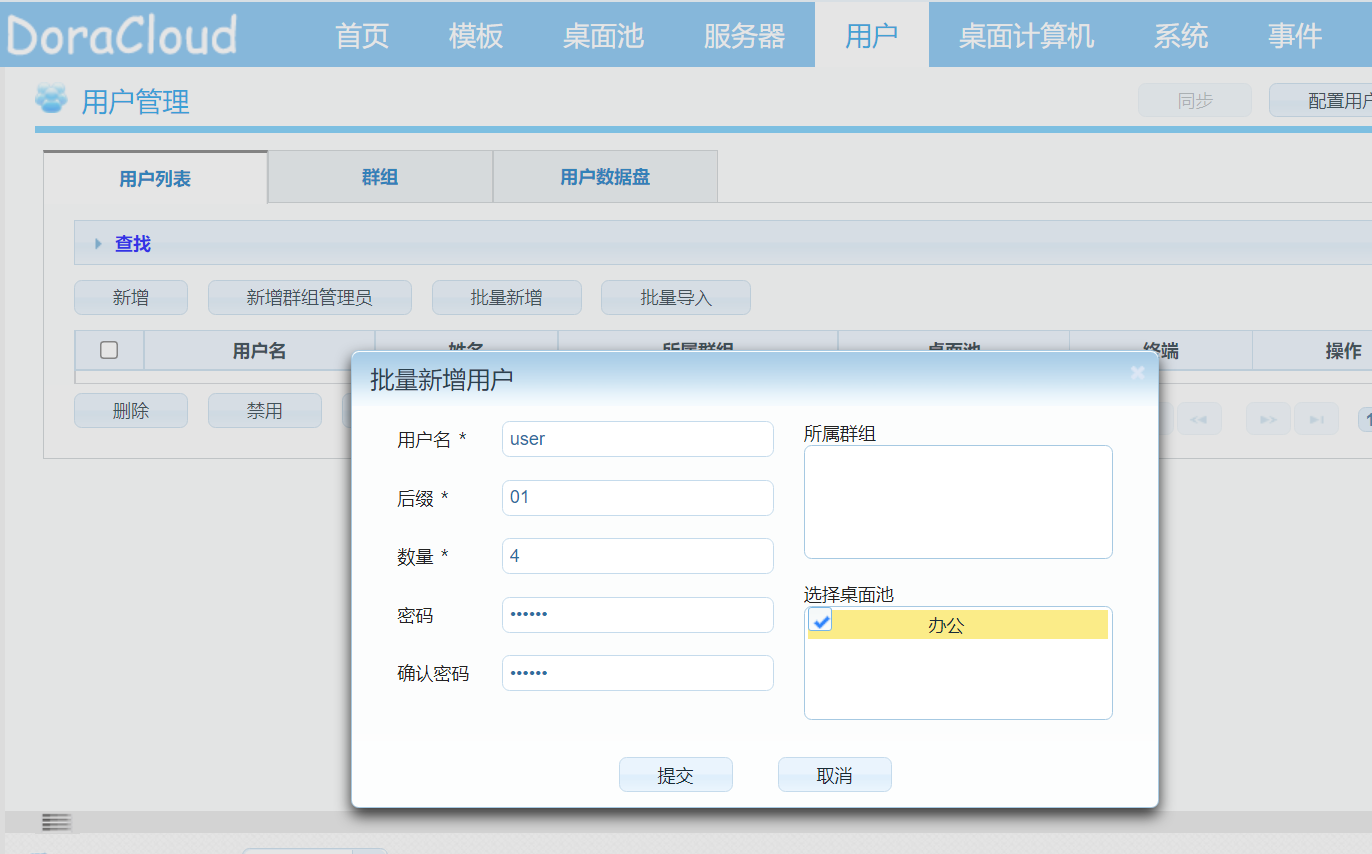
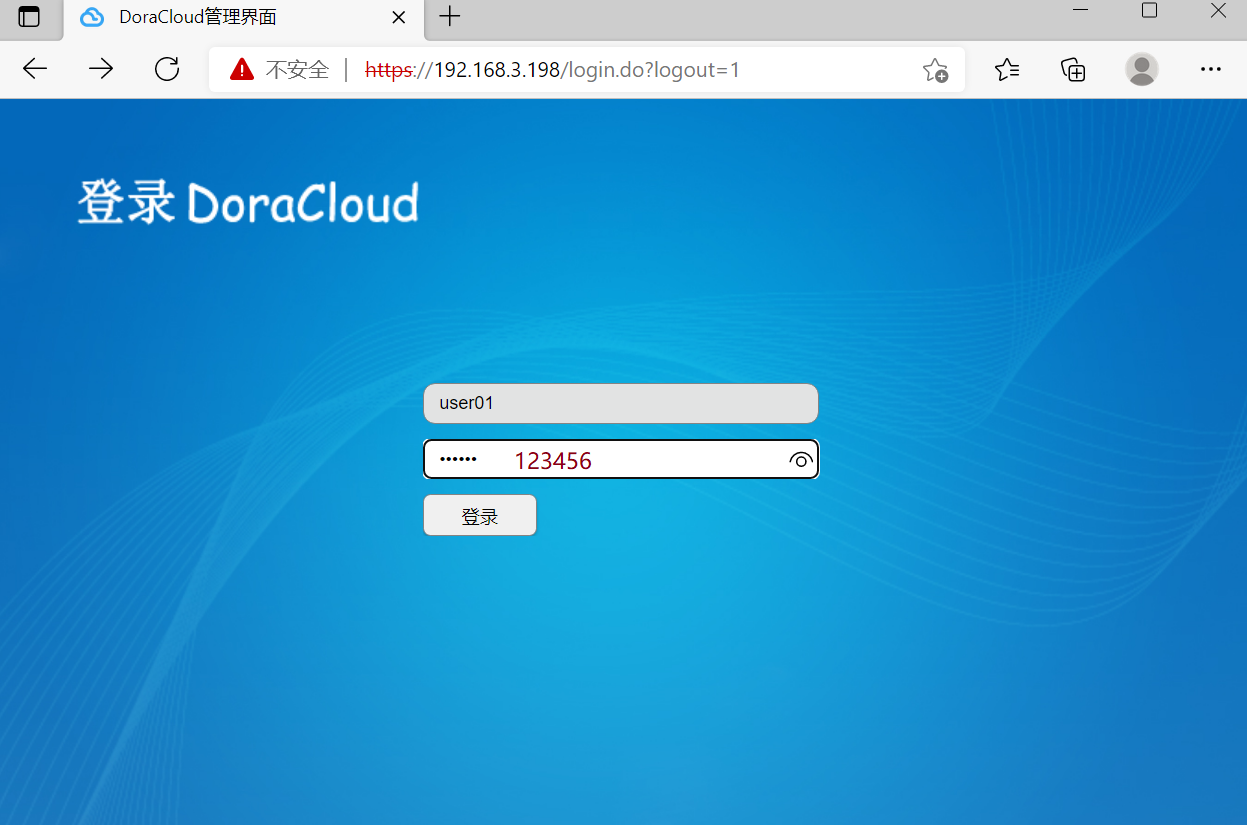
5. Log in to the desktop and verify the effect of vGPU
DoraCloud has a variety of login methods. We choose the web page to log in to DoraCloud and enter the user account user01, password 123456. Then open an RDP file and enter the administrator account administrator 123456, you can log in to the windows desktop.
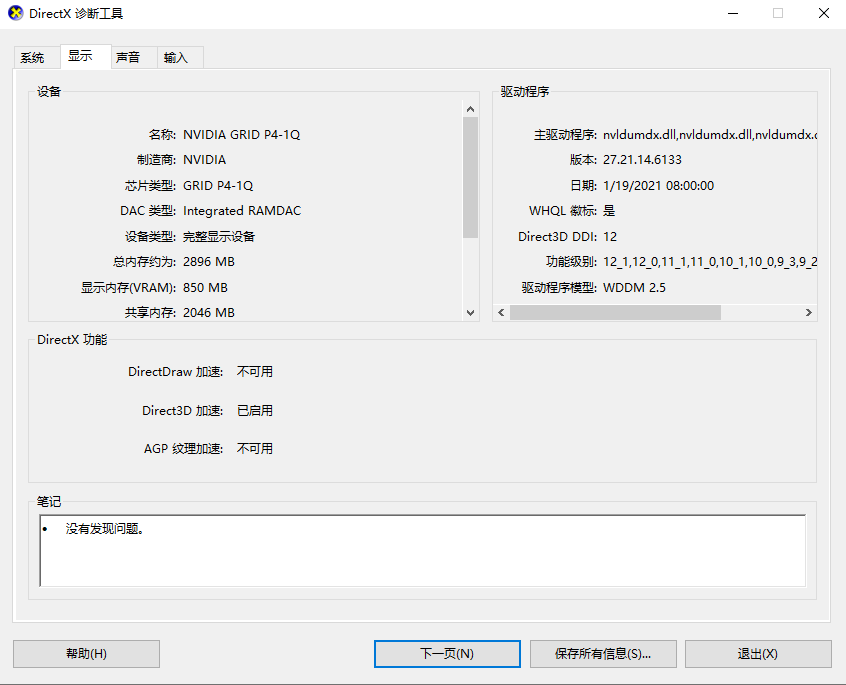
After entering the desktop, view the graphics card of the system through dxdiag, which is displayed as NVIDIA GRID P4-1Q.
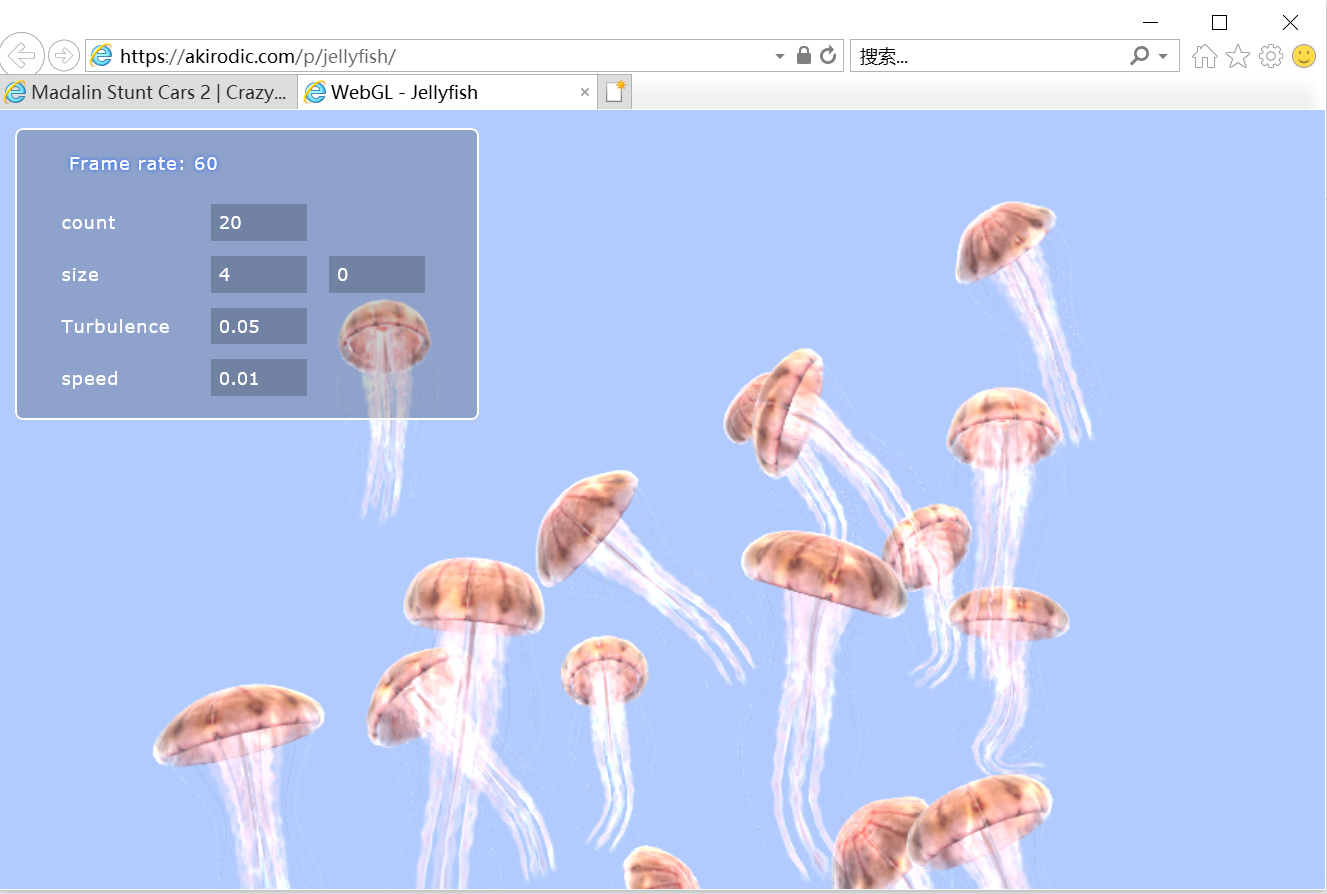
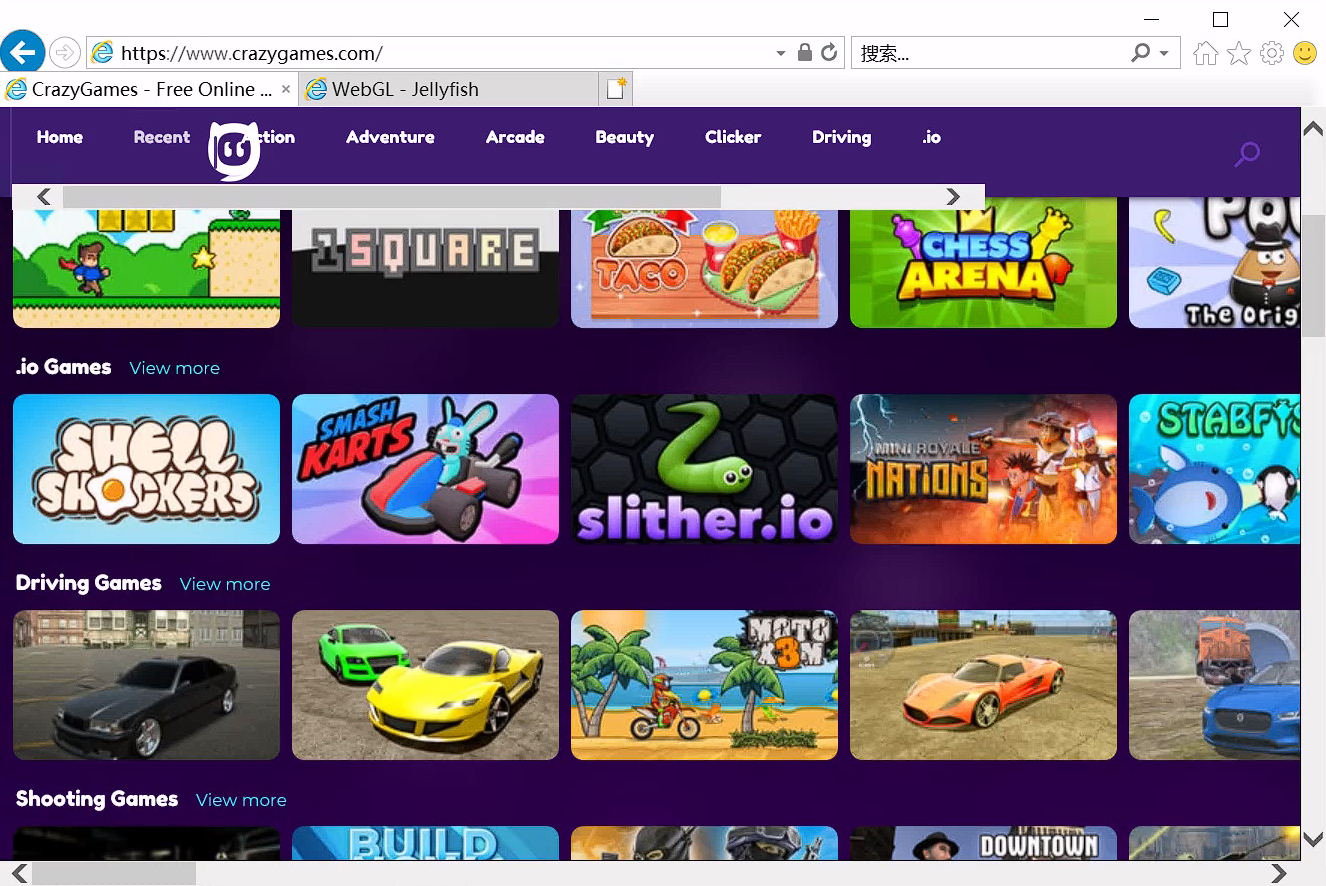
Next, you can test the 3D performance. Two websites for online testing are recommended.
Jellyfish based on WebGL https://akirodic.com/p/jellyfish/
Web game based on WebGL https://www.crazygames.com/
