SpringBootAdmin is a monitoring tool for UI beautifying and encapsulating the actor interface of Spring Boot. It can browse the basic information, detailed Health information, memory information, JVM information, garbage collection information, various configuration information (such as data source, cache list and hit rate) of all monitored Spring Boot projects in the list. It can be divided into server (Spring Boot admin server) and client (Spring Boot admin client). The data interaction between server and client is realized by http communication. The server needs to start a service separately, while the client only needs to be integrated into each micro service.
1. Getting to know SpringBootAdmin
First, we need to understand that the Spring Boot Admin application can provide the following functions for us to use:
- Display health status
- Show details
- JVM and memory metrics
- micrometer.io indicator
- Data source indicators
- Cache index
- Show internal number
- Follow and download log files
- Viewing JVM system and environment properties
- View Spring Boot configuration properties
- Publishable / env-& / refresh endpoint supporting Spring Cloud
- Easy log level management
- Interact with JMX beans
- View thread dump
- View HTTP traces
- View audit events
- View http endpoint
- View scheduled tasks
- View and delete active sessions (using spring session)
- View Flyway / Liquibase database migration
- Download heapdump
- Status change notification (via email, Slack, Hipchat, etc.)
- Event log for state changes (non persistent)
2. Build the server -- add related dependencies to the POM file
        <dependency>
            <groupId>org.springframework.boot</groupId>
            <artifactId>spring-boot-starter-security</artifactId>
        </dependency>
        <dependency>
            <groupId>org.springframework.boot</groupId>
            <artifactId>spring-boot-starter-web</artifactId>
        </dependency>
        <dependency>
            <groupId>de.codecentric</groupId>
            <artifactId>spring-boot-admin-starter-server</artifactId>
            <version>2.5.1</version>
        </dependency>
3. Modify the server application startup class
Add the @ EnableAdminServer annotation on our startup class to enable the SpringBootAdminServer server server
        <dependency>
            <groupId>org.springframework.boot</groupId>
            <artifactId>spring-boot-starter-security</artifactId>
        </dependency>
        <dependency>
            <groupId>org.springframework.boot</groupId>
            <artifactId>spring-boot-starter-web</artifactId>
        </dependency>
        <dependency>
            <groupId>de.codecentric</groupId>
            <artifactId>spring-boot-admin-starter-server</artifactId>
            <version>2.5.1</version>
        </dependency>
4. Configure security security information
Add the following configuration information in the application.properties file.
# Application port
server.port=8085
# Configure an account and password
spring.security.user.name=admin
spring.security.user.password=admin
Initialize the SecuritySecureConfig configuration (if it is not initialized, the login page with SpringBootAdmin Logo cannot be seen)
    @Configuration
    public static class SecuritySecureConfig extends WebSecurityConfigurerAdapter {
        private final String adminContextPath;

        public SecuritySecureConfig(AdminServerProperties adminServerProperties) {
            this.adminContextPath = adminServerProperties.getContextPath();
        }

        @Override
        protected void configure(HttpSecurity http) throws Exception {
            SavedRequestAwareAuthenticationSuccessHandler successHandler = new SavedRequestAwareAuthenticationSuccessHandler();
            successHandler.setTargetUrlParameter("redirectTo");

            http.authorizeRequests()
                    .antMatchers(adminContextPath + "/assets/**").permitAll()
                    .antMatchers(adminContextPath + "/login").permitAll()
                    .anyRequest().authenticated()
                    .and()
                    .formLogin().loginPage(adminContextPath + "/login").successHandler(successHandler).and()
                    .logout().logoutUrl(adminContextPath + "/logout").and()
                    .httpBasic().and()
                    .csrf().disable();
        }
    }
5. Start the server
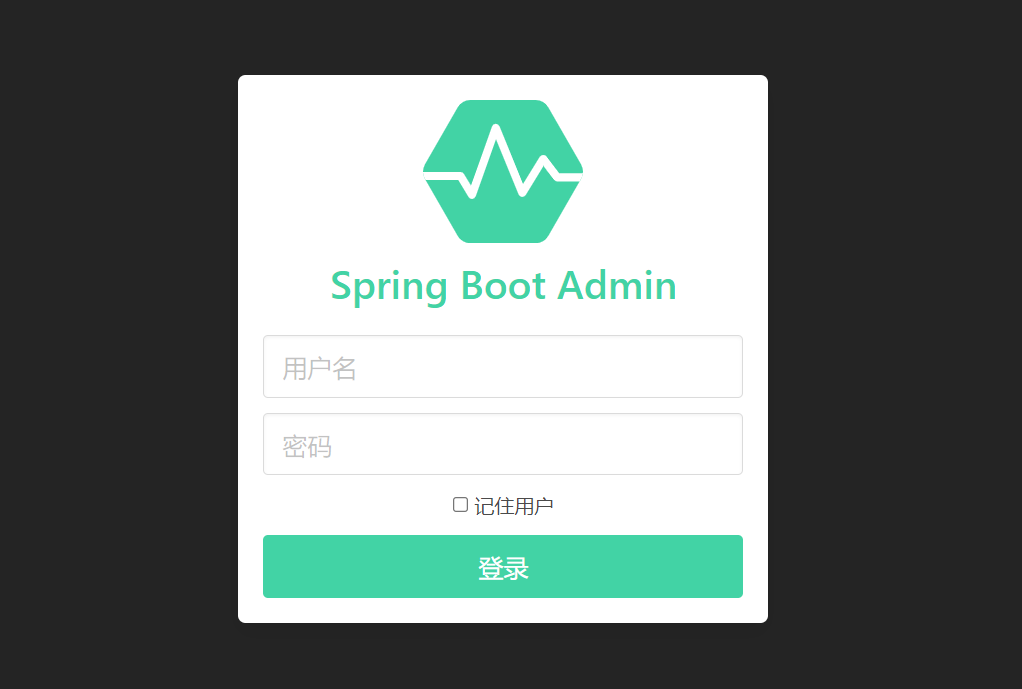
After the service starts, enter the following address in the browser. We can see the corresponding login page, and the corresponding account password is configured in the properties file.
http://127.0.0.1:8085/login
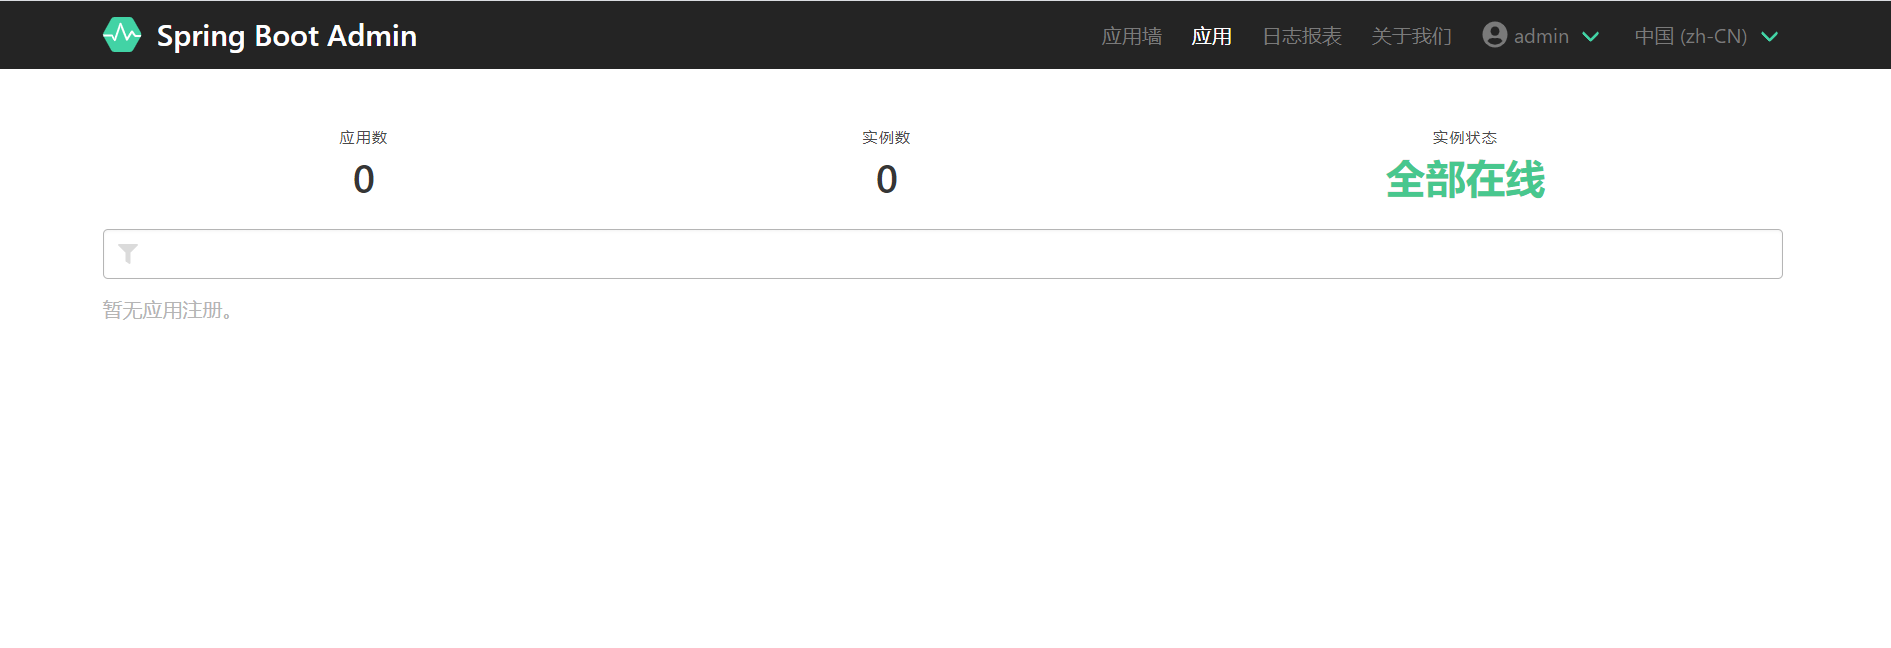
After logging in, you can see that the number of applications in the list is empty. At this time, we need to start building our Client.
6. Build client
Add the following dependency information to the pom file. (note that the version should be consistent with the server side)
<!-- SpringBootAdmin Control desk -->
        <dependency>
            <groupId>de.codecentric</groupId>
            <artifactId>spring-boot-admin-starter-client</artifactId>
            <version>2.5.1</version>
        </dependency>
Modify the properties file
spring.boot.admin.client.url=http://127.0.0.1:8085
spring.boot.admin.client.username=admin
spring.boot.admin.client.password=admin
spring.application.name=spring-boot-application
management.endpoints.web.exposure.include=*
spring.boot.admin.client.url points to the project interface path of the above server. management.endpoints.web.exposure.include means that all ports are exposed and can be monitored. spring.application.name indicates the display name of the project on spring boot admin. spring.boot.admin.client.username and password are the set user name and password. It should be noted here that if security is not integrated in admin server, you can register without configuring user name and password, which can be monitored on the server, but if security is integrated in admin server, You need to ensure that the user name configured in the client is consistent with the user name and password configured in the server.
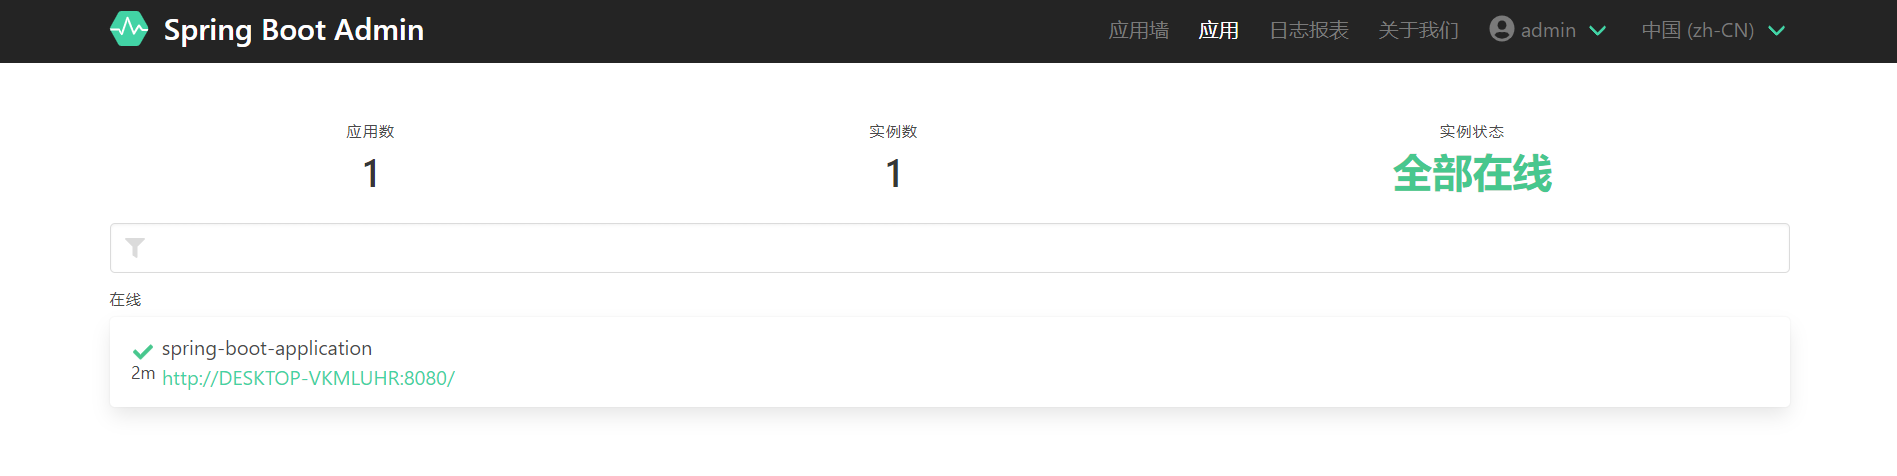
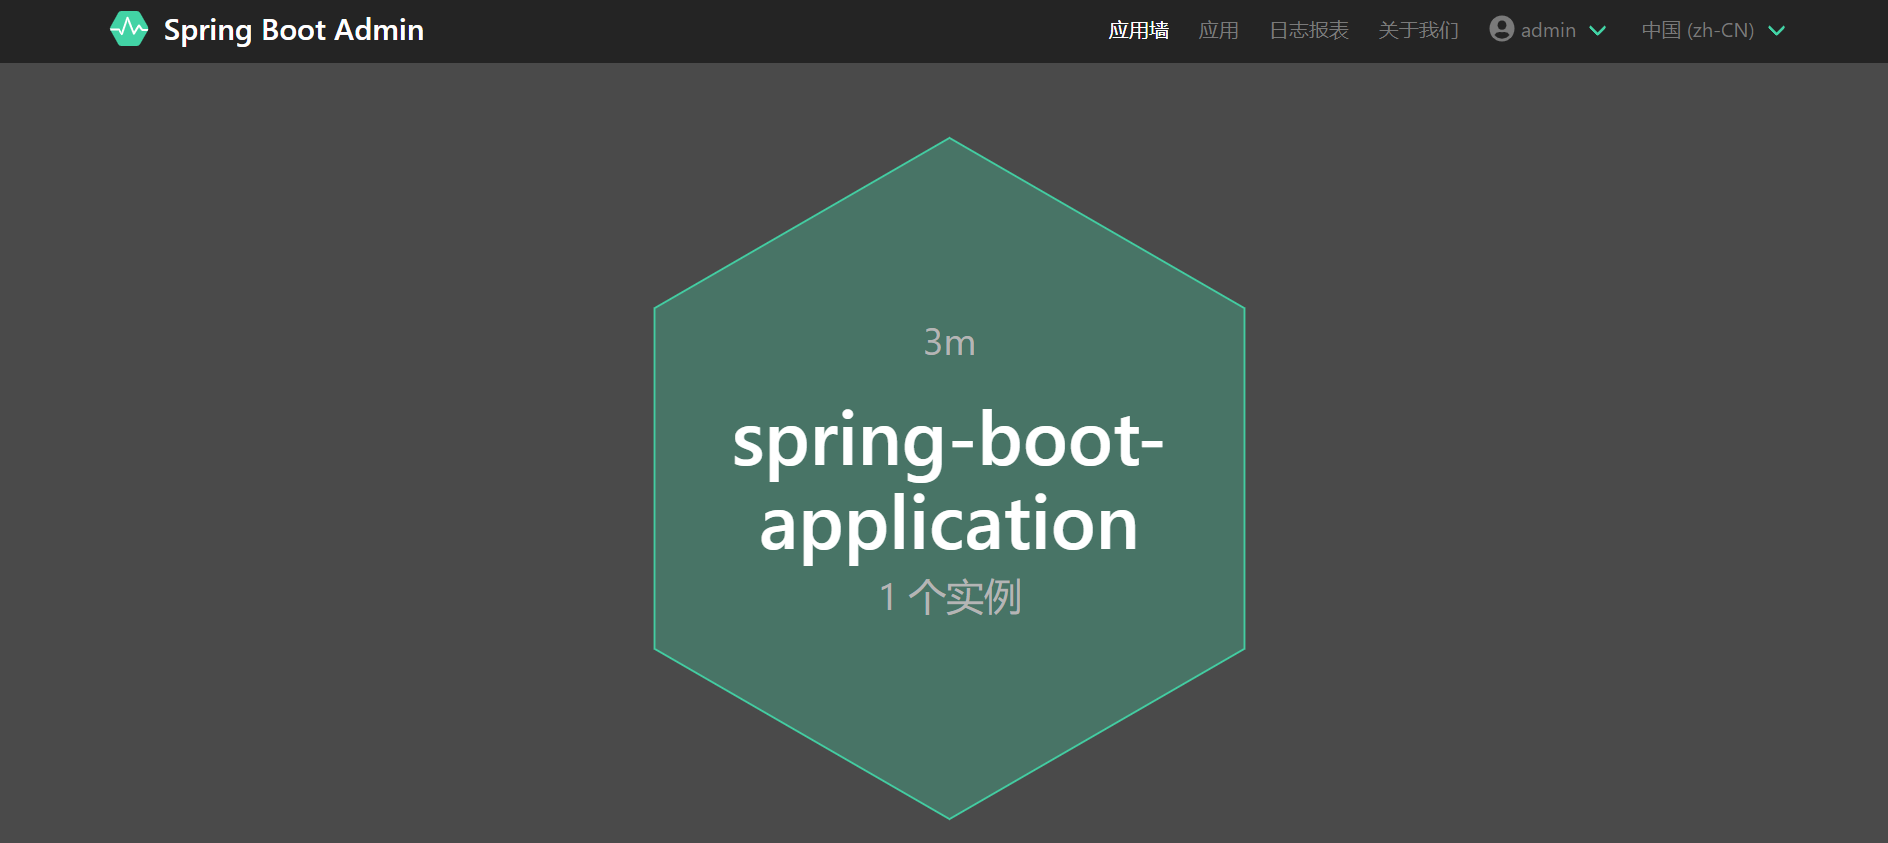

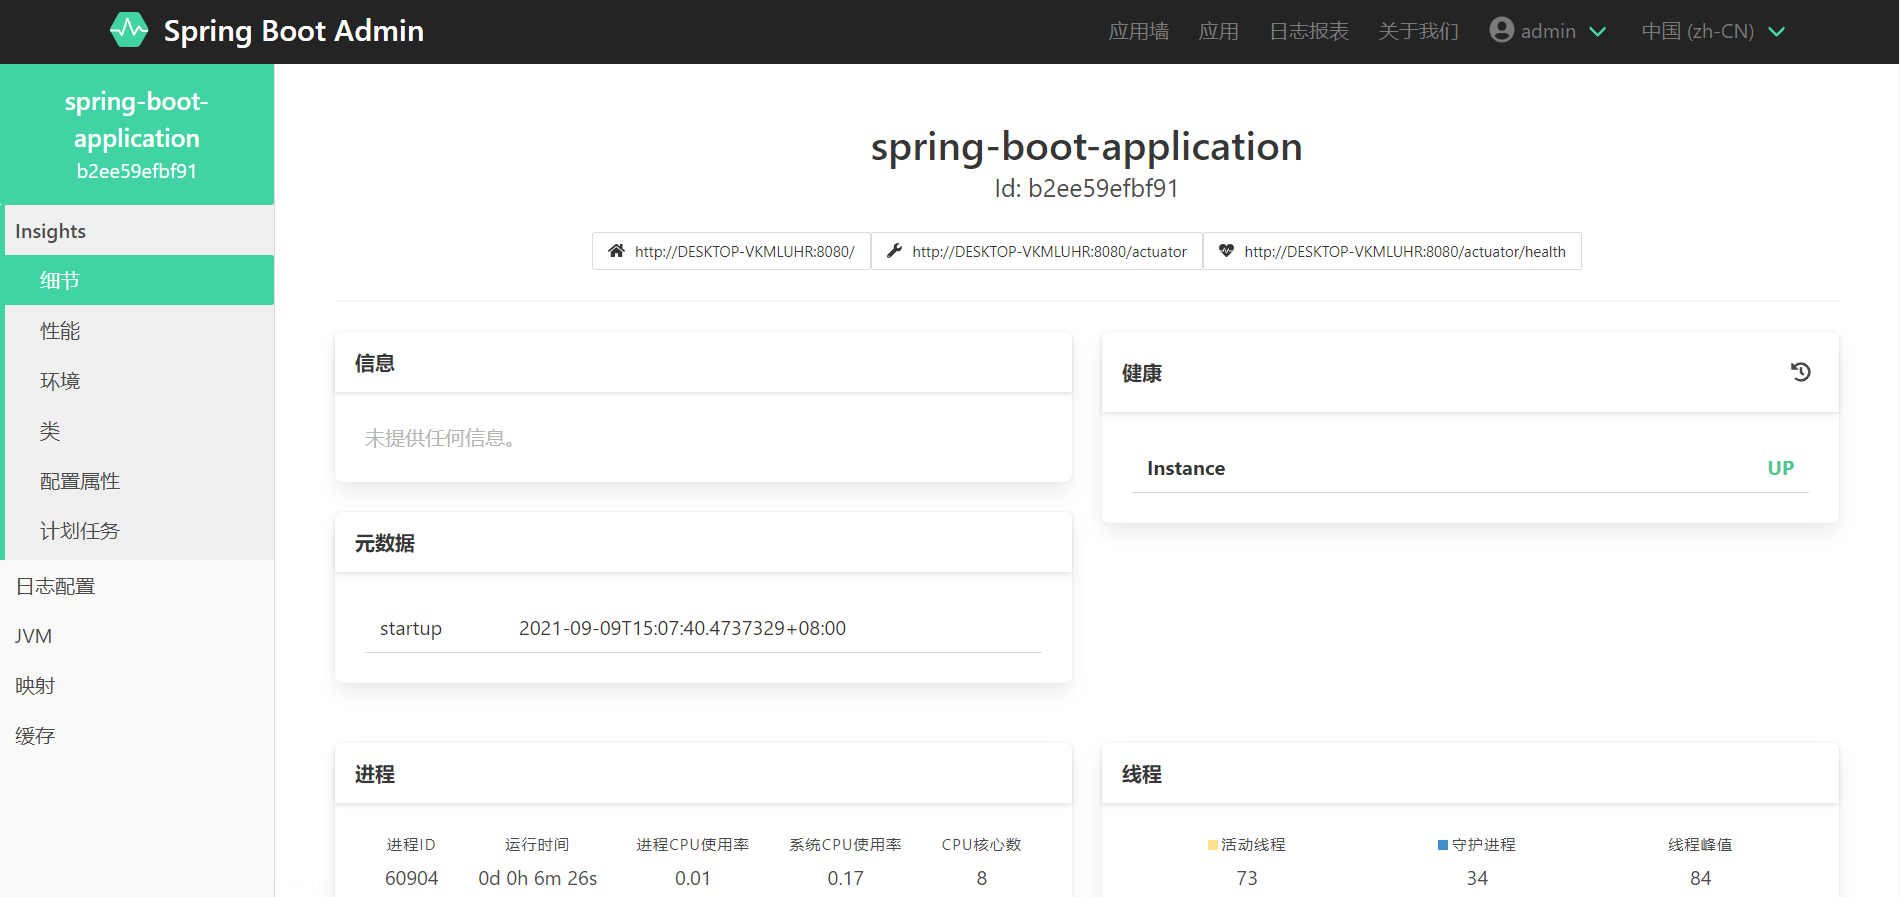
After the client is started, it will automatically register with our server server. We can find the corresponding service through the server server application wall to view the detailed index information. (aside: during this period, the blogger encountered that the server could not collect the corresponding indicator information after the client was started. The reason is that the client has configured security and did not release the corresponding probe interface. If the client has security, you need to release the following two interface information in the security configuration.)
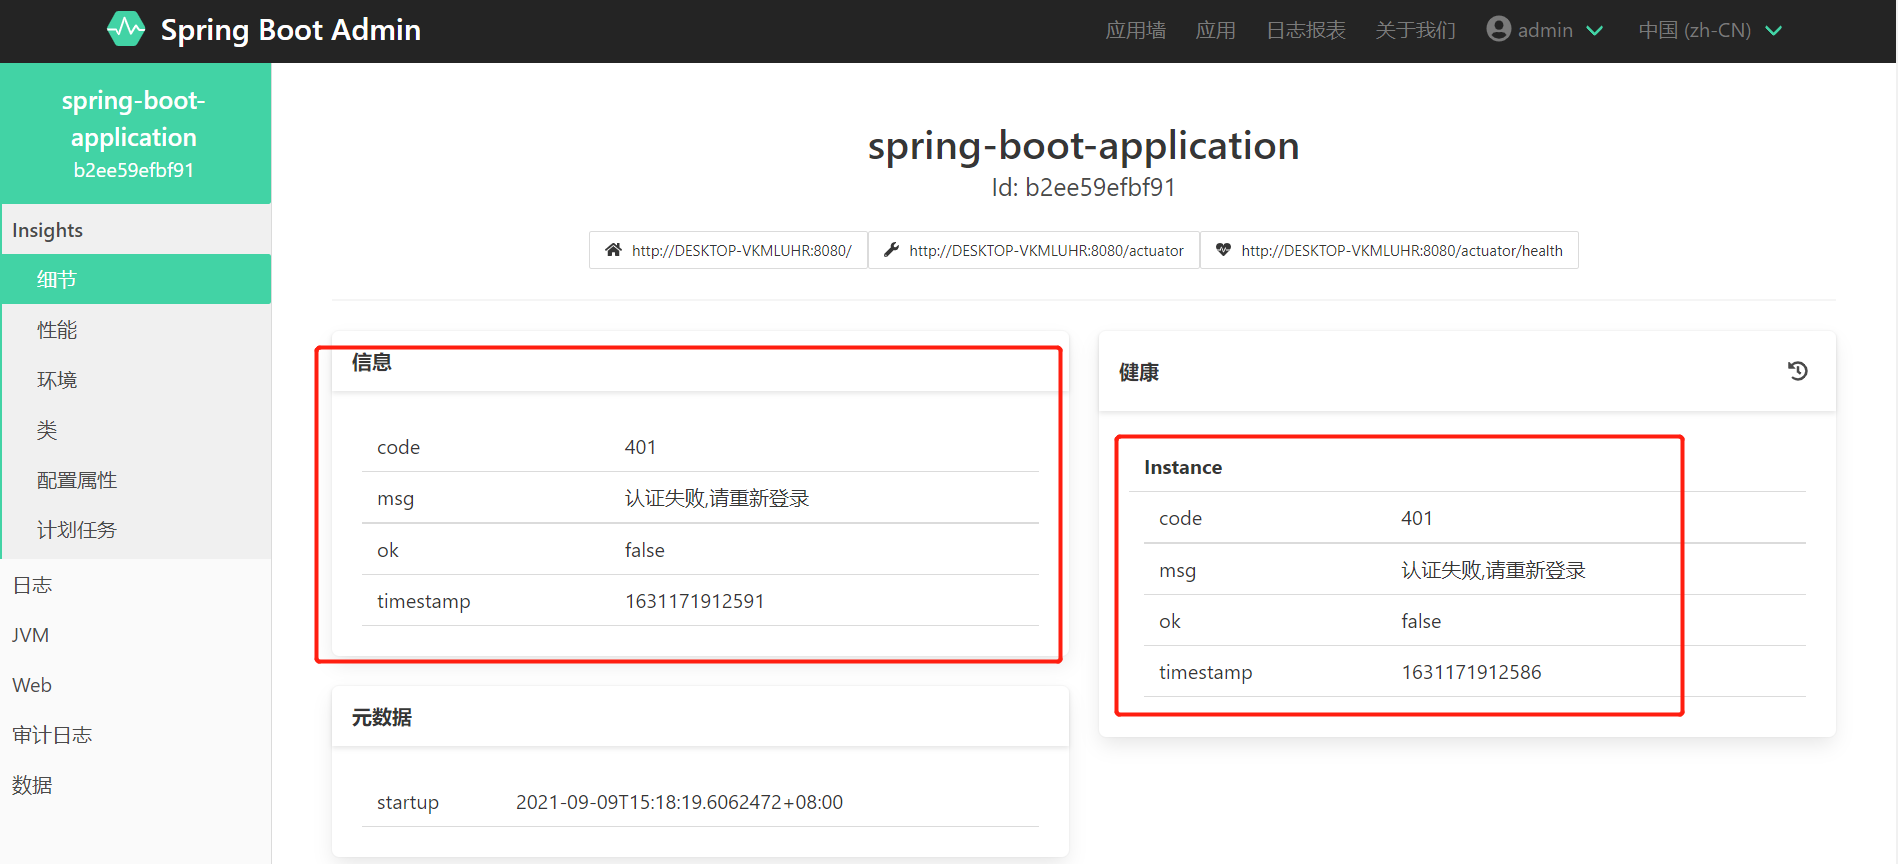

// The corresponding anonymous + authorized can be accessed
                .antMatchers("/actuator/**","/instances").permitAll()