Practice compiling and installing the famous C/C + + image processing open source software library Opencv3.x under the Ubuntu 16 / 18 system.
Preface (installation steps of opencv)
Reference article: https://blog.csdn.net/forever_008/article/details/103625637
According to step by step, problems can be solved by Baidu
Tip: opencv has been installed by default
1, Image chapter
- Create a new folder code (name is optional) in the home directory, and save a picture in this folder, named qiqi.jpg here
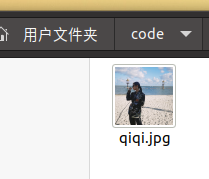
- Create files in the same directory
gedit test1.cpp
- The procedure of test1.cpp is as follows:
#include <opencv2/highgui.hpp>
#include <opencv2/opencv.hpp>

using namespace cv;
using namespace std;
int main(int argc, char** argv)
{
	CvPoint center;
    double scale = -3;

	IplImage* image = cvLoadImage("qiqi.jpg");//Note that you can fill in the name of your picture here
	argc == 2? cvLoadImage(argv[1]) : 0;

	cvShowImage("Image", image);


	if (!image) return -1; 	center = cvPoint(image->width / 2, image->height / 2);
	for (int i = 0;i<image->height;i++)
		for (int j = 0;j<image->width;j++) {
			double dx = (double)(j - center.x) / center.x;
			double dy = (double)(i - center.y) / center.y;
			double weight = exp((dx*dx + dy*dy)*scale);
			uchar* ptr = &CV_IMAGE_ELEM(image, uchar, i, j * 3);
			ptr[0] = cvRound(ptr[0] * weight);
			ptr[1] = cvRound(ptr[1] * weight);
			ptr[2] = cvRound(ptr[2] * weight);
		}

	Mat src;Mat dst;
	src = cvarrToMat(image);
	cv::imwrite("test.png", src);

    cvNamedWindow("test",1);  	imshow("test", src);
	 cvWaitKey();
	 return 0;
}
- After saving the program, open the terminal compilation file
gcc compiler: gcc + file name + - o + output file stream name + ` support package
However, the interface module needs to be compiled with C + + compiler, so the format is
g + + file name - o output file stream name ` support package
The command is as follows:
g++ test1.cpp -o test1 `pkg-config --cflags --libs opencv`
The following figure shows successful calibration:

- Execute program. / test1

- Result display
We can see that a new test.png is generated next to qiqi.jpg
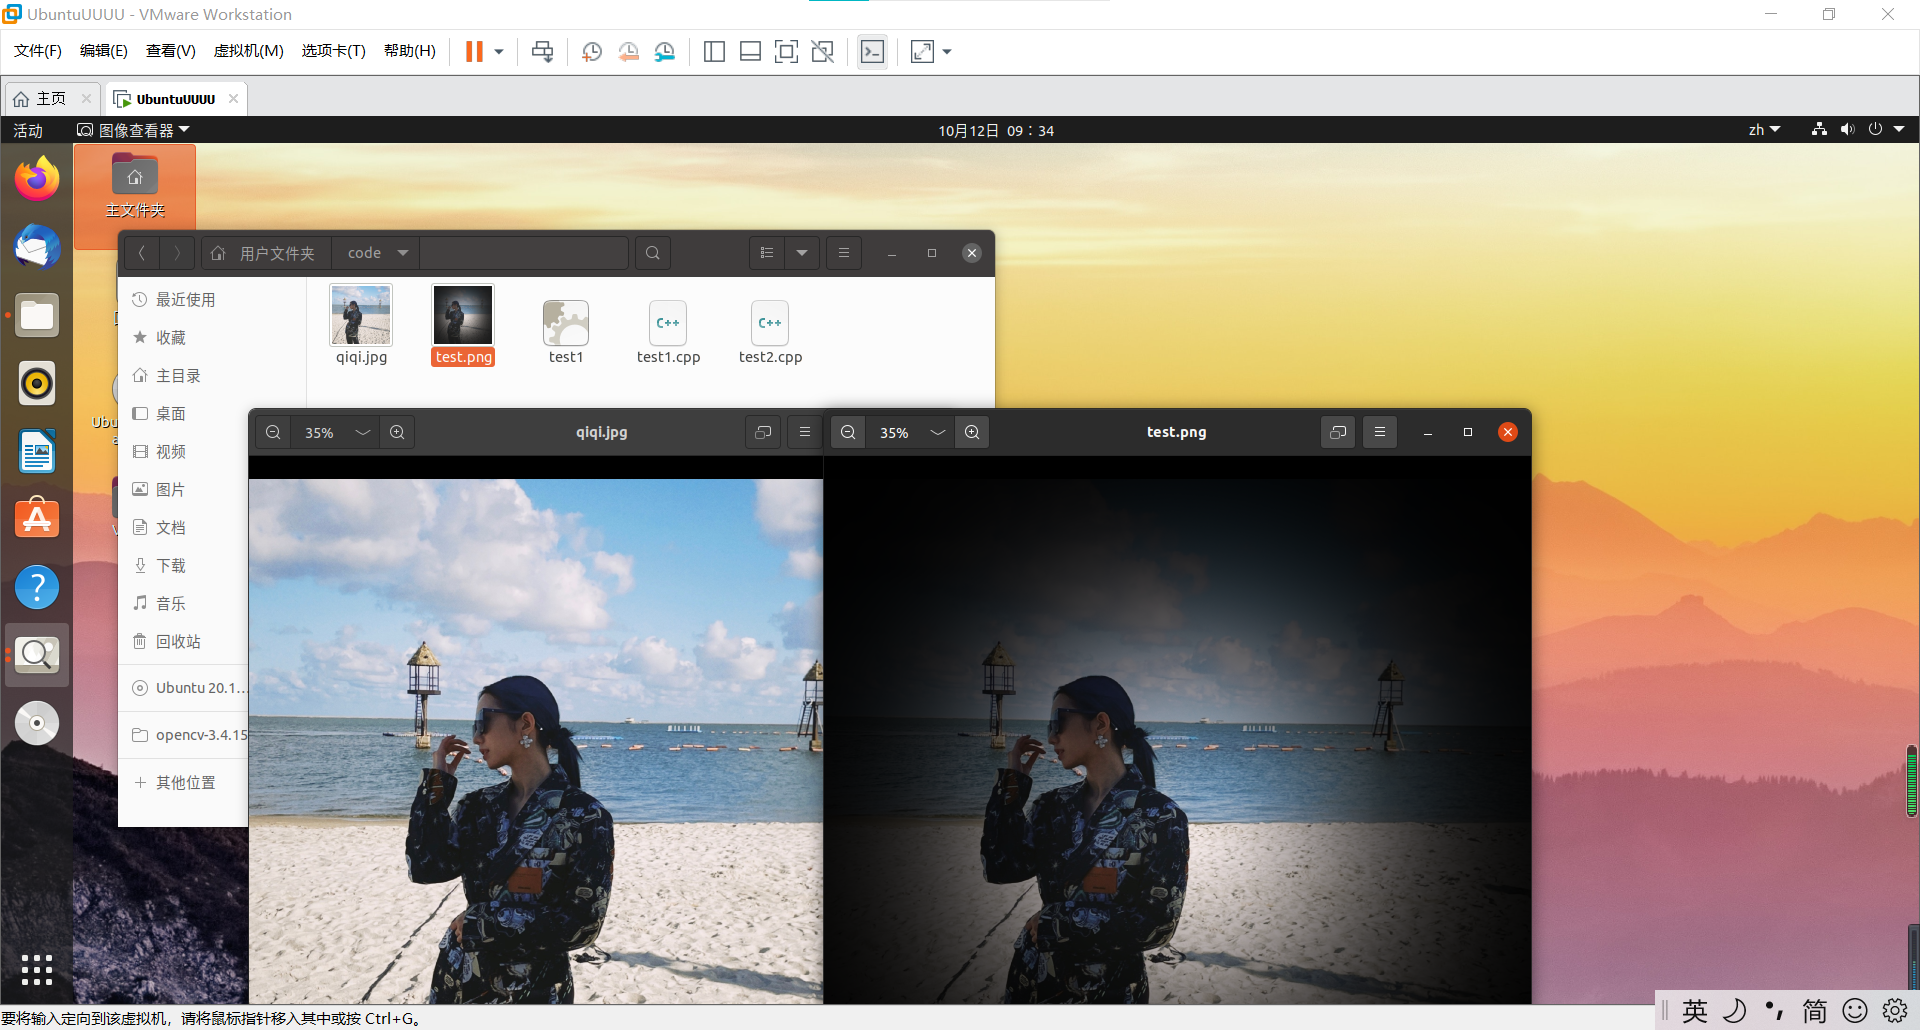
Possible errors and solutions during the experiment:
1. Be sure to install the opencv version, otherwise the following errors may occur if the experimental steps do not match
error: 'cvLoadImage' was not declared in this scope
I installed opencv.3.4.14.zip, and the previous version of 4.X.X will have errors
2. The following errors are caused by problems in the opencv library. Refer to the following for solutions: https://www.lagou.com/lgeduarticle/73924.html
error while loading shared libraries: libopencv_highgui.so.3.4: cannot open shared object file
2, Video
2.1 open the video and read the video frame
- Save a video in this directory. For specific video download methods, refer to: https://blog.csdn.net/weixin_46285416/article/details/117905294
I saved see.mp4

- Write test2.cpp program
gedit test2.cpp
The code is as follows:
#include <opencv2/opencv.hpp>
using namespace cv;
int main()
{
	//Read video from camera
	VideoCapture capture("see.mp4");//Note that the name here is the name of your video
	//Cycle through each frame
	while(1){
		Mat frame;//Define a Mat variable to store the image of each frame
		capture >> frame;//Read current frame
		if(frame.empty())//Play finished, exit
			break;
		imshow("Read video frame",frame);//Displays the current frame
		waitKey(30);//Cover up 30ms
	}
	system("pause");
	return 0;
}
Code explanation:
- If the statement: videocapture (0), and the subsequent parameter is set to 0, the video will be read from the camera and each frame will be displayed circularly; If it is set to the file name of a video, such as man.mp4, the video will be read and displayed circularly for each frame.
- The Mat data structure in the while loop is actually a dot matrix, corresponding to each point on the image, and the set of points forms a frame image
- Statement: waitKey(30). The parameter unit in the statement is MS, that is, the interval of each frame is 30 ms. this statement cannot be deleted. Otherwise, an error will be executed and the video cannot be played or recorded.
- Compile test2.cpp program
g++ test2.cpp -o test2 `pkg-config --cflags --libs opencv`
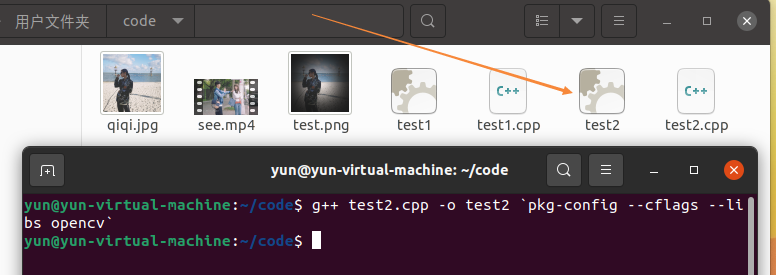
- Run. / test2 and the results are as follows:
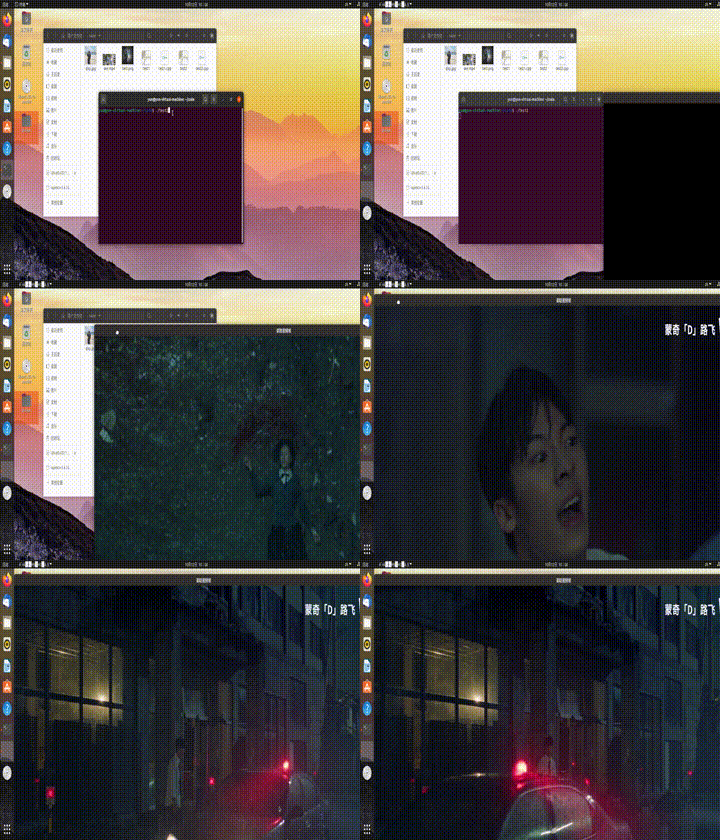
2.2 recording video
- Create a test3.cpp file
gedit test3.cpp
The program code of test3.cpp is as follows:
/*********************************************************************
Turn on the computer camera, control the video recording with a blank space, and ESC exits and saves the video RecordVideo.avi
*********************************************************************/
#include<iostream>
#include <opencv2/opencv.hpp>
#include<opencv2/core/core.hpp>
#include<opencv2/highgui/highgui.hpp>
using namespace cv;
using namespace std;

int main()
{
	//Turn on the computer camera
	VideoCapture cap(0);
	if (!cap.isOpened())
	{
		cout << "error" << endl;
		waitKey(0);
		return 0;
	}

	//Get the resolution of cap
	int w = static_cast<int>(cap.get(CV_CAP_PROP_FRAME_WIDTH));
	int h = static_cast<int>(cap.get(CV_CAP_PROP_FRAME_HEIGHT));
	Size videoSize(w, h);
	VideoWriter writer("RecordVideo.avi", CV_FOURCC('M', 'J', 'P', 'G'), 25, videoSize);

	Mat frame;
	int key;//Record keyboard keys
	char startOrStop = 1;//0 starts recording video; 1 end recording video
	char flag = 0;//Recording flag 0 - not recording; 1 - recording

	while (1)
	{
		cap >> frame;
		key = waitKey(100);
		if (key == 32)//Press the space to start recording and pause recording to switch back and forth
		{
			startOrStop = 1 - startOrStop;
			if (startOrStop == 0)
			{
				flag = 1;
			}
		}
		if (key == 27)//Press ESC to exit the whole program and save the video file to disk
		{
			break;
		}

		if (startOrStop == 0 && flag==1)
		{
			writer << frame;
			cout << "recording" << endl;
		}
		else if (startOrStop == 1)
		{
			flag = 0;
			cout << "end recording" << endl;

		}
		imshow("picture", frame);
	}
	cap.release();
	writer.release();
	destroyAllWindows();
	return 0;
}
- Program for compiling test3.cpp
g++ test3.cpp -o test3 `pkg-config --cflags --libs opencv`
- Run the program and the results are as follows
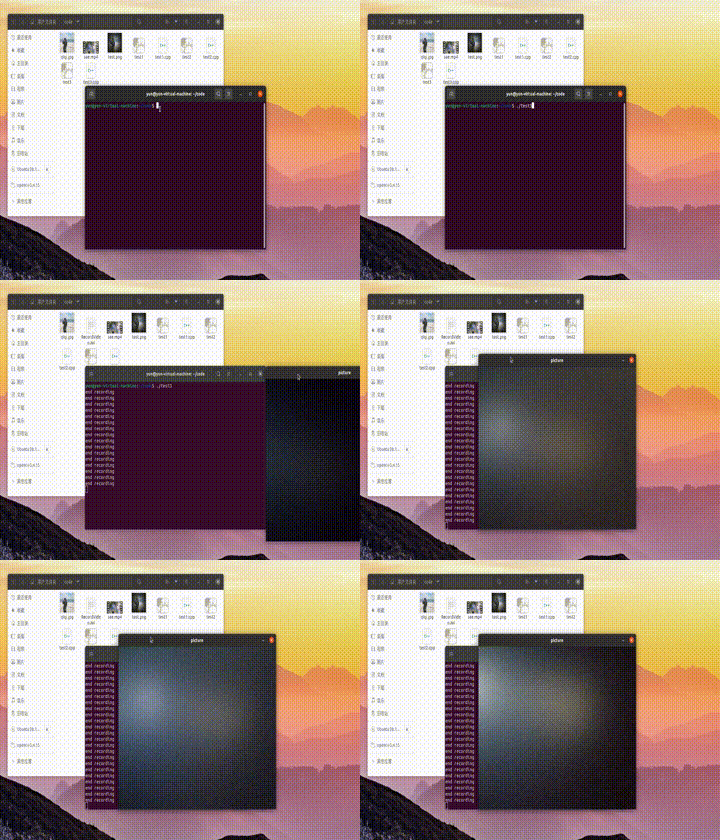
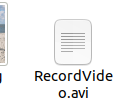
In this process, an. avi file is generated, and the terminal constantly generates frames
3, Summary
In the process of realizing the function of opencv, we have encountered many problems. We have experienced reinstallation, error checking and error correction step by step, so we can have the current results. When we encounter problems and then solve them, it is also the only way we should go.
Reference article:
https://blog.csdn.net/ssj925319/article/details/109231145
https://mooc1.chaoxing.com/ueditorupload/read