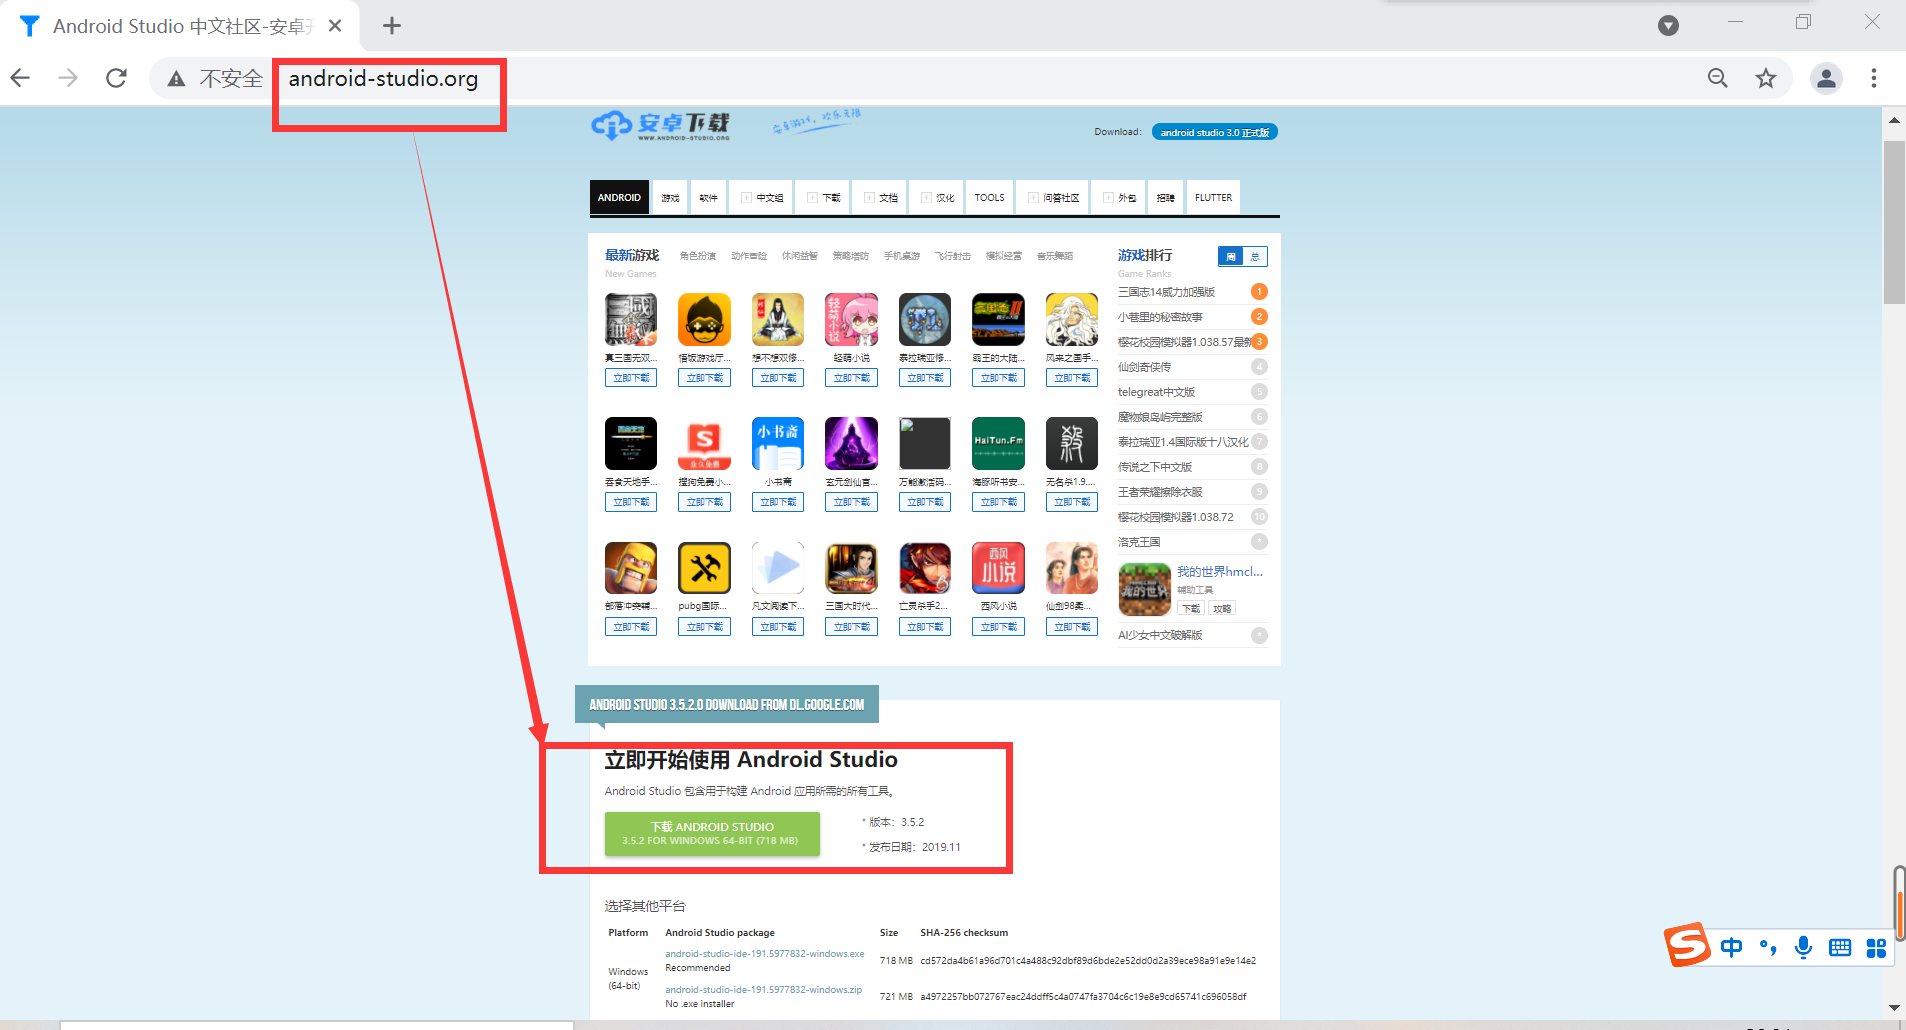
1. Download Android Studio
Official website: http://www.android-studio.org
2. Right click to run the downloaded installer as an administrator, select the installation path, and go all the way to Next.
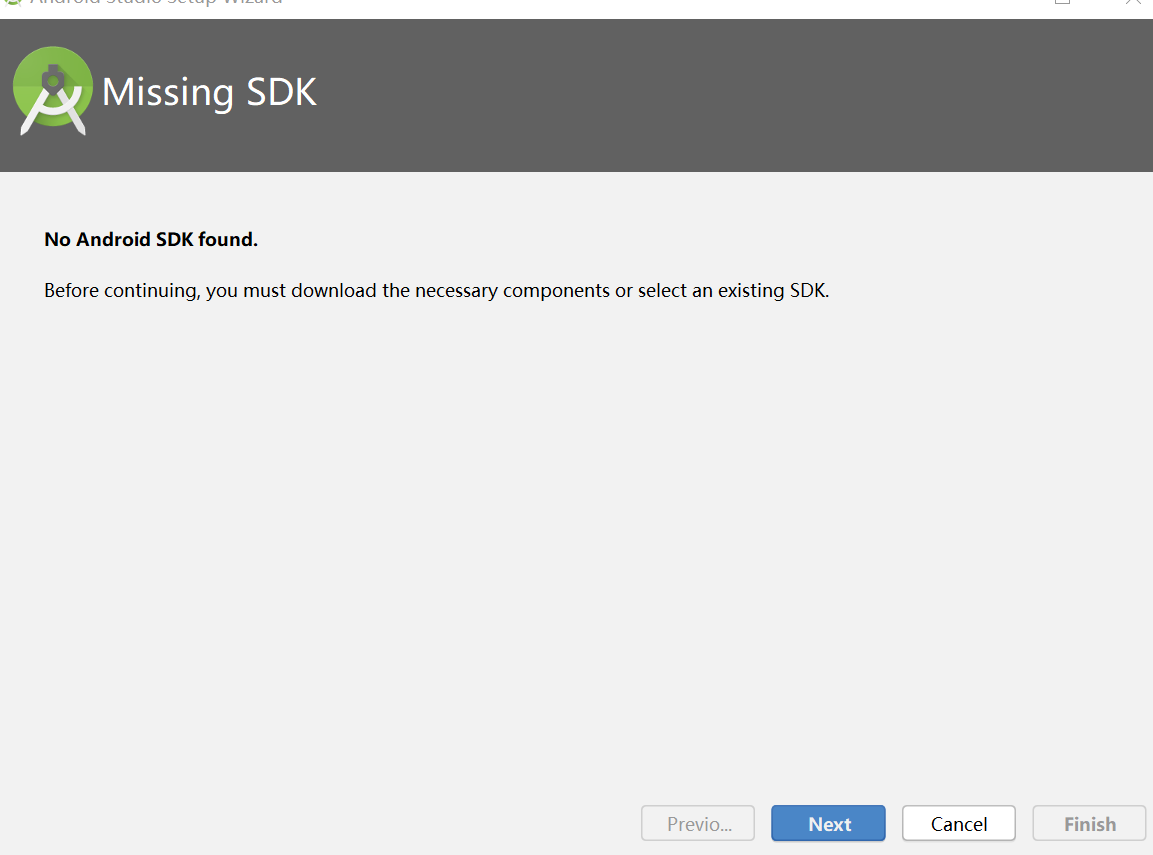
3. Error message when opening for the first time: unable to access Android SDK add on list
Reason: after the Android SDK is started, it will detect whether there is an Android SDK in the default path. If not, the above error will be reported.
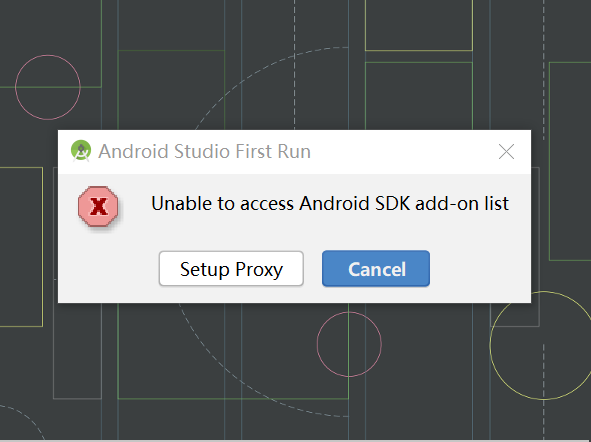
Solution: 1. Actively set the SDK: if the machine has an Android SDK, you can click cancel to skip, and manually select the local SDK directory in the next interface. 2. Skip detection: in the installation directory of Android Studio, find \ bin\idea.properties and add disable.android.first.run=true at the end of the line, indicating that the SDK will not be detected for the first time.
The text here refers to the original link: https://blog.csdn.net/u010358168/article/details/81535307/
Here, I choose Cancel directly, and then download the SDK
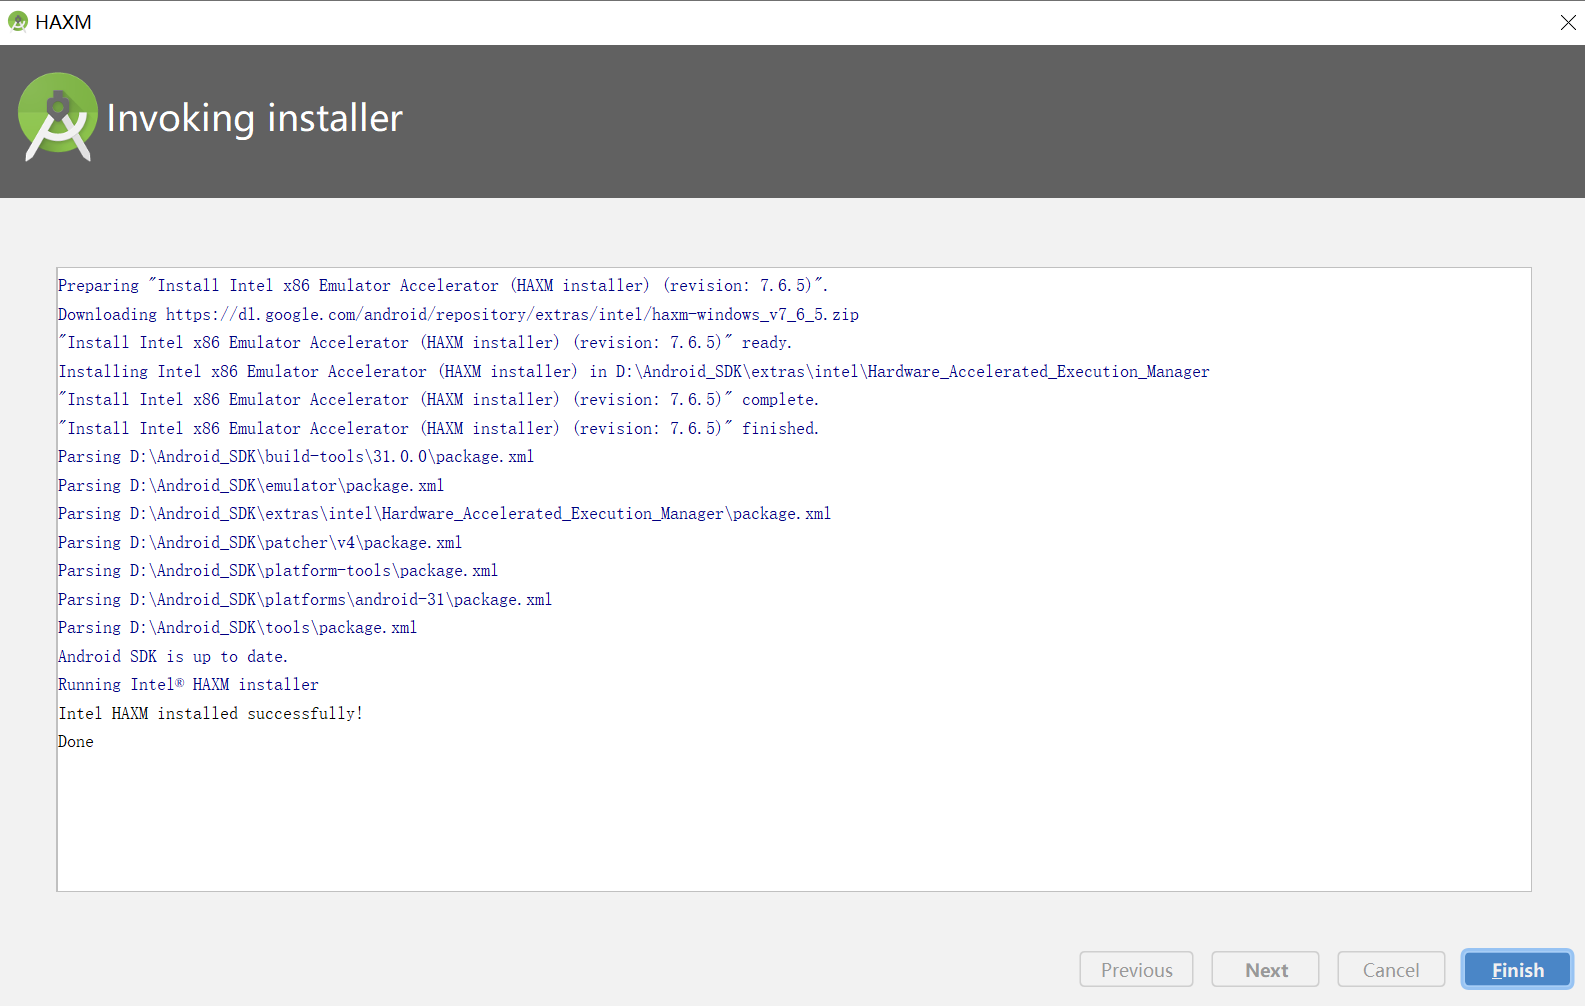
Download after selecting the path:
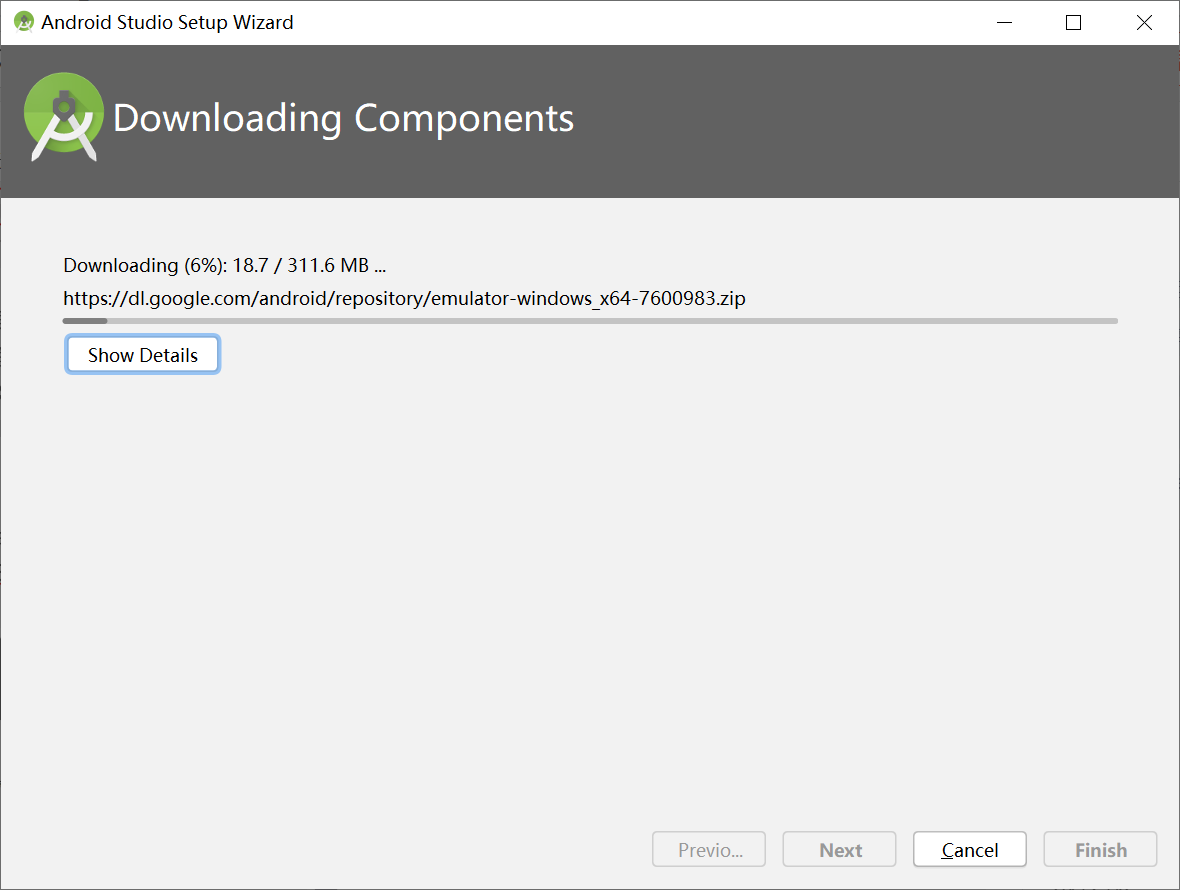

Click Finish and you'll be OK

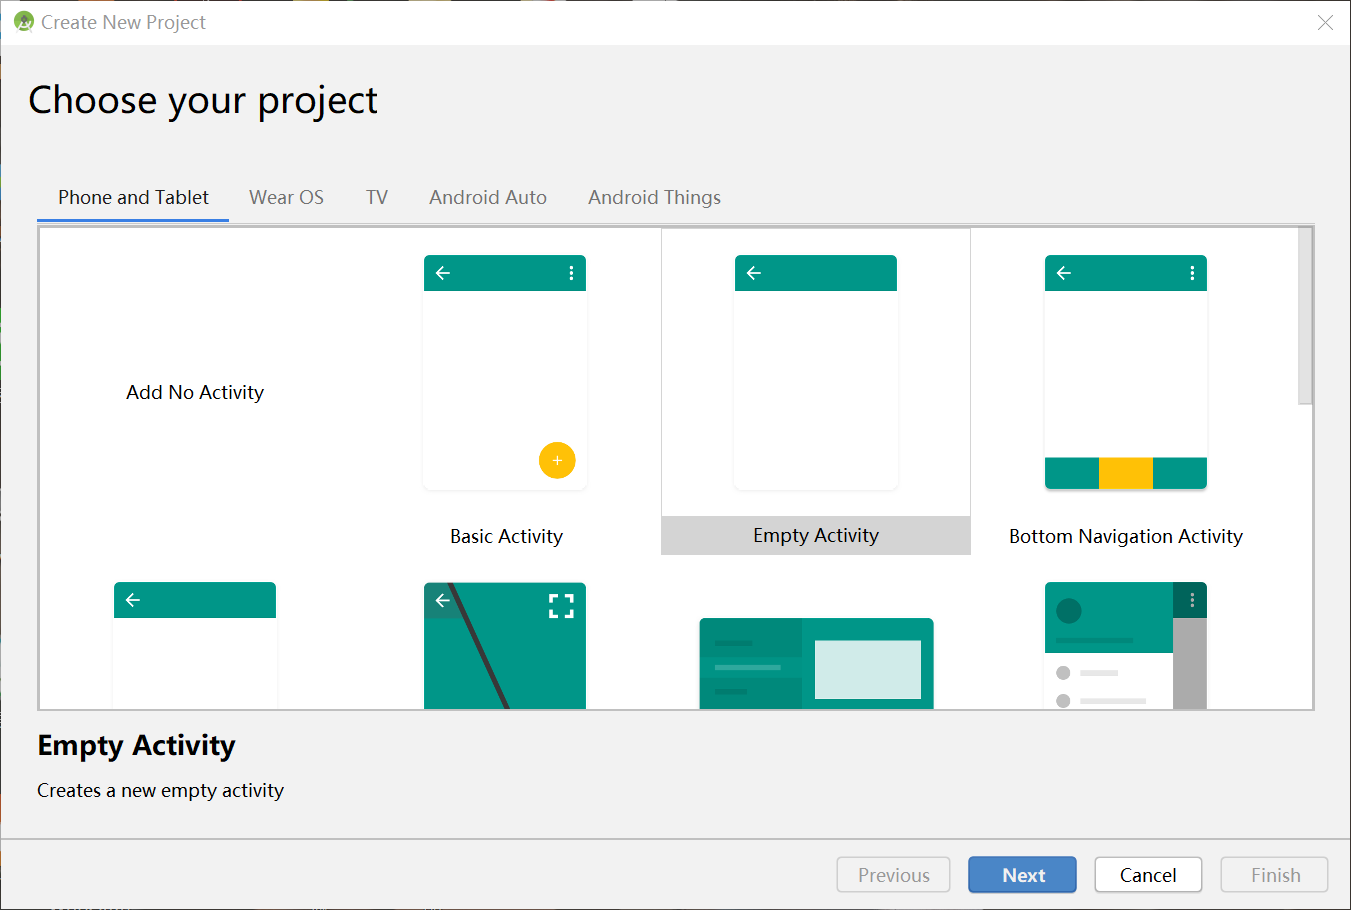
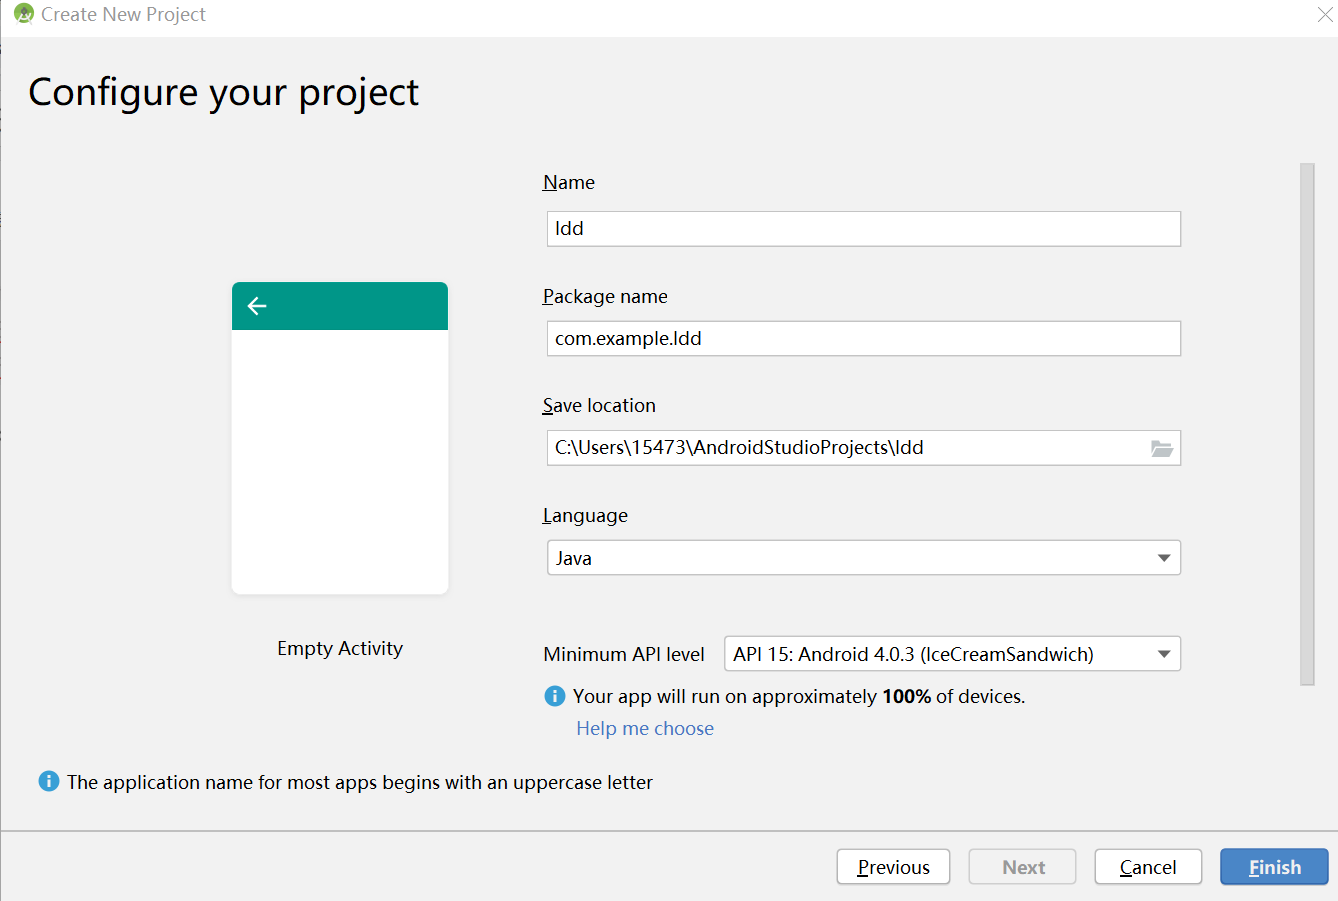
4. New empty project:
Note to modify the language and select the appropriate path:
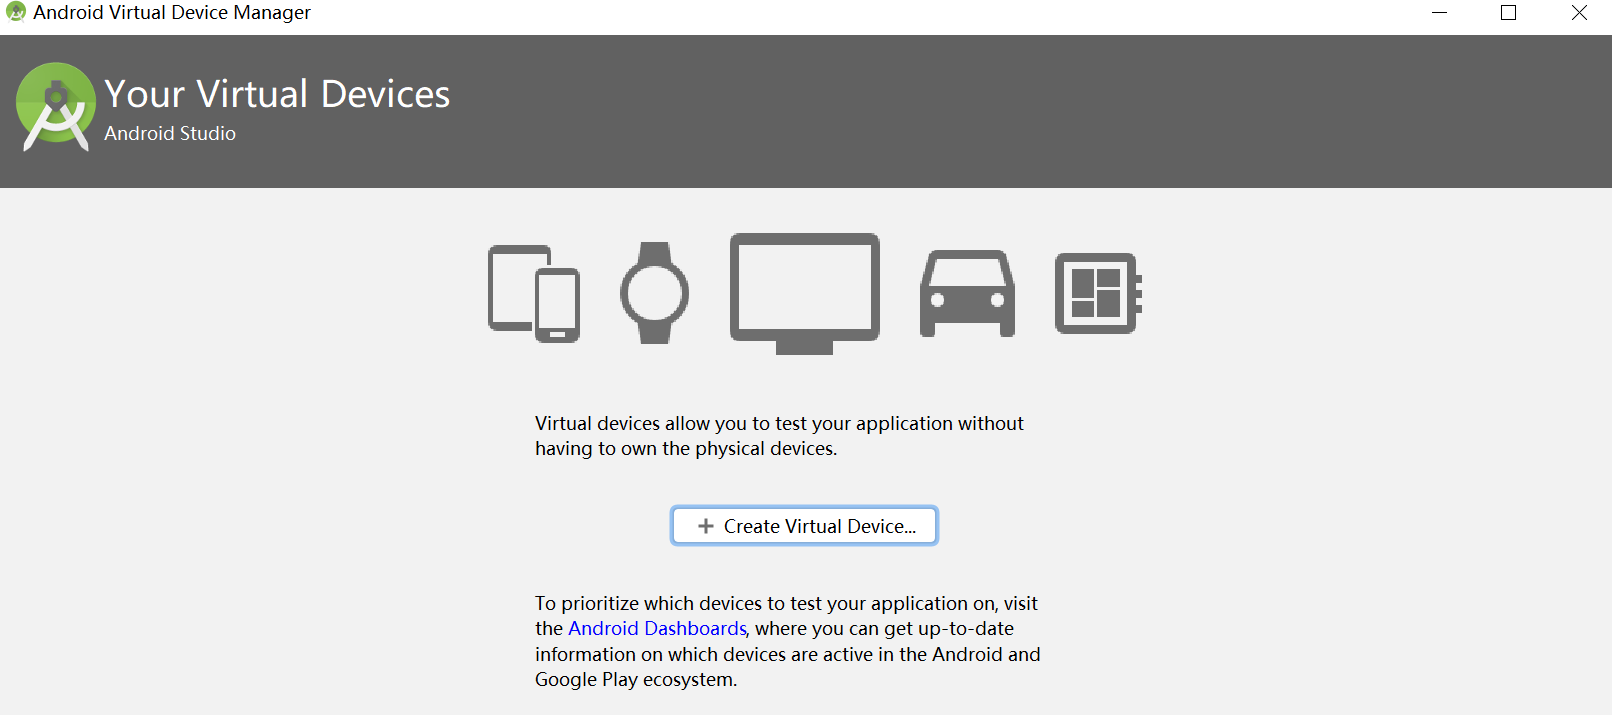
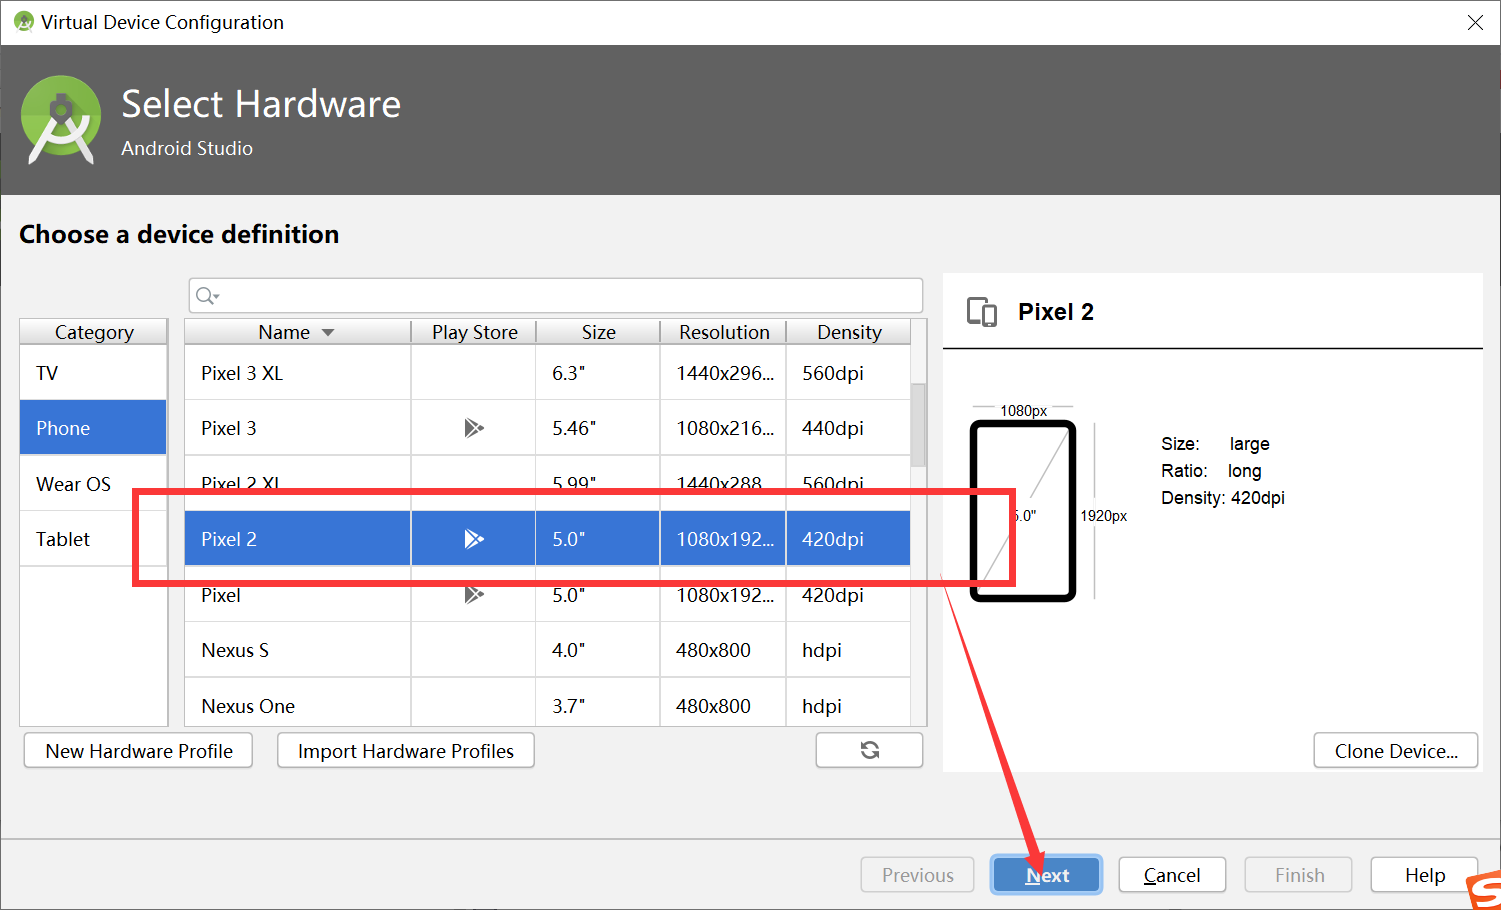
5. To install a virtual machine:

Click Create
Select the type of mobile phone as shown in the figure, which is enough to complete this experiment
Good guy, notice the error on the right: HAXM is not installed. You can do this directly, but it is recommended to continue to look down instead of this figure:
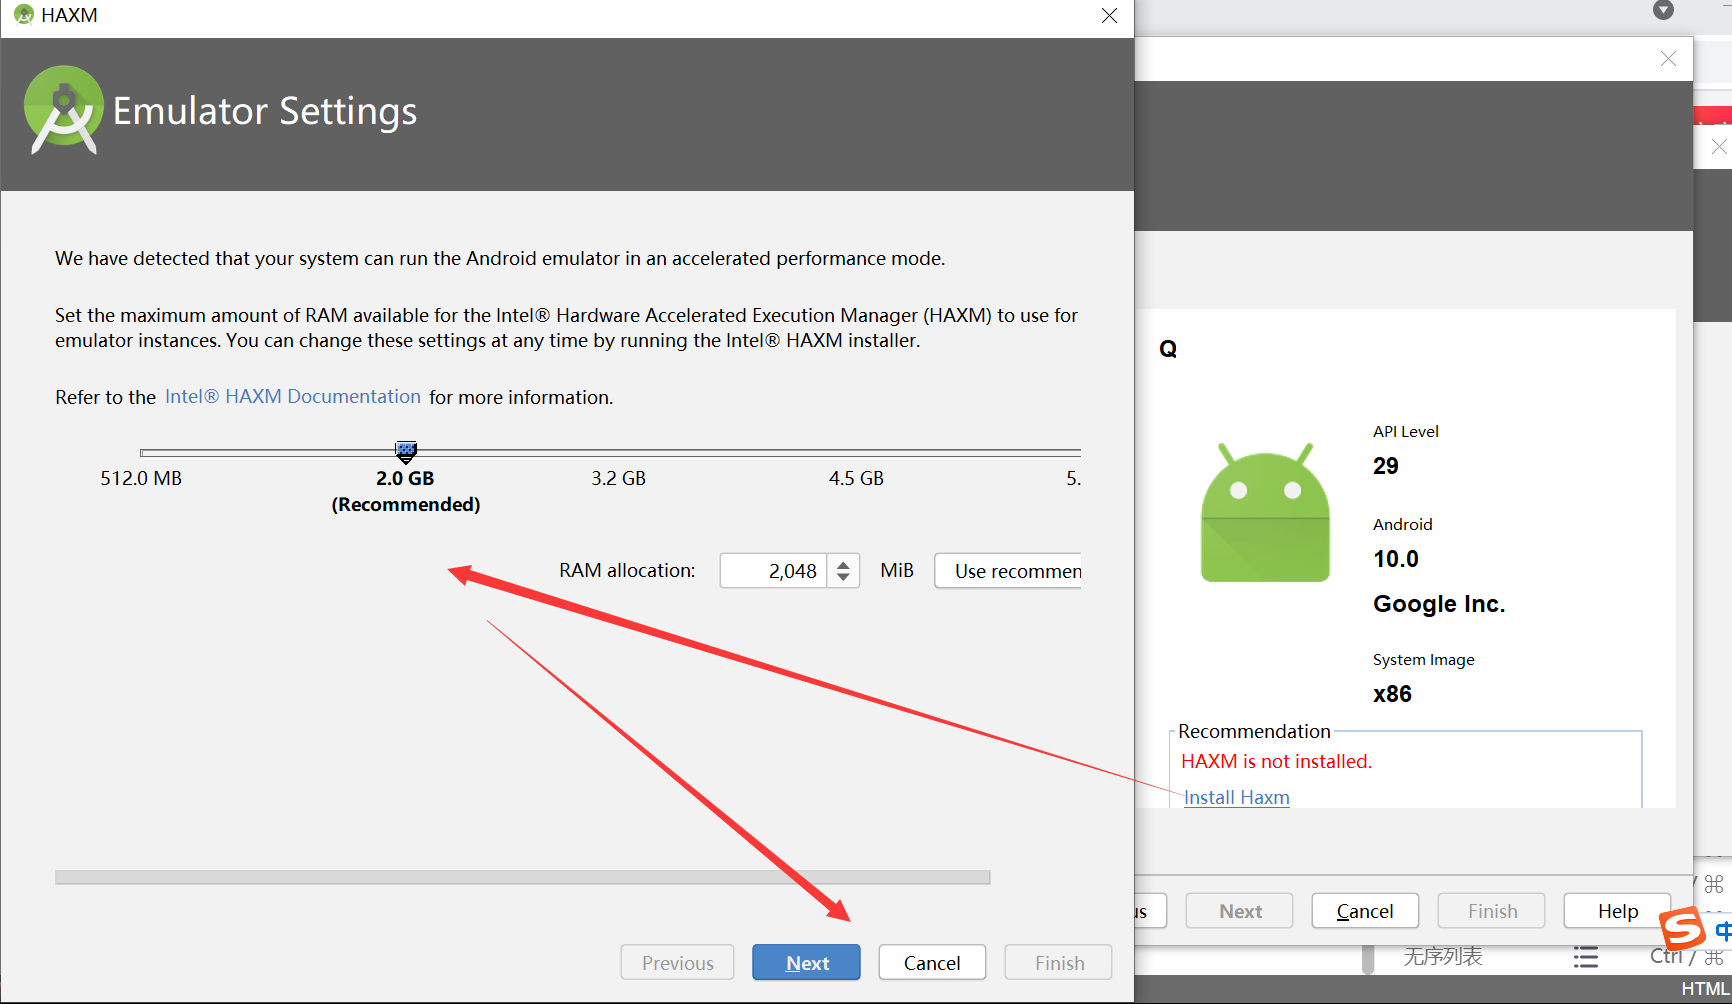
Solution:
Reference link:
https://blog.csdn.net/pengyujuan/article/details/104531011/
I did this:
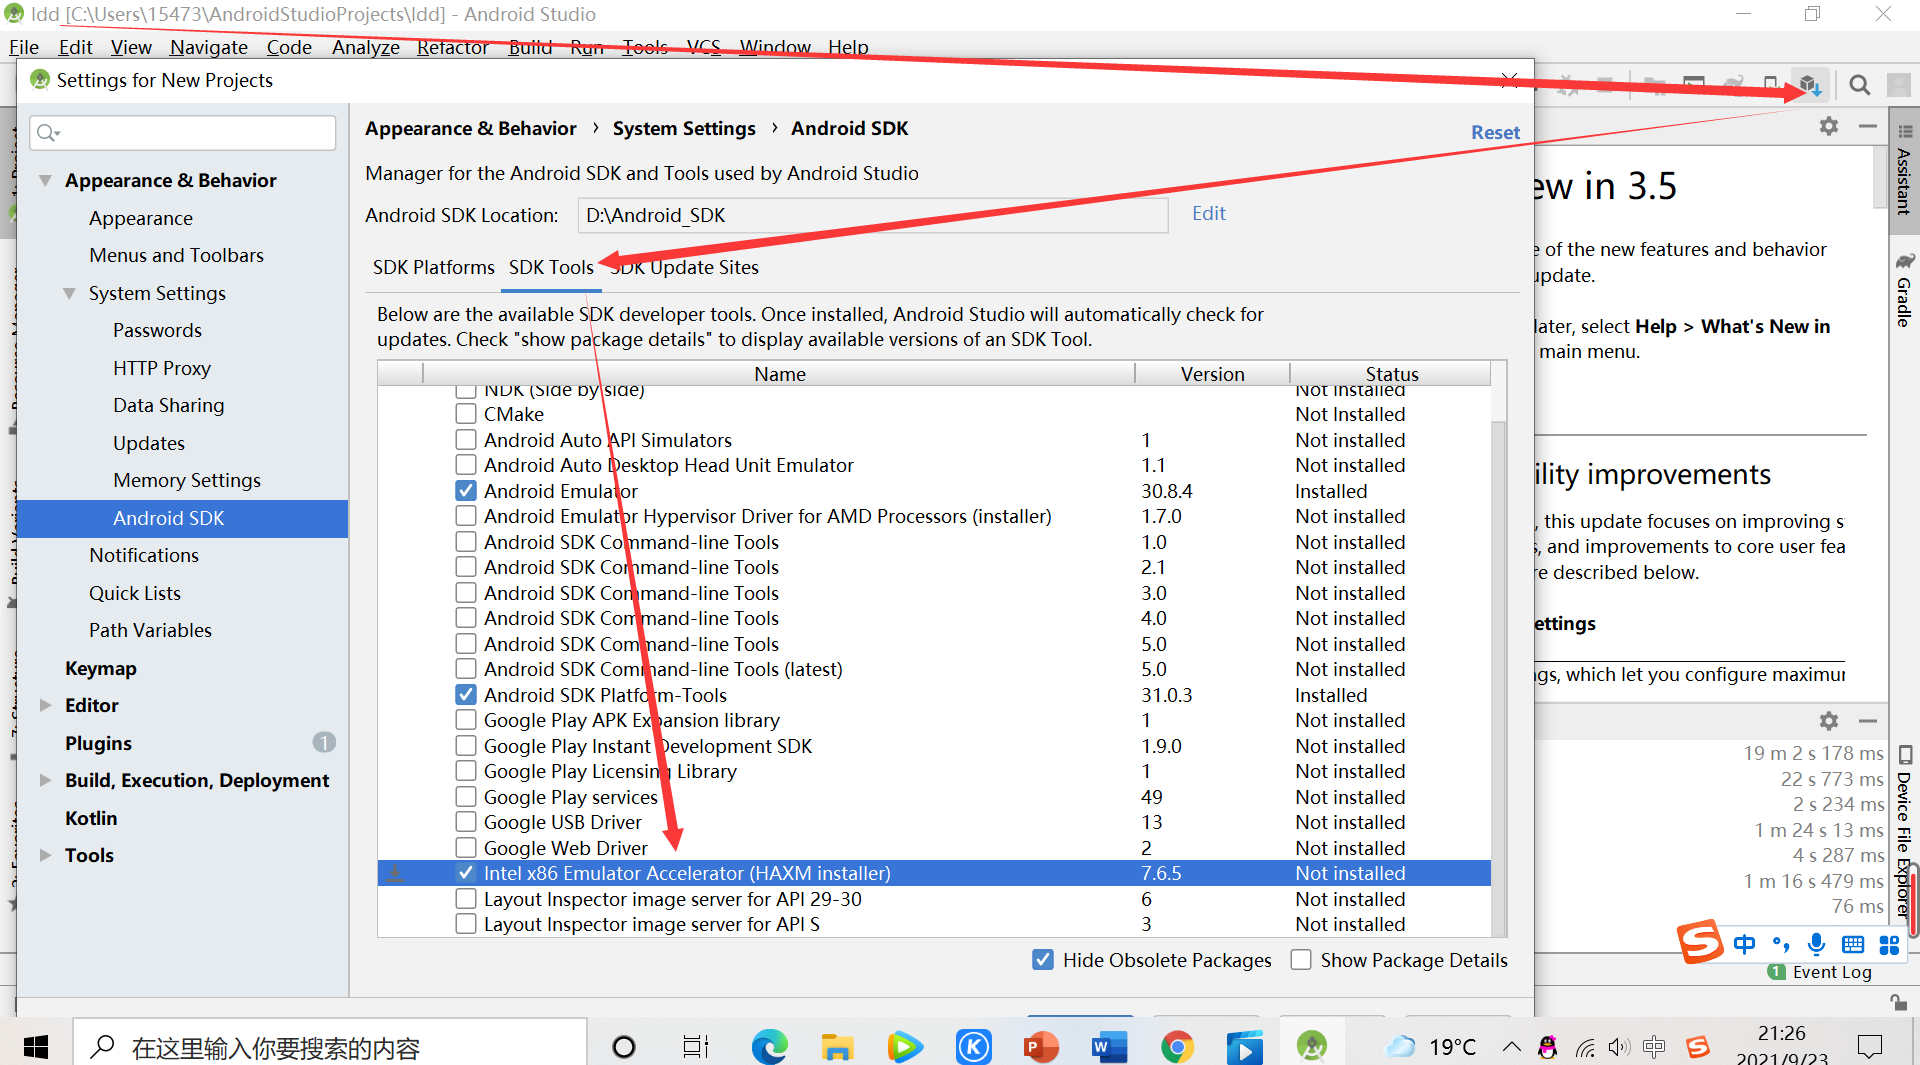
The problem was solved before the installation, but there is another problem, as shown in the red box: A system image must be selected to continue

This is simple, as shown in the following figure: open SDK MANAGER, check show package details in the lower right corner, and download the corresponding system image.
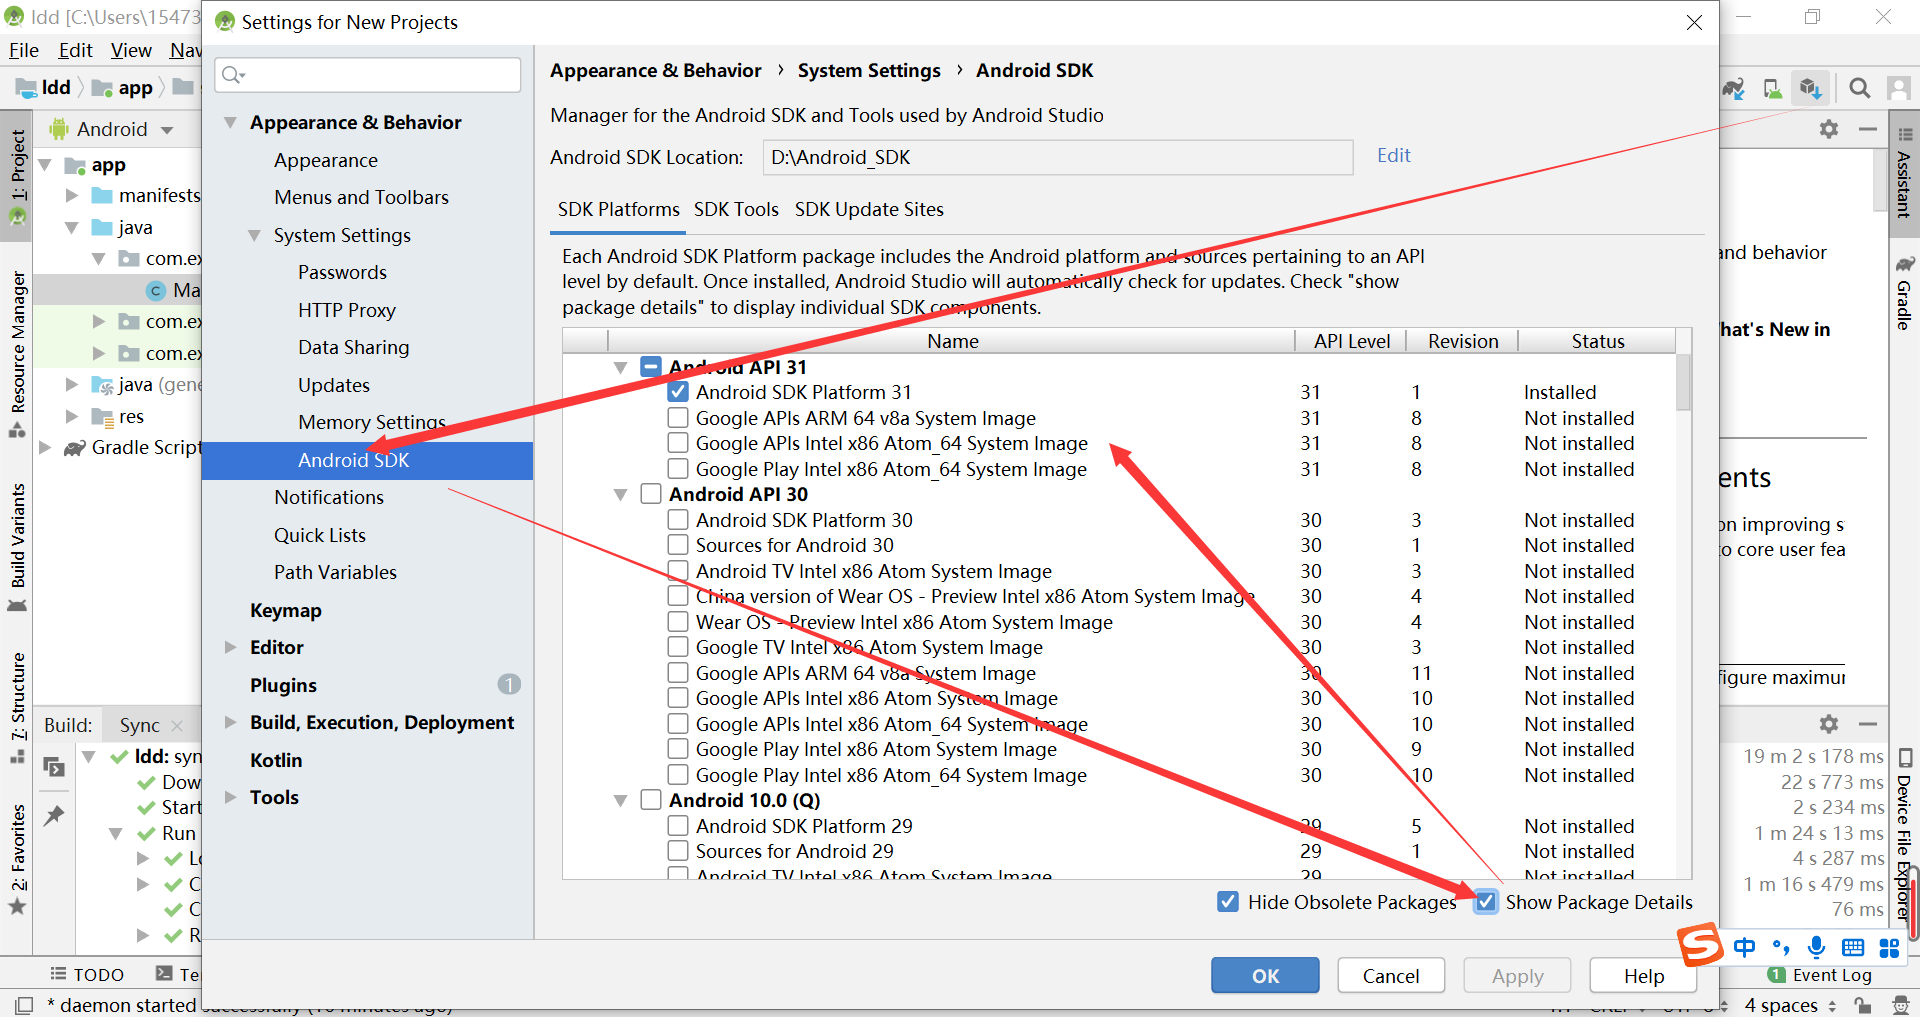
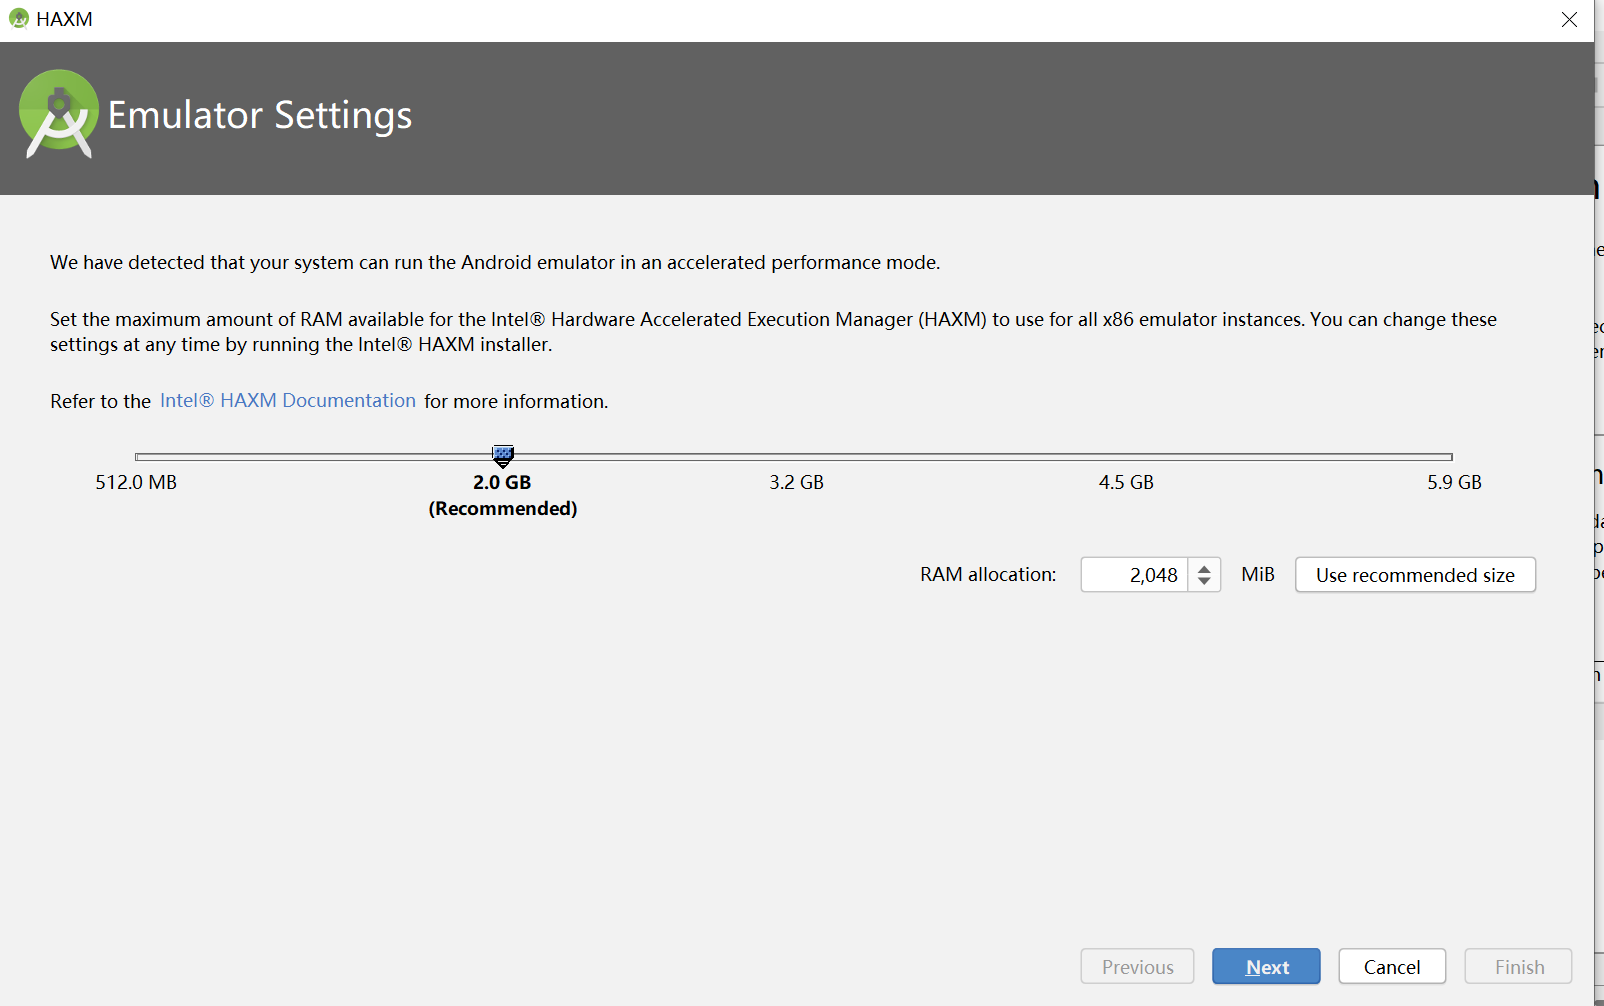
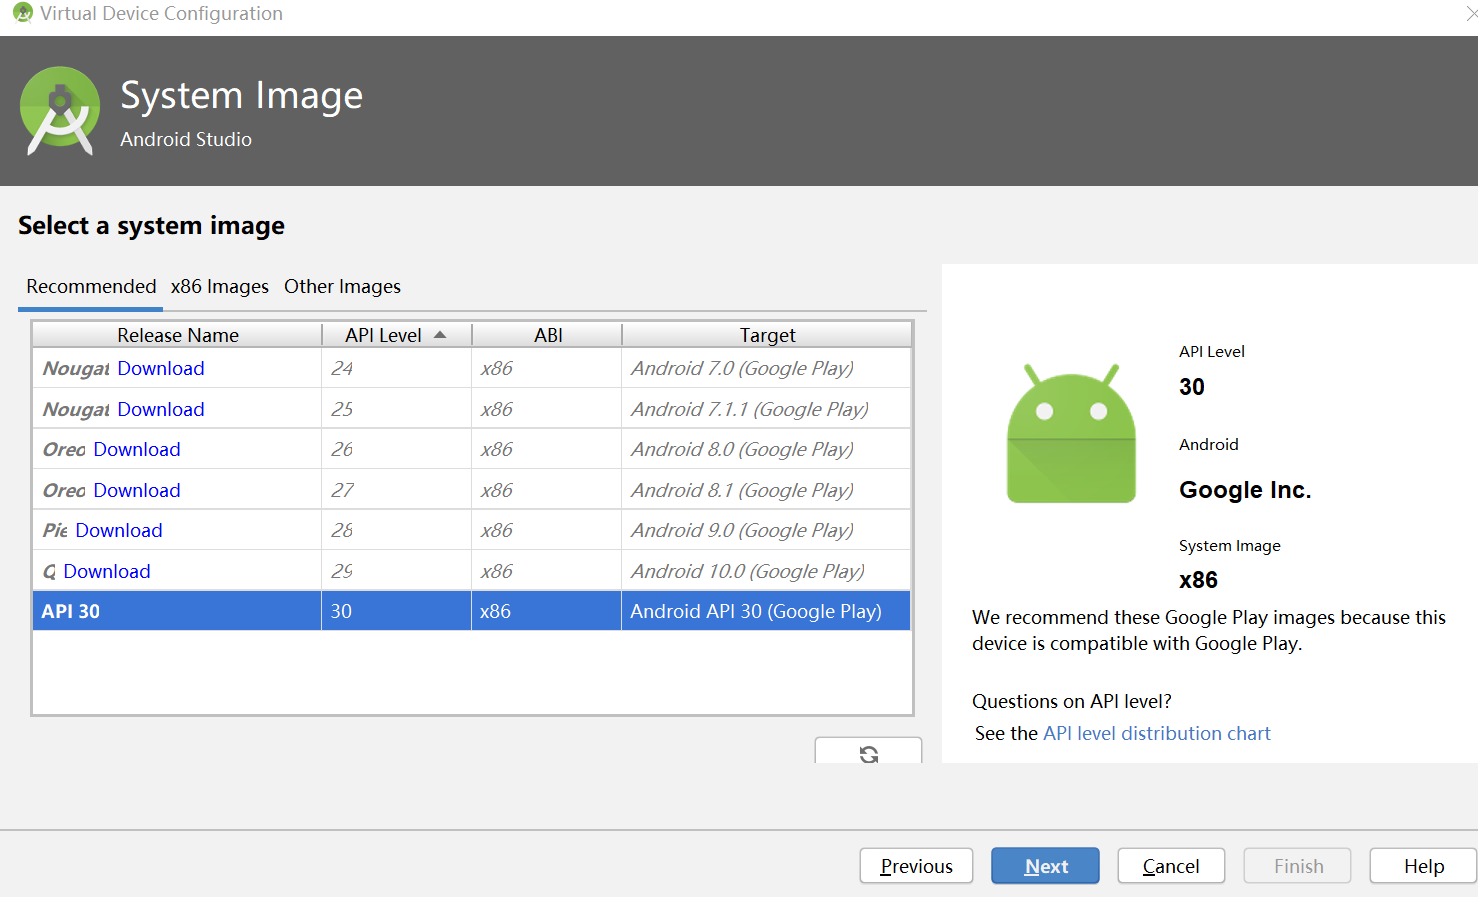
Of course, you can do this directly (click the blue Download). The API level I directly downloaded before is 31, which uses the operation in the figure above and 30 in the figure below. After the experiment, I resolutely uninstall. There are too many things. The computer D disk is red warning, ha ha:
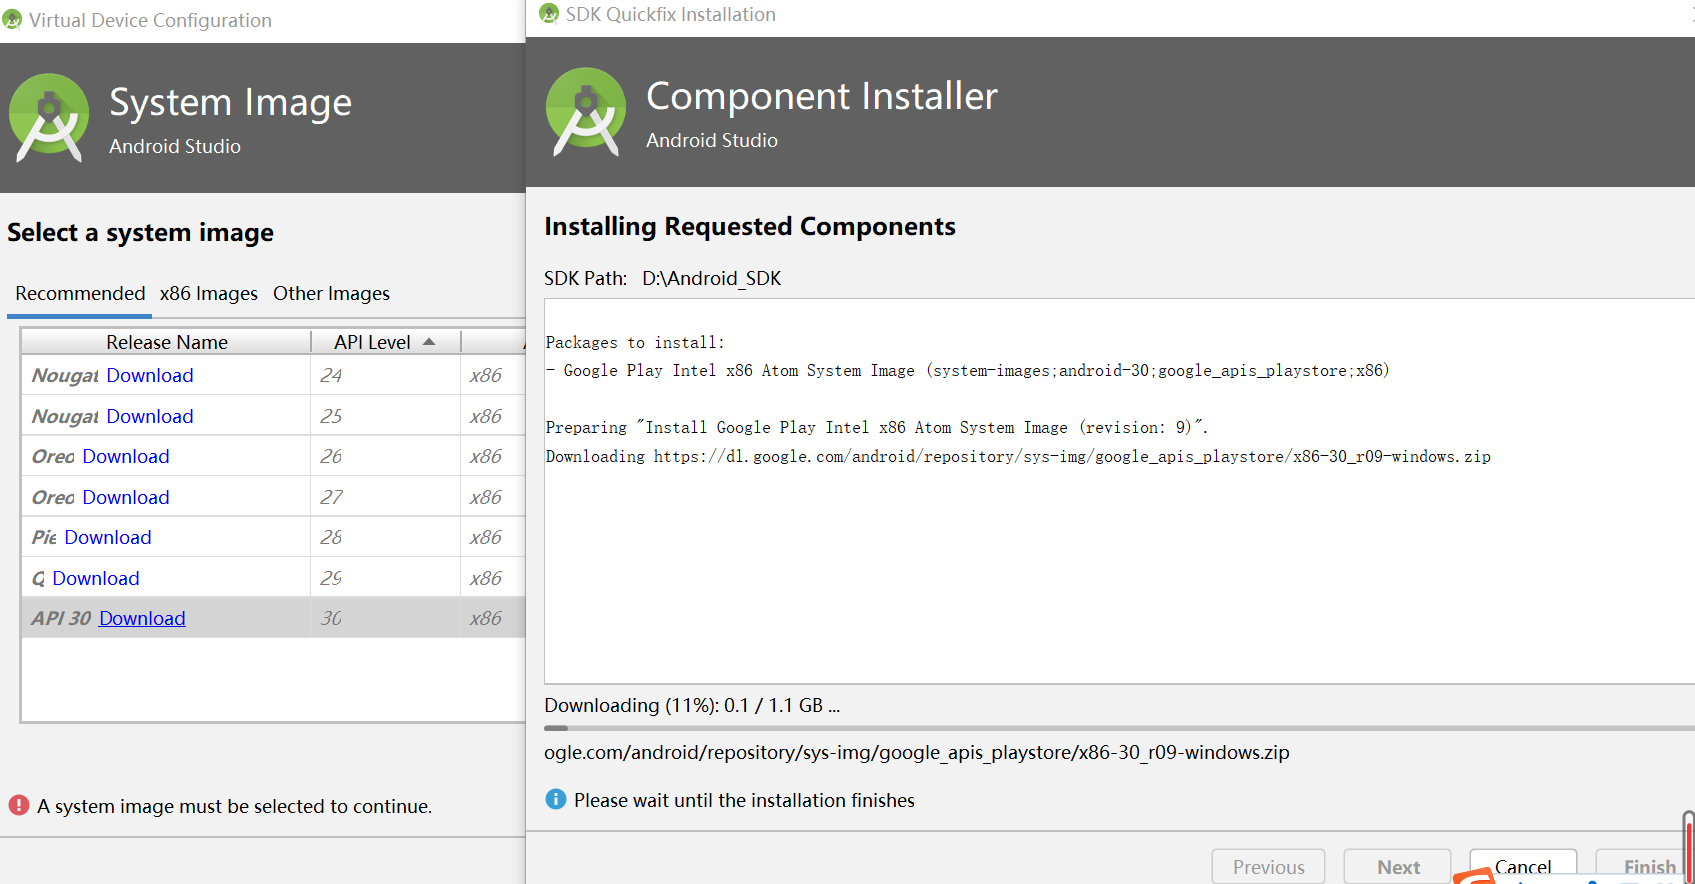
After downloading and installing, there will be no errors:

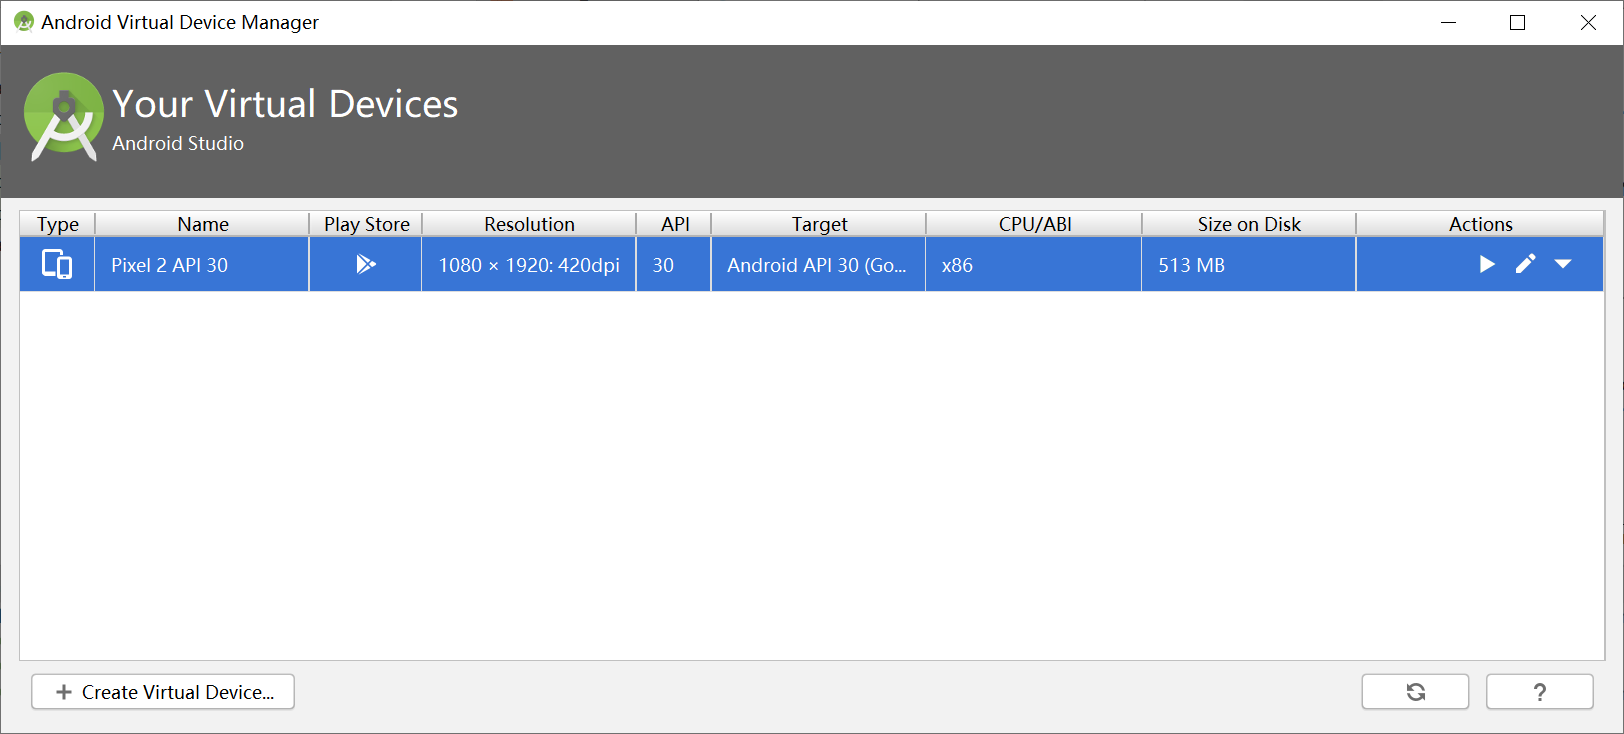
6. Then run the virtual machine device:
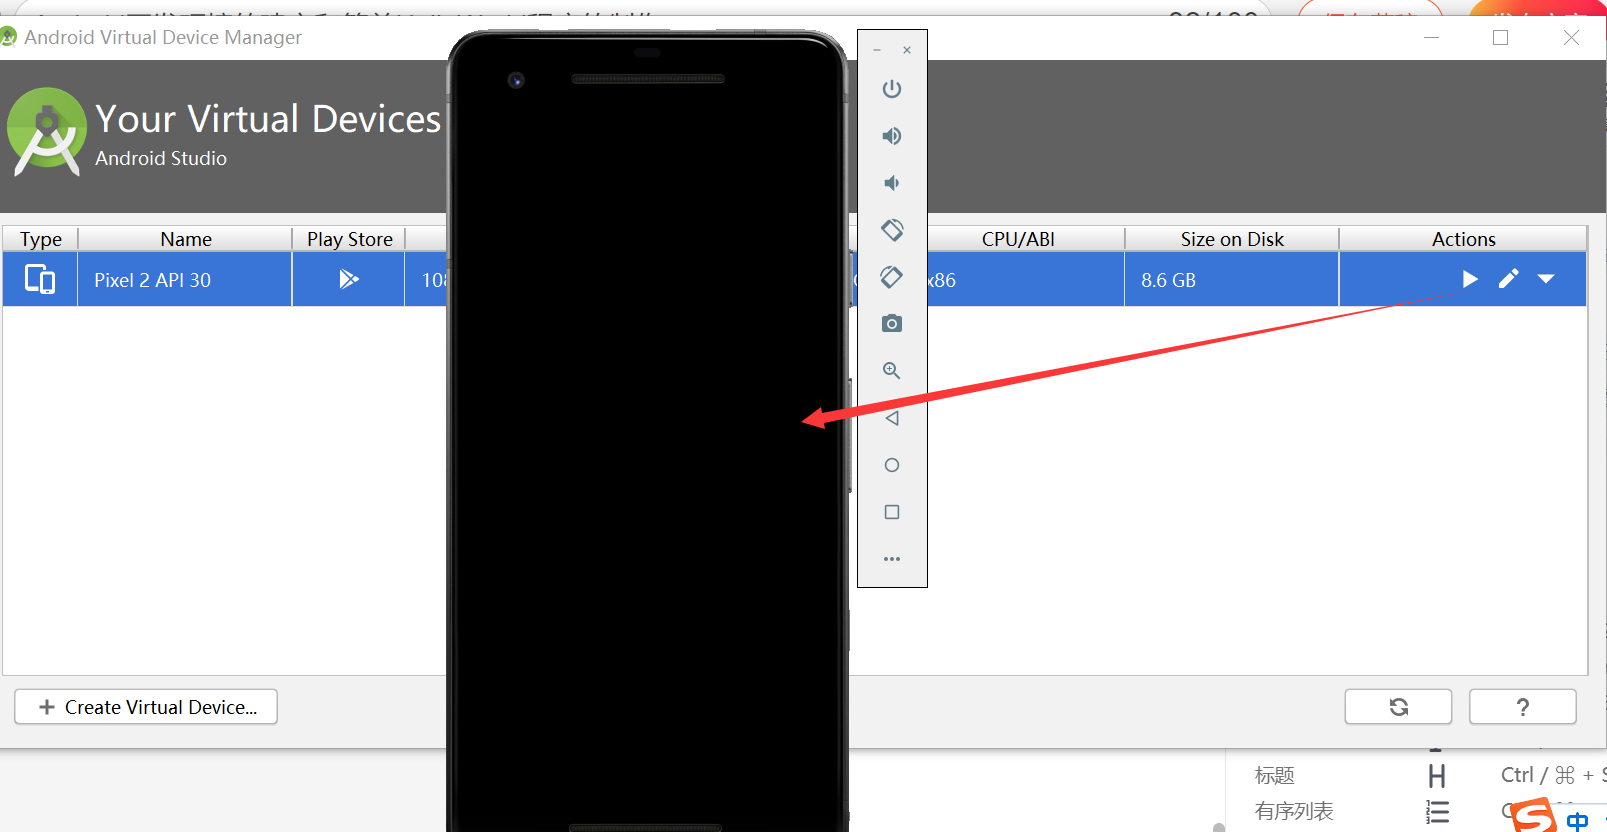 Don't worry, I'm getting stuck when I turn on my computer, and finally turn it on:
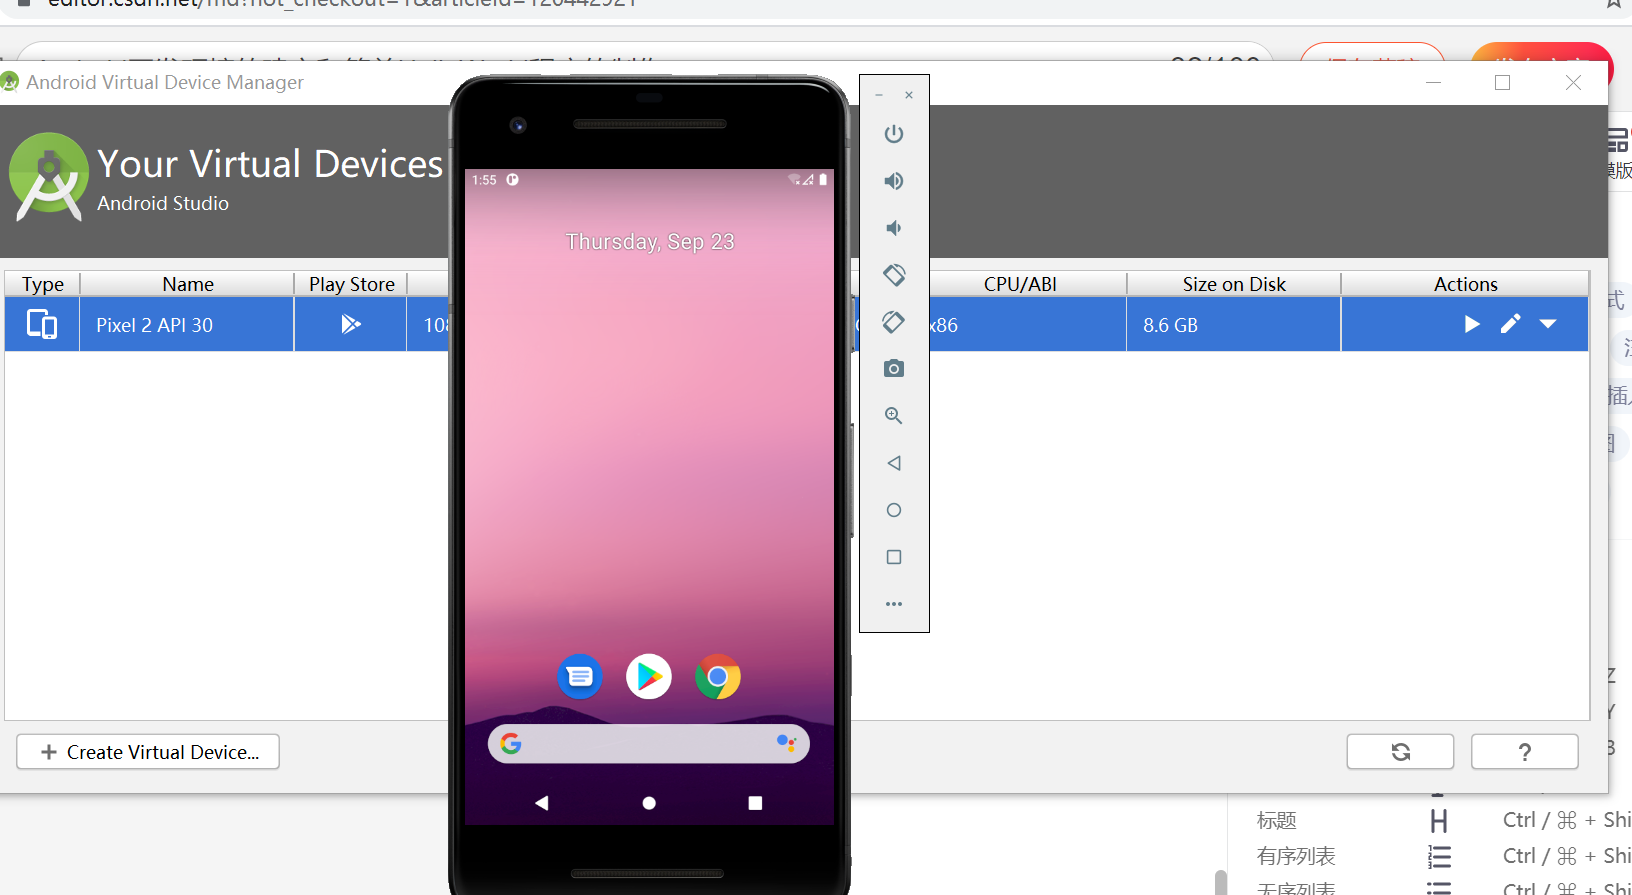
Here, the establishment of Android development environment is over
Let's start making a simple HelloWorld program:
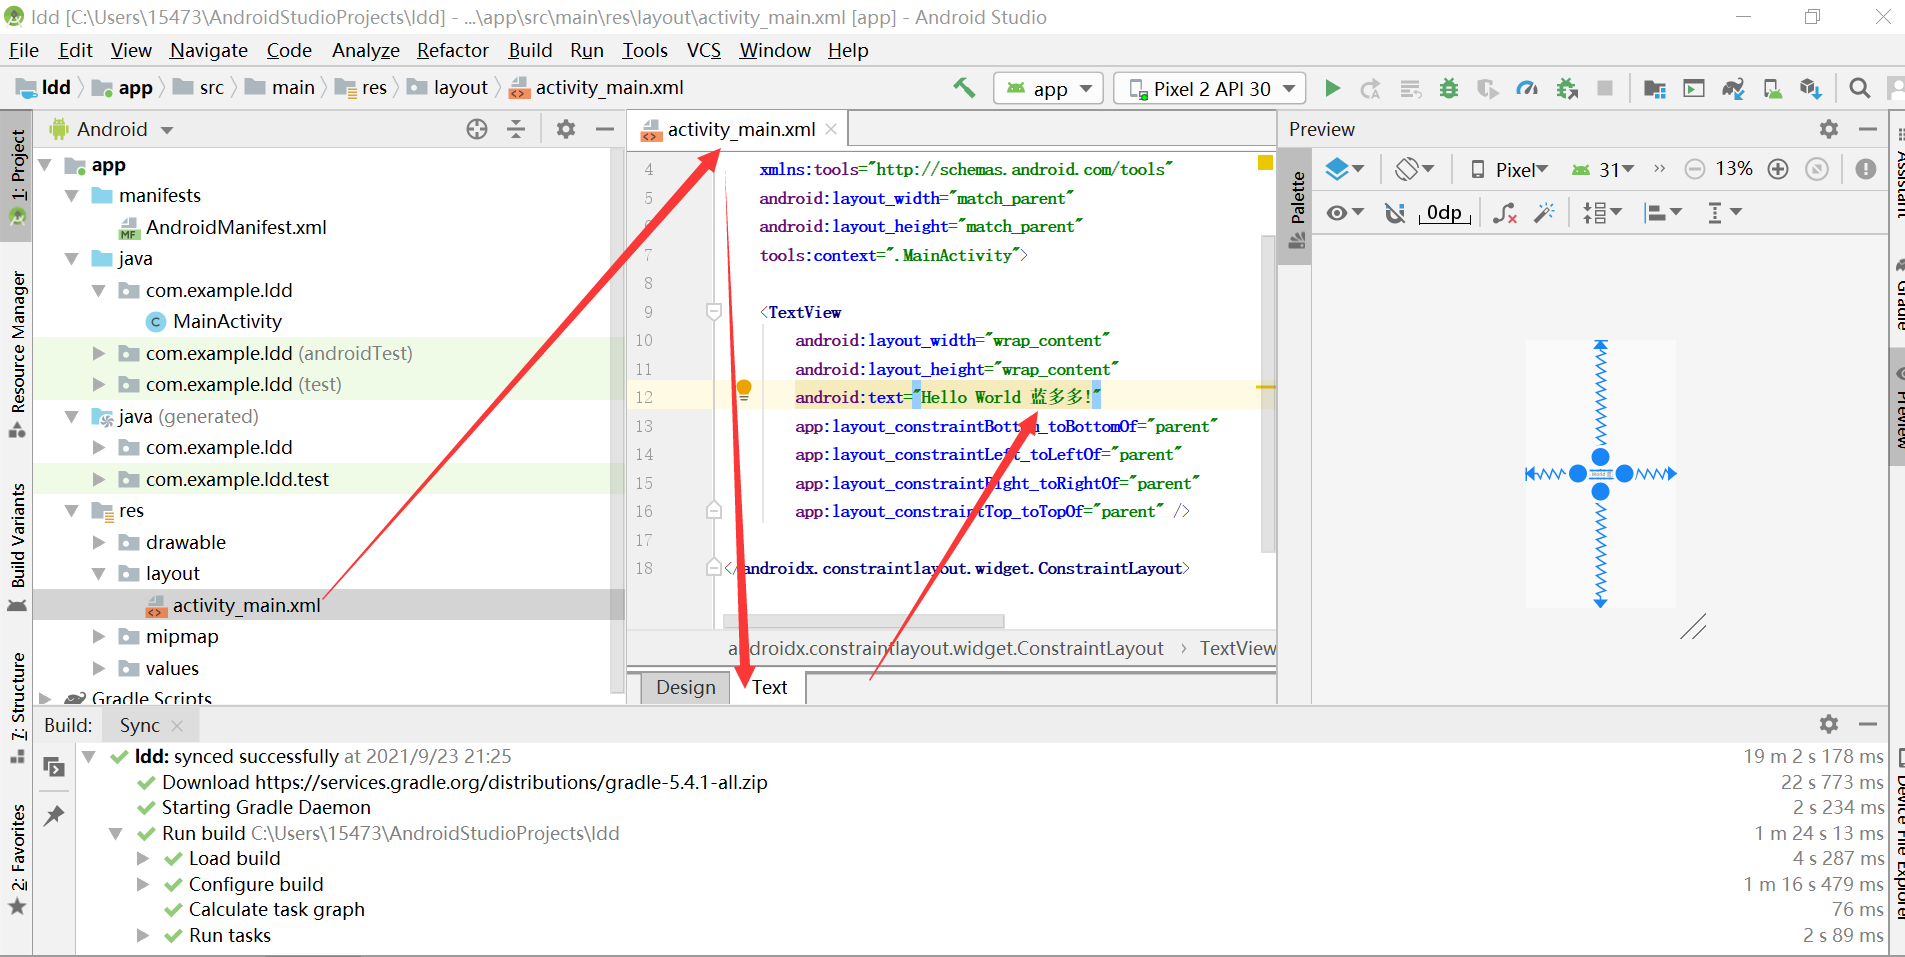
A new project has been created above, as shown below:

activity_ Note that the code in main.xml is available by default. You don't need to write code, and don't copy the following to your project. It's only for display here:
<?xml version="1.0" encoding="utf-8"?>
<androidx.constraintlayout.widget.ConstraintLayout xmlns:android="http://schemas.android.com/apk/res/android"
    xmlns:app="http://schemas.android.com/apk/res-auto"
    xmlns:tools="http://schemas.android.com/tools"
    android:layout_width="match_parent"
    android:layout_height="match_parent"
    tools:context=".MainActivity">

    <TextView
        android:layout_width="wrap_content"
        android:layout_height="wrap_content"
        android:text="Hello World LAN Duoduo!"
        app:layout_constraintBottom_toBottomOf="parent"
        app:layout_constraintLeft_toLeftOf="parent"
        app:layout_constraintRight_toRightOf="parent"
        app:layout_constraintTop_toTopOf="parent" />

</androidx.constraintlayout.widget.ConstraintLayout>
The code in MainActivity.java is available by default. There is no need to write code. Everyone's name is different. Don't copy it directly. I just show it:
package com.example.ldd;

import androidx.appcompat.app.AppCompatActivity;

import android.os.Bundle;

public class MainActivity extends AppCompatActivity {

    @Override
    protected void onCreate(Bundle savedInstanceState) {
        super.onCreate(savedInstanceState);
        setContentView(R.layout.activity_main);
    }
}
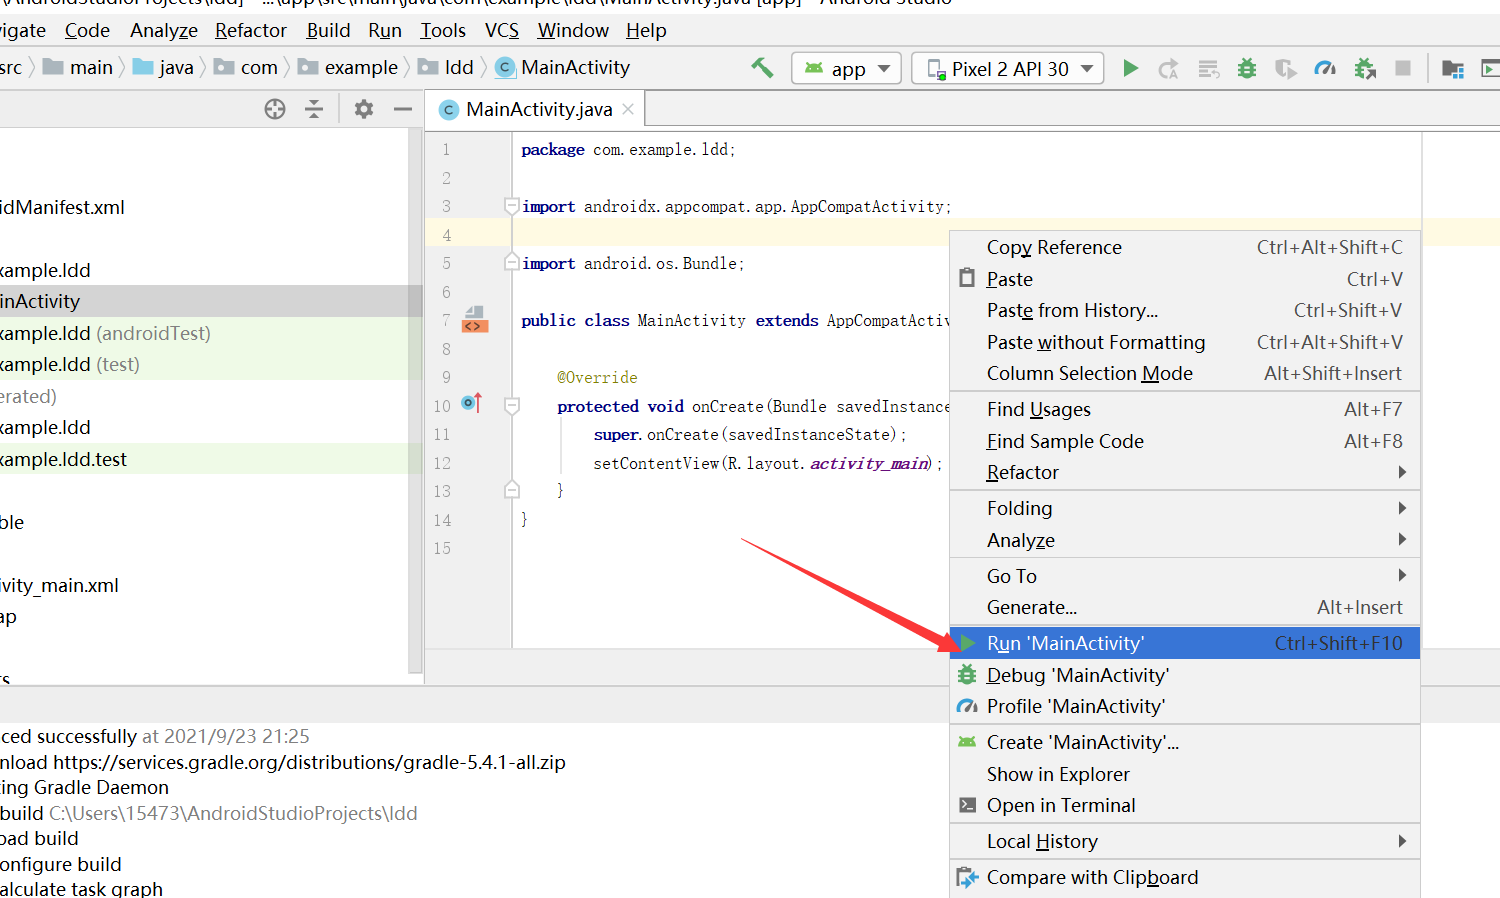
Right click Run:
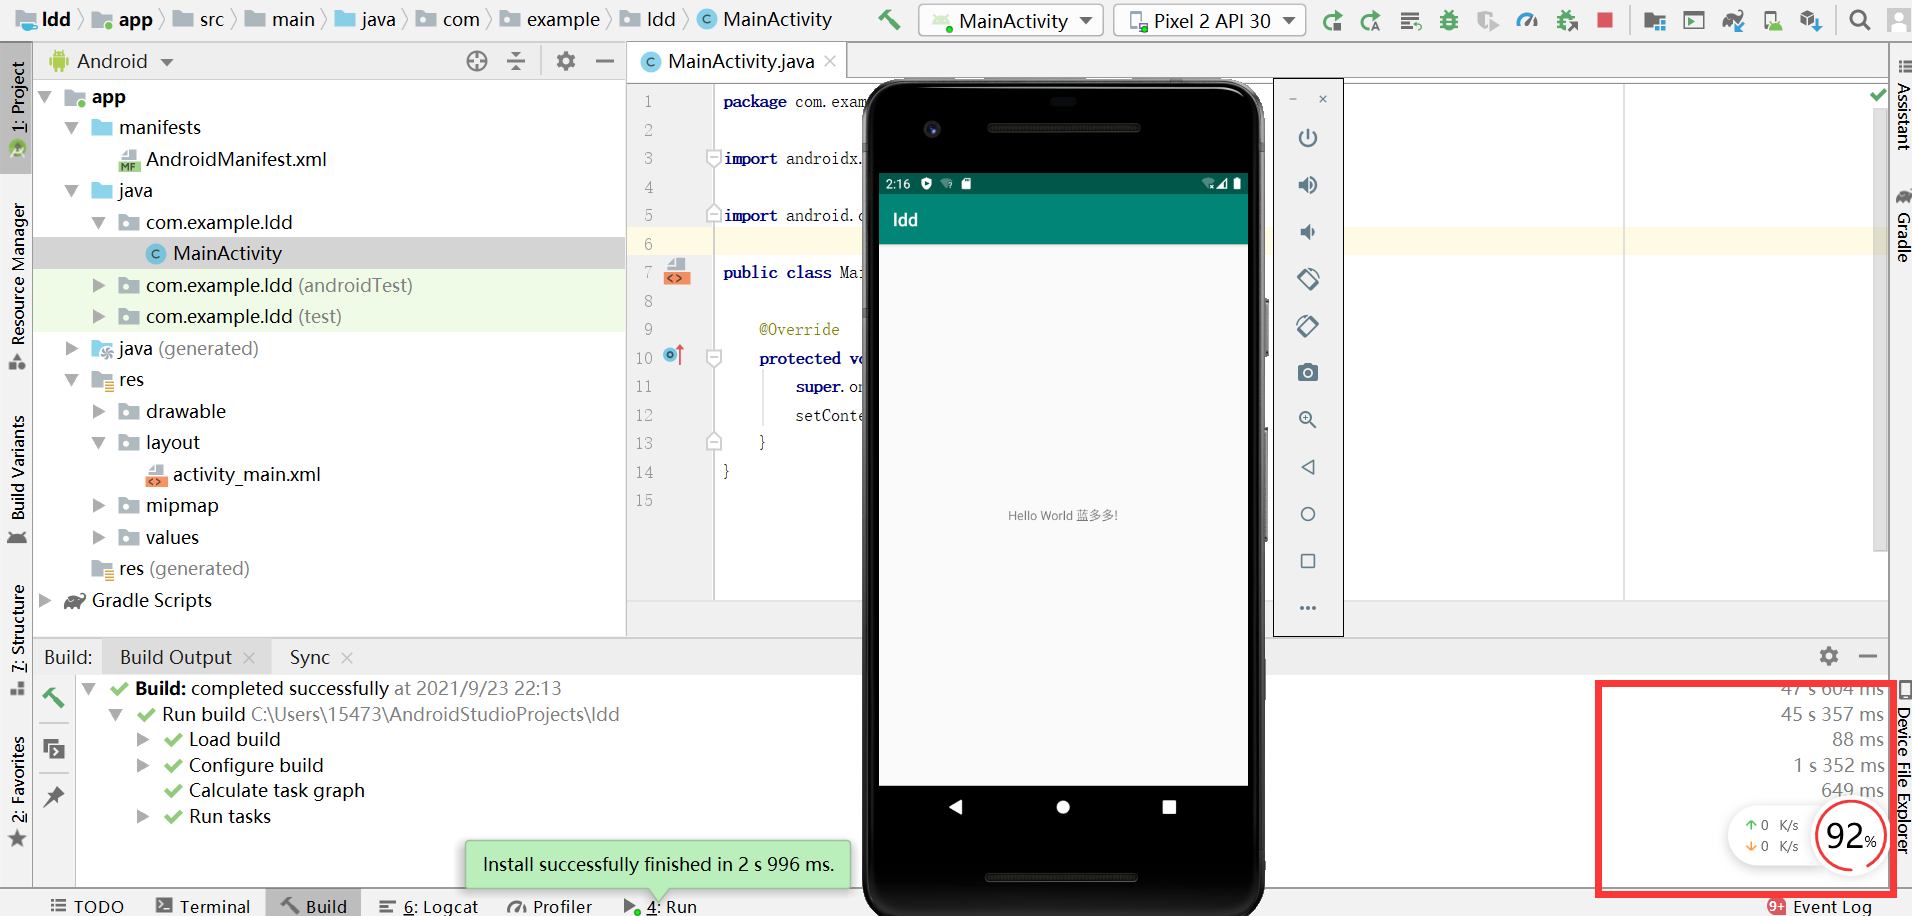
Operation results (good card, it's time to change the computer):
Experimental experience:
Keep it a secret and write your own.