1. Configure Windows system settings
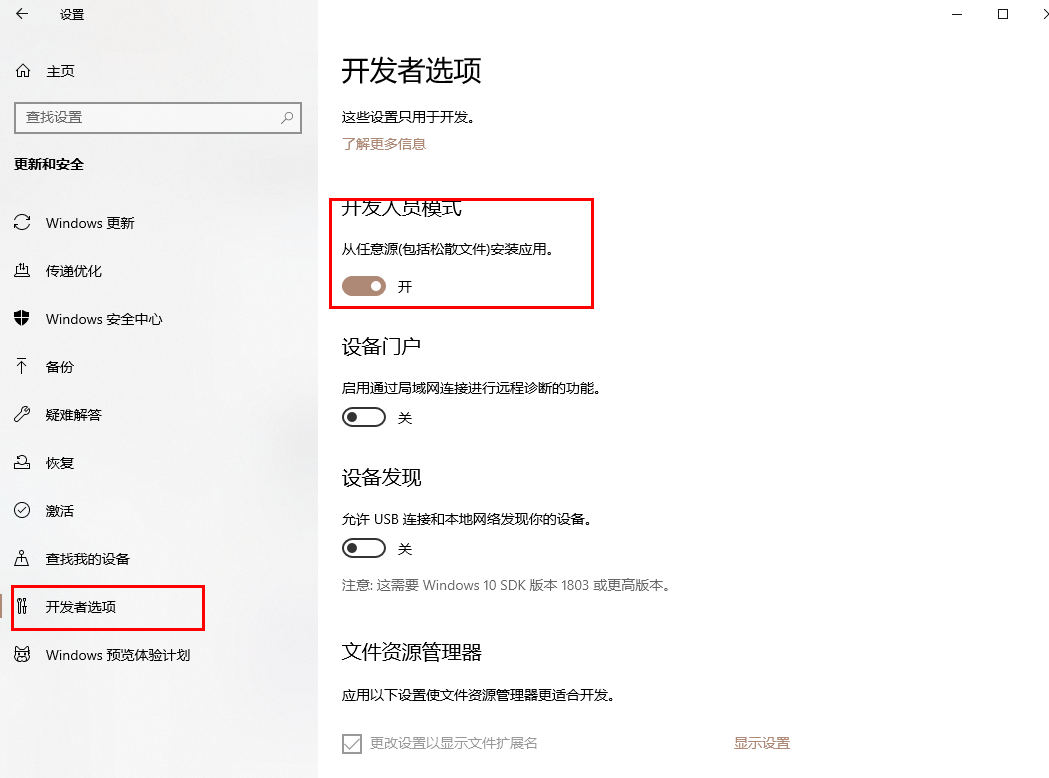
1.1 developer options
You need to turn on the developer option in the settings.
1.2 subsystem options
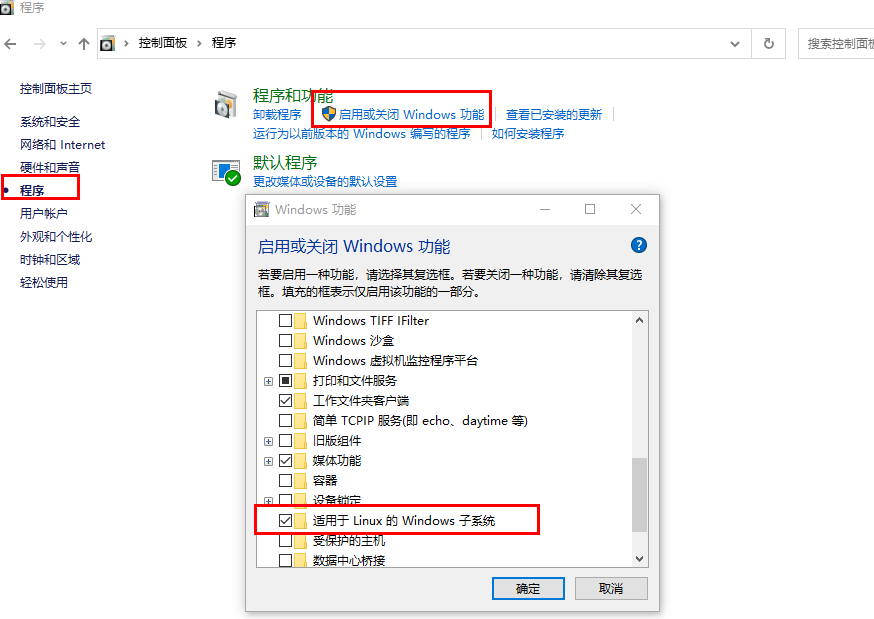
You need to check the Windows subsystem for Linux in the control panel.
2. WSL version
If there are no requirements for the GUI of Ubuntu subsystem, you can skip this step. However, if you want to build a set of GUI interface on Ubuntu subsystem, it is very necessary to pay attention to the version of wsl.
WSL currently has two versions. If you use the Ubuntu 20.04 subsystem and want to implement the GUI interface, you must upgrade it to WSL2.
Open PowerShell as an administrator and execute the following command:
dism.exe /online /enable-feature /featurename:Microsoft-Windows-Subsystem-Linux /all /norestart
Windows version must be above 1903 (including 1903), and Build must be above 18362 (including 18362).
Execute the following command in the open PowerShell:
dism.exe /online /enable-feature /featurename:VirtualMachinePlatform /all /norestart
Download WSL2 kernel
Note: This download is only applicable to x64 machine. If it is an ARM machine, it needs to be replaced Download source
The downloaded msi file can be installed by double clicking directly. Pop up selection is yes.
Set the version of WSL to WSL2, and execute the following command in PowerShell:
wsl --set-default-version 2
Then you can install Ubuntu 20.04 in the Microsoft Store
3. Configure Ubuntu 20.04
Open Ubuntu 20.04 in the start interface, and start the following steps after configuring the user name and password:
Open Ubuntu 20.04, as shown in the figure:

Here you can perform command line operations on Ubuntu 20.04. First of all, you can change the source, you can change it to Tsinghua's source, and other sources can be searched online and replaced by yourself( The source change operation is very basic and will not be explained here)
deb https://mirrors.tuna.tsinghua.edu.cn/ubuntu/ focal main restricted universe multiverse
deb-src https://mirrors.tuna.tsinghua.edu.cn/ubuntu/ focal main restricted universe multiverse
deb https://mirrors.tuna.tsinghua.edu.cn/ubuntu/ focal-updates main restricted universe multiverse
deb-src https://mirrors.tuna.tsinghua.edu.cn/ubuntu/ focal-updates main restricted universe multiverse
deb https://mirrors.tuna.tsinghua.edu.cn/ubuntu/ focal-backports main restricted universe multiverse
deb-src https://mirrors.tuna.tsinghua.edu.cn/ubuntu/ focal-backports main restricted universe multiverse
deb https://mirrors.tuna.tsinghua.edu.cn/ubuntu/ focal-security main restricted universe multiverse
deb-src https://mirrors.tuna.tsinghua.edu.cn/ubuntu/ focal-security main restricted universe multiverse
First execute the following command:
sudo apt update && sudo apt upgrade
sudo apt purge xrdp
To install gnome:
sudo apt install ubuntu-desktop gnome
Install Xrdp
sudo apt install xrdp
Then open the file and make changes, and open the configuration file using vim:
sudo vim /etc/xrdp/startwm.sh
Add the following two lines to the last week of the file:
# gnome
gnome-session
The results after adding are as follows (because the Windows terminal is beautified, it looks different from the native one):
Then continue to execute the following command:
sudo cp /etc/xrdp/xrdp.ini /etc/xrdp/xrdp.ini.bak
sudo sed -i 's/3389/3390/g' /etc/xrdp/xrdp.ini
sudo sed -i 's/max_bpp=32/#max_bpp=32\nmax_bpp=128/g' /etc/xrdp/xrdp.ini
sudo sed -i 's/xserverbpp=24/#xserverbpp=24\nxserverbpp=128/g' /etc/xrdp/xrdp.ini
echo "gnome-session --session=gnome-classic" > ~/.xsession#enable dbus
sudo systemctl enable dbus
sudo /etc/init.d/dbus start
sudo /etc/init.d/xrdp start
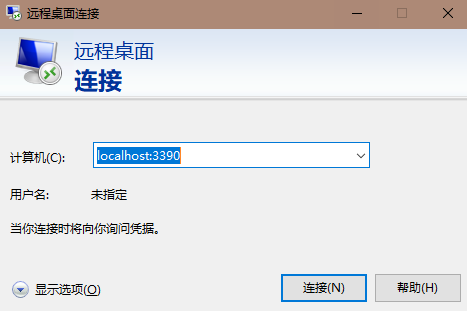
After executing these commands, you can open the remote control software provided by Windows, which can be found directly. After opening, enter the following code to connect:
localhost:3390
The schematic diagram is as follows:
be careful:
If the remote connection finds a direct flash back, you can open the terminal of Ubuntu 20.04 and operate as follows:
echo "gnome-session --session=gnome-classic" > ~/.xsession
sudo chown username:username .xsession  # The username here can be changed to the name of your Ubuntu 20.04 configuration
After the above method still cannot be solved, execute in the Ubuntu20.04 subsystem terminal:
gnome-session
Some errors will be reported as follows (my own failure and screenshot):
Unable to init server: Could not connect: Connection refused

(gnome-session-check-accelerated:6054): Gtk-WARNING **: 11:04:51.973: cannot open display: :0
Unable to init server: Could not connect: Connection refused

(gnome-session-check-accelerated:6055): Gtk-WARNING **: 11:04:52.234: cannot open display: :0
gnome-session-binary[6044]: WARNING: software acceleration check failed: Child process exited with code 1
gnome-session-binary[6044]: CRITICAL: We failed, but the fail whale is dead. Sorry....
Then it needs to be solved in the following ways:
git clone https://github.com/DamionGans/ubuntu-wsl2-systemd-script.git
cd ubuntu-wsl2-systemd-script/
bash ubuntu-wsl2-systemd-script.sh
Then:
wsl --shutdown
After that, restart the Ubuntu subsystem and execute:
gnome-session
sudo /etc/init.d/xrdp start
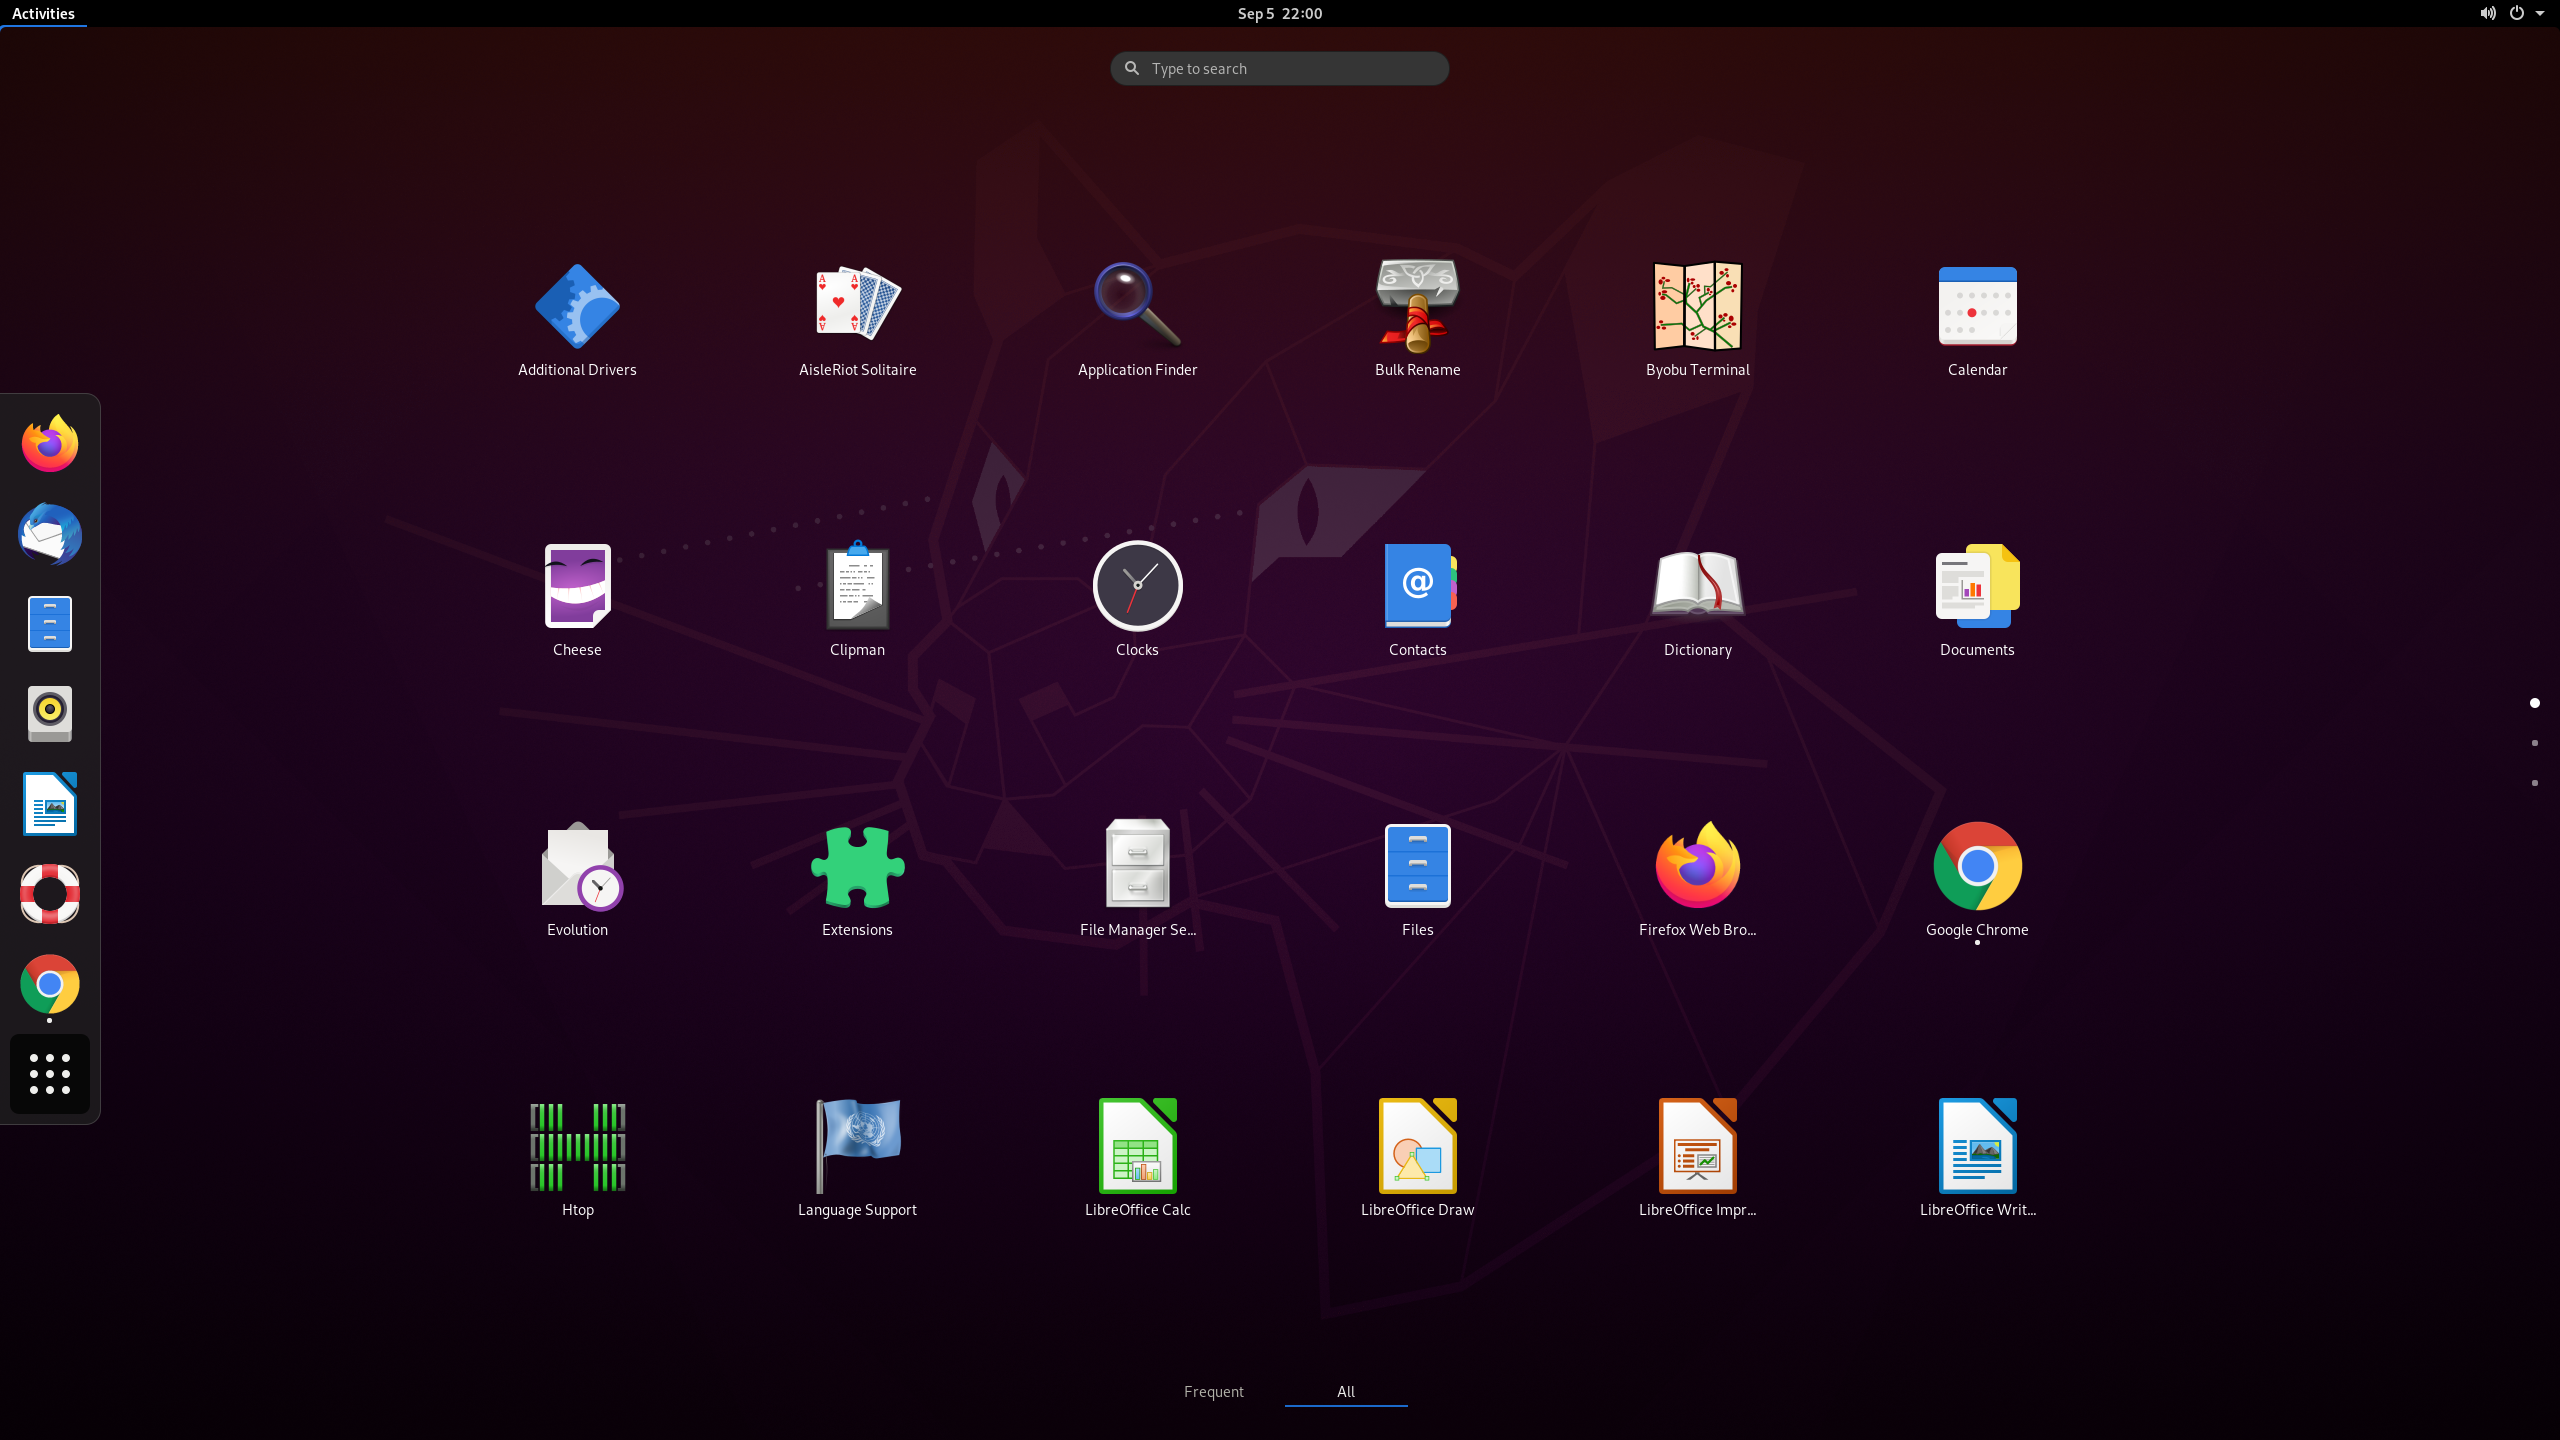
The problem can be solved.
After that, the remote can see the following screen:
Reference websites and blogs are as follows: