1, Preparatory work
CentOS 7.4 system server needs to be configured with yum source, firewall is closed, clock service of each node is synchronized, and each node can communicate with each other through host name.
All machines turn off the firewall and selinux
setenforing 0 (Modify profile (close)
sed -i 's/SELINUX=enforcing/SELINUX=disabled/' /etc/selinux/config
systemctl stop firewalld.service
2, Install and configure the server side
1. Install yum source
We go to the official website to download a package zabbix-release-3.4-2.el7.noarch.rpm and install it locally to our virtual machine. In this way, we have a new yum source locally and can directly install ZABBIX services:
[root@zabbix-server ~]# rpm -ivh http://repo.zabbix.com/zabbix/3.4/rhel/7/x86_64/zabbix-release-3.4-2.el7.noarch.rpm
2. Update yum warehouse
[root@zabbix-server ~]# yum repolist
Loaded plugins: fastestmirror, langpacks
Loading mirror speeds from cached hostfile
zabbix-non-supported                                                      4/4
repo id                     repo name                                   status
base                        base                                         9,363
epel                        epel                                        11,349
zabbix/x86_64               Zabbix Official Repository - x86_64             80
zabbix-non-supported/x86_64 Zabbix Official Repository non-supported -       4
repolist: 20,796
3. Download and install zabbix
[root@zabbix-server ~]# yum install zabbix-server-mysql zabbix-web-mysql  zabbix-agent -y
[root@zabbix-server ~]# yum install -y zabbix-get-3.4.0-1.el7.x86_64
- The ZABBIX server MySQL database is used to store the collected data
- The function of Zabbix web MySQL is that the web side of Zabbix will display drawings through these data
4. Install setup database
1. Install mariadb.repo
[root@zabbix-server ~]# yum install -y mariadb mariadb-server
2. Restart our database service
[root@zabbix-server ~]# systemctl start mariadb
[root@zabbix-server ~]# systemctl enable mariadb
[root@zabbix-server ~]# mysqladmin -u root password 'zabbix'    #Set root password
3. Create database and authorize account
[root@zabbix-server ~]# mysql -uroot -p'zabbix'
MariaDB [(none)]> create database zabbix character set utf8 collate utf8_bin;  # Create zabbix database
MariaDB [(none)]> grant all privileges on zabbix.* to zabbix@localhost identified by 'zabbix';										# Note authorized network segment
MariaDB [(none)]> flush privileges;           # Refresh authorization
MariaDB [(none)]> \q   #sign out
Bye
4. Import table
We can directly import the table into our database:
[root@zabbix-server ~]# zcat /usr/share/doc/zabbix-server-mysql*/create.sql.gz | mysql -uzabbix -p zabbix
Enter password:                   #Enter password 'zabbix'
Or:
[root@zabbix-server zabbix-server-mysql-3.4.15]# cd /usr/share/doc/zabbix-server-mysql-3.4.15
[root@zabbix-server zabbix-server-mysql-3.4.15]# gunzip create.sql.gz
[root@zabbix-server zabbix-server-mysql-3.4.15]# mysql -u zabbix -p zabbix < create.sql
After importing, let's go into the database and check:
[root@zabbix-server zabbix-server-mysql-3.4.15]# mysql -uzabbix -p
Enter password:
MariaDB [(none)]> show databases;
+--------------------+
| Database           |
+--------------------+
| information_schema |
| mysql              |
| performance_schema |
| test               |
| zabbix             |
+--------------------+
MariaDB [(none)]> use zabbix;
Database changed
MariaDB [zabbix]> show tables;
+----------------------------+
| Tables_in_zabbix           |
+----------------------------+
| acknowledges               |
| actions                    |
.....
| proxy_dhistory             |
| proxy_history              |
| regexps                    |
| rights                     |
| screen_user                |
+----------------------------+
140 rows in set (0.001 sec)
It can be seen that our data has been imported successfully.
5. Modify the configuration file on the server side
After our database is ready, we need to modify the configuration file on the server side.
[root@zabbix-server ~]# cd /etc/zabbix/
[root@zabbix-server zabbix]# ls
web  zabbix_agentd.conf  zabbix_agentd.d  zabbix_server.conf
#In order to facilitate our future recovery, we backup the configuration file
[root@zabbix-server zabbix]# cp zabbix_server.conf zabbix_server.conf.bak
[root@zabbix-server zabbix]# vim zabbix_server.conf
DBHost=localhost      #External host of database
DBName=zabbix               #Database name
DBUser=zabbix              #Database user
DBPassword=zabbix             #Database password
 #After the configuration file here is opened: if there are, you don't need to add it. If it is annotated, there is no need to uncomment it. Just copy and paste the content.
Above, our basic configuration has been completed and the service can be started:
[root@zabbix-server zabbix]# systemctl start zabbix-server
[root@zabbix-server zabbix]# systemctl enable zabbix-server
After opening the service, we must confirm whether our port is open:
[root@zabbix-server zabbix]# netstat -lntp | grep 10051
tcp        0      0 0.0.0.0:10051           0.0.0.0:*               LISTEN    1574/zabbix_server
tcp6       0      0 :::10051                :::*                    LISTEN    1574/zabbix_server
If the port found is not open, we need to check whether there is a problem with the configuration file.
5. Configuring the web GUI
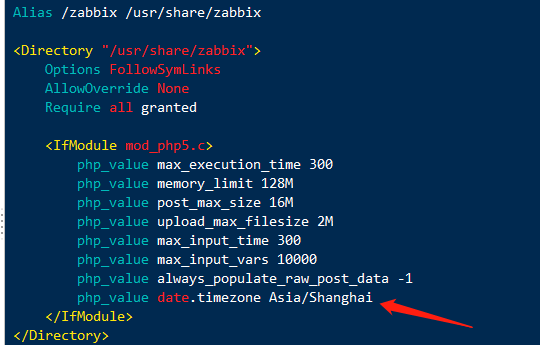
There is a / etc/httpd/conf.d/zabbix.conf file. This configuration file is the file that helps us map
[root@zabbix-server zabbix]# vim /etc/httpd/conf.d/zabbix.conf   #Set time zone
#There's basically no movement inside. Just add one line of time zone
php_value date.timezone Asia/Shanghai       ---Add as follows
Next, we can start our httpd service:
[root@zabbix-server zabbix]# systemctl start httpd
[root@zabbix-server zabbix]# systemctl enable httpd

Our service has been opened, and then we can access it with a browser.
3, Browser access and initialization settings
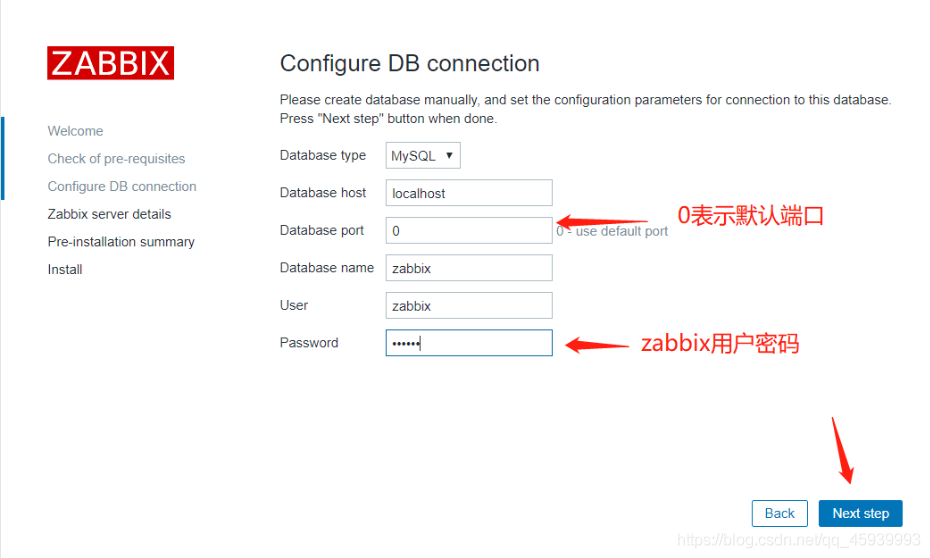
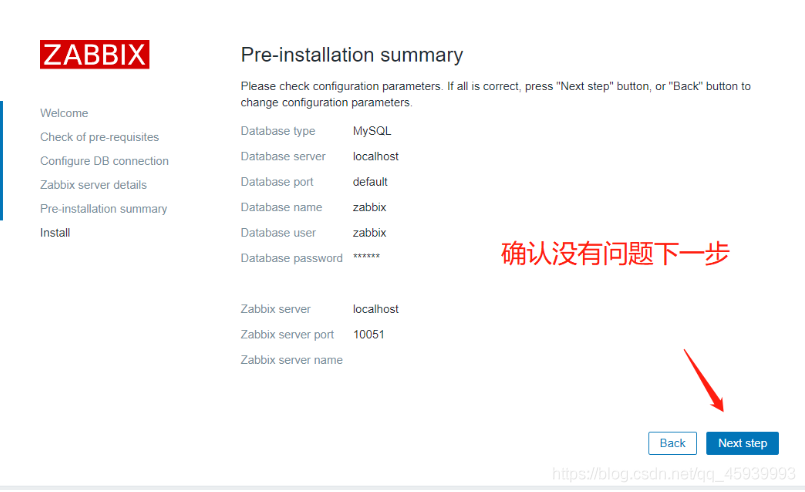
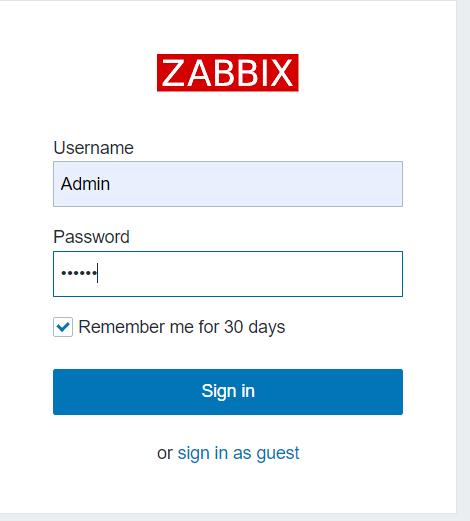
We use the browser to access 192.168.246.228/zabbix. During the first visit, we need to make some initialization settings. We can follow the prompts:


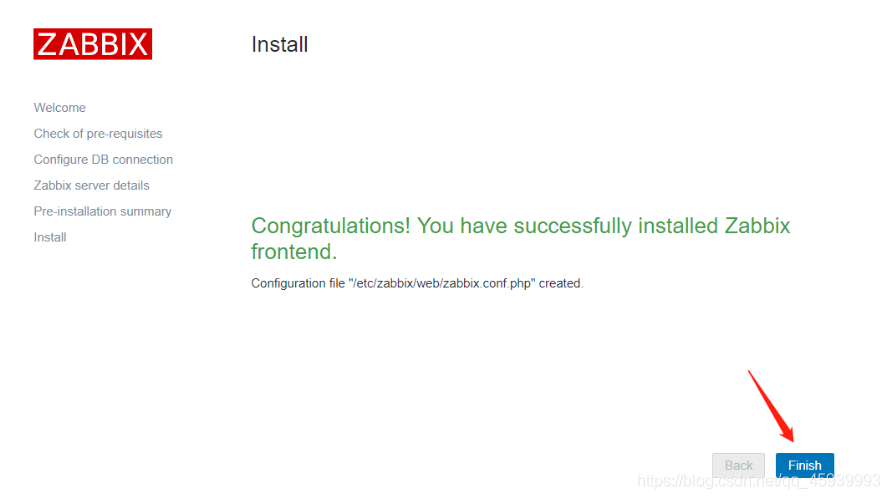
- After clicking Finish, we will jump to the login page and log in with our account and password: (the default user name is Admin and the password is zabbix.)
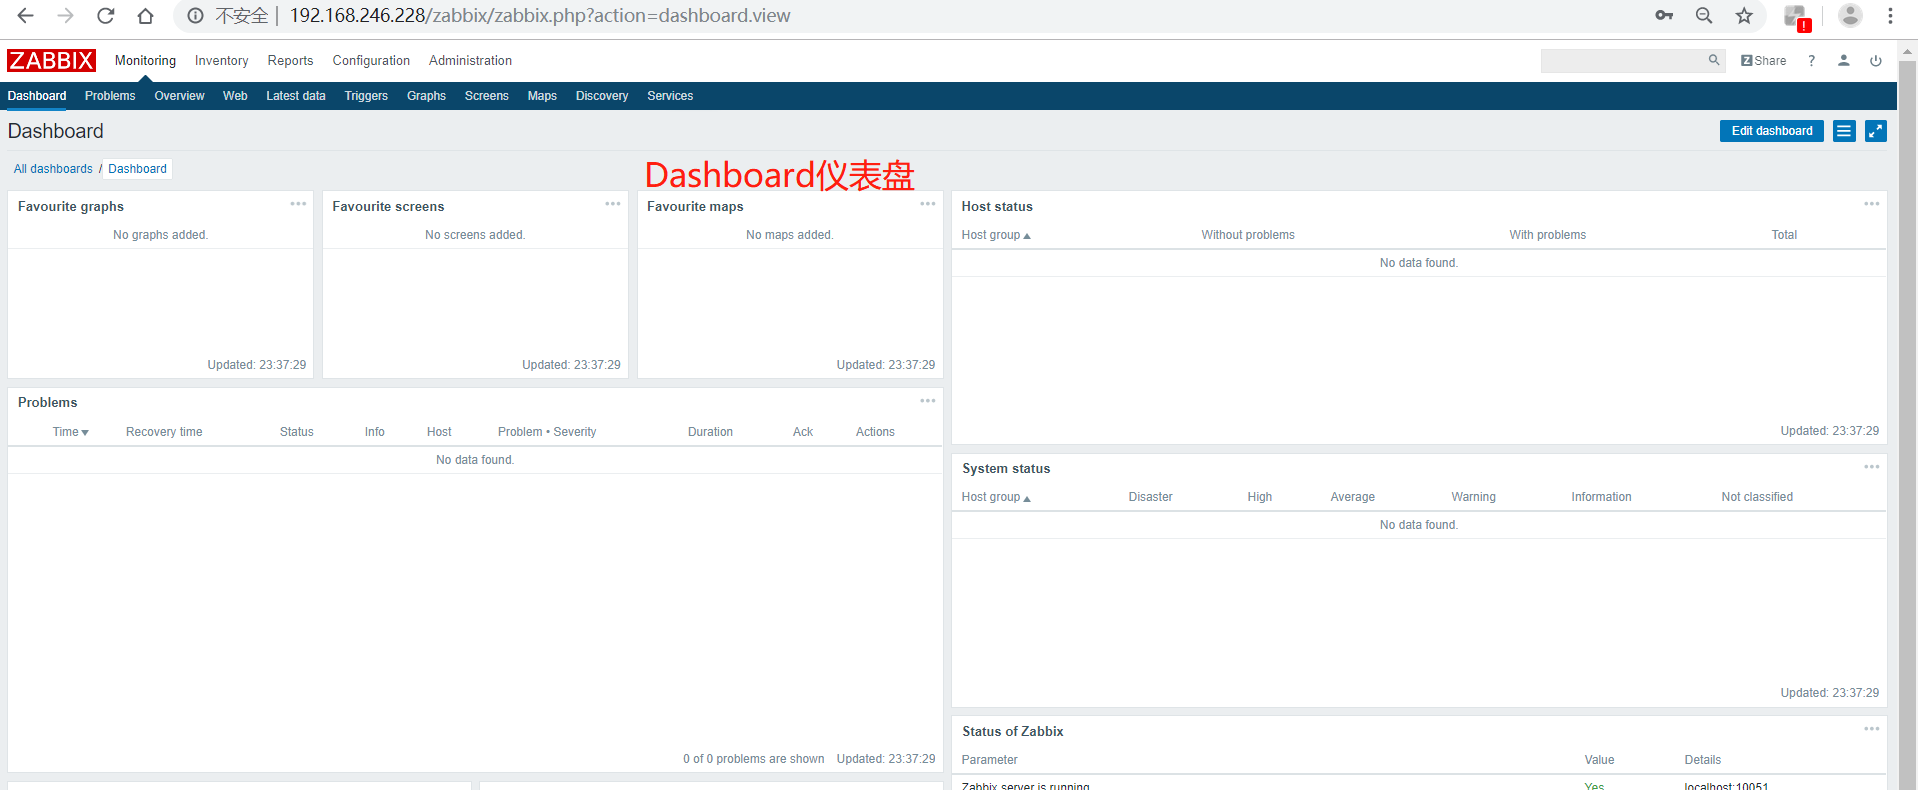
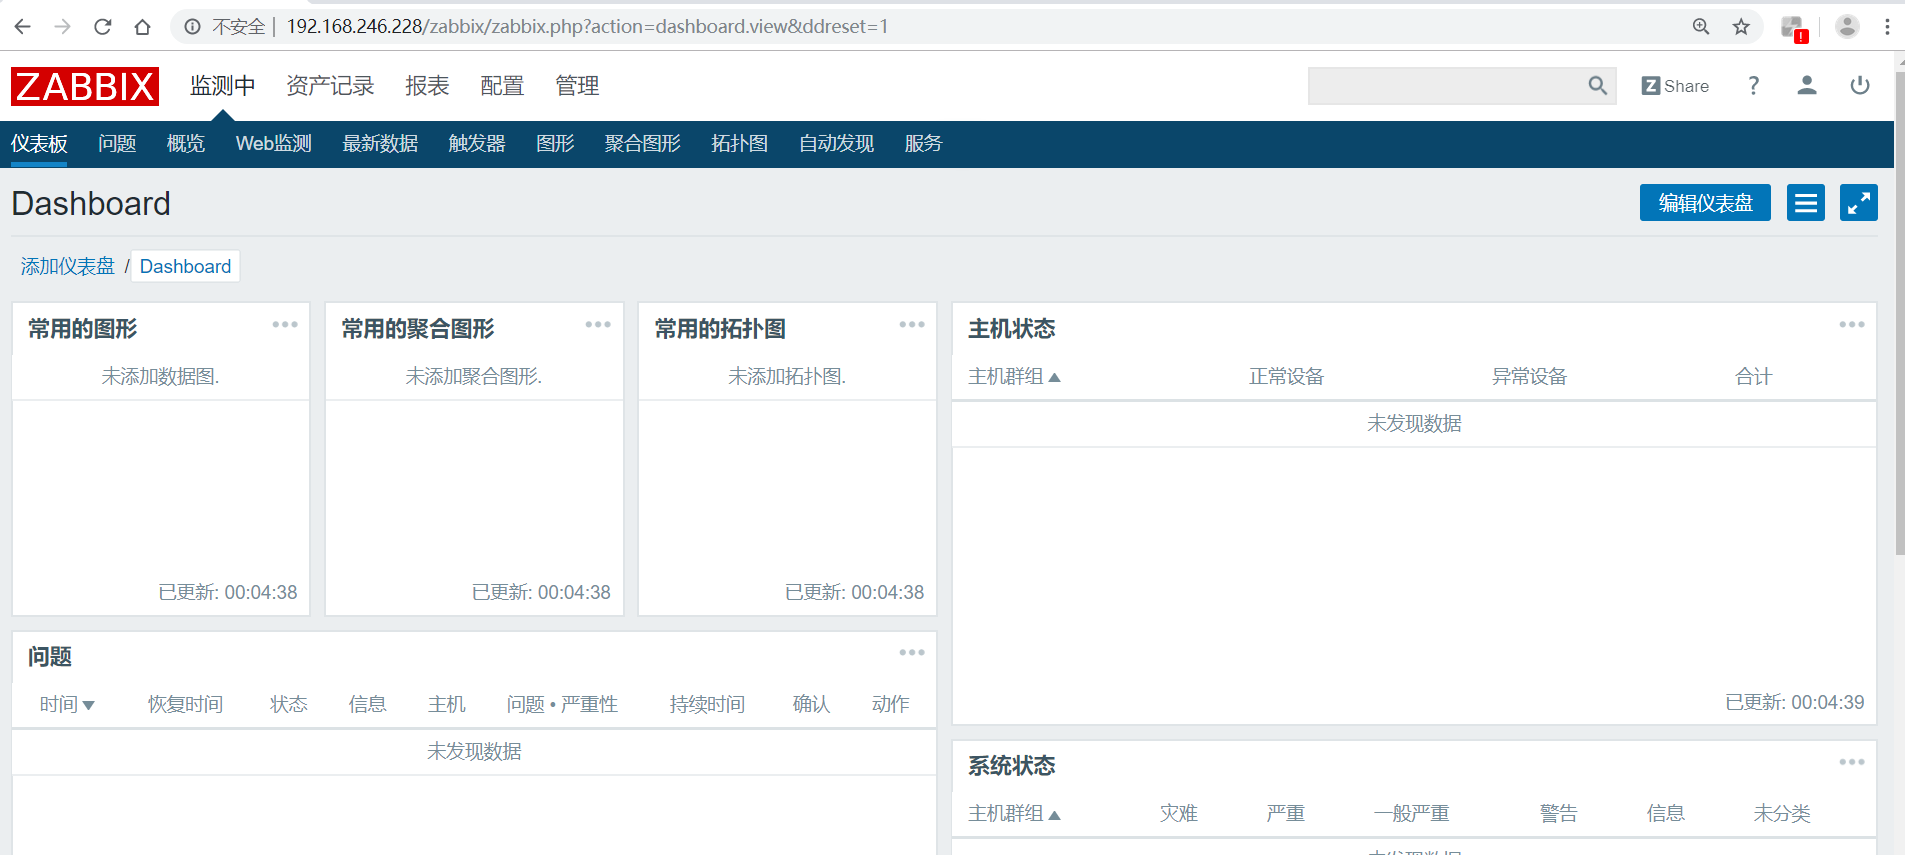
Log in and you can see our dashboard:
4, Install and configure agent side
After we start the monitoring end configuration, we need to set up our monitored end. We install the agent on the monitored host, set up its server, and add it to the server end, so that it can be incorporated into our monitoring system.
1. Install ZABBIX agent
Similarly, let's install zabbix first. Both machines operate
[root@zabbix-agent-none1 ~]# rpm -ivh http://repo.zabbix.com/zabbix/3.4/rhel/7/x86_64/zabbix-release-3.4-2.el7.noarch.rpm
[root@zabbix-agent-none1 ~]# yum install zabbix-agent zabbix-sender -y
After the installation, we will modify the configuration file.
2. Modify profile
Make a backup of the configuration file, and then modify the configuration file:
[root@zabbix-agent-none1 ~]# cd /etc/zabbix/
[root@zabbix-agent-none1 zabbix]# ls
zabbix_agentd.conf  zabbix_agentd.d
[root@zabbix-agent-none1 zabbix]# cp zabbix_agentd.conf{,.bak}
[root@zabbix-agent-none1 zabbix]# ls
zabbix_agentd.conf  zabbix_agentd.conf.bak  zabbix_agentd.d
[root@zabbix-agent-none1 zabbix]# vim zabbix_agentd.conf ---- modify as follows
Server=192.168.246.228 zabbix Server address
ServerActive=192.168.246.228 Active mode zabbix-server-ip
Hostname=zabbix-agent-none1
UnsafeUserParameters=1 Restrict user customization keys Using special characters 1 enables special characters 0 does not enable special characters
EnableRemoteCommands=0 Whether to allow others to execute remote operation commands is disabled by default. If it is opened, there will be security risks.

Whether to allow others to execute remote operation commands is disabled by default. If it is opened, there will be a security risk
After the modification, we save and exit. Then you can start the service:
[root@zabbix-agent-none1 zabbix]# systemctl start zabbix-agent
[root@zabbix-agent-none1 zabbix]# systemctl enable zabbix-agent
Check whether the port is turned on as usual
[root@zabbix-agent-none1 zabbix]# netstat -lntp | grep 10050
tcp        0      0 0.0.0.0:10050           0.0.0.0:*               LISTEN      9369/zabbix_agentd
tcp6       0      0 :::10050                :::*                    LISTEN      9369/zabbix_agentd
It has been opened successfully. Then, we can go to the server side to add.
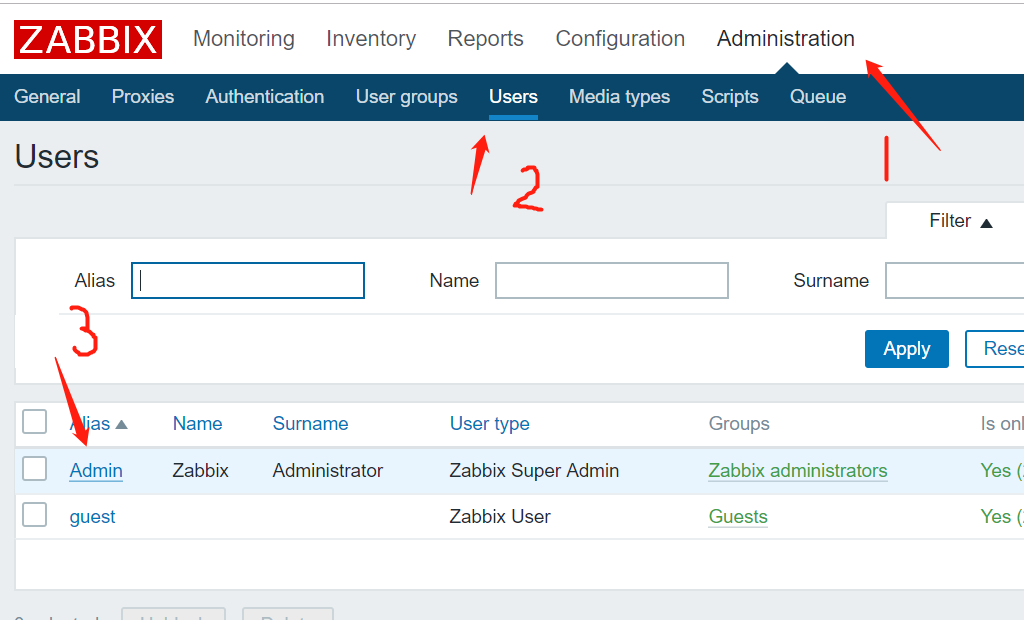
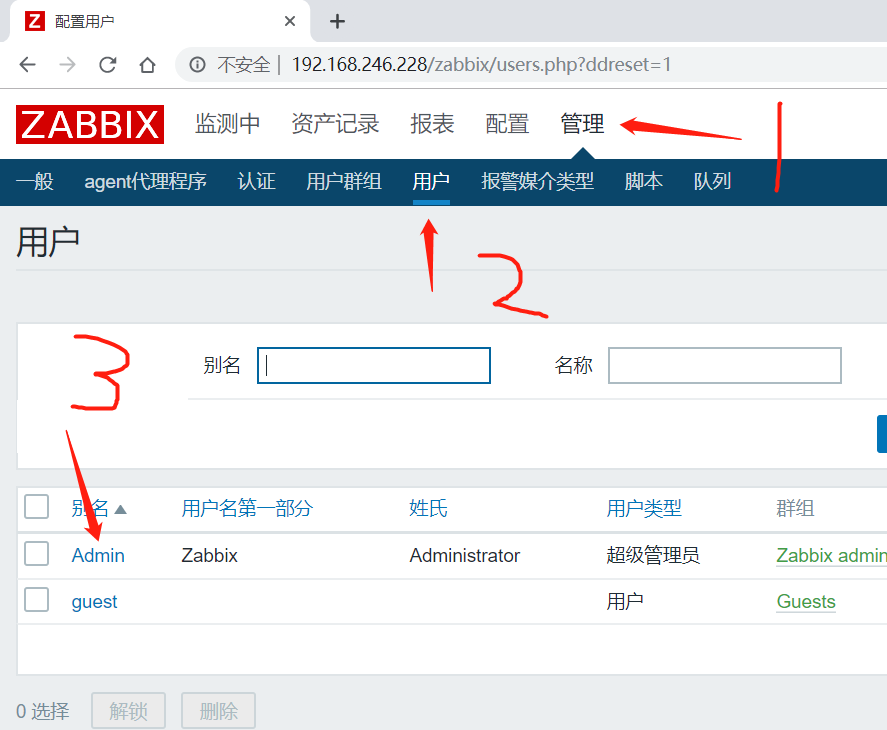
5, Change password and Chinese version
1. Set Chinese
As an operation and maintenance company with poor English, it has been quietly changed to the Chinese version. If you have good English, you can read the English version. If you have bad English, you can change it. After all, the Chinese version is more suitable for beginners to learn faster~
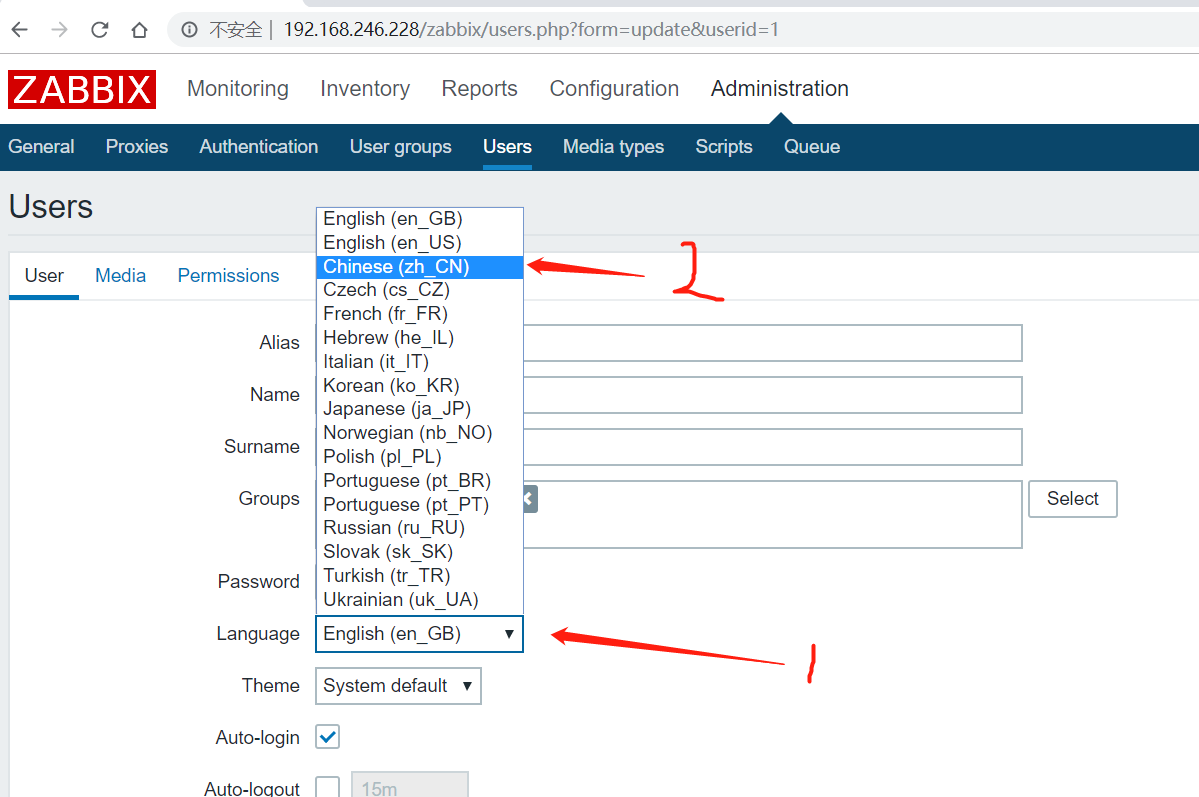
Remember to refresh!
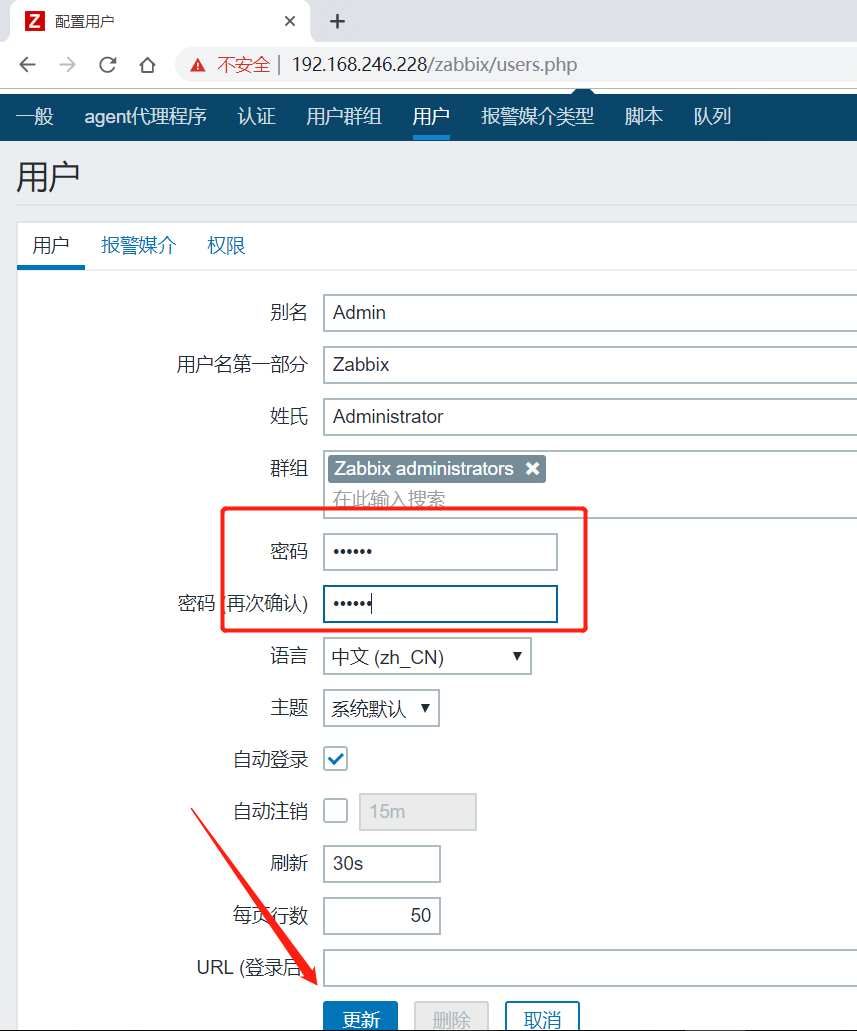
Press the above operation. After selecting Chinese, click Update below to update successfully. After the update, it will look like this~
2. Modify login password
Similarly, for the sake of security, we change the password:
- After modification, click Update.
I've seen it here. Let's pay attention before we go 🌹🌹