Write the video to a file using OpenCV 3 and save it on your own disk
Try to only support writing in avi format. mp4 format will generate files but cannot play them. There is a format error;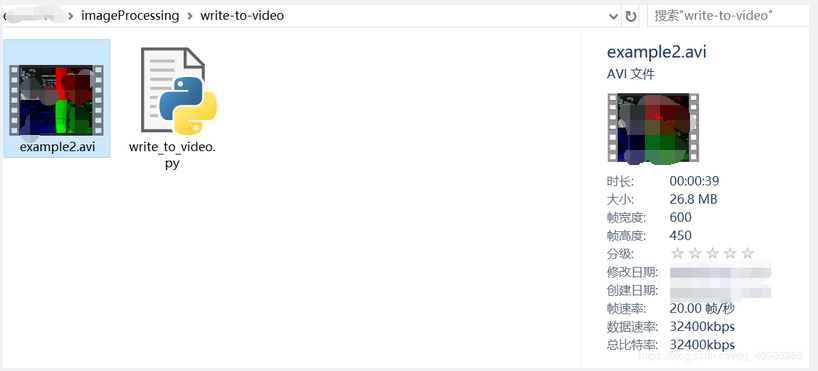
However, if you're trying to write videos in your own application as an archive using OpenCV, be prepared to:
- The video codec installed on the system is studied.
- Play various codecs and file extensions until the video is successfully written to disk.
- Make sure you're in a quiet place away from your children - there will be a lot of curses and curses.
use OpenCV operation video The methods are as follows:
- cv2.VideoWriter)
- cv2.VideoWriter_fourcc
- cv2.cv.FOURCC
The document for creating the video is very detailed, but the document for the combination of codec and file extension required to write the video file successfully is not.
It's been a long time since I needed to create an application to write videos to write files using OpenCV, so when I sat down to write the code for this blog post, I was surprised (and frustrated) at how long it took me to put the examples together.
We will use an efficient and threaded VideoStream to give us access to both the built-in / USB webcam and the Raspberry Pi camera module.
The VideoStream class is implemented inside the imutils Python package. You can read More about VideoStream , how to access multiple camera inputs and read frames efficiently in a threaded way.
The video writing method requires five parameters:
- cv2.VideoWriter(outputVideoPath, fourcc, fps, (w * 2, h * 2), True)
- – output the path of the output video file
- – fourcc codec
- – FPS required to output video files
- – width and height of tuple(w,h) output video
- – true controls whether the color frame is written to a file. True: indicates that we are writing a color > box, False: indicates that we are not writing a color box.
# USAGE
# python write_to_video.py --output example.avi

# Import necessary packages
from __future__ import print_function
# We will use an efficient and threaded VideoStream to give us access to both the built-in / USB webcam and the Raspberry Pi camera module.
# The VideoStream class is implemented inside the imutils Python package. You can read more about VideoStream[ https://www.pyimagesearch.com/2016/01/04/unifying-picamera-and-cv2-videocapture-into-a-single-class-with-opencv/ ]Class, how to access multiple camera inputs and effectively read frames in a threaded manner in this tutorial.
from imutils.video import VideoStream
import numpy as np
import argparse
import imutils
import time
import cv2

# Building command line parameters
# --Output disk path of output video storage
# --picamera specifies whether to use the Raspberry Pi camera module instead of the built-in / USB camera. Provide values > 0 to access the Pi camera module
# --FPS controls the FPS needed to output video
# --Codec we provide FourCC or four character code, video codec identifier, compression format and color / pixel format in video file. Different combinations may or may not work;
# MJPG combination and. avi are out of the box, which can run on OSX machine or Raspberry Pi. Therefore, if you have problems writing video to files, please try these combinations first!
ap = argparse.ArgumentParser()
ap.add_argument("-o", "--output", required=True,
                help="path to output video file")
ap.add_argument("-p", "--picamera", type=int, default=-1,
                help="whether or not the Raspberry Pi camera should be used")
ap.add_argument("-f", "--fps", type=int, default=20,
                help="FPS of output video")
ap.add_argument("-c", "--codec", type=str, default="MJPG",
                help="codec of output video")
args = vars(ap.parse_args())

# Initialize the video stream and let the camera 📷 Sensor preheating 2s
print("[INFO] warming up camera...")
vs = VideoStream(usePiCamera=args["picamera"] > 0).start()
time.sleep(2.0)

# Initialize an array of FourCC, video writer, frame window width, height, 0
fourcc = cv2.VideoWriter_fourcc(*args["codec"])
writer = None
(h, w) = (None, None)
zeros = None

# Traversal video stream
while True:
    # Get a frame of video stream and resize window width is 300
    frame = vs.read()
    frame = imutils.resize(frame, width=300)

    # Check whether the writer is None
    if writer is None:
        # Get the space size (width and height) of the frame, and instantiate the video stream writer
        (h, w) = frame.shape[:2]
        writer = cv2.VideoWriter(args["output"], fourcc, args["fps"],
                                 (w * 2, h * 2), True)
        zeros = np.zeros((h, w), dtype="uint8")

    # We separate the frame into red, green and blue channels, and then we use the Numpy zero array to construct the representation of each channel
    (B, G, R) = cv2.split(frame)
    R = cv2.merge([zeros, zeros, R])
    G = cv2.merge([zeros, G, zeros])
    B = cv2.merge([B, zeros, zeros])
    # Build the original image of output frame in the upper left corner red channel upper right corner green channel lower right corner blue channel lower left corner
    output = np.zeros((h * 2, w * 2, 3), dtype="uint8")
    output[0:h, 0:w] = frame
    output[0:h, w:w * 2] = R
    output[h:h * 2, w:w * 2] = G
    output[h:h * 2, 0:w] = B
    # Write frame to video
    writer.write(output)

    # Display frame
    cv2.imshow("Frame", frame)
    cv2.imshow("Output", output)
    key = cv2.waitKey(1) & 0xFF
    # Press q to end play
    if key == ord("q"):
        break

# Clean up, release resources
print("[INFO] cleaning up...")
cv2.destroyAllWindows()
vs.stop()
writer.release()
reference resources: https://www.pyimagesearch.com/2016/02/22/writing-to-video-with-opencv/