Recently, many pictures of small programs are uploaded to the Java background, which is written with springboot. Also is stepped on many pits, today will take you to step by step to achieve the upload of small program side many pictures.
First, look at the effect realization diagram
Callback for successful upload of applet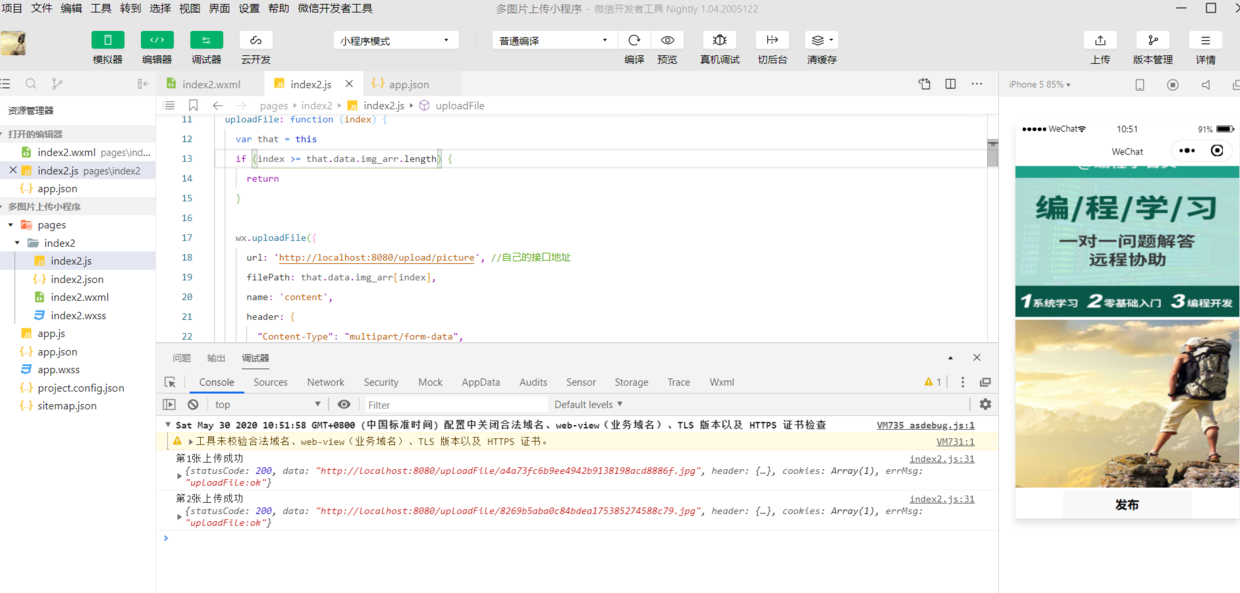
Print after receiving pictures in Java
Links can be opened and viewed directly in the browser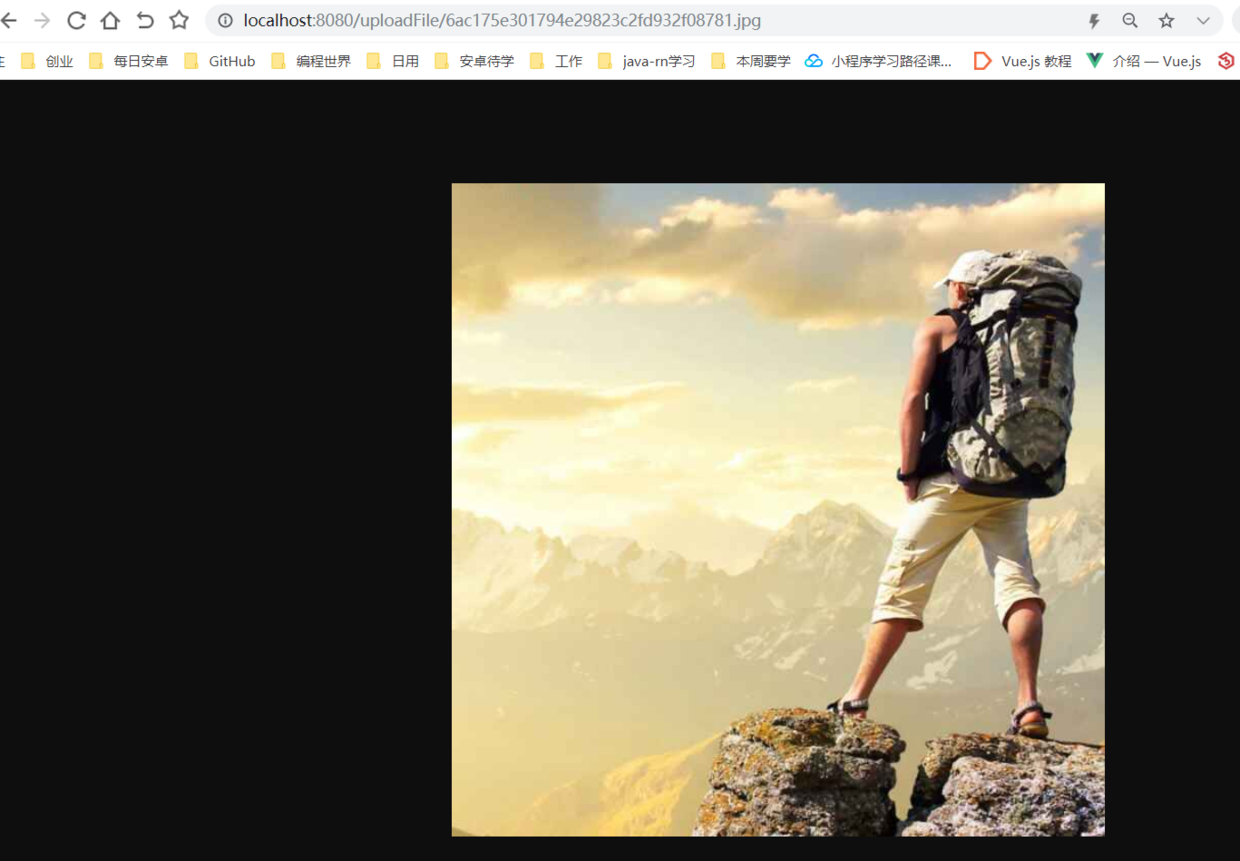
In fact, as can be seen from the two screenshots, we have successfully uploaded the image and returned the accessible image url to the front end of the applet.
Don't talk much, just look at the code.
1, Applet code
1. wxml layout file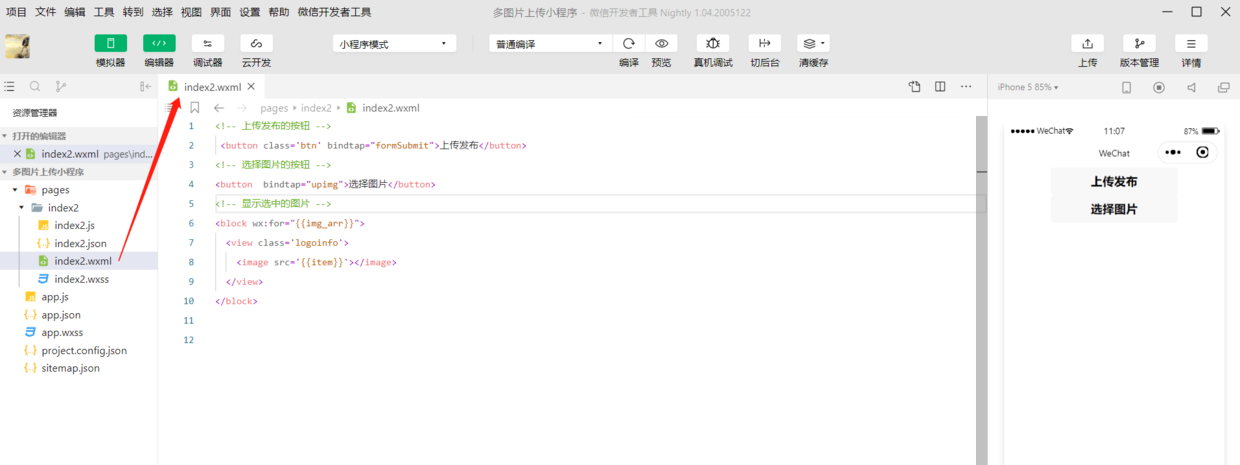
In fact, the page is very simple, a upload button, a select Picture button. Be sure to select the picture first, and then click upload.
2. js file
Take a look at js files. The most important method in js files is the uploadFile method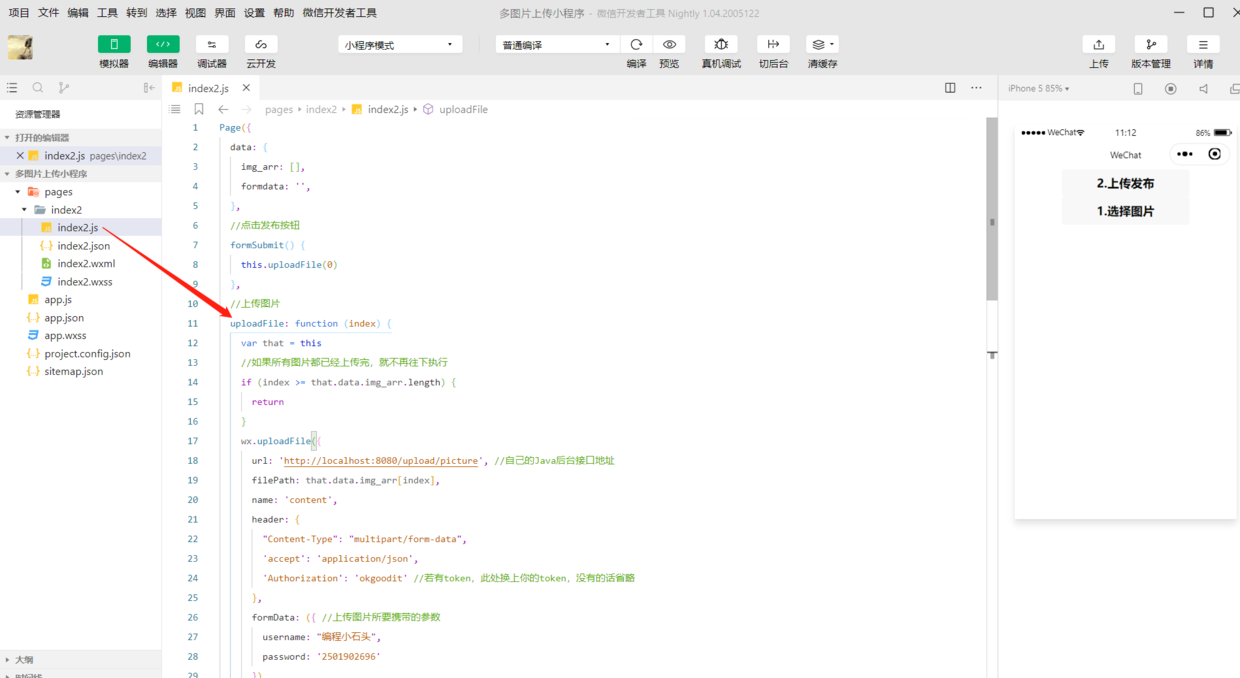
In the uploadFile method, we request our Java background interface to upload pictures. Here are some points for attention
- The app can only upload a single picture at a time
- If the for loop is used to upload the request, there will be a parallel upload, and there will be a problem of missing a picture in the parallel upload
- I use the idea of serial, each picture carries out an upload request, after the request response is successful, upload the second picture in the call request, and so on.
Now post the complete code to you
Page({
  data: {
    img_arr: [],
    formdata: '',
  },
  //Click the Publish button
  formSubmit() {
    this.uploadFile(0)
  },
  //Upload picture
  uploadFile: function (index) {
    var that = this
    //If all images have been uploaded, no further execution will be performed
    if (index >= that.data.img_arr.length) {
      return
    }
    wx.uploadFile({
      url: 'http://localhost:8080/upload/picture '/ / your own Java background interface address
      filePath: that.data.img_arr[index],
      name: 'content',
      header: {
        "Content-Type": "multipart/form-data",
        'accept': 'application/json',
        'Authorization': 'okgoodit' //If there is a token, replace it with your token here. If not, omit it
      },
      formData: ({ //Parameters for uploading pictures
        username: "Programming stone",
        password: '2501902696'
      }),
      success: function (res) {
        console.log(`The first ${index+1}Zhang uploaded successfully`, res)
        index++
        that.uploadFile(index)
      },
      fail(res) {
        console.log(`The first ${index+1}Failed to upload`, res)
      }
    })
  },
  //Select pictures to upload
  upimg: function () {
    var that = this;
    //Here's the rule of the small program. You'd better choose only 9. I'll fill in 3 randomly. You can also change it yourself
    if (this.data.img_arr.length < 3) {
      wx.chooseImage({
        sizeType: ['original', 'compressed'], // You can specify whether it is original or compressed, both of which are available by default
        sourceType: ['album', 'camera'], // You can specify whether the source is an album or a camera, both of which are available by default
        success: function (res) {
          that.setData({
            img_arr: that.data.img_arr.concat(res.tempFilePaths)
          });
        }
      })
    } else {
      wx.showToast({
        title: 'Upload up to three pictures',
        icon: 'loading',
        duration: 3000
      });
    }
  },
})
The comments in the code are clear. Here is the end of the applet. Next let's look at the implementation of the Java background.
2, Java background code
First, let's look at the background code directory. The background code is very simple. It's an UploadController
The main implementation methods here are in uploadPicture
@RequestMapping("/picture")
    public String uploadPicture(HttpServletRequest request, HttpServletResponse response) throws Exception {
        String filePath = "";
        request.setCharacterEncoding("utf-8"); //Set encoding
        String realPath = request.getSession().getServletContext().getRealPath("/uploadFile/");
        File dir = new File(realPath);
        //If the file directory does not exist, create a
        if (!dir.isDirectory()) {
            dir.mkdirs();
        }
        try {
            StandardMultipartHttpServletRequest req = (StandardMultipartHttpServletRequest) request;
            //Get the value of formdata
            Iterator<String> iterator = req.getFileNames();
            String username = request.getParameter("username");
            String password = request.getParameter("password");
            String timedata = request.getParameter("timedata");

            while (iterator.hasNext()) {
                MultipartFile file = req.getFile(iterator.next());
                String fileName = file.getOriginalFilename();
                //Write to disk
                String uuid = UUID.randomUUID().toString().replace("-", "");
                String kzm = fileName.substring(fileName.lastIndexOf("."));
                String filename = uuid + kzm;
                File file1 = new File(realPath + filename);
                OutputStream out = new FileOutputStream(file1);
                out.write(file.getBytes());
                out.close();
                filePath = request.getScheme() + "://" +
                        request.getServerName() + ":"
                        + request.getServerPort()
                        + "/uploadFile/" + filename;
                System.out.println("Access picture path:" + filePath + "====username:" + username);
            }
        } catch (Exception e) {
            logger.error("", e);
        }
        return filePath;

    }
Here I'll tell you about the implementation steps
- 1. springboot provides an external interface for the applet to access
- 2. The applet uploads a single picture and additional parameters to the background
- 3. The background writes the image to the local or image server, and then returns the corresponding image url to the applet.

As can be seen from the above figure, the Java background returns the corresponding image url to the front end, and you can get the user name passed from the front end of the applet.
I'll post the complete code here.
package com.img.demo;

import org.slf4j.Logger;
import org.slf4j.LoggerFactory;
import org.springframework.web.bind.annotation.RequestMapping;
import org.springframework.web.bind.annotation.RestController;
import org.springframework.web.multipart.MultipartFile;
import org.springframework.web.multipart.support.StandardMultipartHttpServletRequest;

import javax.servlet.http.HttpServletRequest;
import javax.servlet.http.HttpServletResponse;
import java.io.File;
import java.io.FileOutputStream;
import java.io.OutputStream;
import java.util.Iterator;
import java.util.UUID;

/**
 * Picture upload
 * Programming stone
 */
@RestController
@RequestMapping("/upload")
public class UploadController {
    private static final Logger logger = LoggerFactory.getLogger(UploadController.class);

    @RequestMapping("/picture")
    public String uploadPicture(HttpServletRequest request, HttpServletResponse response) throws Exception {
        String filePath = "";
        request.setCharacterEncoding("utf-8"); //Set encoding
        String realPath = request.getSession().getServletContext().getRealPath("/uploadFile/");
        File dir = new File(realPath);
        //If the file directory does not exist, create a
        if (!dir.isDirectory()) {
            dir.mkdirs();
        }
        try {
            StandardMultipartHttpServletRequest req = (StandardMultipartHttpServletRequest) request;
            //Get the value of formdata
            Iterator<String> iterator = req.getFileNames();
            String username = request.getParameter("username");
            String password = request.getParameter("password");
            String timedata = request.getParameter("timedata");

            while (iterator.hasNext()) {
                MultipartFile file = req.getFile(iterator.next());
                String fileName = file.getOriginalFilename();
                //Write to disk
                String uuid = UUID.randomUUID().toString().replace("-", "");
                String kzm = fileName.substring(fileName.lastIndexOf("."));
                String filename = uuid + kzm;
                File file1 = new File(realPath + filename);
                OutputStream out = new FileOutputStream(file1);
                out.write(file.getBytes());
                out.close();
                filePath = request.getScheme() + "://" +
                        request.getServerName() + ":"
                        + request.getServerPort()
                        + "/uploadFile/" + filename;
                System.out.println("Access picture path:" + filePath + "====username:" + username);
            }
        } catch (Exception e) {
            logger.error("", e);
        }
        return filePath;
    }
}
As for the basic knowledge of how to create a spring boot project, I will not explain it to you here.