1, Role addition, deletion, modification and query
① Create a new schema about role table, model > role.js Next new role.js , type the following code:
module.exports = app => {
  const mongoose = app.mongoose;
  const Schema = mongoose.Schema;

  var d = new Date();

  const RoleSchema = new Schema({
    title: { type: String },
    description: { type: String },
    status: { type: Number, default: 1 },
    add_time: {
      type: Number,
      default: d.getTime()
    }
  });

  return mongoose.model("Role", RoleSchema, "role");
};
② Create a new routing rule. The new role submission form will be called.
router.post("/admin/role/doAdd", controller.admin.role.doAdd);
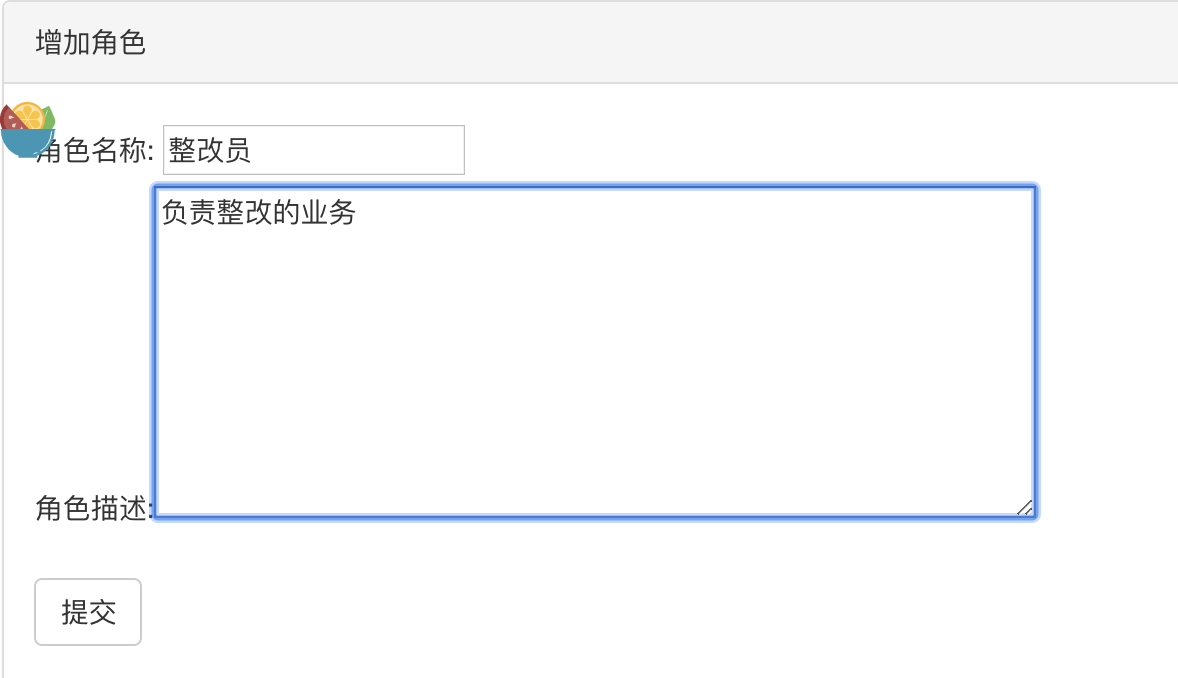
③ Add role form (add hidden field csrf validation)
<form action="/admin/role/doAdd" method="post">
     <ul>
         <input type='hidden' name="_csrf" value="<%=csrf%>"></input>
         <li>  Role name: <input type="text" name="title"/></li>
               Role description:<textarea name="description" id="" cols="60" rows="8"></textarea>
         <li>
         <br/>
         <button type="submit" class="btn btn-default">Submit</button>
         </li>

     </ul>
</form>
④ role controller print post data:
async doAdd() {
    console.log(this.ctx.request.body);
}
⑤ Add role form and click Submit

⑥ Execute the method of doAdd controller under role to print the data submitted by post
async doAdd() {
    console.log(this.ctx.request.body);
  }

⑥ Change to the following logic: insert data into the database
async doAdd() {
    // console.log(this.ctx.request.body);
    let role = this.ctx.model.Role({
      title: this.ctx.request.body.title,
      description: this.ctx.request.body.description
    });
    let result = await role.save();
    console.log(result);
    await this.success("/admin/role", "Role added successfully");
  }
⑦ As can be seen from the visualization tool, a piece of data is inserted into the database:

⑧ Modifying the controller executed by the role list page
async index() {
    let list = await this.ctx.model.Role.find({});
    // console.log(list);
    await this.ctx.render("admin/role/index", {
      list
    });
  }
⑨ The controller of the role template page is modified as follows:
<table class="table table-bordered">
                            <thead>
                                <tr class="th">
                                    <th>Role name</th>
                                    <th>describe</th>
                                    <th>Increase time</th>
                                    <th>operation</th>
                                </tr>
                            </thead>
                            <tbody>
                                <%for(var i = 0;i<list.length;i++){%>
                                    <tr>
                                        <td><%=list[i].title%></td>
                                        <td><%=list[i].description%></td>
                                        <td><%=list[i].addTime%></td>

                                        <td class="text-center">Modify delete</td>
                                    </tr>
                                <%}%>
                            </tbody>
                        </table>
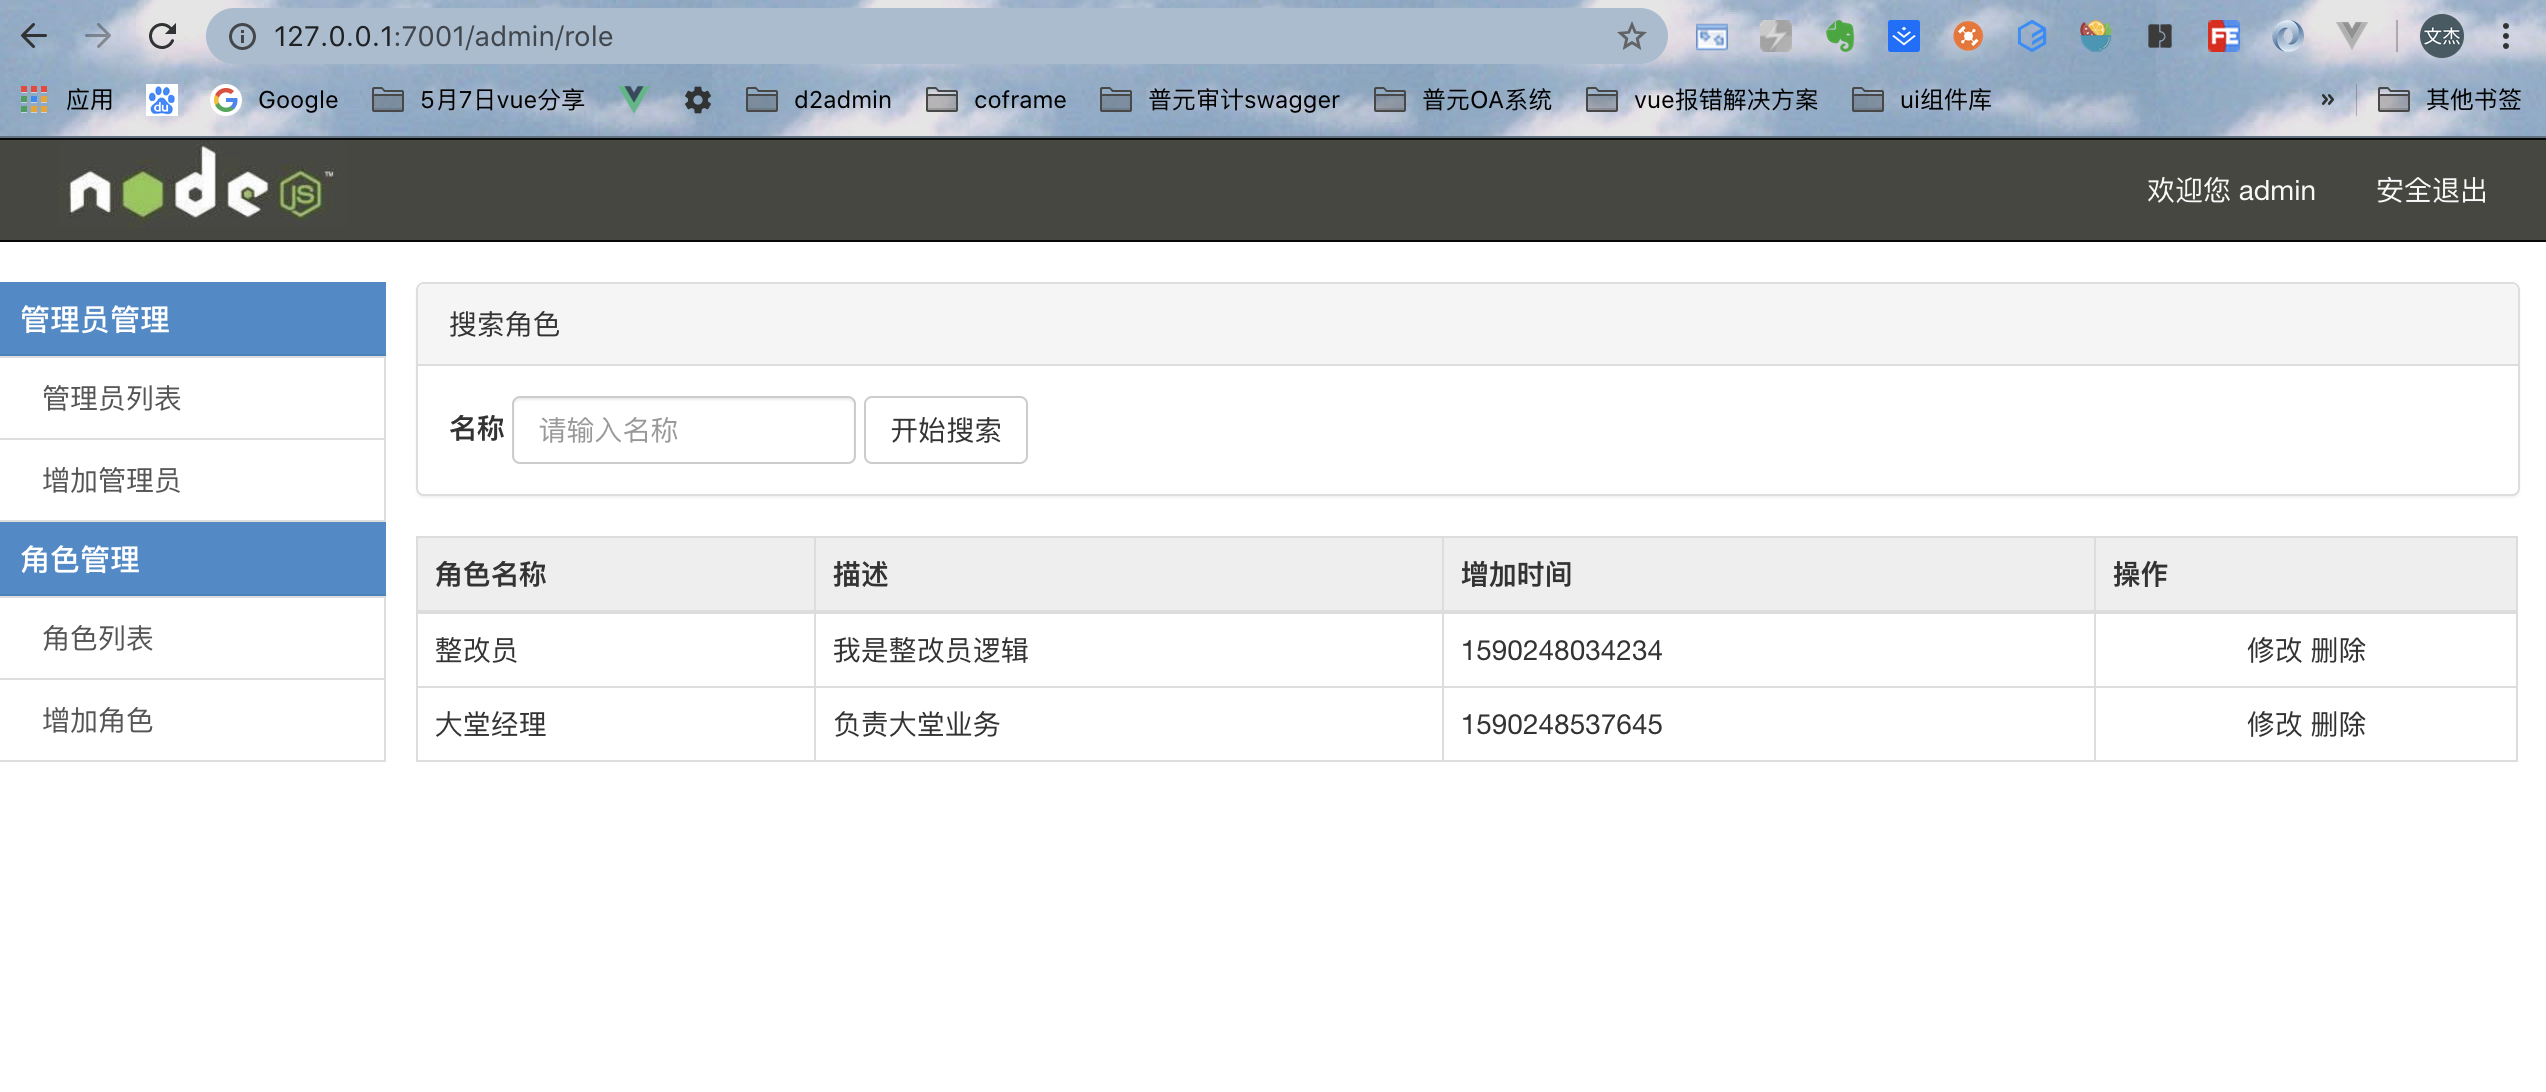
⑩ After the character is added successfully, the data can be read out for page rendering:

11. Edit function modification button: access edit route, execute the edit method of controller, and pass an id to the next page.
 <td class="text-center">
      <a href="/admin/role/edit?id=<%=list[i]._id%>">modify</a>
 </td>
12. The next page will query the form according to this id and make editing echo.
async edit() {
    let id = this.ctx.query.id;
    console.log(id);
    let list = await this.ctx.model.Role.find({ _id: id });
    console.log(list);
    await this.ctx.render("admin/role/edit", { list });
  }
13. Click submit to modify the form, then configure the modify route:
router.post("/admin/role/doEdit", controller.admin.role.doEdit);
14. doEdit performs the following logic: find the corresponding id to modify the data.
async doEdit() {
    let { _id, title, description } = this.ctx.request.body;
    let result = await this.ctx.model.Role.updateOne(
      { _id },
      { title, description }
    );
    console.log(result);
    if (result) {
      await this.success("/admin/role", "Edit role succeeded");
    } else {
      await this.error("/admin/role", "Failed to edit role");
    }
  }
15.


16. If you want to delete, you need to take an id to perform the deletion. Tomorrow, you need to encapsulate the public deletion method. Broken sleep.