A new WeChat official account has been applied for.
1. Apply for the account of wechat public platform, and then apply for Tencent cloud recommended by him to do demo
2. After applying for centos host, get the public ip and password. After ssh login, follow the demo prompt
3. Install web.py.
wget -c http://webpy.org/static/web.py-0.38.tar.gz
python setup.py install
4. Start a python service.
According to demo, write two files, main.py.handler.py. Because I haven't contacted python, it took a little time to print out the log...
# filename: main.py
import web

from handle import Handle

urls = (
    '/wx', 'Handle',
)


if __name__ == '__main__':
    app = web.application(urls, globals())
    app.run()
# filename:

handle.py

import hashlib
import web

import logging
class Handle(object):
    def GET(self):
        try:
            logging.basicConfig("myapp.log", level=logging.INFO)
            logger = logging.getLogger(__name__)
            data = web.input()
            logger.info("datais11111");
            logger.info("datais %s", data);
            if len(data) == 0:
                return "hello, this is handle view"
            signature = data.signature
            timestamp = data.timestamp
            nonce = data.nonce
            echostr = data.echostr
            token = "718826dingjiao" #Please fill in according to the information in the official website / basic configuration of the public platform

            list = [token, timestamp, nonce]
            list.sort()
            sha1 = hashlib.sha1()
            map(sha1.update, list)
            hashcode = sha1.hexdigest()
            logger.info("handle/GET func: hashcode, signature: ", hashcode, signature)

            if hashcode == signature:
                return echostr
            else:
                return ""
        except Exception, Argument:
            logger.info(Argument)
            return Argument
~
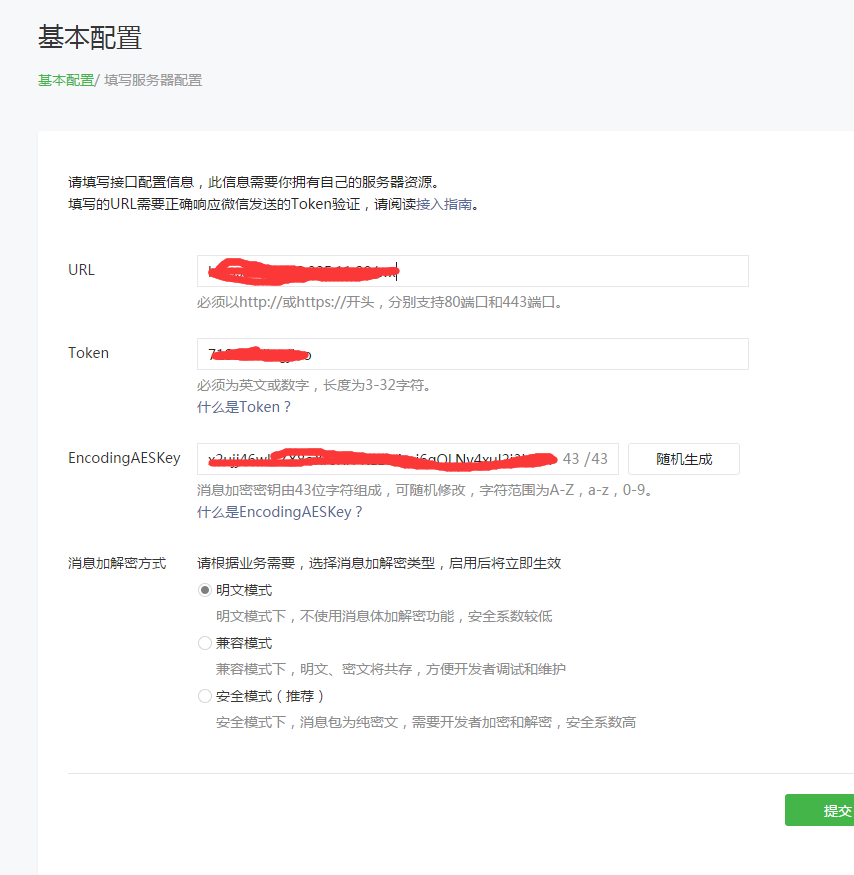
4. Fill in services

Add related settings
5. Start the service.