0x00 introduction to rabbimq
RabbiMQ is developed with Erlang, which is very convenient for clustering. Erlang is a distributed language by nature, but it does not support load balancing.
RabbiMQ mode
RabbitMQ mode can be roughly divided into the following three types: (1) the first mock exam. (2) Normal mode (the default cluster mode). (3) Mirror mode (the required queue is made into a mirror queue, which exists in multiple nodes. It belongs to the HA scheme of RabbiMQ, which is more applicable in situations with higher requirements for business reliability). To realize the image mode, we need to build a common cluster mode, and then configure the image mode to achieve high availability.
RabbiMQ features
The cluster nodes of RabbitMQ include memory nodes and disk nodes. RabbitMQ supports message persistence In other words, data is written on disk. The most appropriate solution is to have both memory nodes and disk nodes.
0x01 deployment steps
hosts environment
/etc/hosts
192.168.66.61 xx-mq-1
192.168.66.62 xx-mq-2
192.168.66.63 xx-mq-3
Installation package
#  wget http://www.rabbitmq.com/releases/erlang/erlang-18.1-1.el7.centos.x86_64.rpm
# wget https://www.rabbitmq.com/releases/rabbitmq-server/v3.6.15/rabbitmq-server-3.6.15-1.el7.noarch.rpm
#  yum install rabbitmq-server-3.6.15-1.el7.noarch.rpm

yum install erlang rabbitmq-server
# yum installation
systemctl enable rabbitmq-server # Boot up

rabbitmq-plugins
Configuration on node 1
systemctl start rabbitmq-server
# Start service generation: / var/lib/rabbitmq/.erlang.cookie

ssh-keygen  -t rsa -P ''
ssh-copy-id  xx-mq-2
ssh-copy-id  xx-mq-3
# Push ssh public key

scp    -r /var/lib/rabbitmq/.erlang.cookie  xx-mq-2:/var/lib/rabbitmq/
scp    -r /var/lib/rabbitmq/.erlang.cookie  xx-mq-3:/var/lib/rabbitmq/
# Push file
ssh xx-mq-2 chown rabbitmq.rabbitmq /var/lib/rabbitmq/.erlang.cookie
ssh xx-mq-3 chown rabbitmq.rabbitmq /var/lib/rabbitmq/.erlang.cookie
# Remote file empowerment

ssh  xx-mq-2 systemctl start rabbitmq-server
ssh  xx-mq-3 systemctl start rabbitmq-server

#rabbitmqctl stop
# rabbitmq-server -detached
# Can not execute
Configuration of each node
rabbitmqctl stop_app
rabbitmqctl join_cluster  rabbit@xx-mq-1
rabbitmqctl start_app
# node2 and node3 join the cluster

rabbitmqctl cluster_status
# Any node to view the cluster status

rabbitmqctl reset
# To divide a node, execute in a node
Set cluster policy: mirror queue
rabbitmqctl set_policy ha-all "^" '{"ha-mode":"all"}'
# Execute the command on any node to set the mirror queue policy: set all queues as mirror queues, that is, the queues will be copied to each node, and the status of each node will remain the same
Profile reference
The configuration file for RabbitMQ is / etc/rabbitmq/rabbitmq.config
 The environment configuration file of RabbitMQ is / etc / RabbitMQ / RabbitMQ env.conf
Plug in management
rabbitmq-plugins list

rabbitmq-plugins enable rabbitmq_management
# Each node performs installation web Management
haproxy load (nginx tcp load available)
cat /etc/haproxy/haproxy.cfg
listen rabbitmq_cluster 0.0.0.0:5672

mode tcp
balance roundrobin

server   node1 192.168.1.1:5672 check inter 2000 rise 2 fall 3
server   node2 192.168.1.2:5672 check inter 2000 rise 2 fall 3
server   node2 192.168.1.3:5672 check inter 2000 rise 2 fall 3

listen private_monitoring :8100
       mode    http
       option  httplog
       stats   enable
       #Set the monitoring address of haproxy to http: / / localhost: 8100 / rabbitmq stats
       stats   uri  /rabbitmq-stats
       stats   refresh 5s
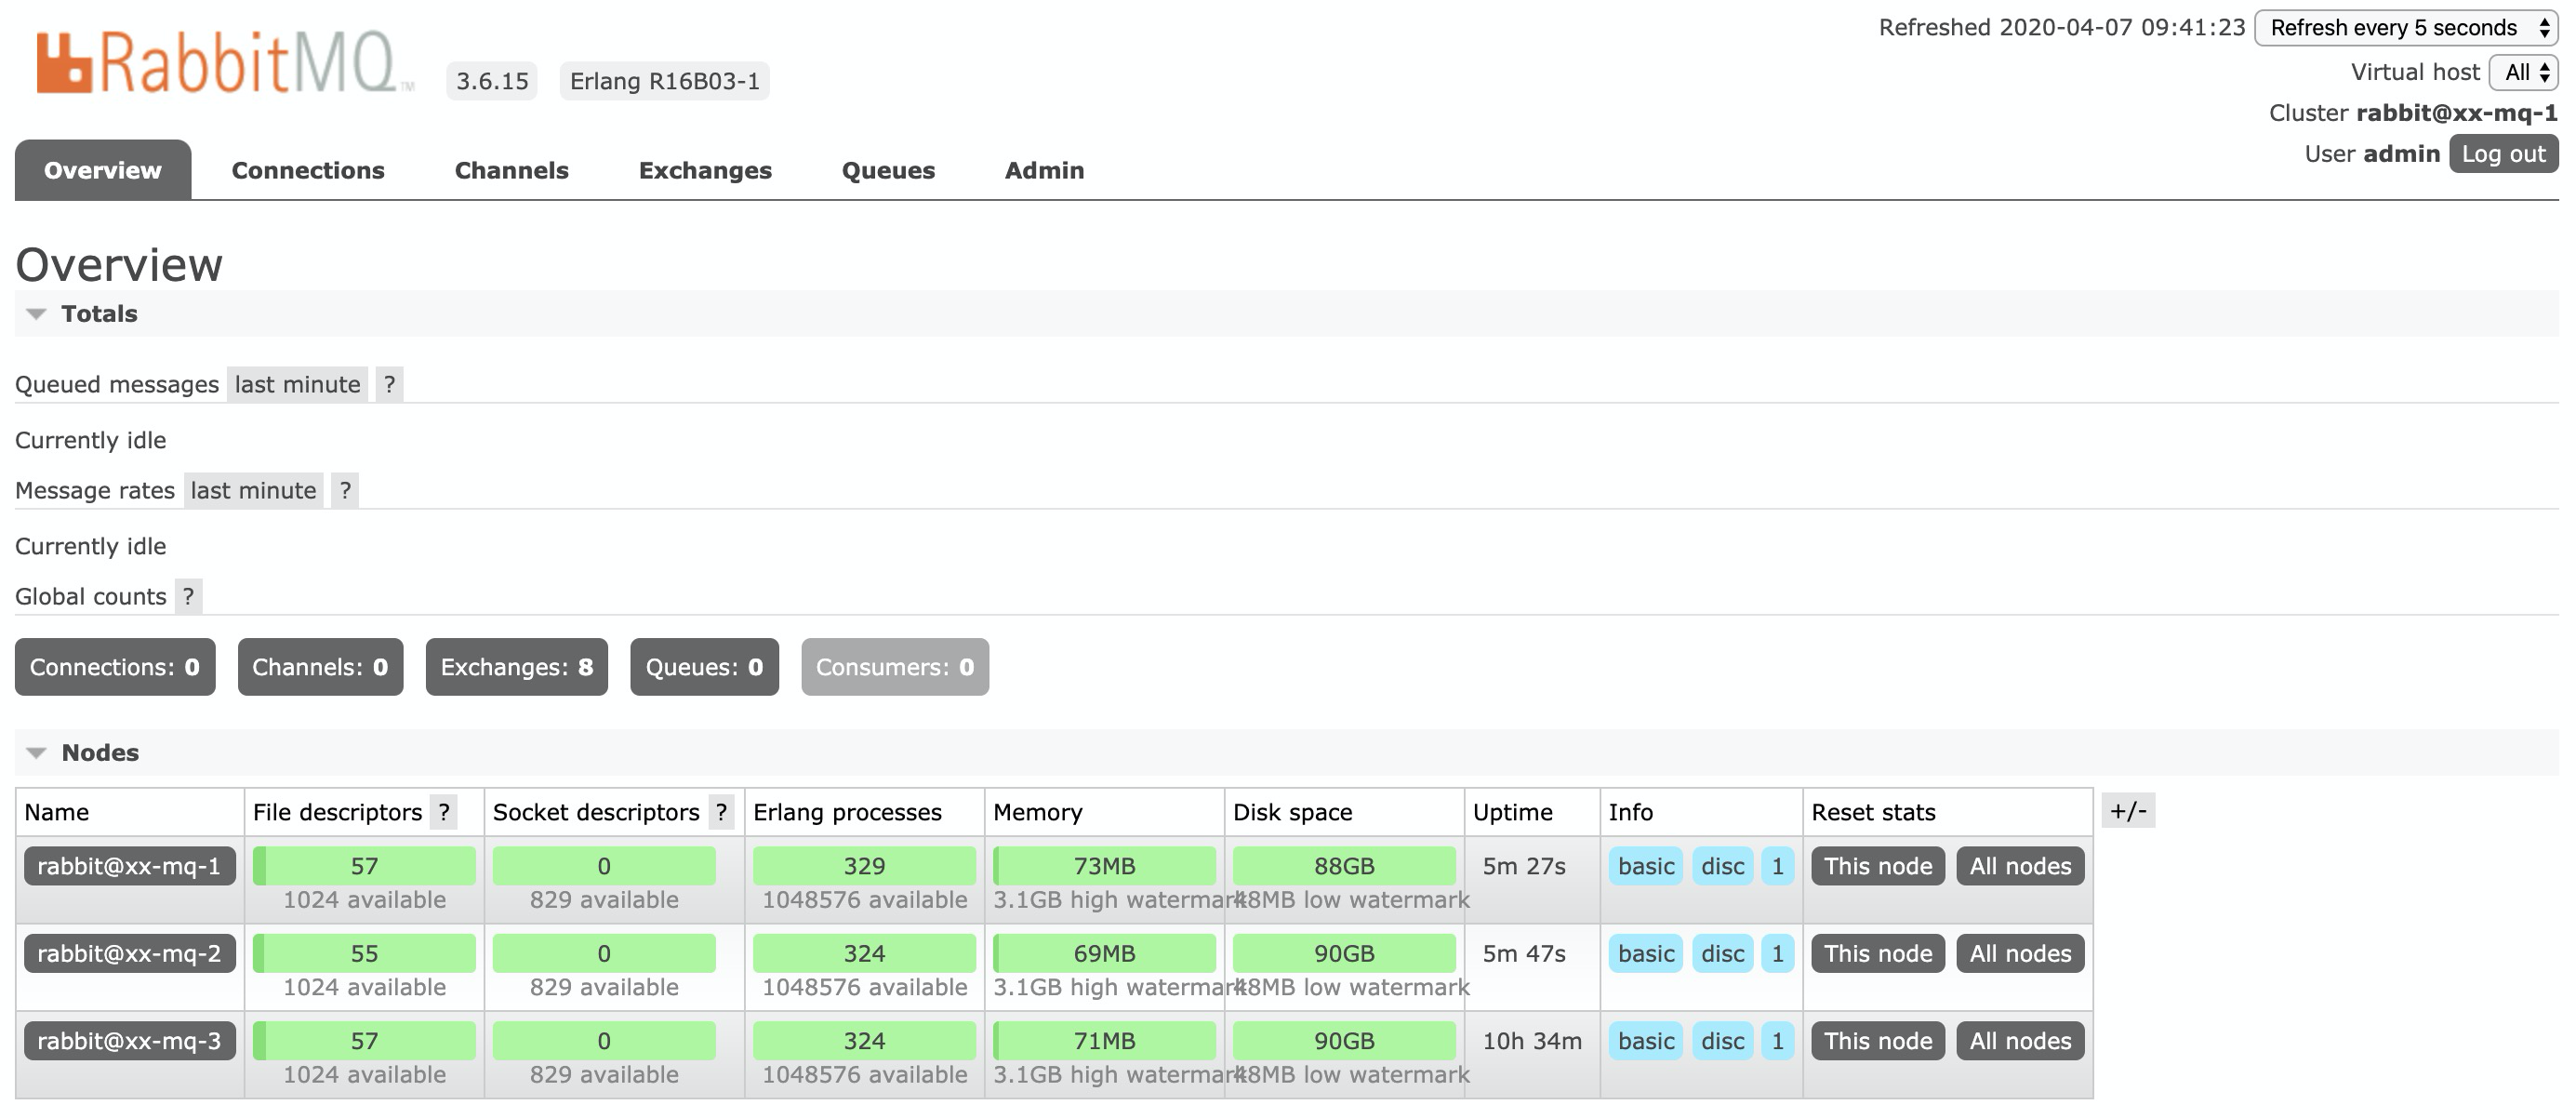
web Management
/usr/lib/rabbitmq/lib/rabbitmq_server-3.6.15/ebin/rabbit.app
{loopback_users, [ ]},
systemctl restart rabbitmq-server
# Restart service
Or create a new user
View users: rabbitmqctl list_users

rabbitmqctl add_user admin 123456
# Create an admin user

abbitmqctl set_user_tags admin administrator
rabbitmqctl set_permissions -p / asdf ".*" ".*" ".*"
# User authorization

rabbitmqctl  change_password  admin  'Newpassword'
# Change user password
http://192.168.66.61:15672/ Account password: admin 123456