At present, how to lightweight indoor three-dimensional maps, which can display maps quickly on mobile WeChat, computer browser and other platforms, shows a good map performance, and turns the map without card is a problem everyone has to face.
With the three-dimensional indoor map engine ESMap, you can not worry about this problem at present. The development only needs to care about how the equipment is added to the map to manage. This article mainly introduces the camera layer, the fire equipment layer and the personnel track layer, so that you can integrate them directly into your own project.
This article briefly describes the process of developing simple device layer management for maps using ESmap's SDK.If there are any deficiencies, please correct them.
The development process is as follows:
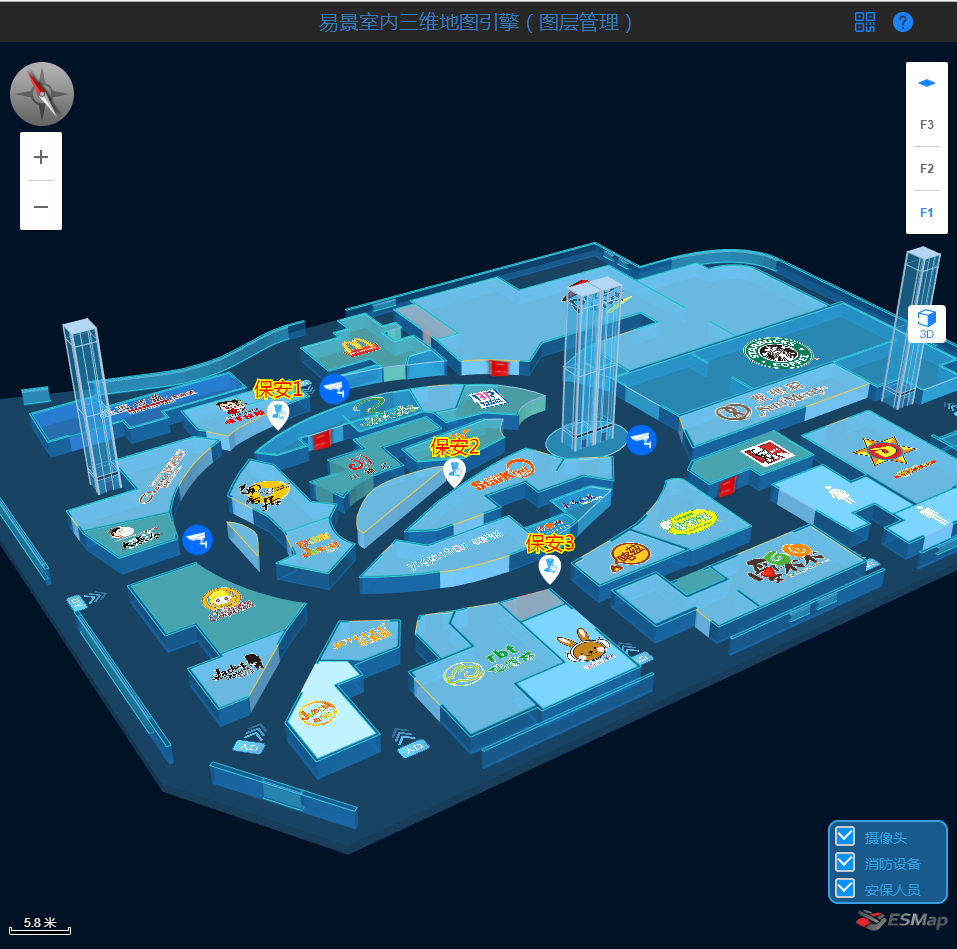
After I first created the map, I added floor control, zoom-in and zoom-out, and two- and three-dimensional switching controls to the map.As follows:
Use the map click event of the ESMap map platform to select the location coordinates of all devices on the map, and then organize the json data you need.
//Map Loading Complete Callback
 //Map Loading Complete Callback
map.on('loadComplete', function () {
    floorControl = new esmap.ESScrollFloorsControl(map, ctlOpt);//Create Floor Control
    var zoomControl = new esmap.ESZoomControl(map, ctlOpt1);//Create zoom-in and zoom-out controls
    bingEvents();//Bind Button Click Event
    loadDeviceData();//Load your own constructed json format data
});
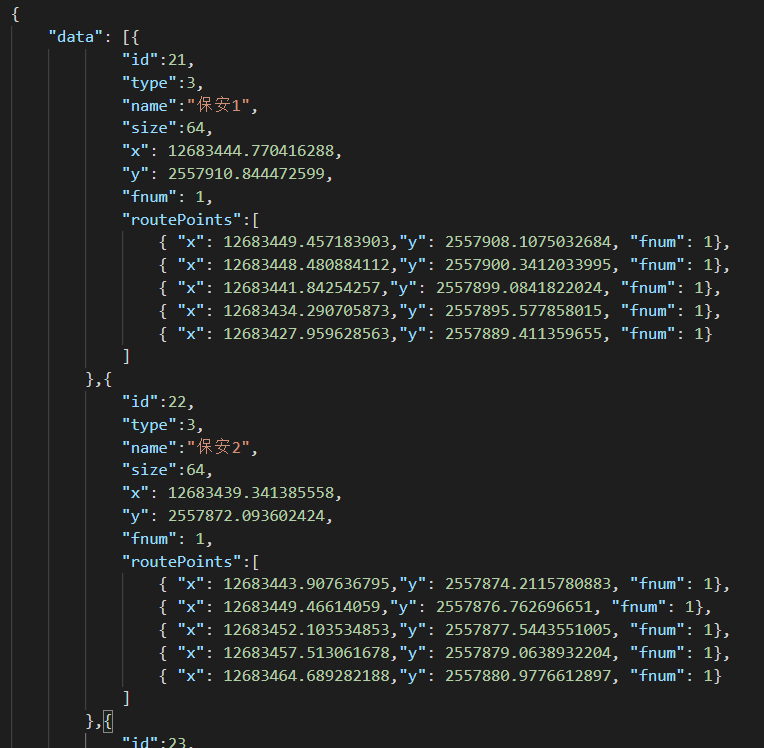
1. Create background json data and bring in data
All the real projects of the devices are managed in the background of the database. We can directly use the basic information data of the devices to store in the JSON file without background management, so that we can directly and easily demonstrate.
Get the data you need after loading the map:
The json data format is as follows:
//Load Layer Data
 function loadDeviceData(){
            $.getJSON("device.json", function (data) {
                if(data){
                    var devices = data.devices;
                    for (let i = 0; i < devices.length; i++) {
                        const obj = devices[i];
                        addDeviceMarker(obj);//Add devices to the map marker
                    }
                }
            });

            $.getJSON("baoan.json", function (data) {
                if(data){
                    var baoan = data.data;
                    for (let i = 0; i < baoan.length; i++) {
                        const obj = baoan[i];
                        addTextMarker(obj); //Add security personnel to the map marker
                    }
                }
            });
        }
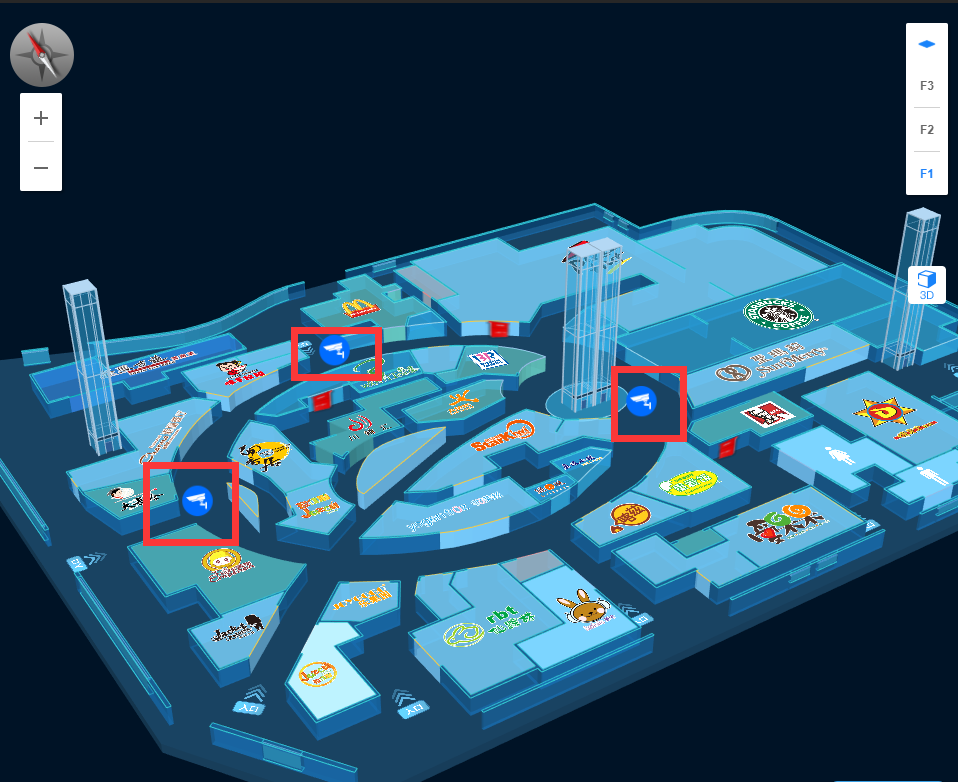
2. Encapsulate Loading Device Layer marker Method
After parsing the above data, write code directly to display the related picture marker on the indoor three-dimensional map.
 //Add devices to the map marker
        function addDeviceMarker(obj){
            //Create different by name layer
            var floorLayer = map.getFloor(obj.fnum);  //Get the first floor object
            var layer=floorLayer.getOrCreateLayerByName("device"+obj.type,esmap.ESLayerType.IMAGE_MARKER);//"device"+type hide/Use when deleting
            var url= 'image/'+obj.type+'.png';
            var angle=null;
            if(obj.hasOwnProperty("angle"))angle=obj.angle;
            im = new esmap.ESImageMarker({
                x:obj.x,                //coordinate x
                y:obj.y,                //coordinate y
                url:url,                //Picture Address for Picture Labels
                size: obj.size,         //Picture size or size:{w:32,h:64},
                angle:angle,
                spritify:true,          //Follow map zoom to change size, default is true,Optional parameters
                height:1,               //Height from Ground
                showLevel: 20,          //Hide when map zoom level reaches,Optional parameters
                seeThrough: false,       //Can I go through the floor and show it all the time,Optional parameters
                id: obj.id,             //id,Customizable
                name:obj.name           //name Customizable
            });
            im.deviceType=obj.type;     //Custom Properties-Used to distinguish what type of device is clicked on in a click event
            layer.addMarker(im);        //take imageMarker Add to Layer
            floorLayer.addLayer(layer); //Add Layer to Floor Object
        }
The effect is as follows:
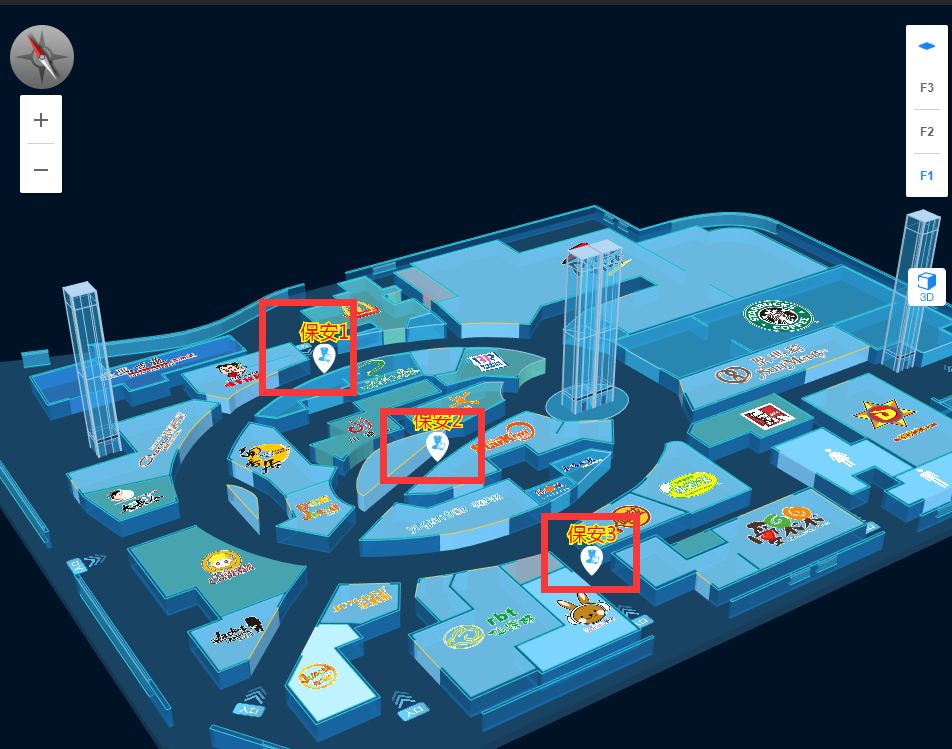
3. Encapsulated text plus picture marker method
//Add security personnel to the map marker
  function addTextMarker(obj){
            //Create different by name layer
            var floorLayer = map.getFloor(obj.fnum);  //Get the first floor object
            var layer=floorLayer.getOrCreateLayerByName("device"+obj.type,esmap.ESLayerType.TEXT_MARKER);//"device"+type hide/Use when deleting
            var url= 'image/'+obj.type+'.png';
            var tm = new esmap.ESTextMarker({
                x:obj.x,                //coordinate x
                y:obj.y,                //coordinate y
                id: obj.id,             //id,Customizable
                image: url,             //Picture Address for Picture Labels
                imageAlign:'bottom',    //Picture orientation left,top,right,bottom
                imageSize:obj.size,         //Picture size
                name:obj.name,          //Text Name
                spritify:true,          //Follow map zoom to change size,Default to true,Optional parameters
                scale:1,                //Text level zoom defaults to 1,Optional parameters,0.1 Signifies a 10-fold reduction
                height:1,               //Height from Ground
                showLevel: 20,          //Hide when map zoom level reaches,Optional parameters
                fillcolor: "255,0,0",     //Fill color
                fontsize: "18",           //font size
                strokecolor: "255,255,0", //Border color
                strokewidth:2 //Border thickness 0 means no border
            });

            tm.deviceType=obj.type;         //Custom Properties-Used to distinguish what type of device is clicked on in a click event
            tm.routePoints=obj.routePoints; //Person's Move Path
            baoanMakrker.push(tm);
            layer.addMarker(tm);        //take imageMarker Add to Layer
            floorLayer.addLayer(layer); //Add Layer to Floor Object
            baoanMoveRoute();//Control Security Move
        }
The effect is as follows:
4. Control map marker movement
     //Control Security Move
        function baoanMoveRoute(){
            if(baoanMakrker && baoanMakrker.length>0){
                var index=0;
                setInterval(function(){
                    for (let i = 0; i < baoanMakrker.length; i++) {
                       const bamarker = baoanMakrker[i];
                        var routePoints=bamarker.routePoints;
                        var point=routePoints[index];
                        bamarker.moveTo({x: point.x,y: point.y,time:0})//move marker
                    }
                    index++;
                    if(index==5){
                        index=0;
                    }
                },2000);
            }
        }
This is the process of adding devices to a map.
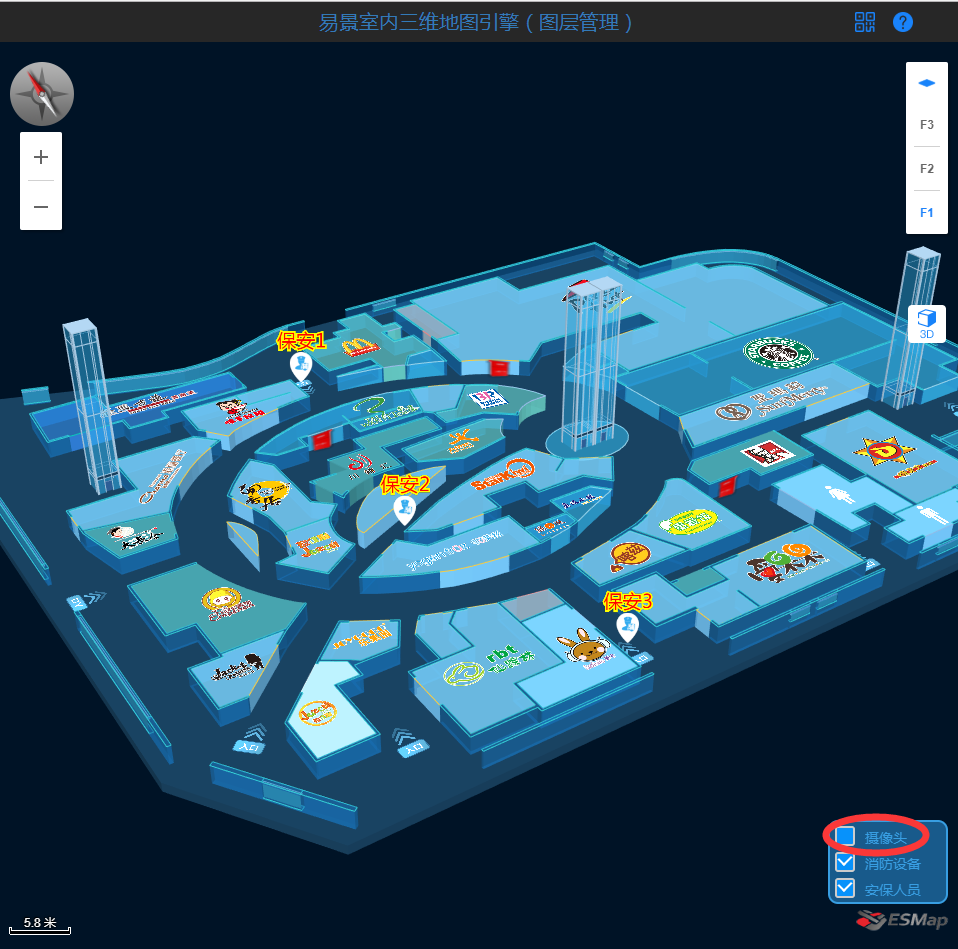
5. Control the display and hiding of layers
When adding the device Marker, a layer name is taken, which controls the display and hiding of the layer.

The packaging method is:
//Show or hide device layers by name
        function hideOrShowLayer(params,isshow){//params format['device1','device2',...] isshow:true/fasle
            var fnums = map.floorNums;//Get all floors of the map[1,2,3]
            for(var i=0;i<fnums.length;i++){
                var floor = map.getFloor(fnums[i]);
                var res = floor.getLayersByNames(params);
                if(res)
                    res.visible = isshow;
            }
        };
All layers are displayed:
Hide camera:
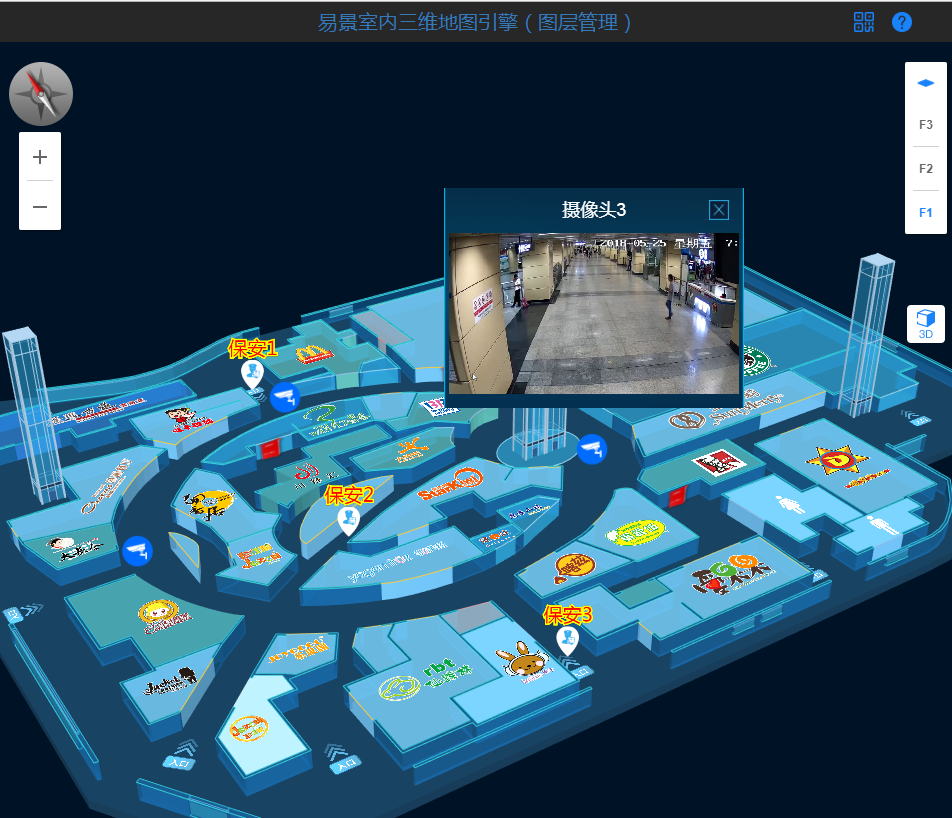
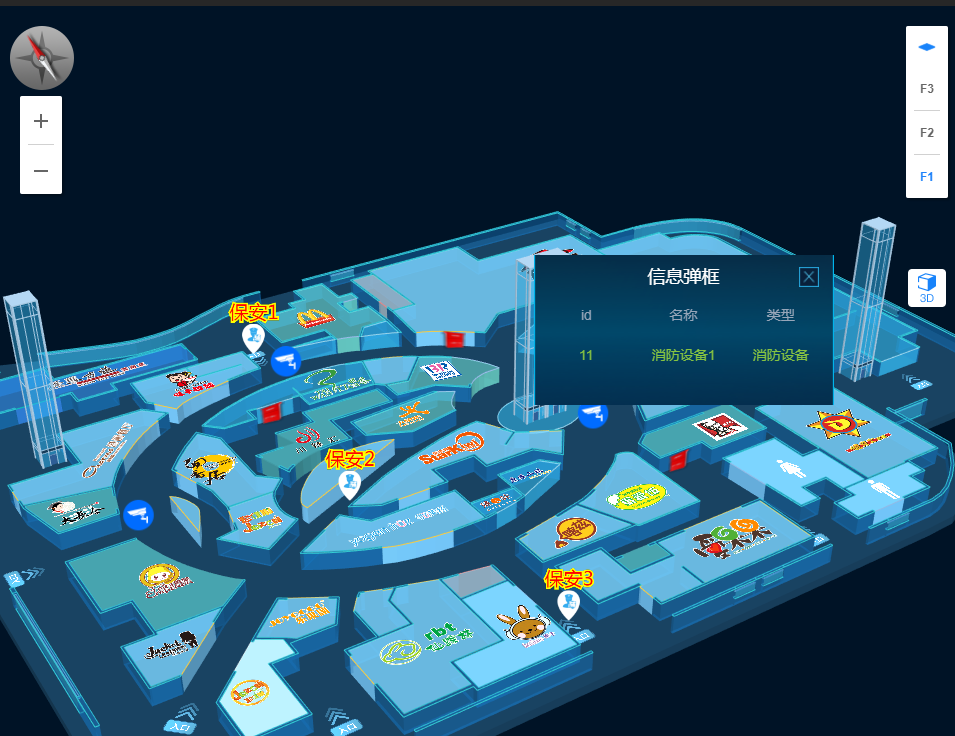
6. Click on the map marker to pop up the bubble information
First, in the click event callback, determine if the click is a self-added marker
//Map Click Event Callback
        map.on('mapClickNode', function(event) {
            console.log(event);
            if(event && event.hasOwnProperty("deviceType")){//Here you can tell if you clicked on your new device marker
                showPop(event);
            }
        });
Encapsulate pop-up bubble labeling method:
      var popMarker=null;
        function showPop(data) {//click marker Pop up basic information
            if(popMarker) popMarker.close();
            var types={"1":"Camera","2":"Fire Equipment","3":"Security staff"};
            var className = "close-"+data.ID; //Generate Unique class,For shutdown
            if(data.deviceType!=1){//If you are not clicking on a camera
                popMarker = new esmap.ESPopMarker({
                mapCoord: {
                   //Set the marquee's x axis
                    x: data.x,
                    //Set the marquee's y axis
                    y:data.y,
                    height: 3.5, //Control the height of the information window
                    //Set the floor where the box is located
                    fnum: data.FloorNum
                },
                className:"rock-box m-pop",  //custom popMarker Style.stay css Inside Configuration
                //Set the width of the popup box
                width: 300,
                //Set the height of the popup box
                height: 150,
                //    marginTop:10,  //Height of the frame from the ground
                //Set the content of the popup box
               content:
                `
                <div class="title"><span style="margin: 20px;">Information Boxes</span></div>
                    <div class="m-box">
                        <div class="m-text">
                       <p>
                <span class="m-span">id</span>
                            <span class="m-span">Name</span>
                            <span class="m-span">type</span>
                        </p>
                        <p>
                            <span class="m-span2">${data.ID}</span>
                            <span class="m-span2 status">${data.name}</span>
                            <span class="m-span2 ">${types[data.deviceType]}</span>
                        </p>
                        </div>
                    </div>
                    <div class="myPopClose ${className}"></div>
                    `,
                closeCallBack: function () {
                    //Information Window Click Close Action
                },

                created: function (e) {
                    //Create Finish Hook
                    $("."+className).on('click',function(){
                        //Bind Hidden Events for Custom Close Button
                        popMarker.close();
                    })
                }
            });
        }else{//Click Camera
            popMarker = new esmap.ESPopMarker({
                    mapCoord: {
                        //Set the marquee's x axis
                        x: data.x,
                        //Set the marquee's y axis
                        y:data.y,
                        height: 3.5, //Control the height of the information window
                        //Set the floor where the box is located
                        fnum: data.FloorNum
                    },
                    className:"rock-box m-pop",  //custom popMarker Style.stay css Inside Configuration
                    //Set the width of the popup box
                    width: 300,
                    //Set the height of the popup box
                    height: 220,
                    //    marginTop:10,  //Height of the frame from the ground
                    //Set the content of the popup box
                    content:
                    `
                    <div class="title"><span>${data.name}</span></div>
                        <div class="m-box">
                        <video style="width: 100%;height: 100%;" controls autoplay>
                            <source src="1.mp4"  type="video/mp4">
                        </video>
                        </div>
                        <div class="myPopClose ${className}"></div>
                    `,
                    closeCallBack: function () {
                        //Information Window Click Close Action
                    },
                    created: function (e) {
                       //Create Finish Hook
                       $("."+className).on('click',function(){
                            //Bind Hidden Events for Custom Close Button
                           popMarker.close();
                        })
                    }
                });
            }
        }
Bomb style can be customized
The effect of the frame is as follows:
The following is the overall effect:
That's the layer control I've developed with ESMap's maps, so give it a try!
Links to the above content experience: Access Links
Mobile WeChat can be used to test the loading speed and display performance of our indoor 3D maps.
Thank you for reading!