Article directory
QQ: 302089729 Xiao Cai
The realization of image border
Main functions of image frame design
CV. Copymakeorder() -- implement border filling
The main parameters are as follows:
- Parameter 1: source image - for example: read img
- Parameter 2 - parameter 5 are: width of upper, lower, left and right sides - unit: pixel
- Parameter 6: border type:
- cv.BORDER_CONSTANT-cv.BORDER_REPLICATE-cv.BORDER_REFLECT-cv.BORDER_WRAP-cv.BORDER_REFLECT_101-cv.BORDER_TRANSPARENT-cv.BORDER_REFLECT101-cv.BORDER_DEFAULT-cv.BORDER_ISOLATED
- Parameter 7 - set only when the border type = = border ﹣ constant is selected as the border type, which means the border value
Description of border type:
- BORDER_CONSTANT: means to add a border of a specified color -- determined by the value value: list
- Other parameters: (it can be modulated as required, but the first two usually use more)

Code instance
import cv2 as cv
import numpy as np


if __name__ == "__main__":
    img = cv.imread('./imag_in_save/open_class.png')
    cv.namedWindow('imag', cv.WINDOW_NORMAL)
    cv.resizeWindow('imag', 500, 500)
    img = cv.copyMakeBorder(img, 20, 20, 20, 20, cv.BORDER_CONSTANT, value=[2, 83, 13])  # Add borders
    cv.imshow('imag', img)
    cv.waitKey(0)
    cv.destroyAllWindows()
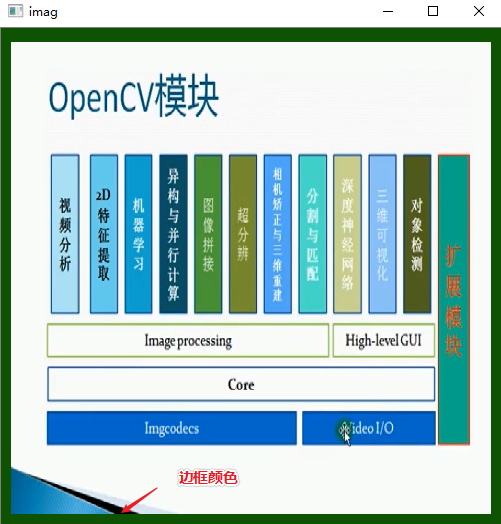
Effect
The realization of image mixing
Main functions of image mixing
cv.addWeighted() -- image blending
Its working principle adopts a simple weight formula: g(x)=(1 − α) f0(x) + α f1(x)
- The first parameter is an image, followed by the second parameter is the weight (0 ~ 1) of the first image, which is (1 - α) in the formula
- The third parameter is another image to be mixed. Similarly, the fourth parameter is the weight of this image, which is (α) in the formula
- As for the fifth parameter: sum value of each corresponding scalar -- mixed highlights can be set
- The other two parameters: (the last one is not used much alone, but more in some other processes)
- dst output array, whose size and number of channels are the same as the input array (we usually get ~) by direct return.)
- Dtype optional depth of the output array; when the depth of the two input arrays is the same, you can set dtype to - 1, which is equivalent to src1.depth()
Code instance
import cv2 as cv
import numpy as np


if __name__ == "__main__":
    img1 = cv.imread(r'./2.png', 1)   # Read color picture
    img2 = cv.imread(r'./3.png', 1)
    cv.namedWindow('imag', cv.WINDOW_NORMAL)  # forms
    img1 = img1[0: 200, 0: 400]  # Capture the specified part of the image -- because image mixing requires equal size image
    img2 = img2[0: 200, 0: 400]
    img = cv.addWeighted(img1, 0.7, img2, 0.3, 0)  # Blend images - by weight

    while True:
        cv.imshow('imag', img)  # Show current serial number picture
        k = cv.waitKey(0) & 0xFF
        if k == 27:
            break
    cv.destroyAllWindows()
Effect

Small exercises (produce a slide like effect)
Main idea
- First, prepare a series of equal size pictures or capture a series of same size picture areas as our image data
- Then the image information is spliced into a list
- Then, it realizes the display of pictures one by one, and realizes the effect of gradual change in the gap of exchange - that is, image mixing.
- Then you can enjoy it - but the effect depends mainly on the parameters set (of course, it may be a little stiff because there is no rendering).
Code example
I put the main comments in the code, and it should not be difficult to understand while reading~
import cv2 as cv
import numpy as np


if __name__ == "__main__":
    img_list = []  # Create an empty sequence to prepare a series of images for display
    counts = 0  # Display the sequence number of the picture
    cv.namedWindow('imag', cv.WINDOW_NORMAL)  # forms
    cv.resizeWindow('imag', 500, 500)
    for i in range(2, 7):  # Traverse the image by entering an empty array - 5 in total
        img = cv.imread(f'./imag_in_save/scr/{i}.png')  # Using f '' to implement parameter passing in
        img = img[0: 200, 0: 400]  # Capture the specified part of the image -- because image mixing requires equal size image
        img_list.append(img)  # Add pictures
    while True:
        cv.imshow('imag', img_list[counts])  # Show current serial number picture
        k = cv.waitKey(2000) & 0xFF
        counts += 1  # Cycle to next picture - 0, 1, 2, 3, 4 valid
        if counts == 5:  # Loop to the last picture and return to the first picture
            counts = 0
        for i in range(0, 10):
            k_f = cv.addWeighted(img_list[counts - 1], 1 - (i * 0.1), img_list[counts], i * 0.1, 0)  # Do gradient like image synthesis
            # Realize two pictures (the current picture and the next picture) and mix different weights -- realize gradient due to the change of photo weight
            cv.imshow('imag', k_f)  # Show mixed pictures
            k = cv.waitKey(120) & 0xFF  # Delay and key reading
            if k == 27:  # ESC key
                break
        if k == 27:
            break
    cv.destroyAllWindows()
Effect (the picture may not be very obvious, if necessary, you can add several pictures to see)