Update: March 7, 2020
Hardware prerequisites for the development of WeChat public number: (1) Apply for a public number (2) Server with public network ip (preferably Ali cloud, Tencent cloud, etc.) (3) Resolve to (2) Domain name of server address (Ali cloud, Tencent cloud purchase).
1. WeChat Public Number Application
Individuals can apply for a subscription number and tutorial reference: https://jingyan.baidu.com/article/020278113d07531bcc9ce5a5.html
2. Background Server Configuration
The public number of WeChat is only equivalent to traffic forwarding, and the implementation of specific functions needs to be implemented on the back-end server.WeChat Public Number started with only domain name access (direct ip access is not supported, which is why domain names are needed), with only 80 ports (http) or 443 ports (https)
Installation and Configuration of 2.1 nginx
Back-end servers need software to provide web server functionality. We use nginx for convenience.
Installation process:
(1) Install GCC (use gcc-v to check if GCC is installed):
yum -y install gcc
(2) Installation dependency:
yum install -y pcre pcre-devel
yum install -y zlib zlib-devel
yum install -y openssl openssl-devel
(3) Download nginx
wget http://nginx.org/download/nginx-1.9.9.tar.gz
(4) Decompression and installation
tar -zxvf nginx-1.9.9.tar.gz
Enter the folder after unzipping
cd nginx-1.9.9
Install, run under Administrator Account:
./configure

make

make install
After entering the domain name in the browser: www.xxxx.cn:
(5) nginx configuration
Because the WeChat public number can only use port 80 or port 433, we can use nginx to forward the port, so that the server can make full use of it.
Add the following code to the nginx.conf file (vim/usr/local/nginx/conf/nginx.conf):
		# hsb_signal_tower
        location /data/hsb_signal_tower {
            proxy_set_header Host $host;
            proxy_set_header X-Forwarded-For $proxy_add_x_forwarded_for;
            proxy_set_header X-Real-IP $remote_addr;
            proxy_set_header X-Scheme $scheme;
            proxy_pass http://127.0.0.1:8000;
        }
This way, access to www.xxxx.cn/data/hsb_signal_tower will be forwarded to port 8000, after which you will have your own development services on port 8000.
2.2 python installation
yum -y install zlib-devel bzip2-devel openssl-devel ncurses-devel sqlite-devel readline-devel tk-devel gdbm-devel db4-devel libpcap-devel xz-devel libffi-devel
# After downloading the file, do the following
   #Release file:
   tar -xvzf Python-3.5.1.tgz
   #Enter directory:
   cd Python-3.5.1/
   # Add Configuration:
   ./configure --prefix=/usr/local/python3
   # Configure your installation directory here, and then compile the source code:
   make
   # Perform the installation:
   make install

   # reestablish connection
   mv /usr/bin/python /usr/bin/python.bak
   ln -s /usr/local/python3/bin/python3 /usr/bin/python

   #Configure yum, because Yum is python2 based
   vim /usr/bin/yum
   //Modify #!/usr/bin/python to #!/usr/bin/python2

   vim /usr/libexec/urlgrabber-ext-down
   //Modify #!/usr/bin/python to #!/usr/bin/python2

   # Add Environment Quantity
   vim .bashrc
   export PATH=/usr/local/python3/bin:$PATH

   # pip3 soft connection to pip
   ln -s /usr/local/python3/bin/pip3 /usr/bin/pip
3 Public Number Configuration
This section is divided into two parts, which is equivalent to the communication authentication between the WeChat public number and the back-end server.There is a unique token on the public side of WeChat, which is validated on the server side to complete the whole communication validation.Token is the only one, so keep it private.
3.1 WeChat Public Terminal Configuration
(1) Pull the Entry Public Number to the bottom and enter the basic configuration.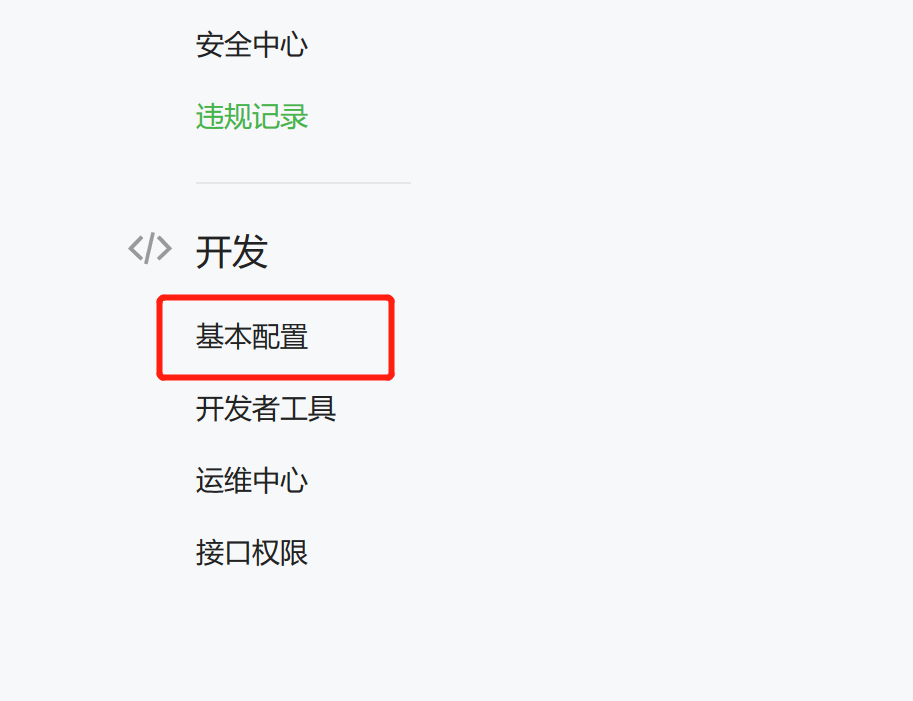 (2) Fill in the information
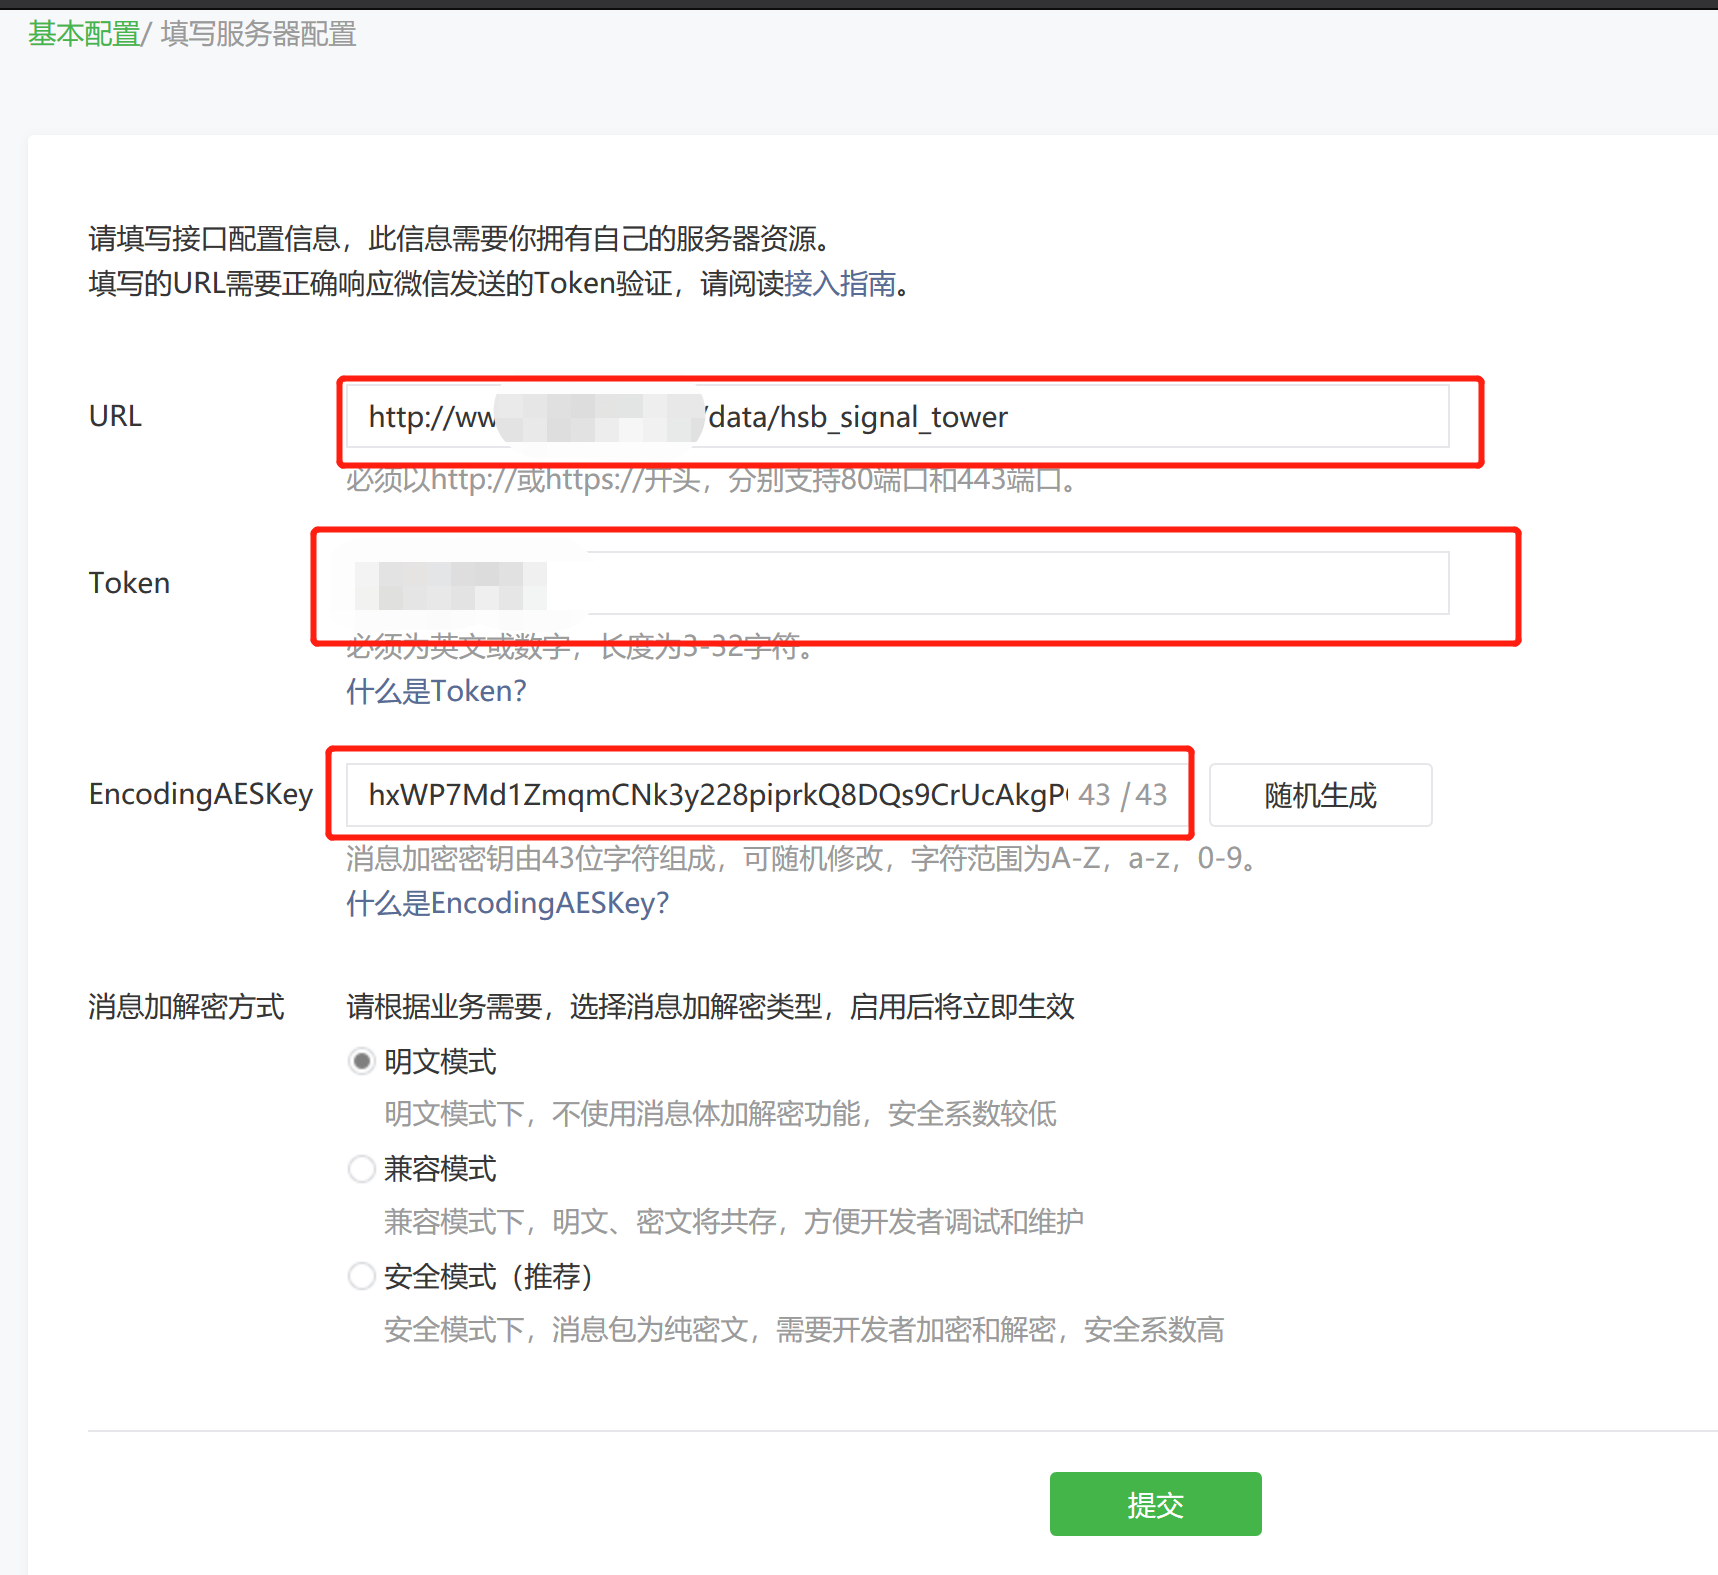 (a) The url fills in the domain name and must be consistent with the nginx configuration
(b) Fill it in by yourself in token, which is the only identifier for public number development, please keep in mind.
(c) The third point is randomly generated.
Don't commit until you've finished filling it out. Next, build a validation service on the server side.
3.2 Server-side Build Authentication Service
This example uses flask to build web applications
The python code is as follows, and the file name is wechat.py.What you need to modify is to use your own token.:
# coding:utf-8
from flask import Flask, request, abort, render_template
import hashlib
import xmltodict
import time
# Use it to access http request addresses
import urllib.request as urllib2
import urllib
import json

# WeChat token
WECHAT_TOKEN = 'your token'
app = Flask(__name__)

@app.route("/data/hsb_signal_tower", methods=["GET", "POST"])
def wechat():
    """Verify the validity of the server address"""
    # After the developer submits the information, the WeChat server sends a GET request to the completed server address URL, which takes four parameters:
    # Signature: WeChat encryption, signature combines the token parameter filled by the developer with the timestamp parameter nonce parameter in the request
    # Timestamp: timestamp (chuo is phonetic)
    # nonce:random number
    # echostr:Random string
    # Receive WeChat Server Send Parameters
    signature = request.args.get("signature")
    timestamp = request.args.get("timestamp")
    nonce = request.args.get("nonce")

    # Check parameters
    # Verification process:
    # Dictionary sorting of three parameters: token, timestamp, nonce
    # sha1 encryption by concatenating three parameter strings into a single string
    # The developer obtains an encrypted string that can be compared to a signature to identify that the request originated from WeChat
    if not all([signature, timestamp, nonce]):
        # Throw 400 errors
        abort(400)

    # Calculate signatures following the WeChat process
    li = [WECHAT_TOKEN, timestamp, nonce]
    # sort
    li.sort()
    # Split String
    tmp_str = "".join(li)
    tmp_str = tmp_str.encode('utf-8')

    # sha1 encryption to get the correct signature value
    sign = hashlib.sha1(tmp_str).hexdigest()

    # Compare the self-calculated signature value with the requested signature parameter and, if the same, prove that the request came from WeChat
    if signature != sign:
        # Delegate request is not from WeChat
        # Error message pops up, identity problem
        abort(403)
    else:
        # Indicates a request sent by WeChat
        if request.method == "GET":
            # Represents the first authentication to access the WeChat server
            echostr = request.args.get("echostr")
            # Check echostr
            if not echostr:
                abort(400)
            return echostr

        elif request.method == "POST":
            # Indicates that the WeChat server forwarded the message
            # Take Request Data from xml
            xml_str = request.data

            # When xml_str is empty
            if not xml_str:
                abort(400)

            # Parse xml strings into Dictionaries
            xml_dict = xmltodict.parse(xml_str)

            xml_dict = xml_dict.get("xml")

            # MsgType is the message type This is to cancel the message type
            msg_type = xml_dict.get("MsgType")

            if msg_type == "text":
                # Indicates sending a text message
                # Enough return value to reply to user's message content via Wechat server
                # Reply message
                # ToUsername: (must pass) Receiver account (received OpenID)
                # FromUserName: (must transmit) Developer microsignal
                # CreateTime: Message creation time (reshaping)
                # MsgType: (must pass) message type
                # Content: (must be passed) The content of the reply message (newline: WeChat client supports newline display when newline is available in Content)

                resp_dict = {
                    "xml":{
                        "ToUserName":xml_dict.get("FromUserName"),
                        "FromUserName":xml_dict.get("ToUserName"),
                        "CreateTime":int(time.time()),
                        "MsgType":"text",
                        "Content":xml_dict.get("Content")
                    }
                }
            else:
                resp_dict = {
                    "xml": {
                        "ToUserName": xml_dict.get("FromUserName"),
                        "FromUserName": xml_dict.get("ToUserName"),
                        "CreateTime": int(time.time()),
                        "MsgType": "text",
                        "Content": "Sorry, we can't recognize what you sent!"
                    }
                }
            # Convert dictionary to xml string
            resp_xml_str = xmltodict.unparse(resp_dict)
            # Return message data to WeChat server
            return resp_xml_str
if __name__ == '__main__':
    app.run(port=8000, debug=True)
The code above refers to the god's blog, which used python2. The code above applies to python3.Reuse the command: python wechat.py has no errors and the following information indicates no problem: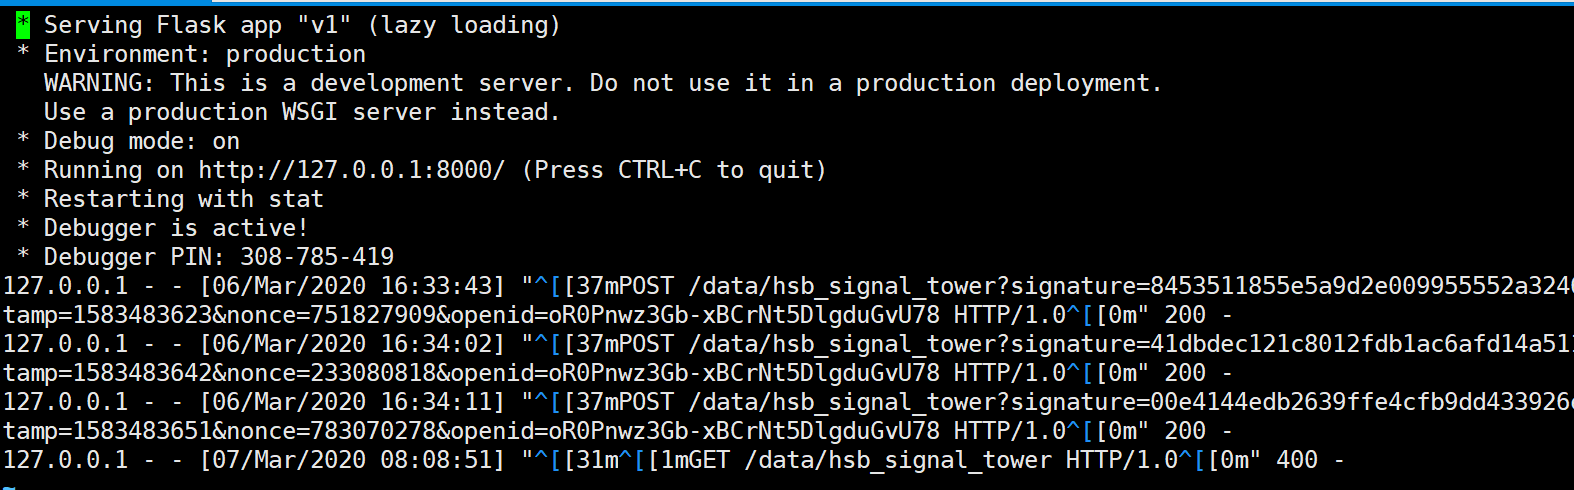
Then click the Submit button on the configuration page of (1), and if the validation fails, the validation token will be prompted to fail, and there will be corresponding errors on the server side.If the validation is successful, the user can send information in the public number, which returns the sent information.
We hope you will be patient with debugging.

