Using the pre trained deep learning face detector model provided by OpenCV, face recognition can be carried out quickly and accurately.
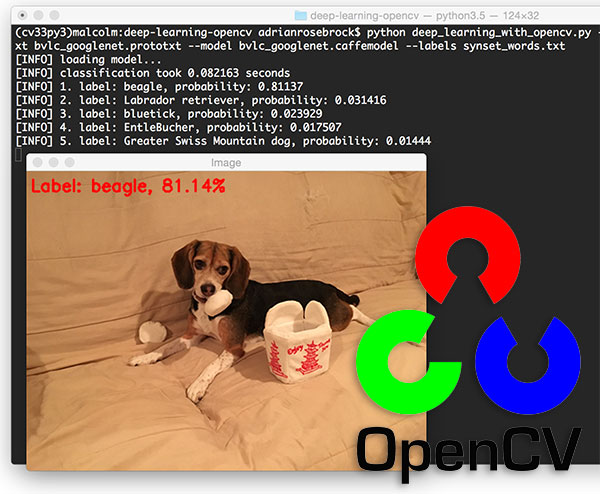
In August 2017, OpenCV 3.3 was officially released, bringing a highly improved "DNN deep neural networks" module. The module supports many deep learning frameworks, including Caffe, TensorFlow and Torch / PyTorch.
Caffe based face detector in Here.
Two sets of files are required:
- . prototype file defining the model architecture
- . caffemodel file containing the weight of the actual layer
The weight file is not included in the OpenCV sample directory.
How does OpenCV deep learning face detector work?
# Model Download: https://itbooks.pipipan.com/fs/18113597-320346529
# Code storage: https://github.com/china-testing/python-api-testing/tree/master/opencv'crash'deep'learning
# Technical support qq group 144081101 (code and model storage)
# USAGE
# python detect_faces.py --image rooster.jpg --prototxt deploy.prototxt.txt --model res10_300x300_ssd_iter_140000.caffemodel

# import the necessary packages
import numpy as np
import argparse
import cv2

# construct the argument parse and parse the arguments
ap = argparse.ArgumentParser()
ap.add_argument("-i", "--image", required=True,
    help="path to input image")
ap.add_argument("-p", "--prototxt", required=True,
    help="path to Caffe 'deploy' prototxt file")
ap.add_argument("-m", "--model", required=True,
    help="path to Caffe pre-trained model")
ap.add_argument("-c", "--confidence", type=float, default=0.5,
    help="minimum probability to filter weak detections")
args = vars(ap.parse_args())

# load our serialized model from disk
print("[INFO] loading model...")
net = cv2.dnn.readNetFromCaffe(args["prototxt"], args["model"])

# load the input image and construct an input blob for the image
# by resizing to a fixed 300x300 pixels and then normalizing it
image = cv2.imread(args["image"])
(h, w) = image.shape[:2]
blob = cv2.dnn.blobFromImage(cv2.resize(image, (300, 300)), 1.0,
    (300, 300), (104.0, 177.0, 123.0))

# pass the blob through the network and obtain the detections and
# predictions
print("[INFO] computing object detections...")
net.setInput(blob)
detections = net.forward()

# loop over the detections
for i in range(0, detections.shape[2]):
    # extract the confidence (i.e., probability) associated with the
    # prediction
    confidence = detections[0, 0, i, 2]

    # filter out weak detections by ensuring the `confidence` is
    # greater than the minimum confidence
    if confidence > args["confidence"]:
        # compute the (x, y)-coordinates of the bounding box for the
        # object
        box = detections[0, 0, i, 3:7] * np.array([w, h, w, h])
        (startX, startY, endX, endY) = box.astype("int")

        # draw the bounding box of the face along with the associated
        # probability
        text = "{:.2f}%".format(confidence * 100)
        y = startY - 10 if startY - 10 > 10 else startY + 10
        cv2.rectangle(image, (startX, startY), (endX, endY),
            (0, 0, 255), 2)
        cv2.putText(image, text, (startX, y),
            cv2.FONT_HERSHEY_SIMPLEX, 0.45, (0, 0, 255), 2)

# show the output image
cv2.imshow("Output", image)
cv2.waitKey(0)
Implementation:
$ python detect_faces.py --image rooster.jpg --prototxt deploy.prototxt.txt --model res10_300x300_ssd_iter_140000.caffemodel
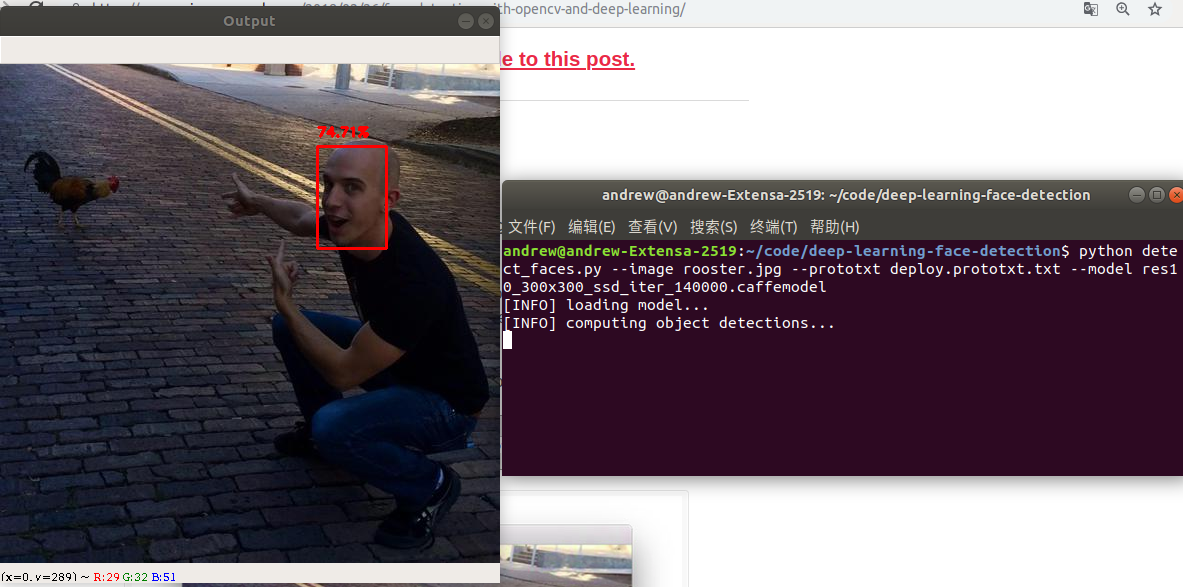
The upper face has a 74.30% confidence level. Although opencv's Haar cascade lacks "direct" angle faces, it can still detect faces by using OpenCV's deep learning face detector.
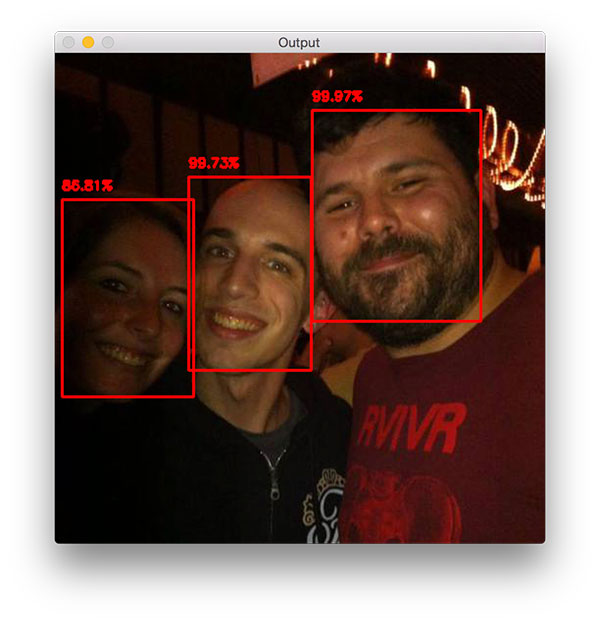
Here are three examples of faces:
python detect_faces.py --image iron_chic.jpg --prototxt deploy.prototxt.txt --model res10_300x300_ssd_iter_140000.caffemodel
Face detection in video, video stream and webcam applications
# USAGE
# python detect_faces_video.py --prototxt deploy.prototxt.txt --model res10_300x300_ssd_iter_140000.caffemodel

# import the necessary packages
from imutils.video import VideoStream
import numpy as np
import argparse
import imutils
import time
import cv2

# construct the argument parse and parse the arguments
ap = argparse.ArgumentParser()
ap.add_argument("-p", "--prototxt", required=True,
    help="path to Caffe 'deploy' prototxt file")
ap.add_argument("-m", "--model", required=True,
    help="path to Caffe pre-trained model")
ap.add_argument("-c", "--confidence", type=float, default=0.5,
    help="minimum probability to filter weak detections")
args = vars(ap.parse_args())

# load our serialized model from disk
print("[INFO] loading model...")
net = cv2.dnn.readNetFromCaffe(args["prototxt"], args["model"])

# initialize the video stream and allow the cammera sensor to warmup
print("[INFO] starting video stream...")
vs = VideoStream(src=0).start()
time.sleep(2.0)

# loop over the frames from the video stream
while True:
    # grab the frame from the threaded video stream and resize it
    # to have a maximum width of 400 pixels
    frame = vs.read()
    frame = imutils.resize(frame, width=400)

    # grab the frame dimensions and convert it to a blob
    (h, w) = frame.shape[:2]
    blob = cv2.dnn.blobFromImage(cv2.resize(frame, (300, 300)), 1.0,
        (300, 300), (104.0, 177.0, 123.0))

    # pass the blob through the network and obtain the detections and
    # predictions
    net.setInput(blob)
    detections = net.forward()

    # loop over the detections
    for i in range(0, detections.shape[2]):
        # extract the confidence (i.e., probability) associated with the
        # prediction
        confidence = detections[0, 0, i, 2]

        # filter out weak detections by ensuring the `confidence` is
        # greater than the minimum confidence
        if confidence < args["confidence"]:
            continue

        # compute the (x, y)-coordinates of the bounding box for the
        # object
        box = detections[0, 0, i, 3:7] * np.array([w, h, w, h])
        (startX, startY, endX, endY) = box.astype("int")

        # draw the bounding box of the face along with the associated
        # probability
        text = "{:.2f}%".format(confidence * 100)
        y = startY - 10 if startY - 10 > 10 else startY + 10
        cv2.rectangle(frame, (startX, startY), (endX, endY),
            (0, 0, 255), 2)
        cv2.putText(frame, text, (startX, y),
            cv2.FONT_HERSHEY_SIMPLEX, 0.45, (0, 0, 255), 2)

    # show the output frame
    cv2.imshow("Frame", frame)
    key = cv2.waitKey(1) & 0xFF

    # if the `q` key was pressed, break from the loop
    if key == ord("q"):
        break

# do a bit of cleanup
cv2.destroyAllWindows()
vs.stop()
Implementation:
python detect_faces_video.py --prototxt deploy.prototxt.txt --model res10_300x300_ssd_iter_140000.caffemodel
Reference material
- Address of the latest version of this article
- python test development library involved in this article Thanks a lot!
- This article related massive books Download
- 2018 best artificial intelligence machine learning tool book and download (continuous update)
- Model Download: https://itbooks.pipipan.com/fs/18113597-320346529
Introduction to other python face recognition databases
Introduction to python library face recognition
Face box recognition can be commanded.
$ face_detection --model cnn iron_chic.jpg
iron_chic.jpg,79,422,243,258
iron_chic.jpg,146,272,310,108
iron_chic.jpg,194,144,330,7