1. Configuration Management (continued)
Now, on the basis of the previous blog post, I will continue to talk about configuration management. To supplement the knowledge of sls files:
The core of Salt state system is SLS, or SaLt State file.
_SLS represents what kind of state the system will be, and contains the data in a very simple format, often called configuration management.
_sls file name:
_sls file ends with the suffix ". sls", but it is not necessary to write the suffix in the call.
Using subdirectories to organize is a good choice.
_init.sls represents the boot file in a subdirectory, which means the subdirectory itself, so apache/init.sls means apache.
_If apache.sls and apache/init.sls exist at the same time, apache/init.sls is ignored and apache.sls will be used to represent apache.
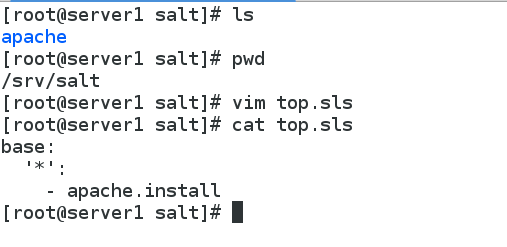
(1) If you want to execute apache.install in batch in the previous blog, prepare the top.sls file in the base directory:
# vim /srv/salt/top.sls
base:
  '*':
    - apache.install
(2) Batch execution:
salt '*' state.highstate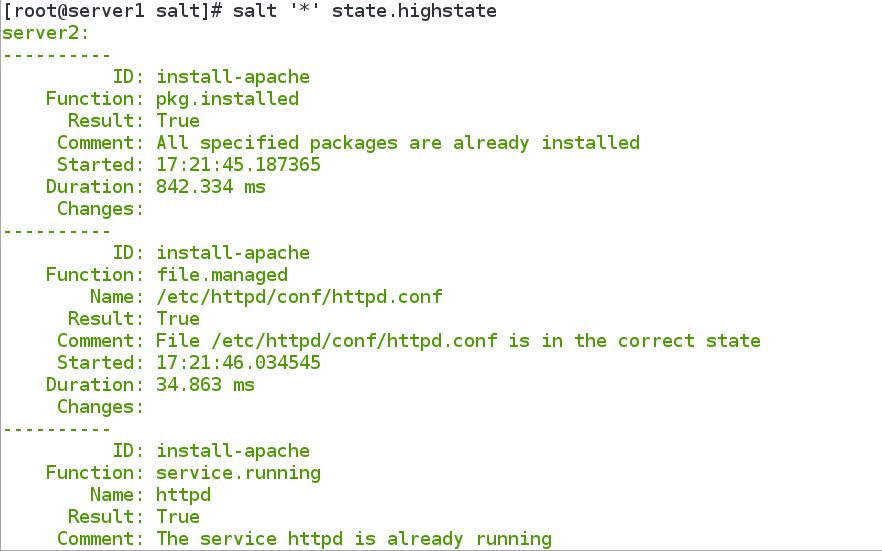
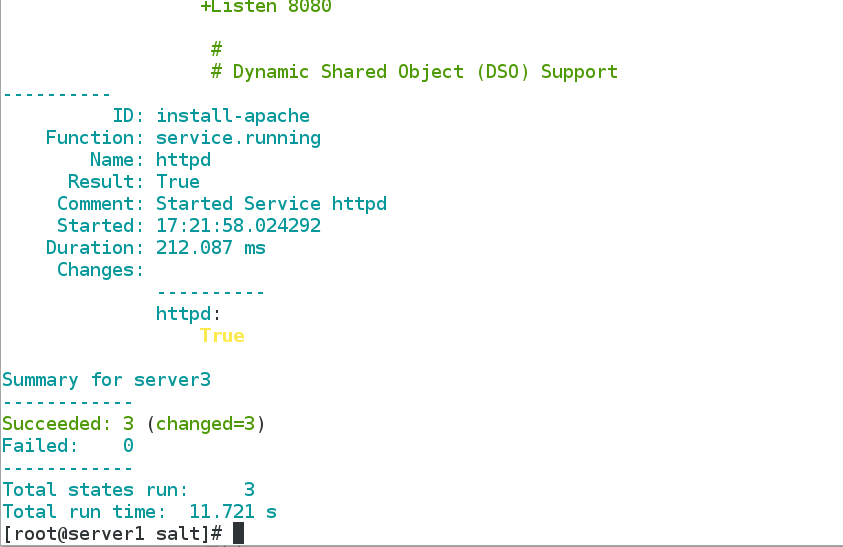
You can see that both server2 and server3 execute apache.install to view the process on server3
(3) Now, if you want to push nginx service in server 3, how does nginx push? How to write the install.sls file? The specific operation is as follows:
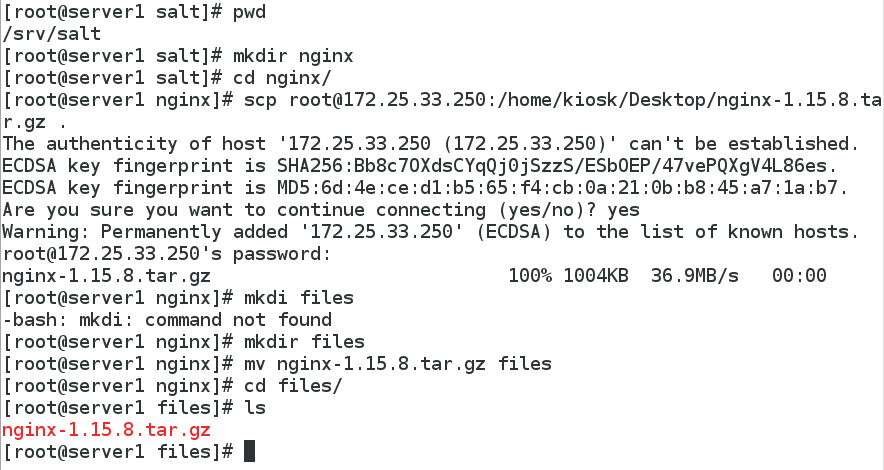
In the base mode, the nginx subdirectory is established, and the files directory is established under the subdirectory, and the nginx is installed into the files directory:
[root@server1 salt]# pwd
/srv/salt
[root@server1 salt]# mkdir nginx
[root@server1 salt]# cd nginx/
[root@server1 nginx]# scp root@172.25.33.250:/home/kiosk/Desktop/nginx-1.15.8.tar.gz .
The authenticity of host '172.25.33.250 (172.25.33.250)' can't be established.
ECDSA key fingerprint is SHA256:Bb8c7OXdsCYqQj0jSzzS/ESbOEP/47vePQXgV4L86es.
ECDSA key fingerprint is MD5:6d:4e:ce:d1:b5:65:f4:cb:0a:21:0b:b8:45:a7:1a:b7.
Are you sure you want to continue connecting (yes/no)? yes
Warning: Permanently added '172.25.33.250' (ECDSA) to the list of known hosts.
root@172.25.33.250's password:
nginx-1.15.8.tar.gz                           100% 1004KB  36.9MB/s   00:00
[root@server1 nginx]# mkdi files
-bash: mkdi: command not found
[root@server1 nginx]# mkdir files
[root@server1 nginx]# mv nginx-1.15.8.tar.gz files
[root@server1 nginx]# cd files/
[root@server1 files]# ls
nginx-1.15.8.tar.gz
Prepare the install.sls file under the nginx subdirectory:
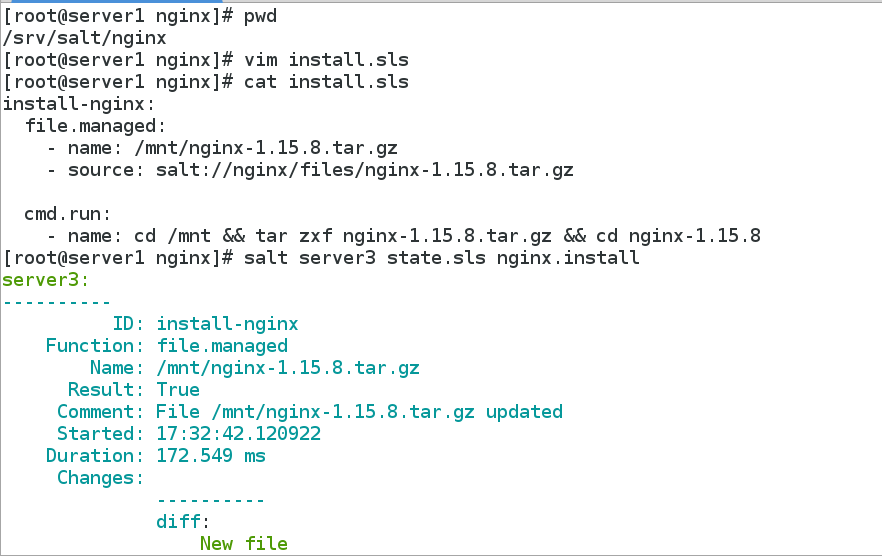
##Write Install.sls file separately, write simple operation first, decompress nginx compressed file
[root@server1 nginx]# cat install.sls
install-nginx:
  file.managed:
    - name: /mnt/nginx-1.15.8.tar.gz
    - source: salt://nginx/files/nginx-1.15.8.tar.gz

  cmd.run:
    - name: cd /mnt && tar zxf nginx-1.15.8.tar.gz && cd nginx-1.15.8
#The results are as follows:
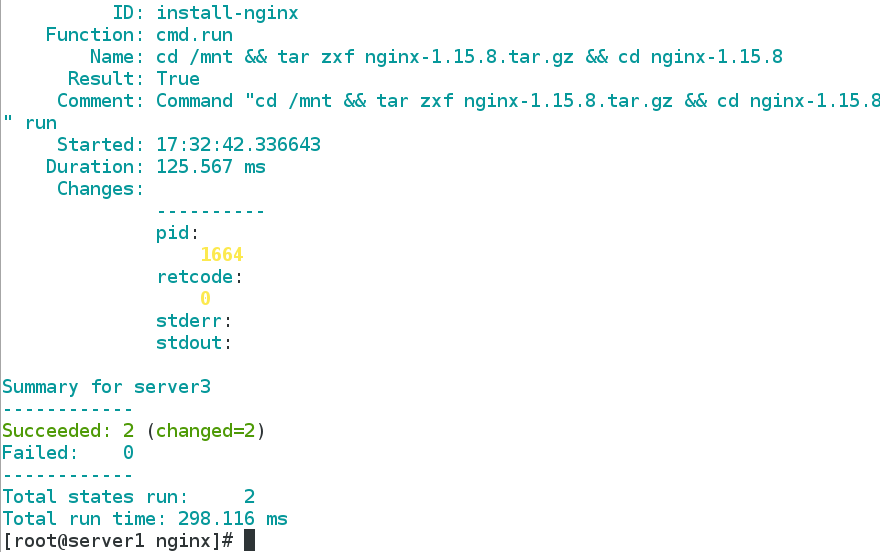
##Now, compile nginx, install.sls file as follows:
include:
  - pkgs.install          ##Write the dependency software used in the compilation process into Install.sls file and include it.

install-nginx:
  file.managed:
    - name: /mnt/nginx-1.15.8.tar.gz
    - source: salt://nginx/files/nginx-1.15.8.tar.gz

  cmd.run:
    - name: cd /mnt && tar zxf nginx-1.15.8.tar.gz && cd nginx-1.15.8 && sed -i 's/CFLAGS="$CFLAGS -g"/#CFLAGS="$CFLAGS -g"/g' auto/cc/gcc && ./configure --prefix=/usr/local/nginx && make && make install
    - creates: /usr/local/nginx
[root@server1 nginx]# mkdir ../pkgs
[root@server1 nginx]# vim ../pkgs/install.sls
[root@server1 nginx]# cat ../pkgs/install.sls
nginx-make:     ##nginx compiler software
  pkg.installed:
    - pkgs:
      - gcc:
      - make
      - zlib-devel
      - pcre-devel
##The results are as follows:
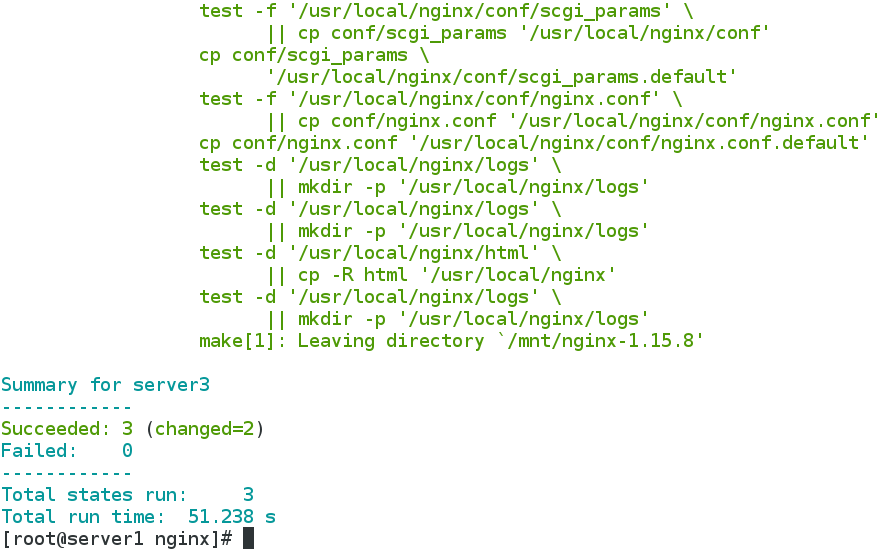
## The results of client execution are returned to master through 4506 and implemented by zmq message queue
 The return result is actually stored in the cache / var/cache/salt/master/jobs for 24 hours.
In production practice, cached data and databases are combined.
[root@server1 nginx]# cd /var/cache
[root@server1 cache]# ls
ldconfig  man  salt  yum
[root@server1 cache]# cd salt/
[root@server1 salt]# cd master/
[root@server1 master]# cd jobs/
[root@server1 jobs]# ls
13  20  4b  57  59  60  61  77  86  98  9f  a0  a8  ad  ae  e1  eb  f2  f5  f6

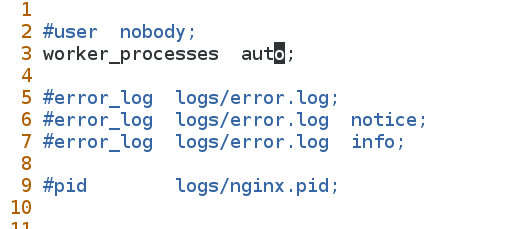
##Prepare nginx.conf to the files directory and modify the nginx.conf file to adapt the worker process to the cpu number of remote hosts
[root@server1 nginx]# pwd
/srv/salt/nginx
[root@server1 nginx]# ls
files  install.sls  service.sls
[root@server1 nginx]# cd files/
[root@server1 files]# scp root@172.25.33.3:/usr/local/nginx/conf/nginx.conf .
root@172.25.33.3's password:
nginx.conf                                    100% 2656     1.3MB/s   00:00
[root@server1 files]# ls
nginx-1.15.8.tar.gz  nginx.conf
[root@server1 files]# vim nginx.conf
##In the nginx directory, write the service.sls file to include nginx.install:
[root@server1 nginx]# cat service.sls
include:
  - nginx.install

/usr/local/nginx/sbin/nginx:
  cmd.run:
    - creates: /usr/local/nginx/logs/nginx.pid

/usr/local/nginx/conf/nginx.conf:
  file.managed:
    - source: salt://nginx/files/nginx.conf

/usr/local/nginx/sbin/nginx -s reload:
  cmd.wait:
    - watch:
      - file: /usr/local/nginx/conf/nginx.conf
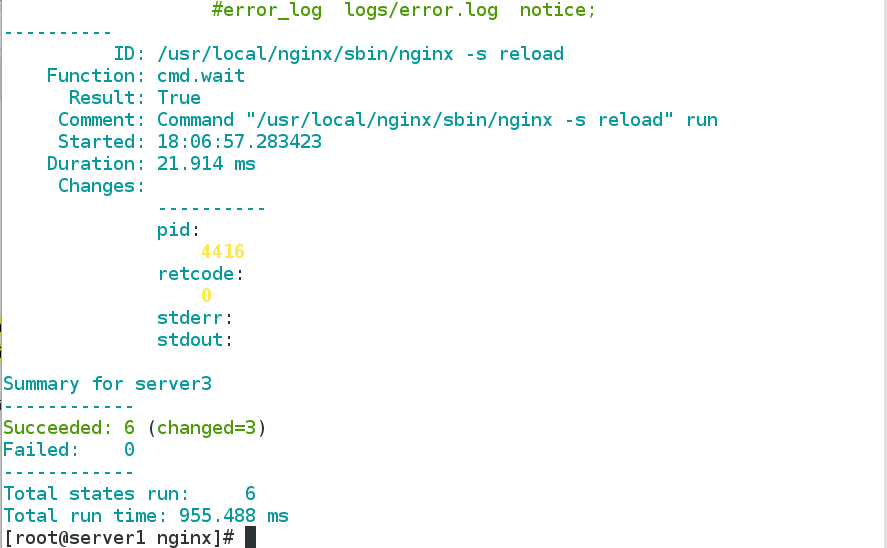
Finally, the configuration file is ready under files, install.sls in nginx directory under base, and service.sls file is ready for final push.
[root@server1 nginx]# salt server3 state.sls nginx.service

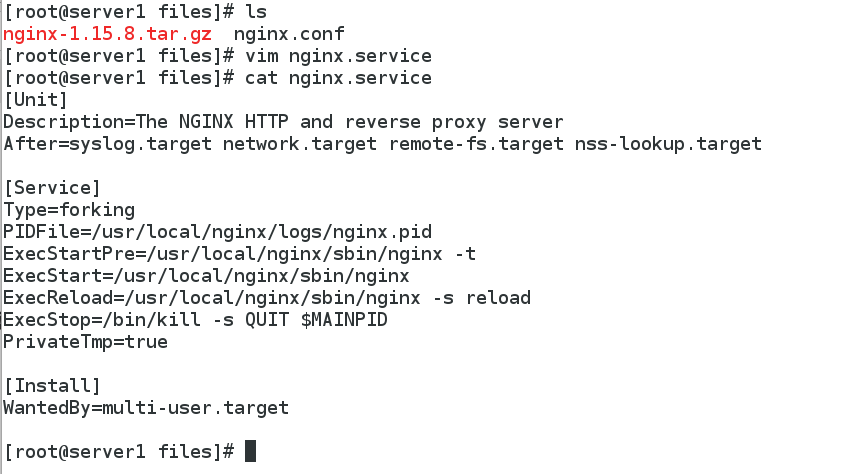
(4) After successful promotion in server 3, it is more convenient to modify the way of nginx startup and start nginx with system D. So, first of all, prepare script files under files.
##Prepare script files under files
[root@server1 files]# cat nginx.service
[Unit]
Description=The NGINX HTTP and reverse proxy server
After=syslog.target network.target remote-fs.target nss-lookup.target

[Service]
Type=forking
PIDFile=/usr/local/nginx/logs/nginx.pid
ExecStartPre=/usr/local/nginx/sbin/nginx -t
ExecStart=/usr/local/nginx/sbin/nginx
ExecReload=/usr/local/nginx/sbin/nginx -s reload
ExecStop=/bin/kill -s QUIT $MAINPID
PrivateTmp=true

[Install]
WantedBy=multi-user.target
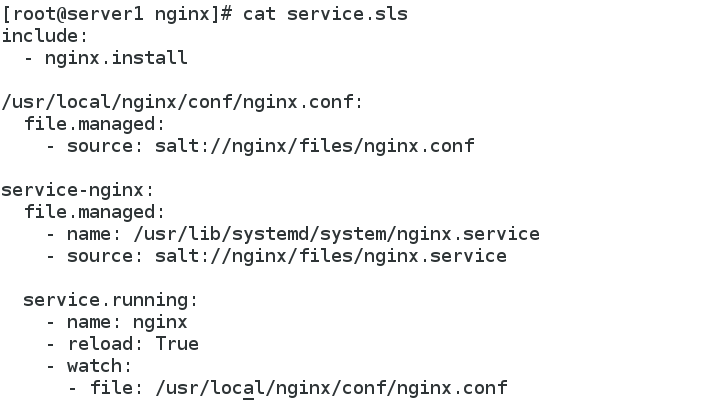
##Modify the previous service.sls file to include the script
nclude:
  - nginx.install

/usr/local/nginx/conf/nginx.conf:
  file.managed:
    - source: salt://nginx/files/nginx.conf

service-nginx:
  file.managed:
    - name: /usr/lib/systemd/system/nginx.service
    - source: salt://nginx/files/nginx.service

  service.running:
    - name: nginx
    - reload: True
    - watch:
      - file: /usr/local/nginx/conf/nginx.conf
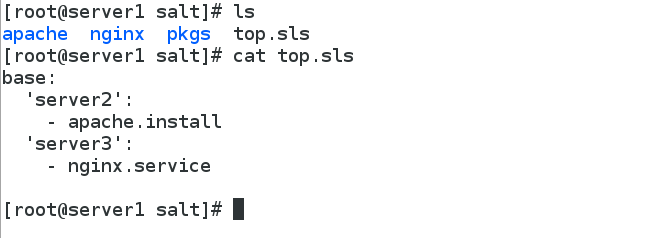
##Finally, modify top.sls in the base directory to highlight matching push directly
[root@server1 salt]# cat top.sls
base:
  'server2':
    - apache.install
  'server3':
    - nginx.service

##Before pushing, because the nginx process has been started on server 3, shut down the process of the master worker of nginx
 4414 ?        Ss     0:00 nginx: master process /usr/local/nginx/sbin/nginx
 4417 ?        S      0:00 nginx: worker process
12601 ?        R      0:00 [kworker/0:1]
14507 pts/0    R+     0:00 ps ax
[root@server3 ~]# kill -9 4414
[root@server3 ~]# kill -9 4417

salt '*' state.highstate
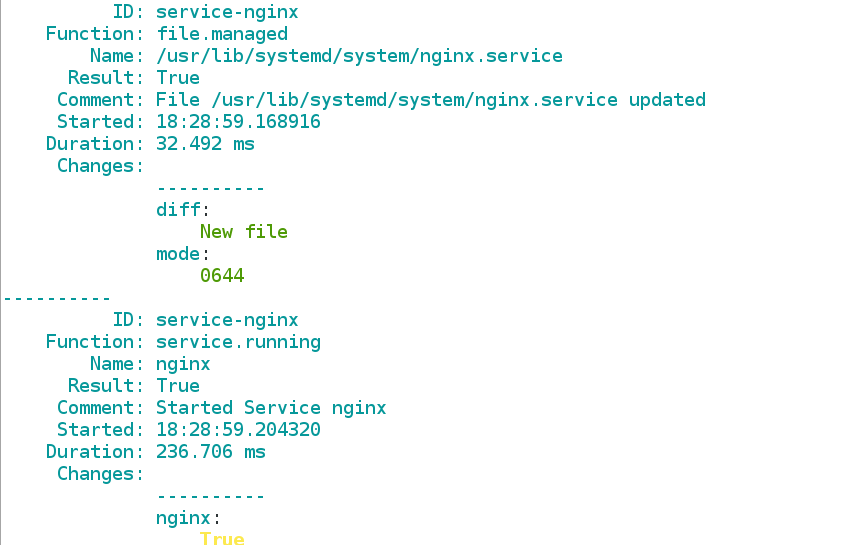

The nginx push of server 3 is successful!!!
2.Grains Details
(1) Introduction to Grains
Grains is a component of SaltStack stored on the minion side of SaltStack.
_When salt-minion is started, the collected data is statically stored in Grains, and the data is updated only when minion is restarted.
grains is static data, so it is not recommended to modify it frequently.
Application scenarios:
Information query can be used as CMDB.
In target, match minion.
_In the state system, configuration management module.
(2) Grains Information Query
Used to query IP, FQDN and other information of minion end.
_grains available by default:
salt '*' grains.ls
View the value of each item:
salt '*' grains.items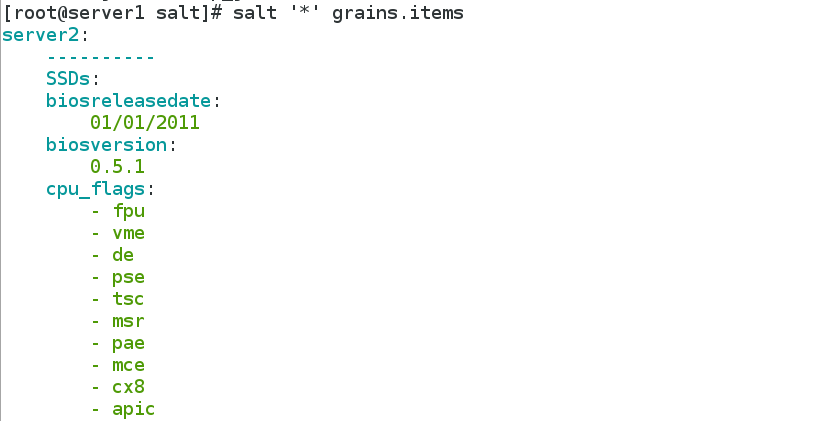
Take the value of a single item:
salt server3 grains.item ipv4
salt server3 grains.item fqdn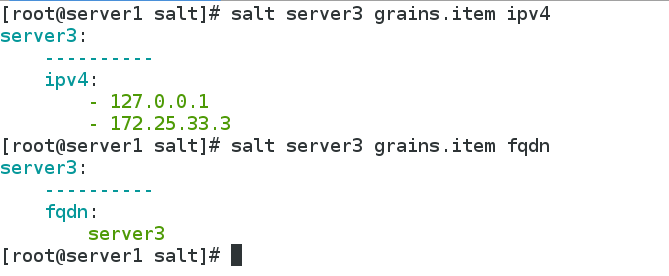
(3) Custom grains items
Defined in/etc/salt/minion:
vim /etc/salt/minion
grains:
roles:
- apache
Restart salt-minion, otherwise the data will not be updated:
systemctl restart salt-minion

Getting roles in server 2 in server 1
[root@server1 salt]# salt server2 grains.item roles
server2:
    ----------
    roles:
        - apache

Defined in / etc/salt/grains in server 3:
vim /etc/salt/grains:
roles: nginx
Synchronized data:
salt server3 saltutil.sync_grains
Query custom items:
salt server3 grains.item roles


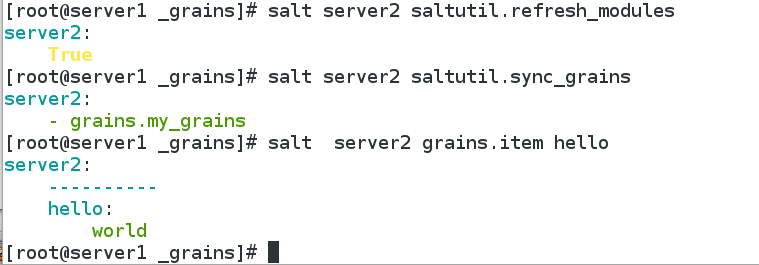
(4) Writing grains module
Create the _grains directory on the salt-master side:
mkdir /srv/salt/_grains
vim /srv/salt/_grains/my_grain.py
def my_grain():
grains = {}
grains['roles'] = nginx
grains['hello'] = 'world'
return grains
Salt server 2 saltutil. sync_grains Synchronize grains to minion
##Viewing the parent structure of a file in server 2
[root@server2 salt]# pwd
/var/cache/salt
[root@server2 salt]# tree .
.
└── minion
    ├── accumulator
    ├── extmods
    │   └── grains
    │       ├── my_grains.py
    │       └── my_grains.pyc
    ├── files
    │   └── base
    │       ├── apache
    │       │   ├── files
    │       │   │   └── httpd.conf
    │       │   └── install.sls
    │       ├── _grains
    │       │   └── my_grains.py
    │       └── top.sls
    ├── highstate.cache.p
    ├── module_refresh
    ├── pkg_refresh
    ├── proc
    └── sls.p

10 directories, 10 files
(5) grains Matching
Match minion in target:
salt -G 'roles:apache'test.ping
salt -G 'roles:nginx'test.ping

Match in top file:
vim /srv/salt/top.sls
base:
'roles:apache':
- match: grain
- apache.install
'roles:nginx':
- match: grain
- nginx.service
# Sal'*'state. highstate # All Host Push
[root@server1 salt]# salt -G 'hello:world' test.ping    ##Host matching hello:world keyword
server2:
    True
server3:
    True

3. Detailed explanation of pillar
(1) Introduction to pillar
pillar is also a data system like grains, but the application scenarios are different.
_pillar is a dynamic storage of information in the master side, mainly private, sensitive information (such as user name password, etc.), and can specify a minion to see the corresponding information.
pillar is more suitable for configuration management.
(2) Declaration pillar
Define pillar base directory:
vim /etc/salt/master
pillar_roots:
base:
- /srv/pillar
mkdir /srv/pillar
Restart the salt-master service:
systemctl restart salt-master

Custom pillar item
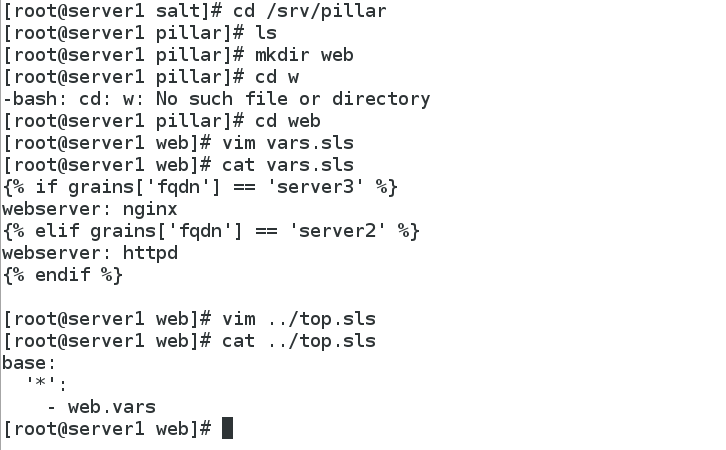
[root@server1 salt]# cd /srv/pillar
[root@server1 pillar]# ls
[root@server1 pillar]# mkdir web
[root@server1 pillar]# cd web
[root@server1 web]# vim vars.sls
[root@server1 web]# cat vars.sls
{% if grains['fqdn'] == 'server3' %}
webserver: nginx
{% elif grains['fqdn'] == 'server2' %}
webserver: httpd
{% endif %}

[root@server1 web]# vim ../top.sls
[root@server1 web]# cat ../top.sls
base:
  '*':      ##All hosts contain vars resources
    - web.vars
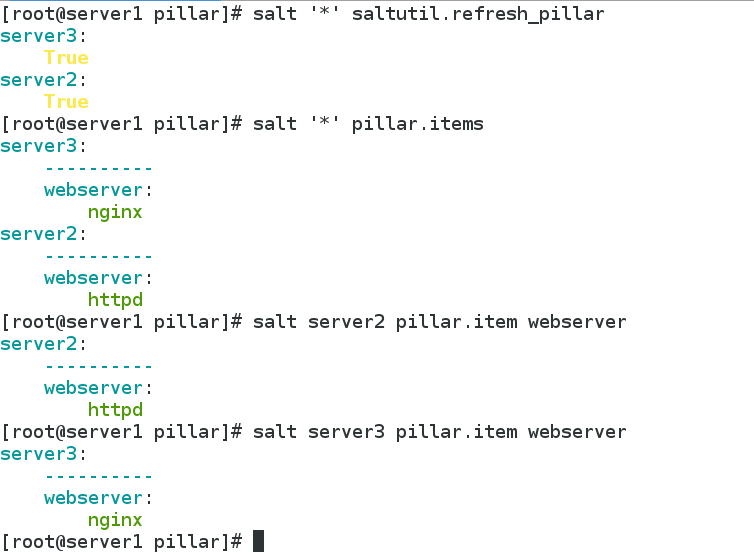
Refresh pillar data:
salt '*' saltutil.refresh_pillar
Query pillar data:
salt '*' pillar.items
salt server2 pillar.item webserver
salt server3 pillar.item webserver
4. Detailed Jinja template
(1) Introduction of jinja template
Jinja is a python-based template engine, which can be used directly in the SLS file to do some operations.
Variables can be defined for different servers through jinja templates.
Two separators: {%... %} And { }} The former is used to execute statements such as for loops or assignments, while the latter prints the results of expressions onto templates.
(2) Jinja template usage
Jinja's use of ordinary documents:
[root@server1 apache]# cat install.sls
install-apache:
  pkg.installed:
    - pkgs:
      - httpd

  file.managed:
    - name: /etc/httpd/conf/httpd.conf
    - source: salt://apache/files/httpd.conf
    - template: jinja    ##Assigning port s using jinja templates
    - context:
      port: 80

  service.running:
    - name: httpd
    - reload: true
    - watch:
      - file: install-apache
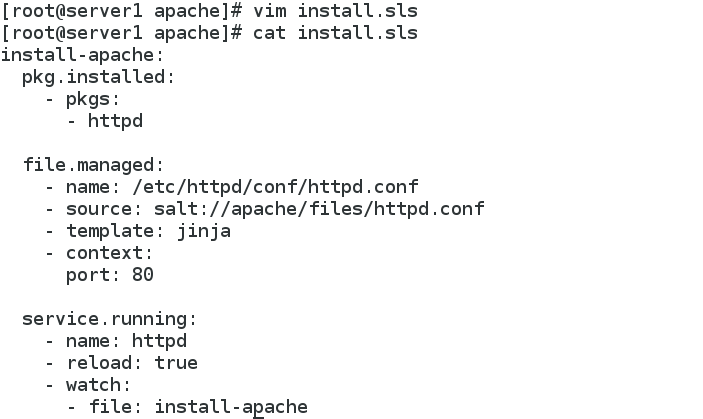
Modify httpd.conf under apache/files
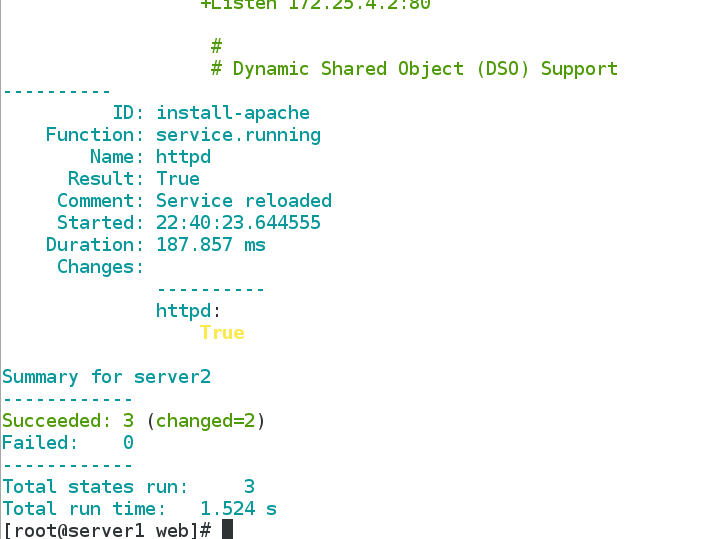
Push to server 2:
salt server2 state.sls apache.install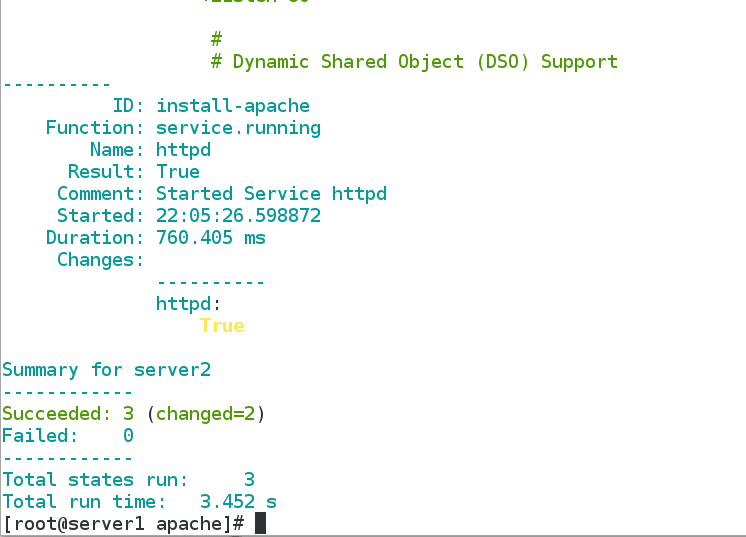
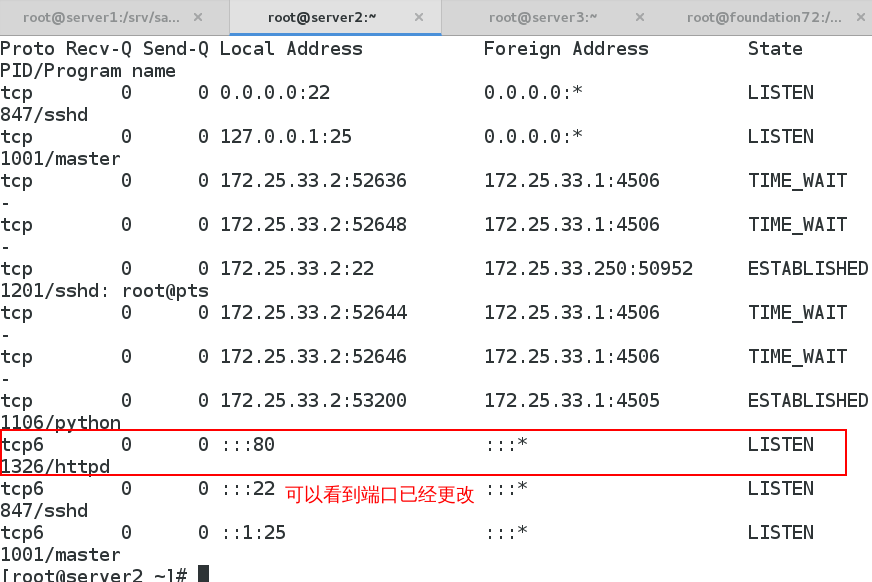
[root@server1 apache]# vim install.sls
[root@server1 apache]# cat install.sls
install-apache:
  pkg.installed:
    - pkgs:
      - httpd

  file.managed:
    - name: /etc/httpd/conf/httpd.conf
    - source: salt://apache/files/httpd.conf
    - template: jinja
    - context:
      port: 80
      host: 172.25.4.2    ##Define host name in configuration file

  service.running:
    - name: httpd
    - reload: true
    - watch:
      - file: install-apache

[root@server1 apache]# cd files/
[root@server1 files]# ls
httpd.conf
[root@server1 files]# vim httpd.conf     ##Modify the listening format in the configuration file
[root@server1 files]# salt server2 state.sls apache.install

Push again: salt server 2 state. SLS apache. install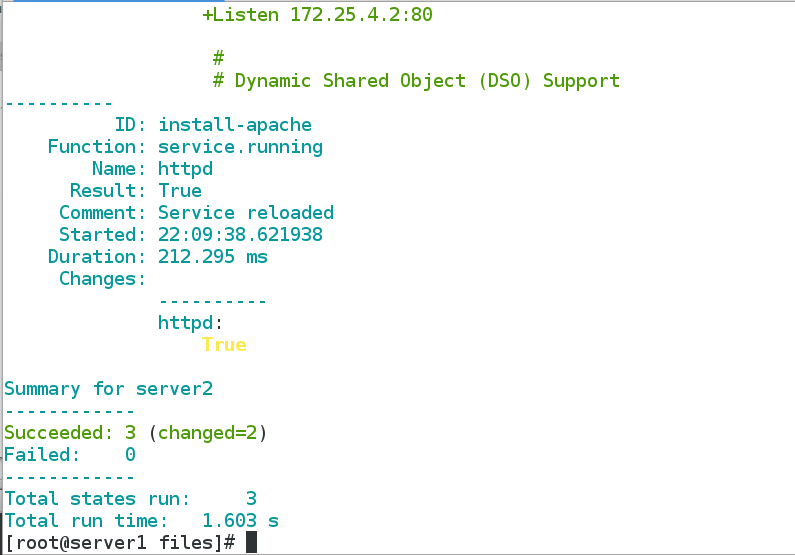
View the httpd.conf file in server 2
(3) Applying grains to Template Variables
install-apache:
  pkg.installed:
    - pkgs:
      - httpd

  file.managed:
    - name: /etc/httpd/conf/httpd.conf
    - source: salt://apache/files/httpd.conf
    - template: jinja
    - context:
      port: 80
      host: {{ grains['ipv4'][-1] }}     ##grains Value Selection Method

  service.running:
    - name: httpd
    - reload: true
    - watch:
      - file: install-apache
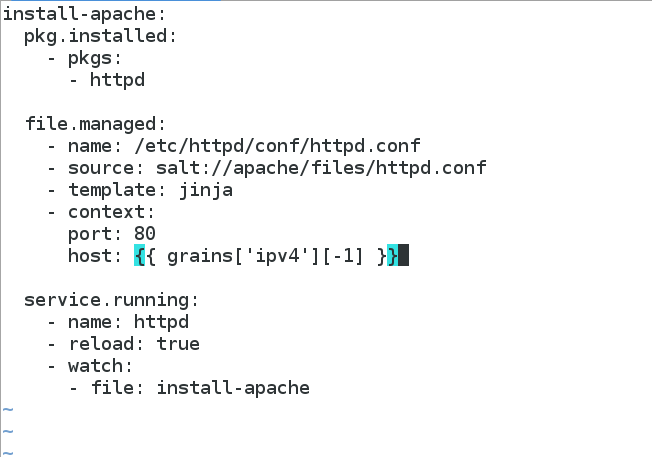
Push: Push Success
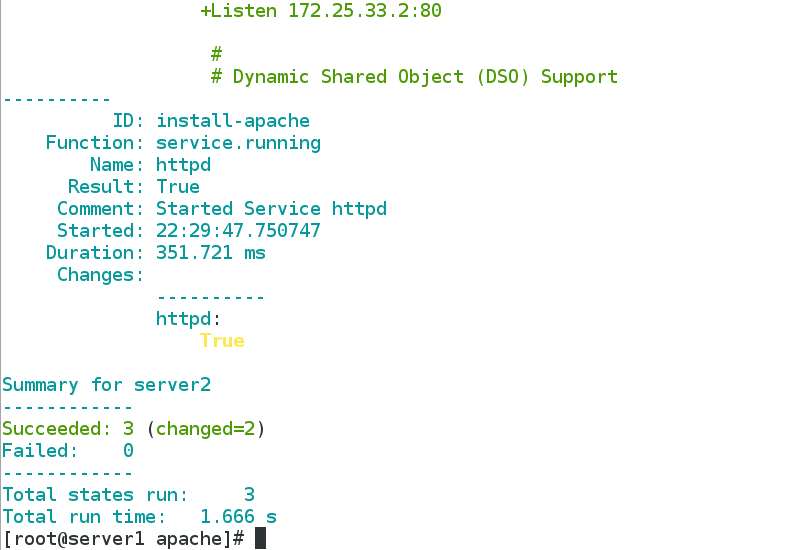
You can also use grains to get values directly in the configuration file
Push: Push Success
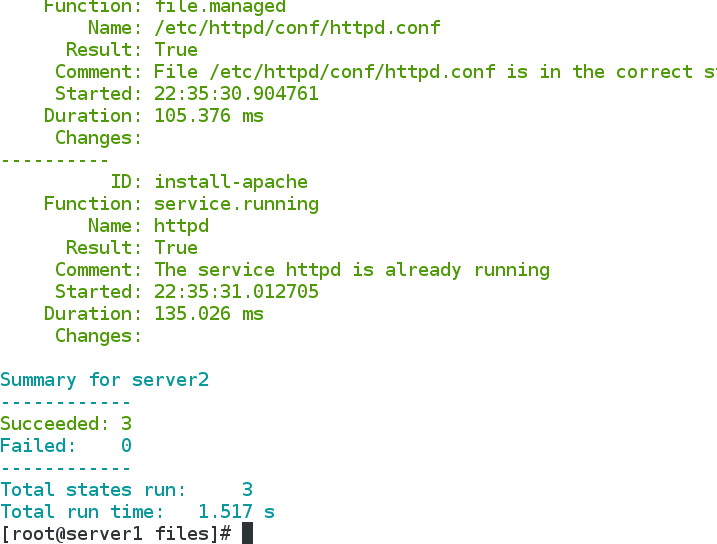
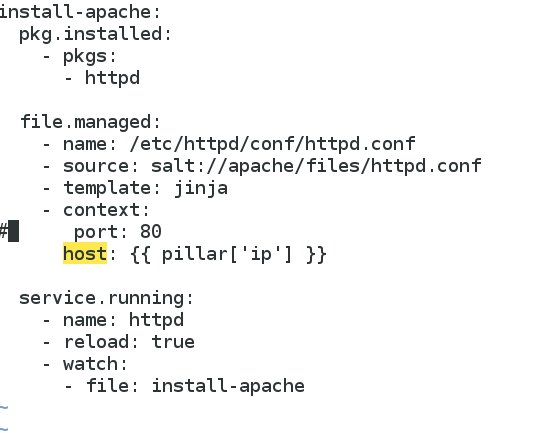
(4) Use pillar to assign values to template variables
[root@server1 apache]# cat install.sls
install-apache:
  pkg.installed:
    - pkgs:
      - httpd

  file.managed:
    - name: /etc/httpd/conf/httpd.conf
    - source: salt://apache/files/httpd.conf
    - template: jinja
    - context:
      port: 80
      host: {{ pillar['ip'] }}     ##ip variables need to be named in the sls file in pillar's base directory

  service.running:
    - name: httpd
    - reload: true
    - watch:
      - file: install-apache
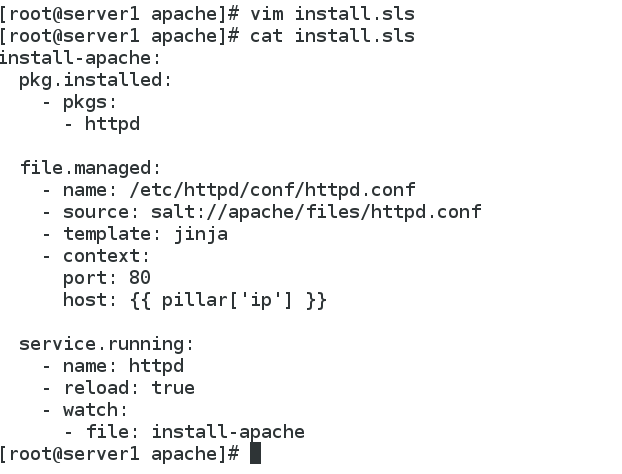
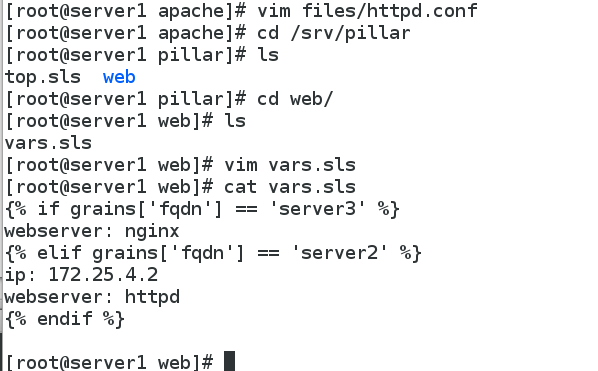
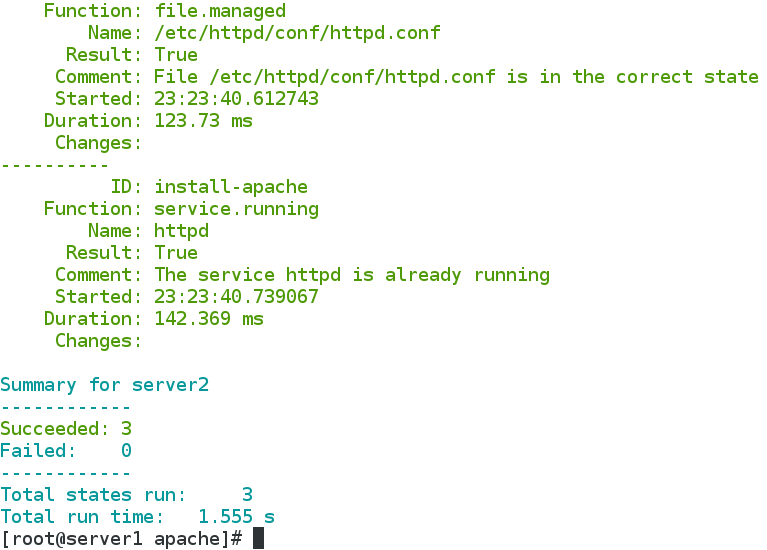
Change the listening format in the configuration file to the original one, and assign it to the ip variable in the / srv/pillar/web/vars.sls file

Push: Push Success
You can also use pillar to get values directly in the configuration file
Push: Push Success
(5) import mode
import mode, which can be shared between state files:
Define variable files:
vim lib.sls
{% set port = 80 %}

Import template files:
vim httpd.conf
{% from 'apache/lib.sls' import port %}
...
Listen {{ host }}:{{ prot }}
Push: Push Success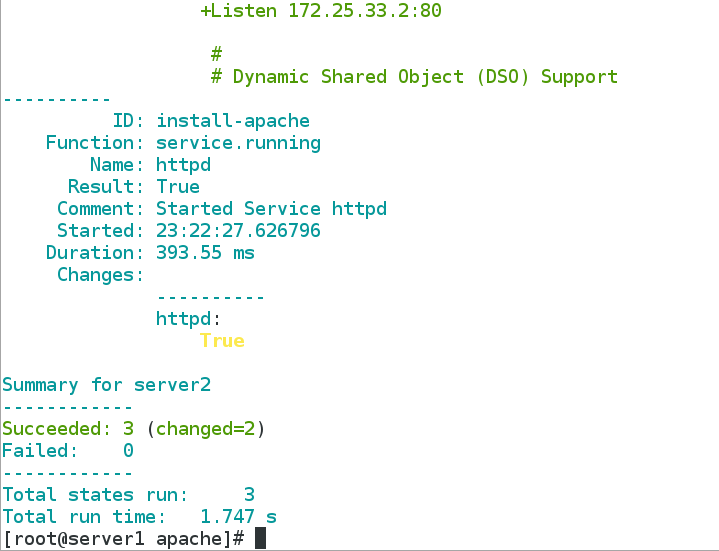
Note: In the / srv/salt/nginx/install.sls file, {% set nginx_version = 1.15.8%} can be added, and then {nginx_version} can be directly referenced when all versions are used in the file.
5. Deployment of high-availability keepalived
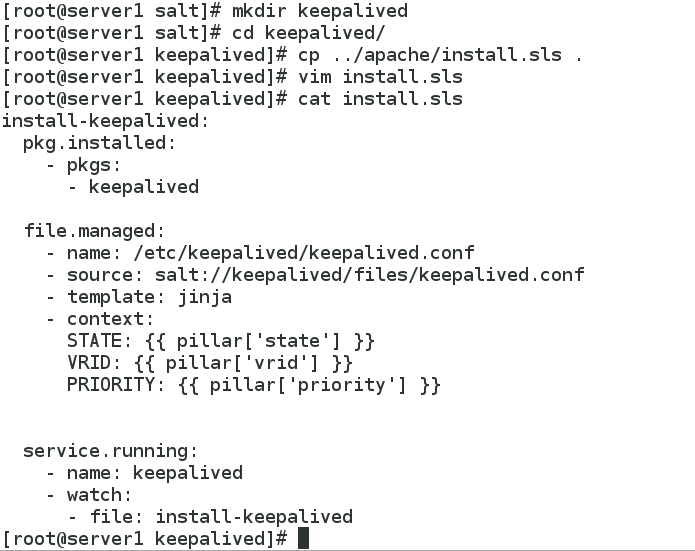
(1) / srv/salt to establish a keepalived subdirectory and write install.sls file
[root@server1 keepalived]# cat install.sls
install-keepalived:
  pkg.installed:
    - pkgs:
      - keepalived

  file.managed:
    - name: /etc/keepalived/keepalived.conf
    - source: salt://keepalived/files/keepalived.conf
    - template: jinja
    - context:
      STATE: {{ pillar['state'] }}
      VRID: {{ pillar['vrid'] }}
      PRIORITY: {{ pillar['priority'] }}


  service.running:
    - name: keepalived
    - watch:
      - file: install-keepalived
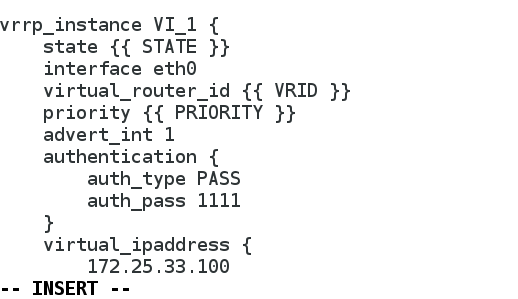
(2) Modify the keepalived.conf configuration file under files
[root@server1 keepalived]# cd files/
[root@server1 files]# pwd
/srv/salt/keepalived/files
[root@server1 files]# cp /etc/keepalived/keepalived.conf .
[root@server1 files]# ls
keepalived.conf
[root@server1 files]# vim keepalived.conf
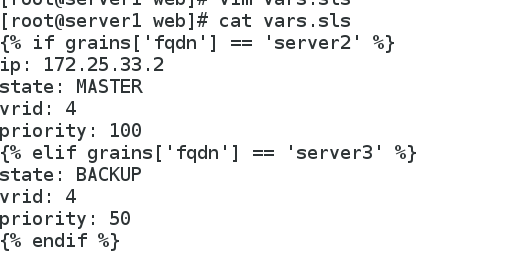
(3) In pillar's base directory, assign values to variables
[root@server1 files]# cd /srv/pillar
[root@server1 pillar]# ls
top.sls  web
[root@server1 pillar]# cd web/
[root@server1 web]# vim vars.sls
[root@server1 web]# cat vars.sls
{% if grains['fqdn'] == 'server2' %}
ip: 172.25.33.2
state: MASTER
vrid: 4
priority: 100
{% elif grains['fqdn'] == 'server3' %}
state: BACKUP
vrid: 4
priority: 50
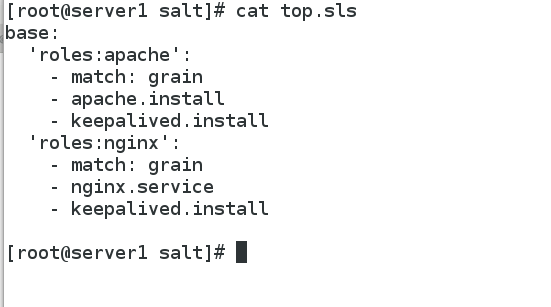
(4) Write top.sls file:
[root@server1 salt]# cat top.sls
base:
  'roles:apache':
    - match: grain
    - apache.install
    - keepalived.install
  'roles:nginx':
    - match: grain
    - nginx.service
    - keepalived.install
(5) Pushing
[root@server1 salt]# salt '*' state.highstate
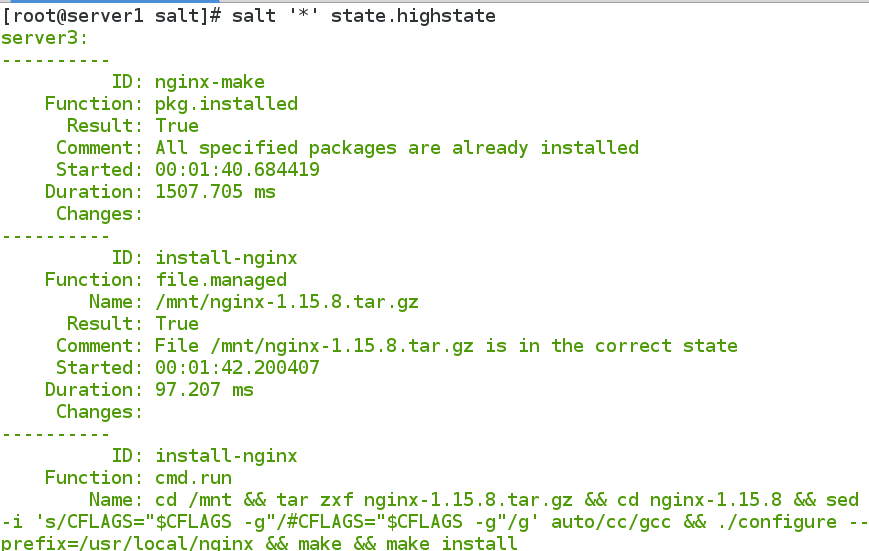
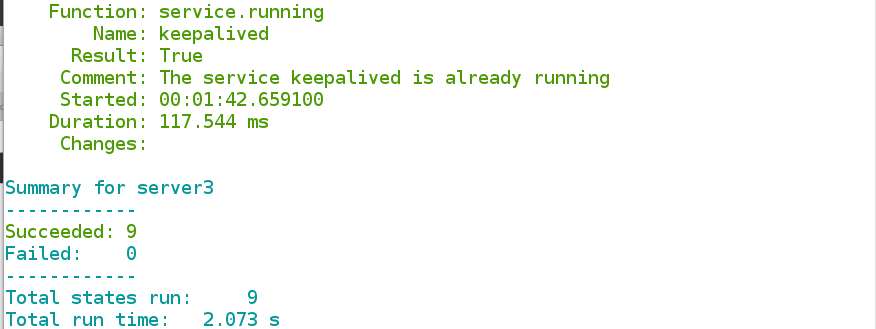
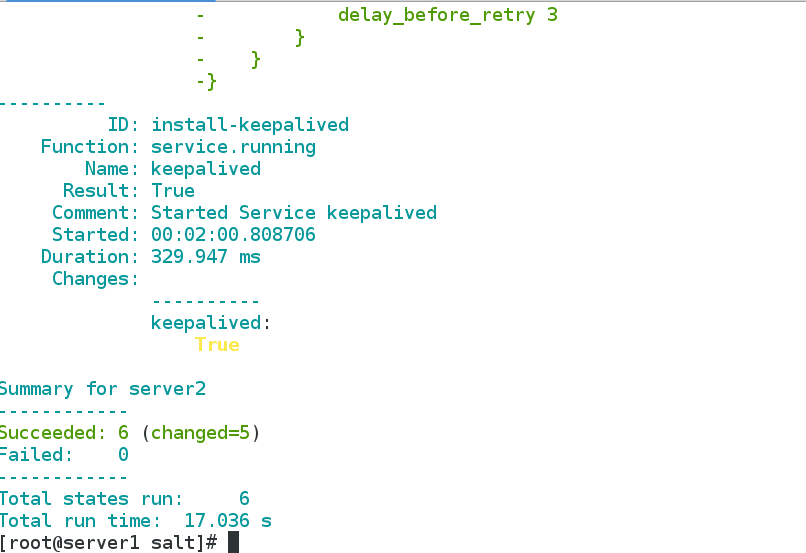
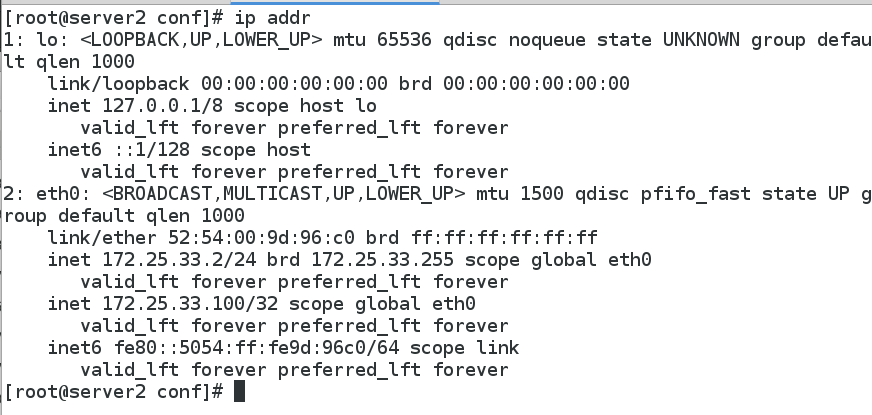
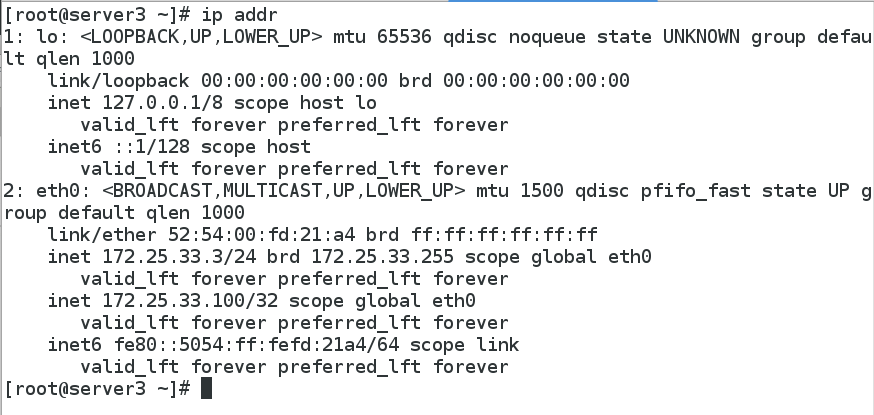
(6) Check the processes of server2 and 3 to see if vip is on server2. When server2 closes the main keepalived service, vip can drift
[root@server2 conf]# systemctl stop keepalived.service



6. Saljob cache management
(1) Introduction to Job
_master will attach the generated jid to the next instruction task.
_Minion generates the jid-named file in the local / var/cache/salt/minion/proc directory when it receives instructions to start executing, which is used by the master to view the execution of the current task during execution.
Delete the temporary file after the instruction is executed and the result is transmitted to the master.
(2) Default JOB CACHE
Job cache is stored by default for 24 hours:
vim /etc/salt/master
keep_jobs: 24
The master-side Job cache directory:
/var/cache/salt/master/jobs
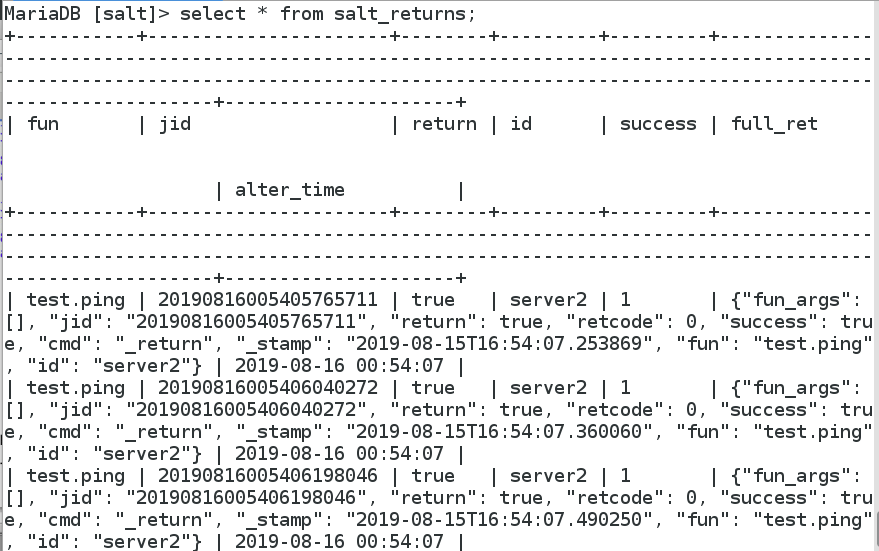
(3) Store Job in database
1. Modify the master configuration:
vim /etc/salt/master
master_job_cache: mysql
mysql.host: 'localhost'
mysql.user: 'salt'
mysql.pass: 'salt'
mysql.db: 'salt'
Restart the salt-master service:
systemctl restart salt-master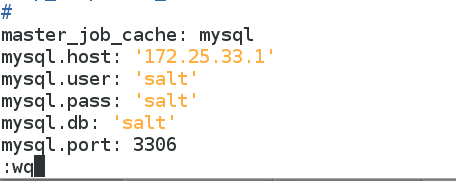
2. Install mysql database:
yum install -y mariadb-server MySQL-python
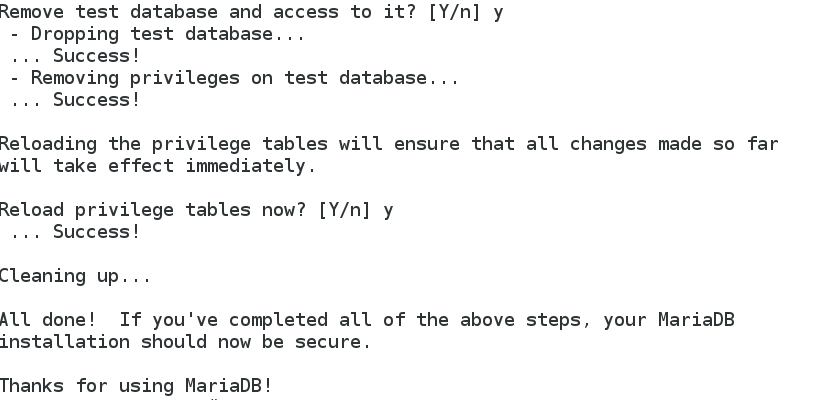
3. Execute the database initialization script:
mysql_secure_installation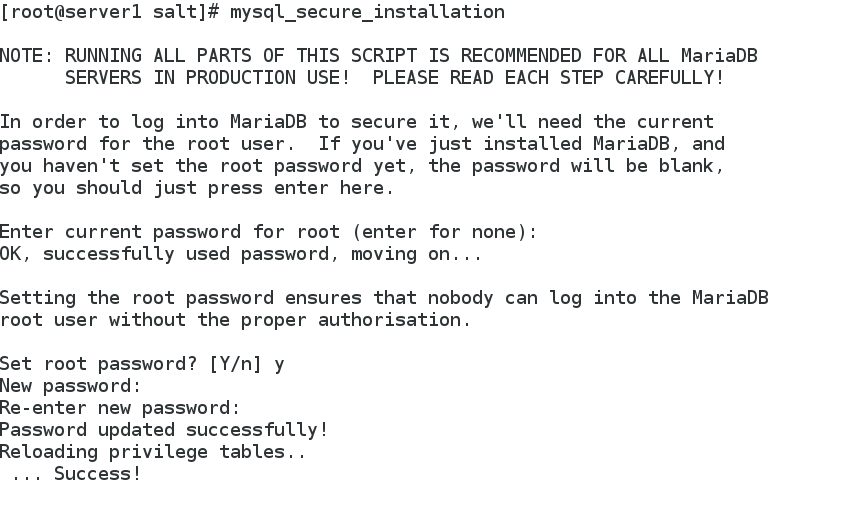
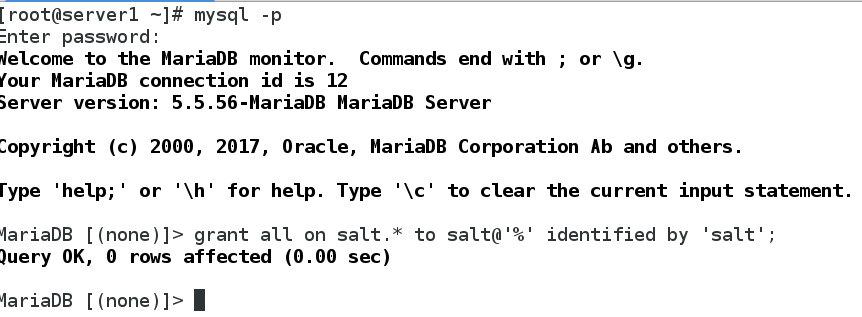
4. Create database authorization:
\> grant all on salt.* to salt@localhost identified by 'salt';
5. Import data template:
mysql -p < salt.sql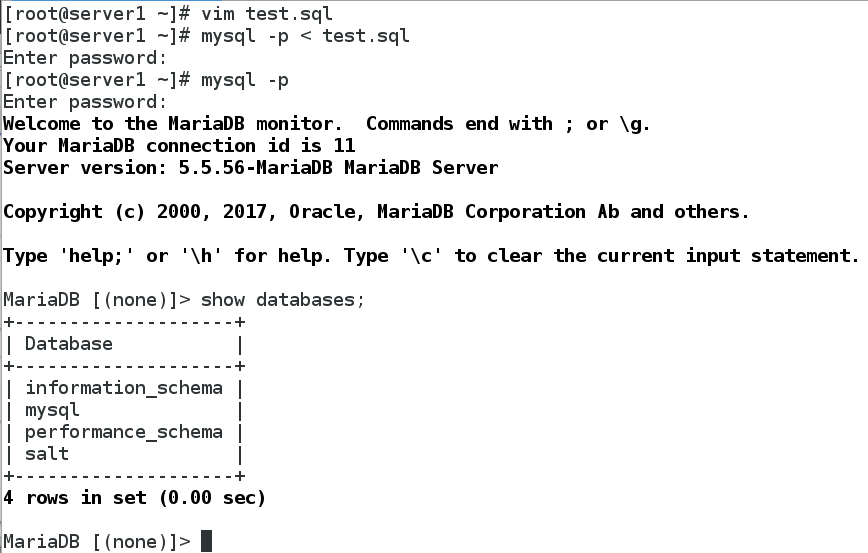
6. Check the master side job cache directory / var/cache/salt/master/jobs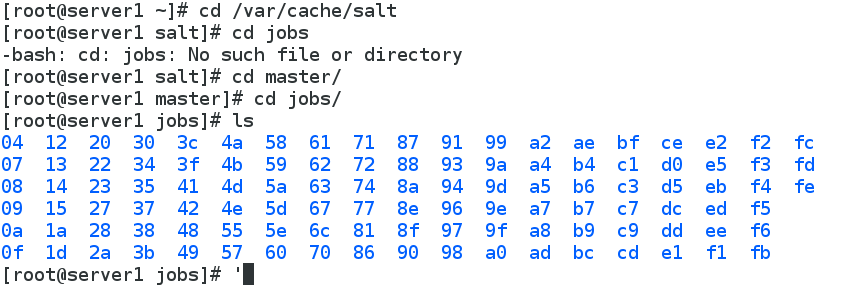
7. Execute commands, can you save to the database: save successfully!
