1. First, copy the jar package ant-jmeter-1.1.1 under apache-jmeter-3.2 extras to ant's lib directory
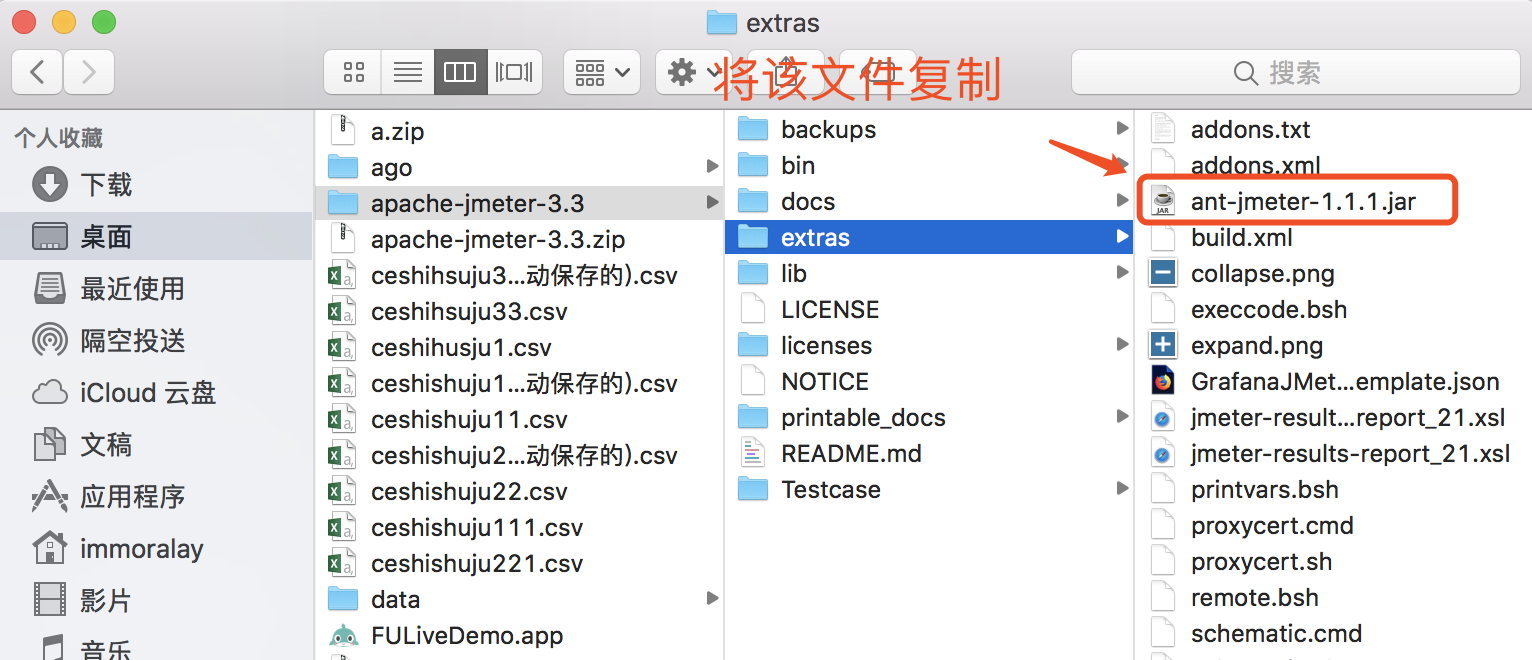
Copy it to the lib file in your installation ant directory (not here)
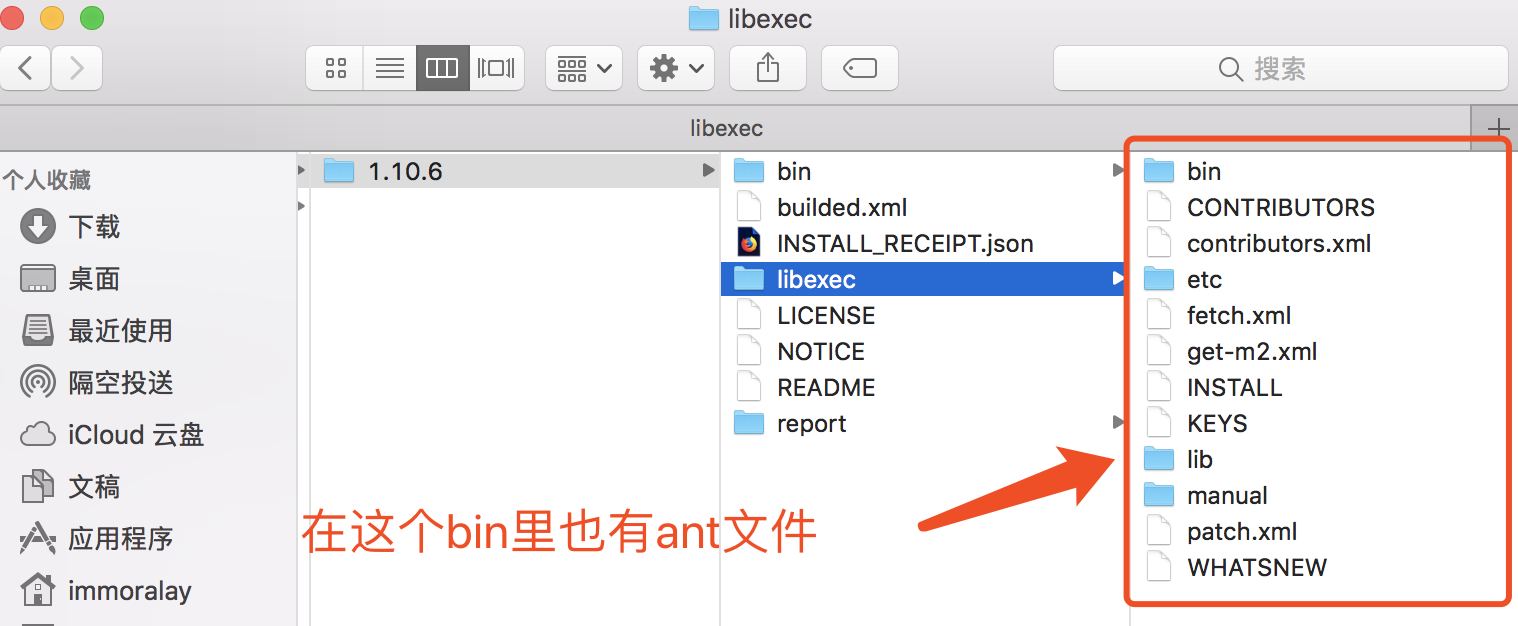
/usr/local/Cellar/ant/1.10.6/libexec/lib
Tip: If you can't find the path after downloading ant, you can enter the command at the terminal: which ant

2. Create a folder Testcases where scripts and reports are stored in jmeter's root directory (this is called Ha at will)
Create a report folder and build.xml file in the Testcases directory, or copy the builded.xml file from the extras directory (the name of the file can also be arbitrarily named) to Testcases.

Edit builded.xml file all-selected - delete, copy my configuration below
<?xml version="1.0" encoding="utf-8"?>
<project name="JmeterTest" default="all" basedir=".">
<tstamp>
<format property="time" pattern="yyyyMMddhhmm" />
</tstamp>
<!-- Need to change to your local one Jmeter Catalog-->
<property name="jmeter.home" value="/Users/immoralay/Desktop/apache-jmeter-3.3" />
<!-- jmeter generate jtl Path of results report in format-->
<property name="jmeter.result.jtl.dir" value="/Users/immoralay/Desktop/apache-jmeter-3.3/Testcase/report/jtl" />
<!-- jmeter generate html Path of results report in format-->
<property name="jmeter.result.html.dir" value="/Users/immoralay/Desktop/apache-jmeter-3.3/Testcase/report/html" />
<!-- Prefixes for generated reports -->
<property name="ReportName" value="TestReport" />
<property name="jmeter.result.jtlName" value="${jmeter.result.jtl.dir}/${ReportName}${time}.jtl" />
<property name="jmeter.result.htmlName" value="${jmeter.result.html.dir}/${ReportName}${time}.html" />
<!-- Mailbox for receiving test reports -->
<property name="mail_to" value="yqq@mmears.com" />
<!-- Computer Address -->
<property name="ComputerName" value="chichi" />
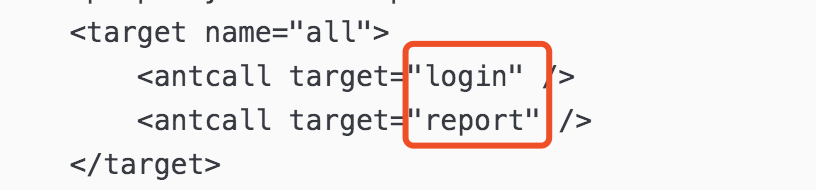
<target name="all">
<antcall target="login" />
<antcall target="report" />
</target>
<target name="login">
<taskdef name="jmeter" classname="org.programmerplanet.ant.taskdefs.jmeter.JMeterTask" />
<jmeter jmeterhome="${jmeter.home}" resultlog="${jmeter.result.jtlName}">
<!-- Declare the script to run."*.jmx"Refers to all that is contained in this directory. jmeter Script -->
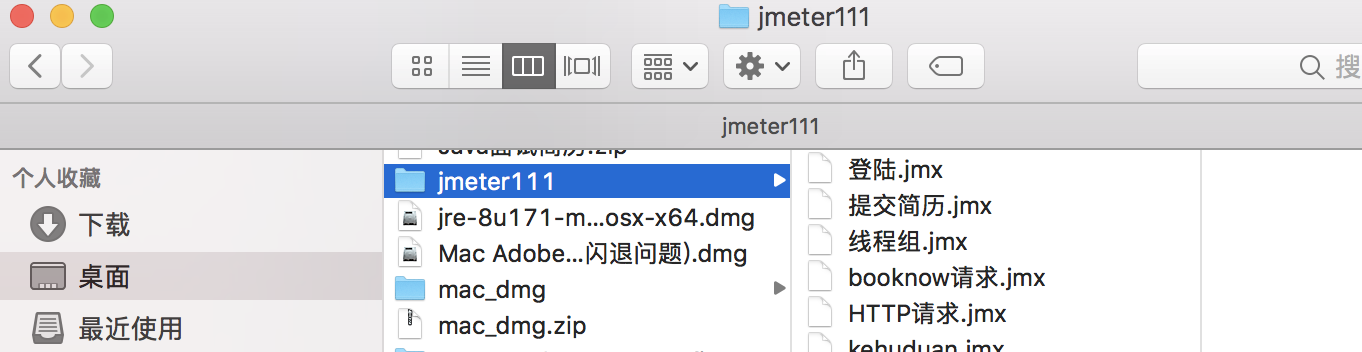
<testplans dir="/Users/immoralay/Desktop/jmeter111" includes="Submit your resume.jmx" />
<property name="jmeter.save.saveservice.output_format" value="xml" />
</jmeter>
</target>
<target name="report">
<xslt in="${jmeter.result.jtlName}" out="${jmeter.result.htmlName}" style="${jmeter.home}/extras/jmeter-results-detail-report_21.xsl" />
<!-- Because when the report is generated above, the relevant pictures will not be copied to the target directory, so you need to copy them manually. -->
<copy todir="${jmeter.result.html.dir}">
<fileset dir="${jmeter.home}/extras">
<include name="collapse.png" />
<include name="expand.png" />
</fileset>
</copy>
</target>
<!-- Send mail -->
</project>
Notes in the above documents:
(1) Change the path to install jmeter

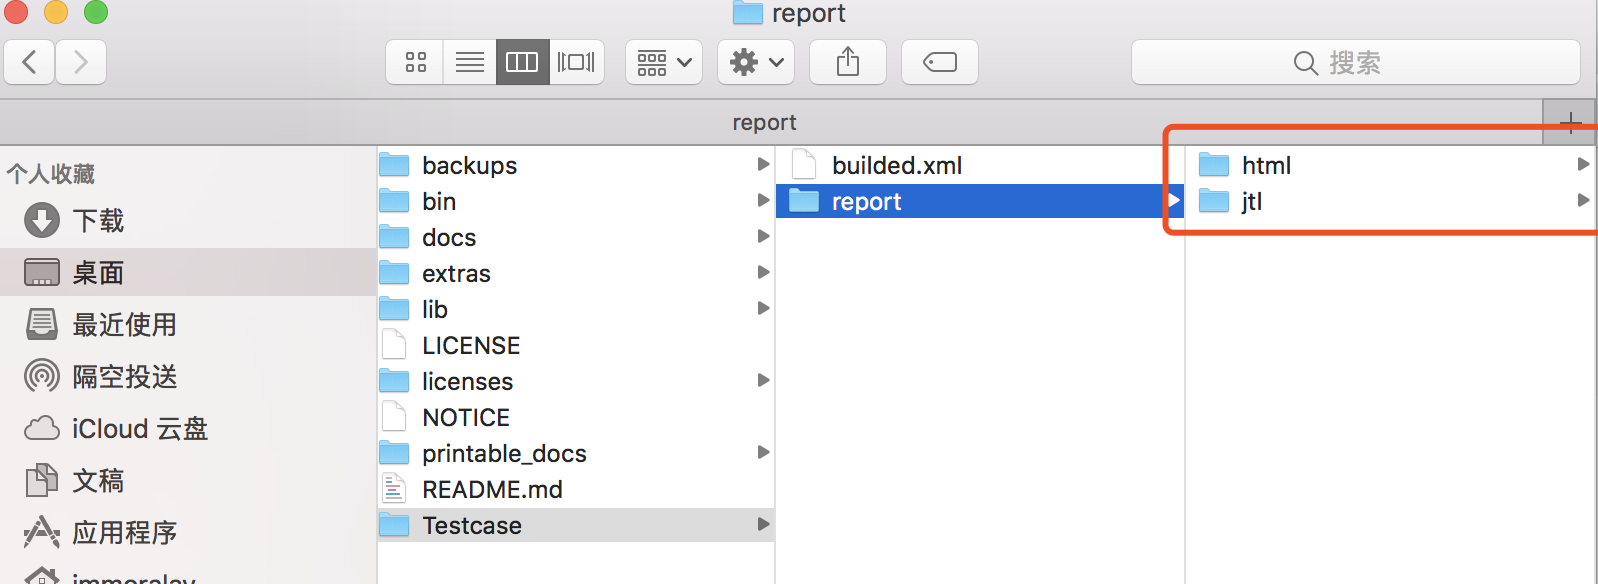
(2) At this time, we need to create two new folders named jtl and html in the report under Testcase, which we have built before, in order to store reports and files, and put these two file paths into the code.

(3) The name of the target project is linked to Jenkins, and this follow-up will say, remember your name first.
(4) What I want to write here is the script file path that you usually test. For example, when I do the interface test, I will put the script into a file, and include in the code can put the script you want to test.

3. After the built file is ready, save it and copy it to ant's installation directory.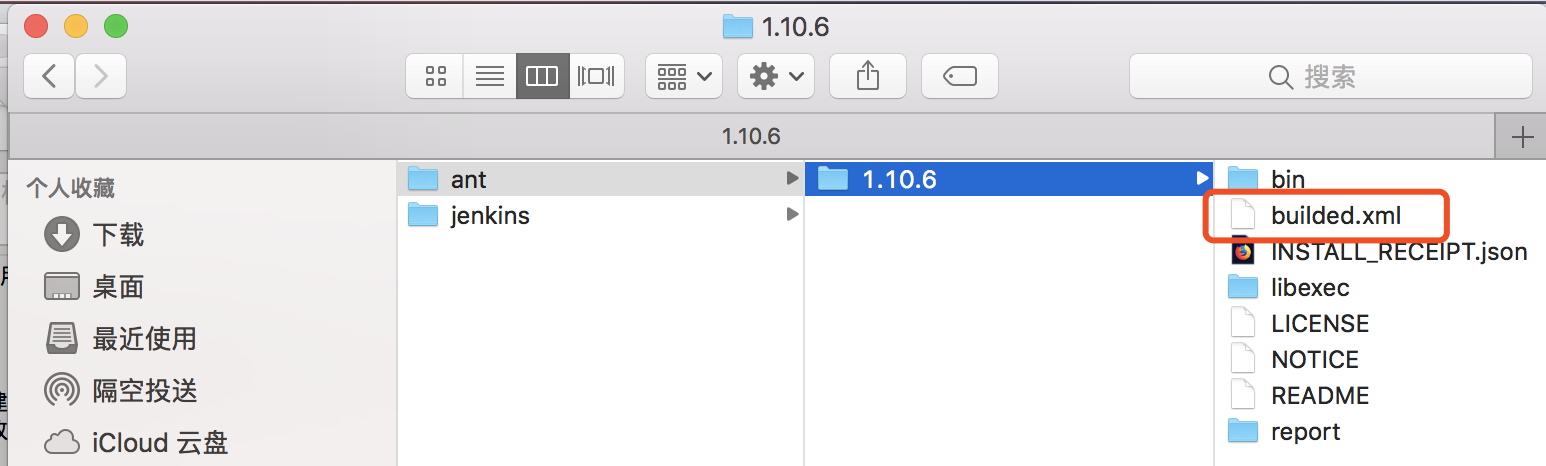
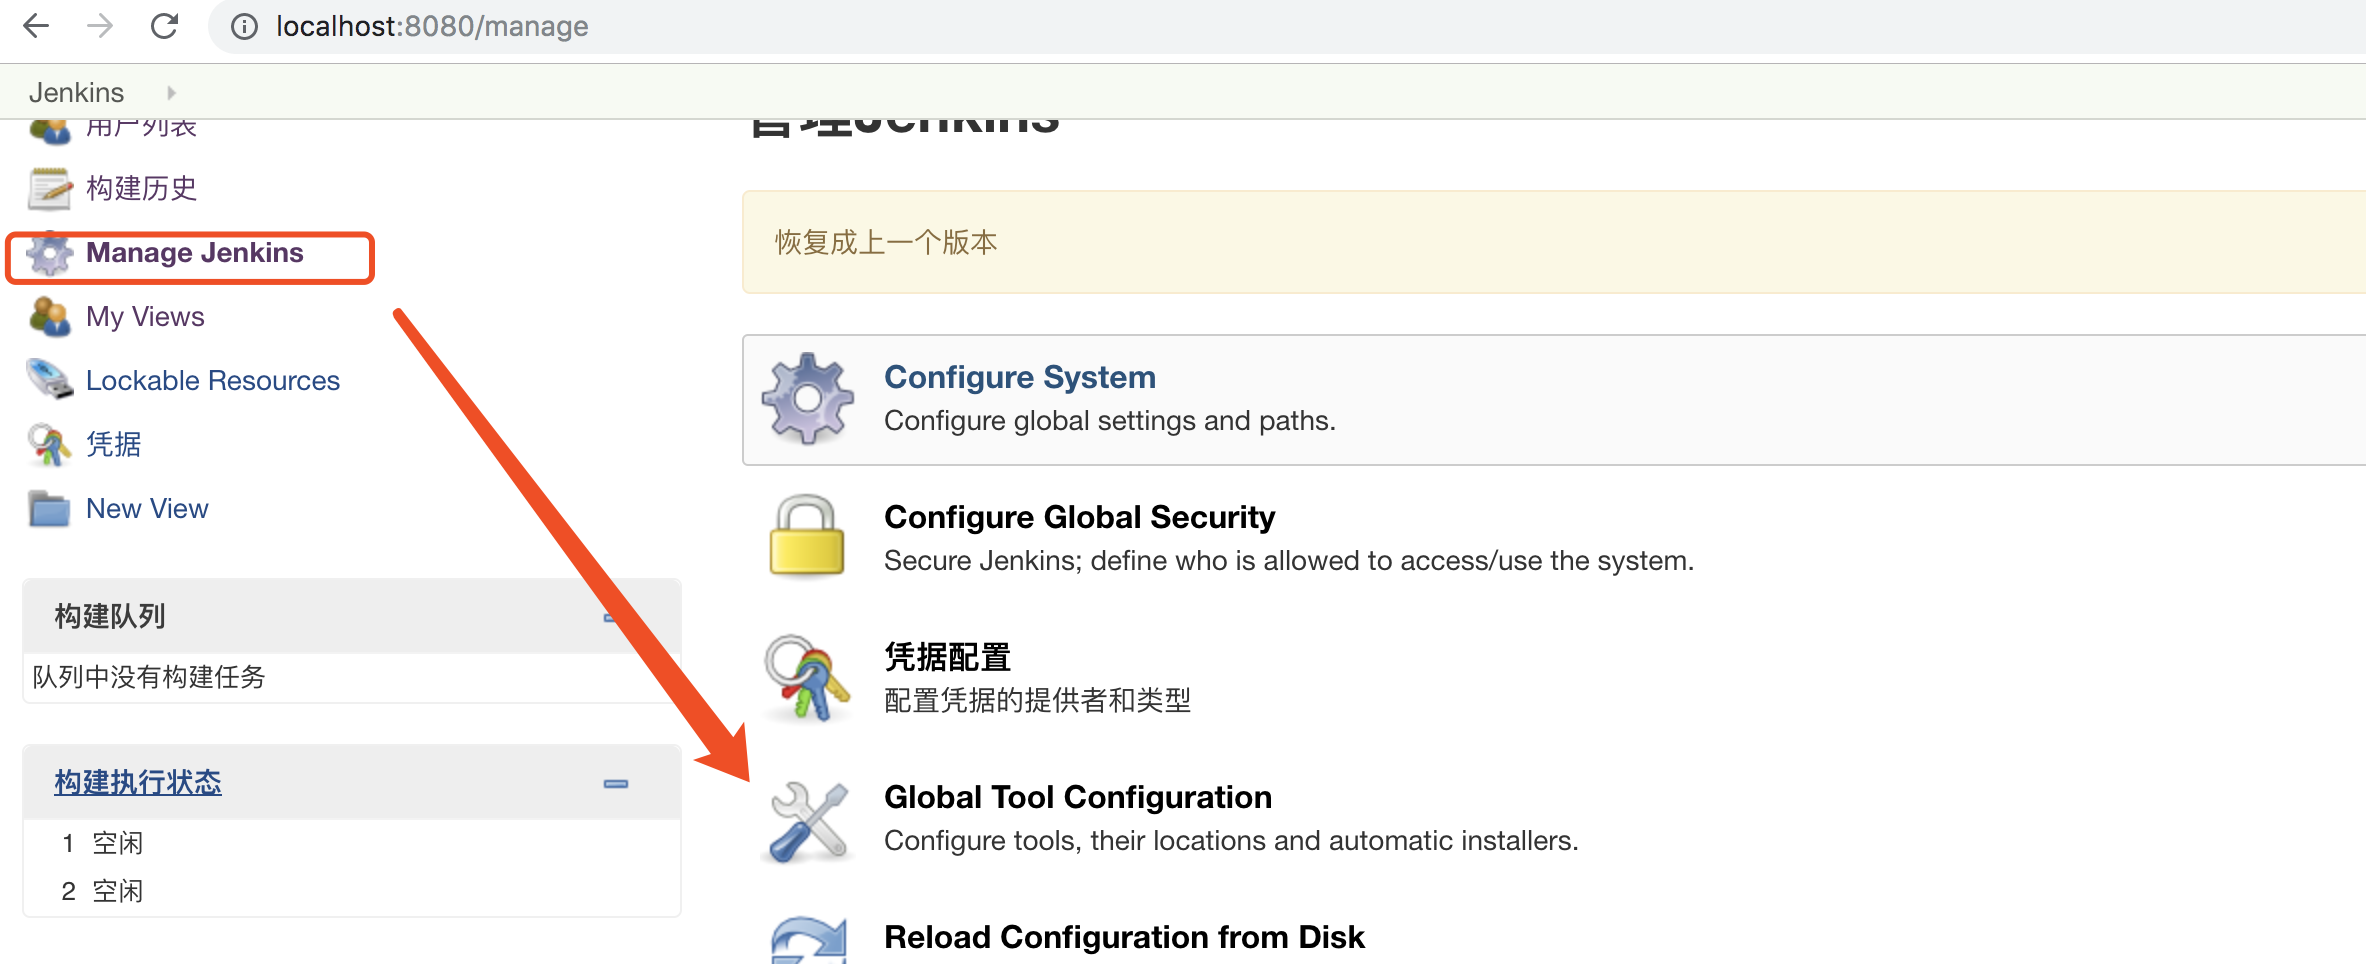
4. Next, jenkins configures ant
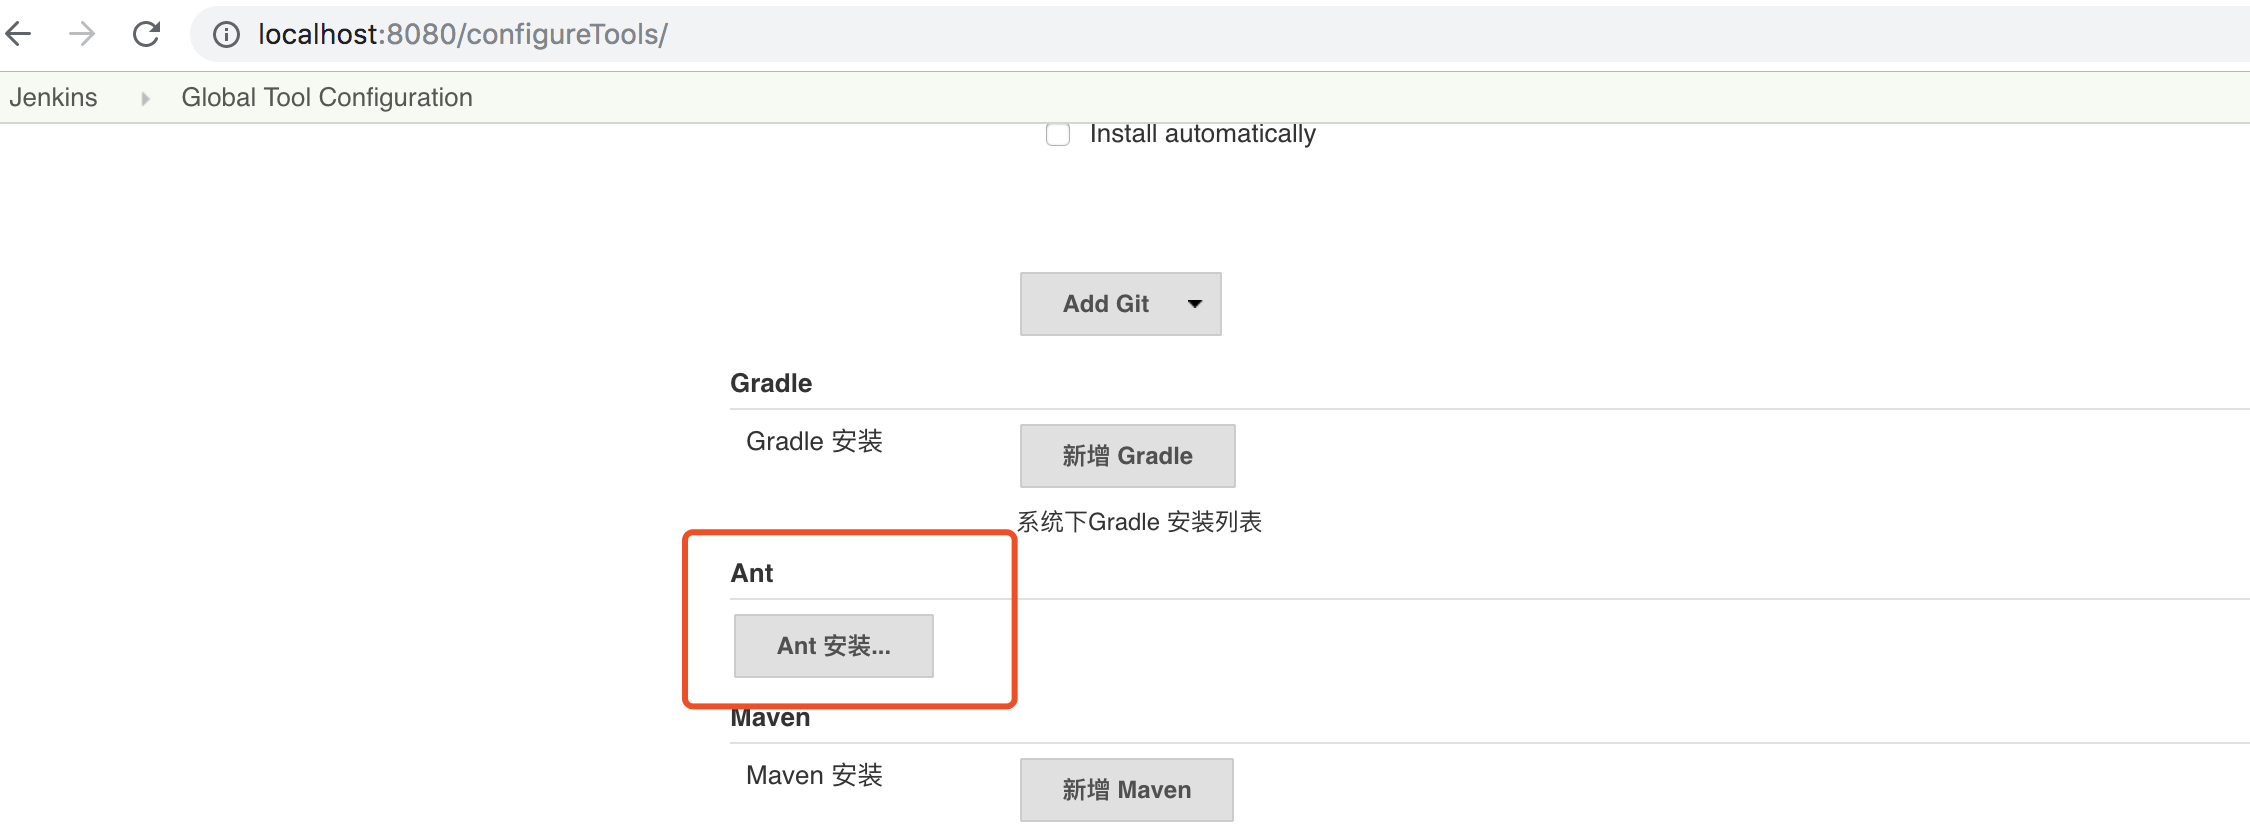
(1) Installing ant under Jenkins
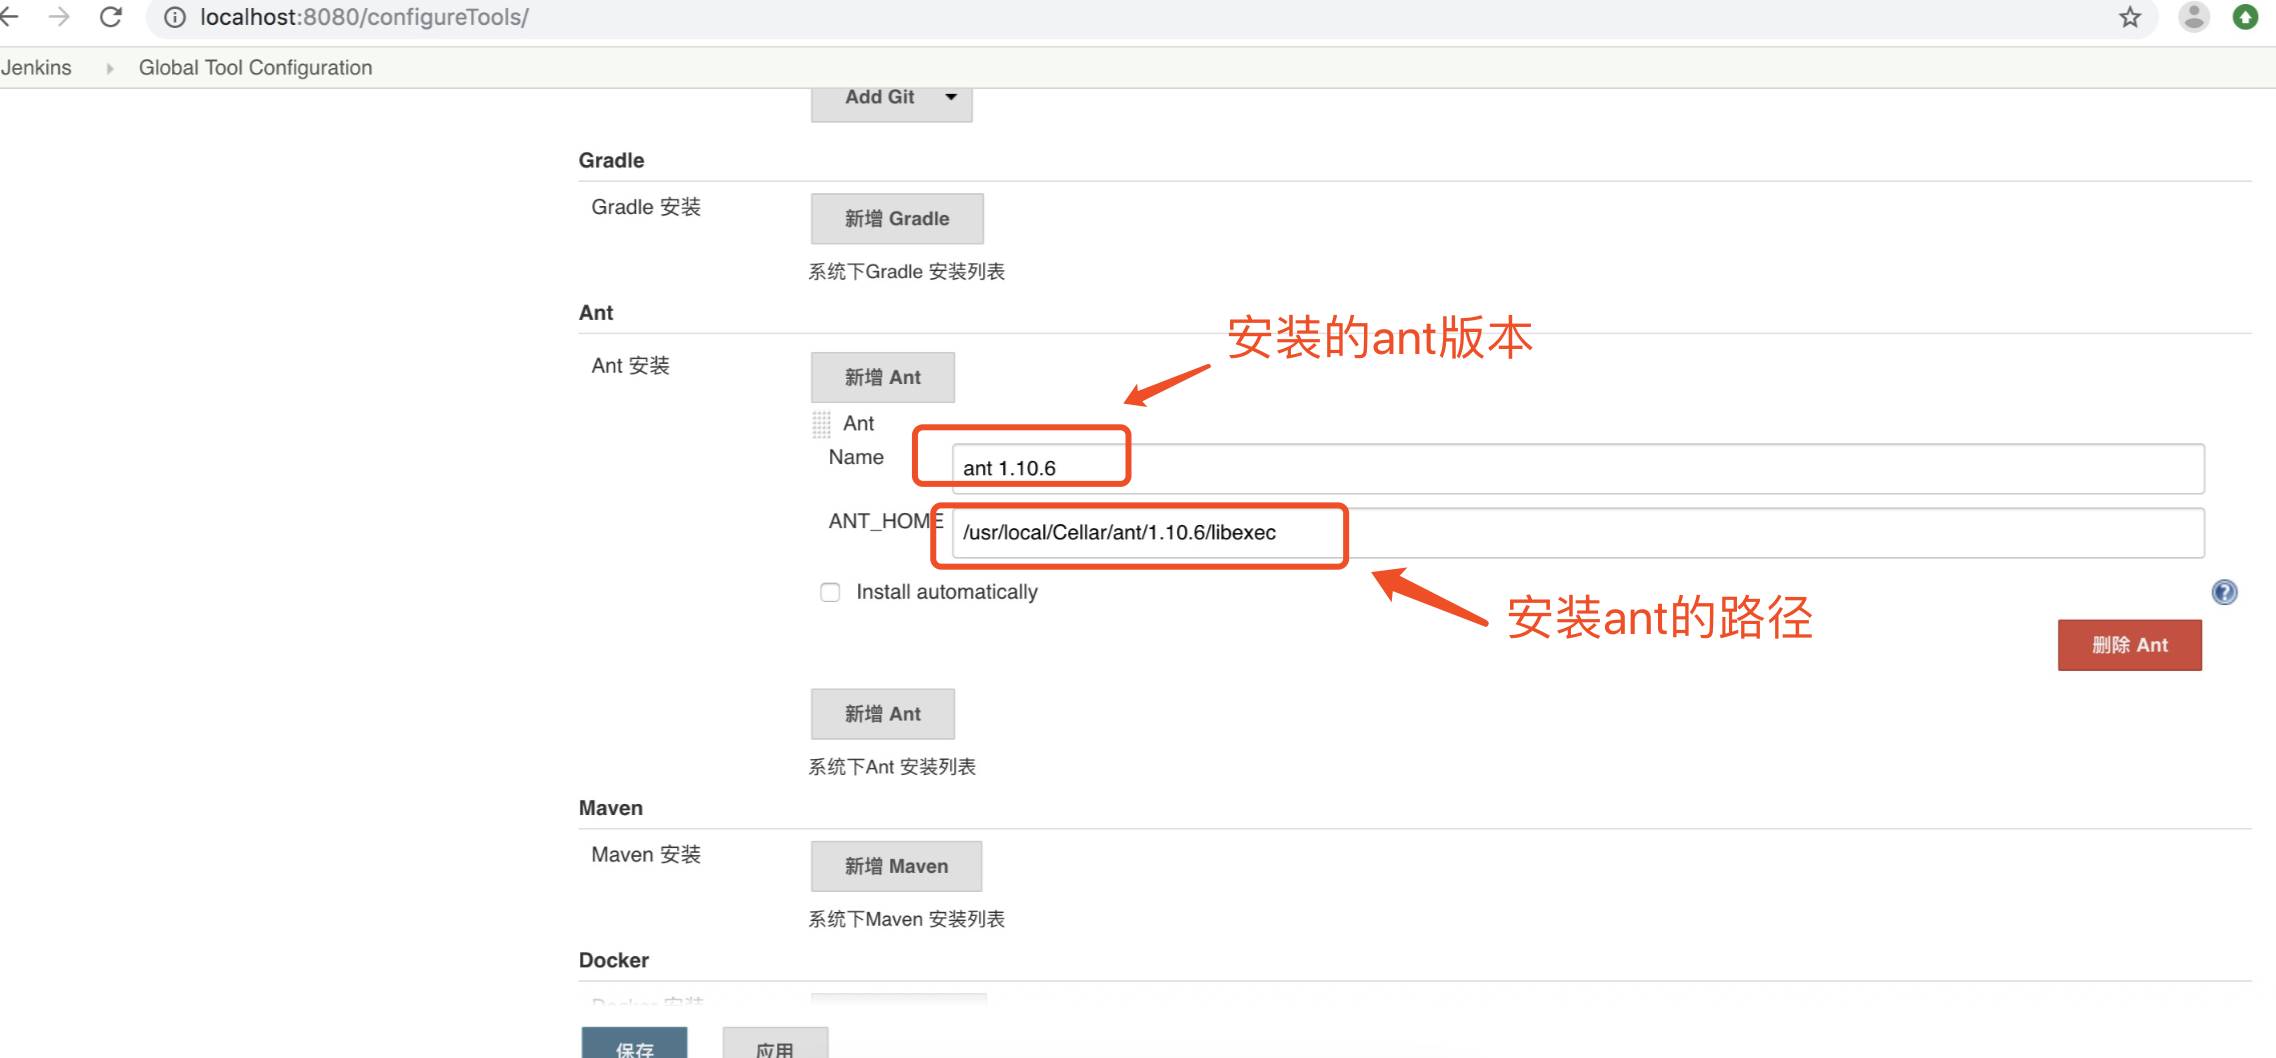
I made a mistake here, and later found that it was right to add a file to the back of the path.
Below is a screenshot of a mistake:
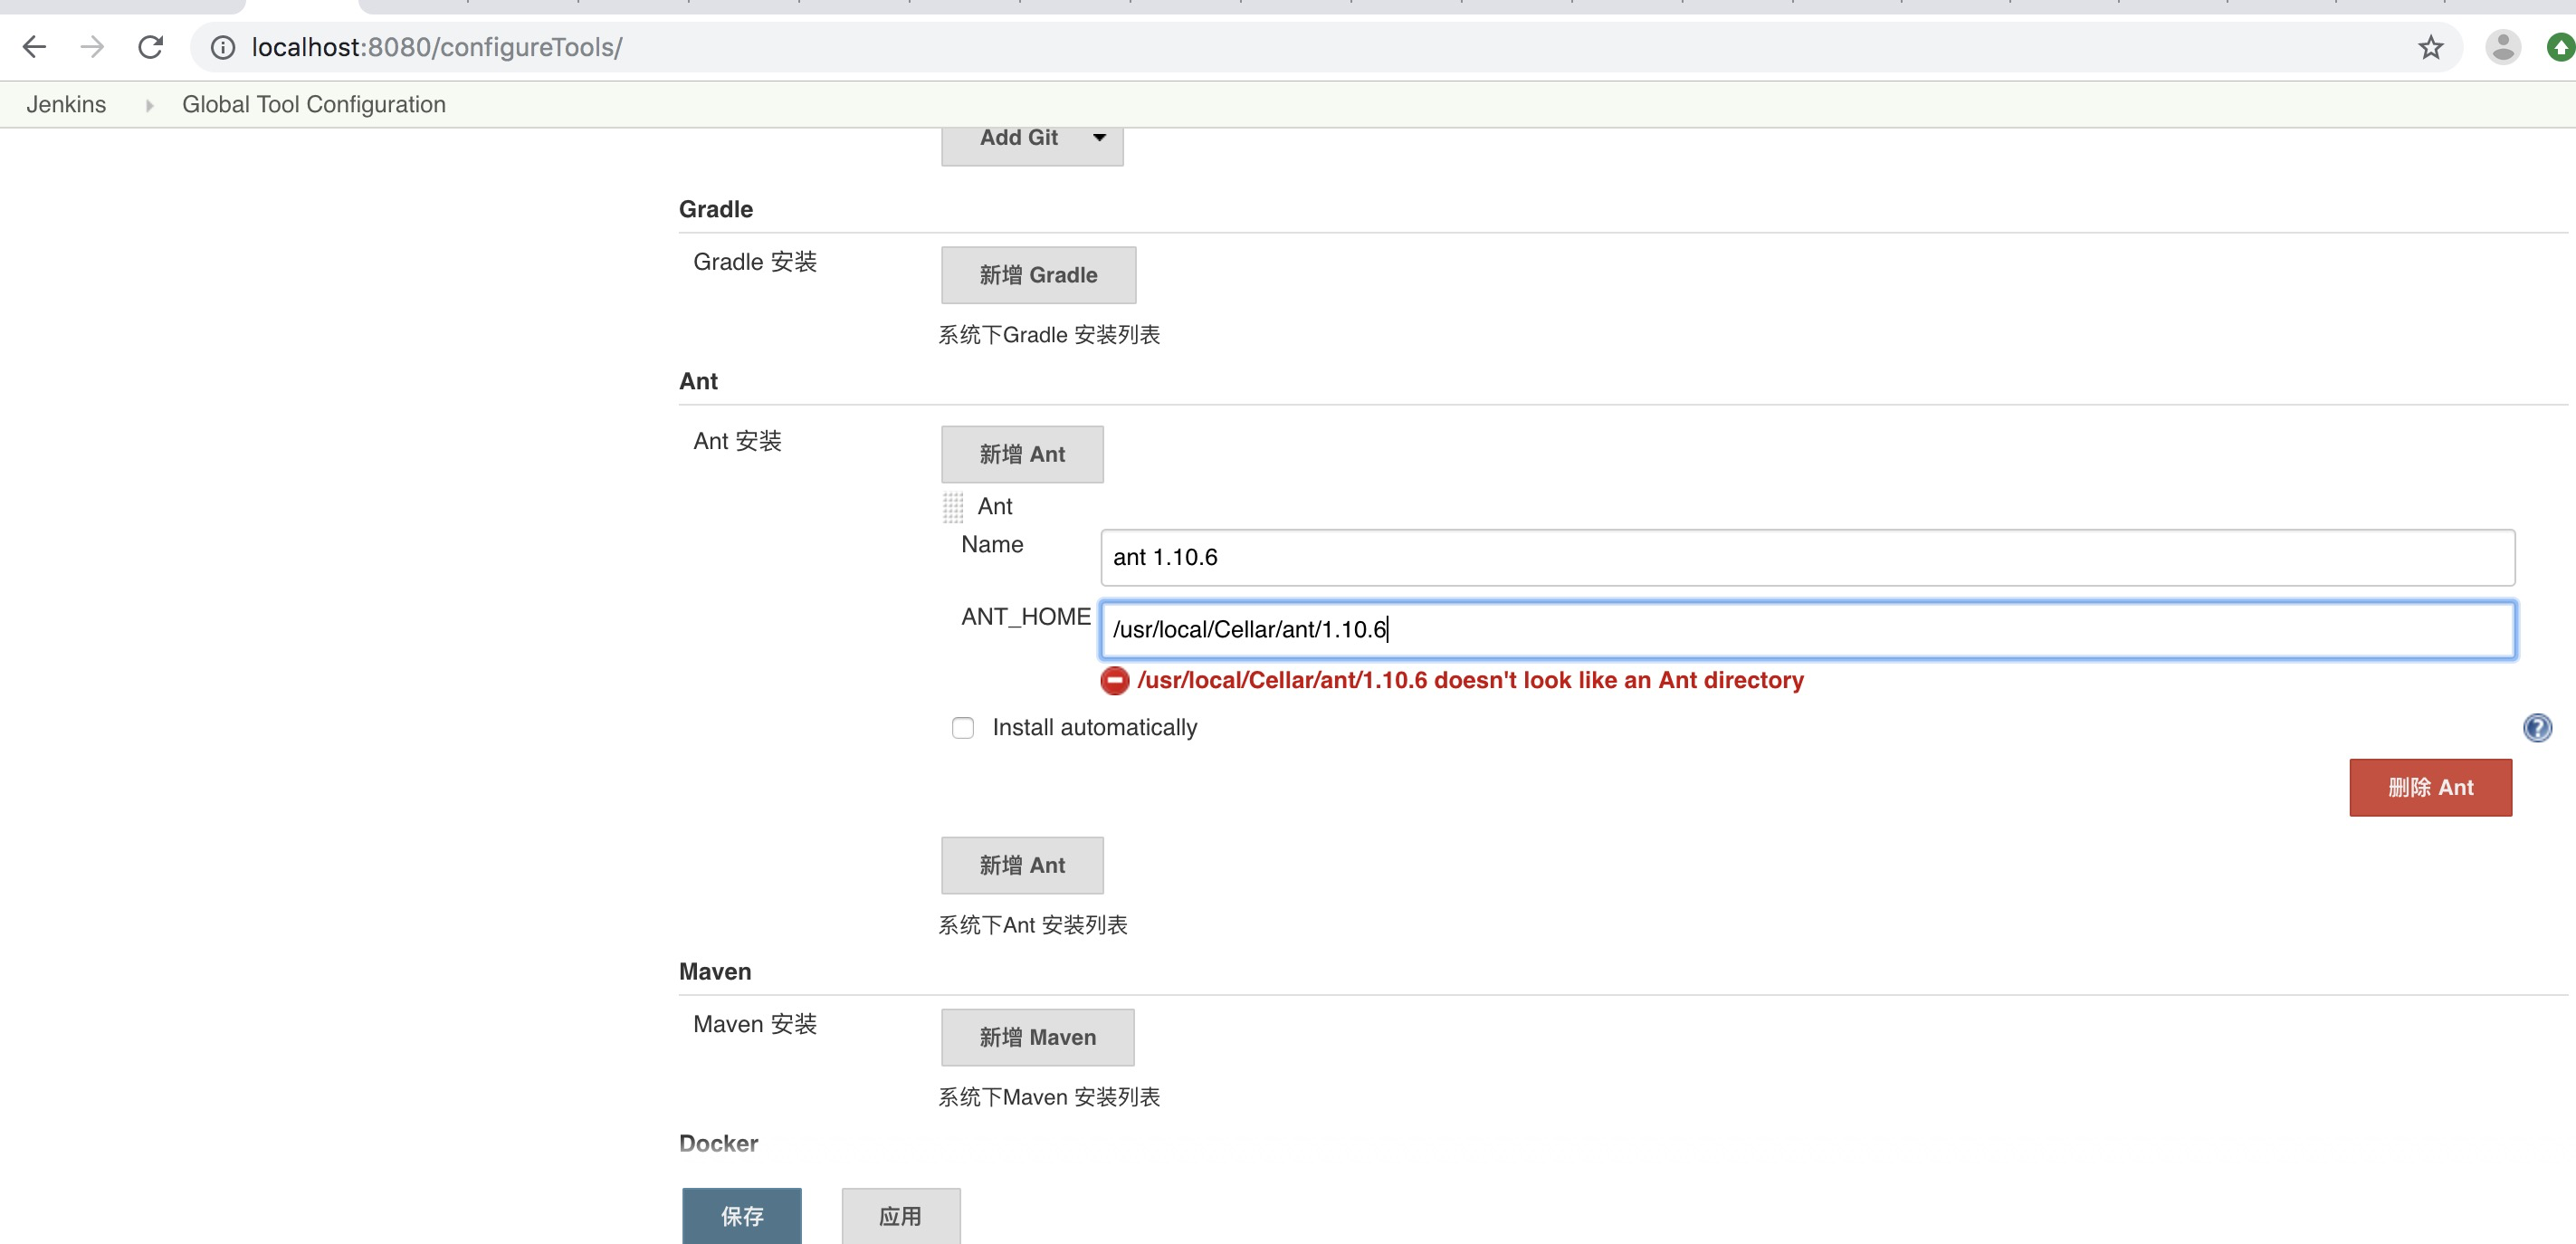
Later, it was found that the path lacked configuration files.
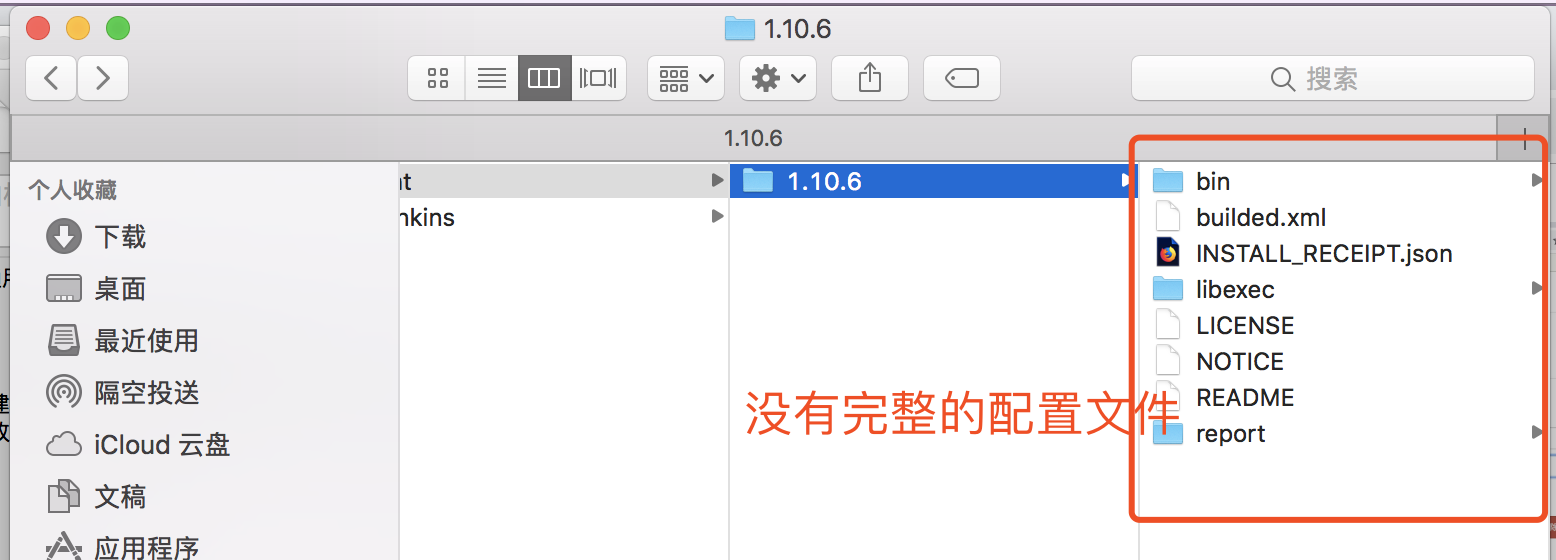
You're right when you change paths.
Click save and ant installation is complete
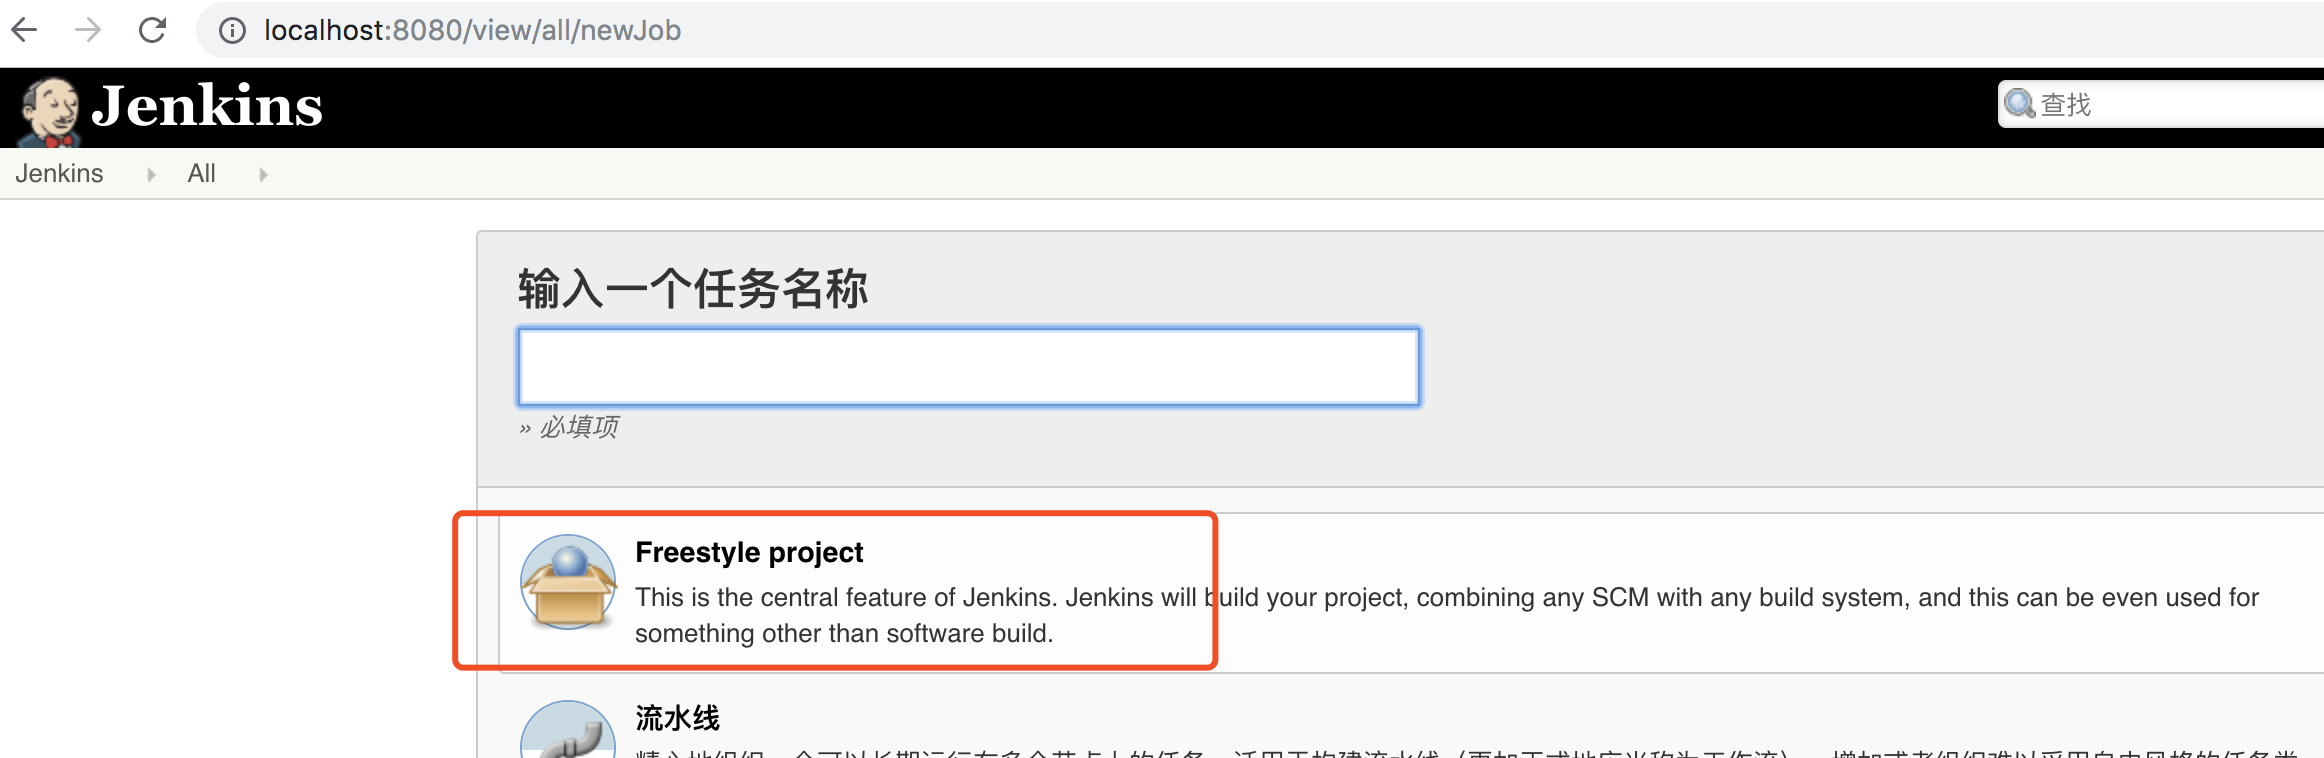
(2) A Freestyle Project in Xinjiang
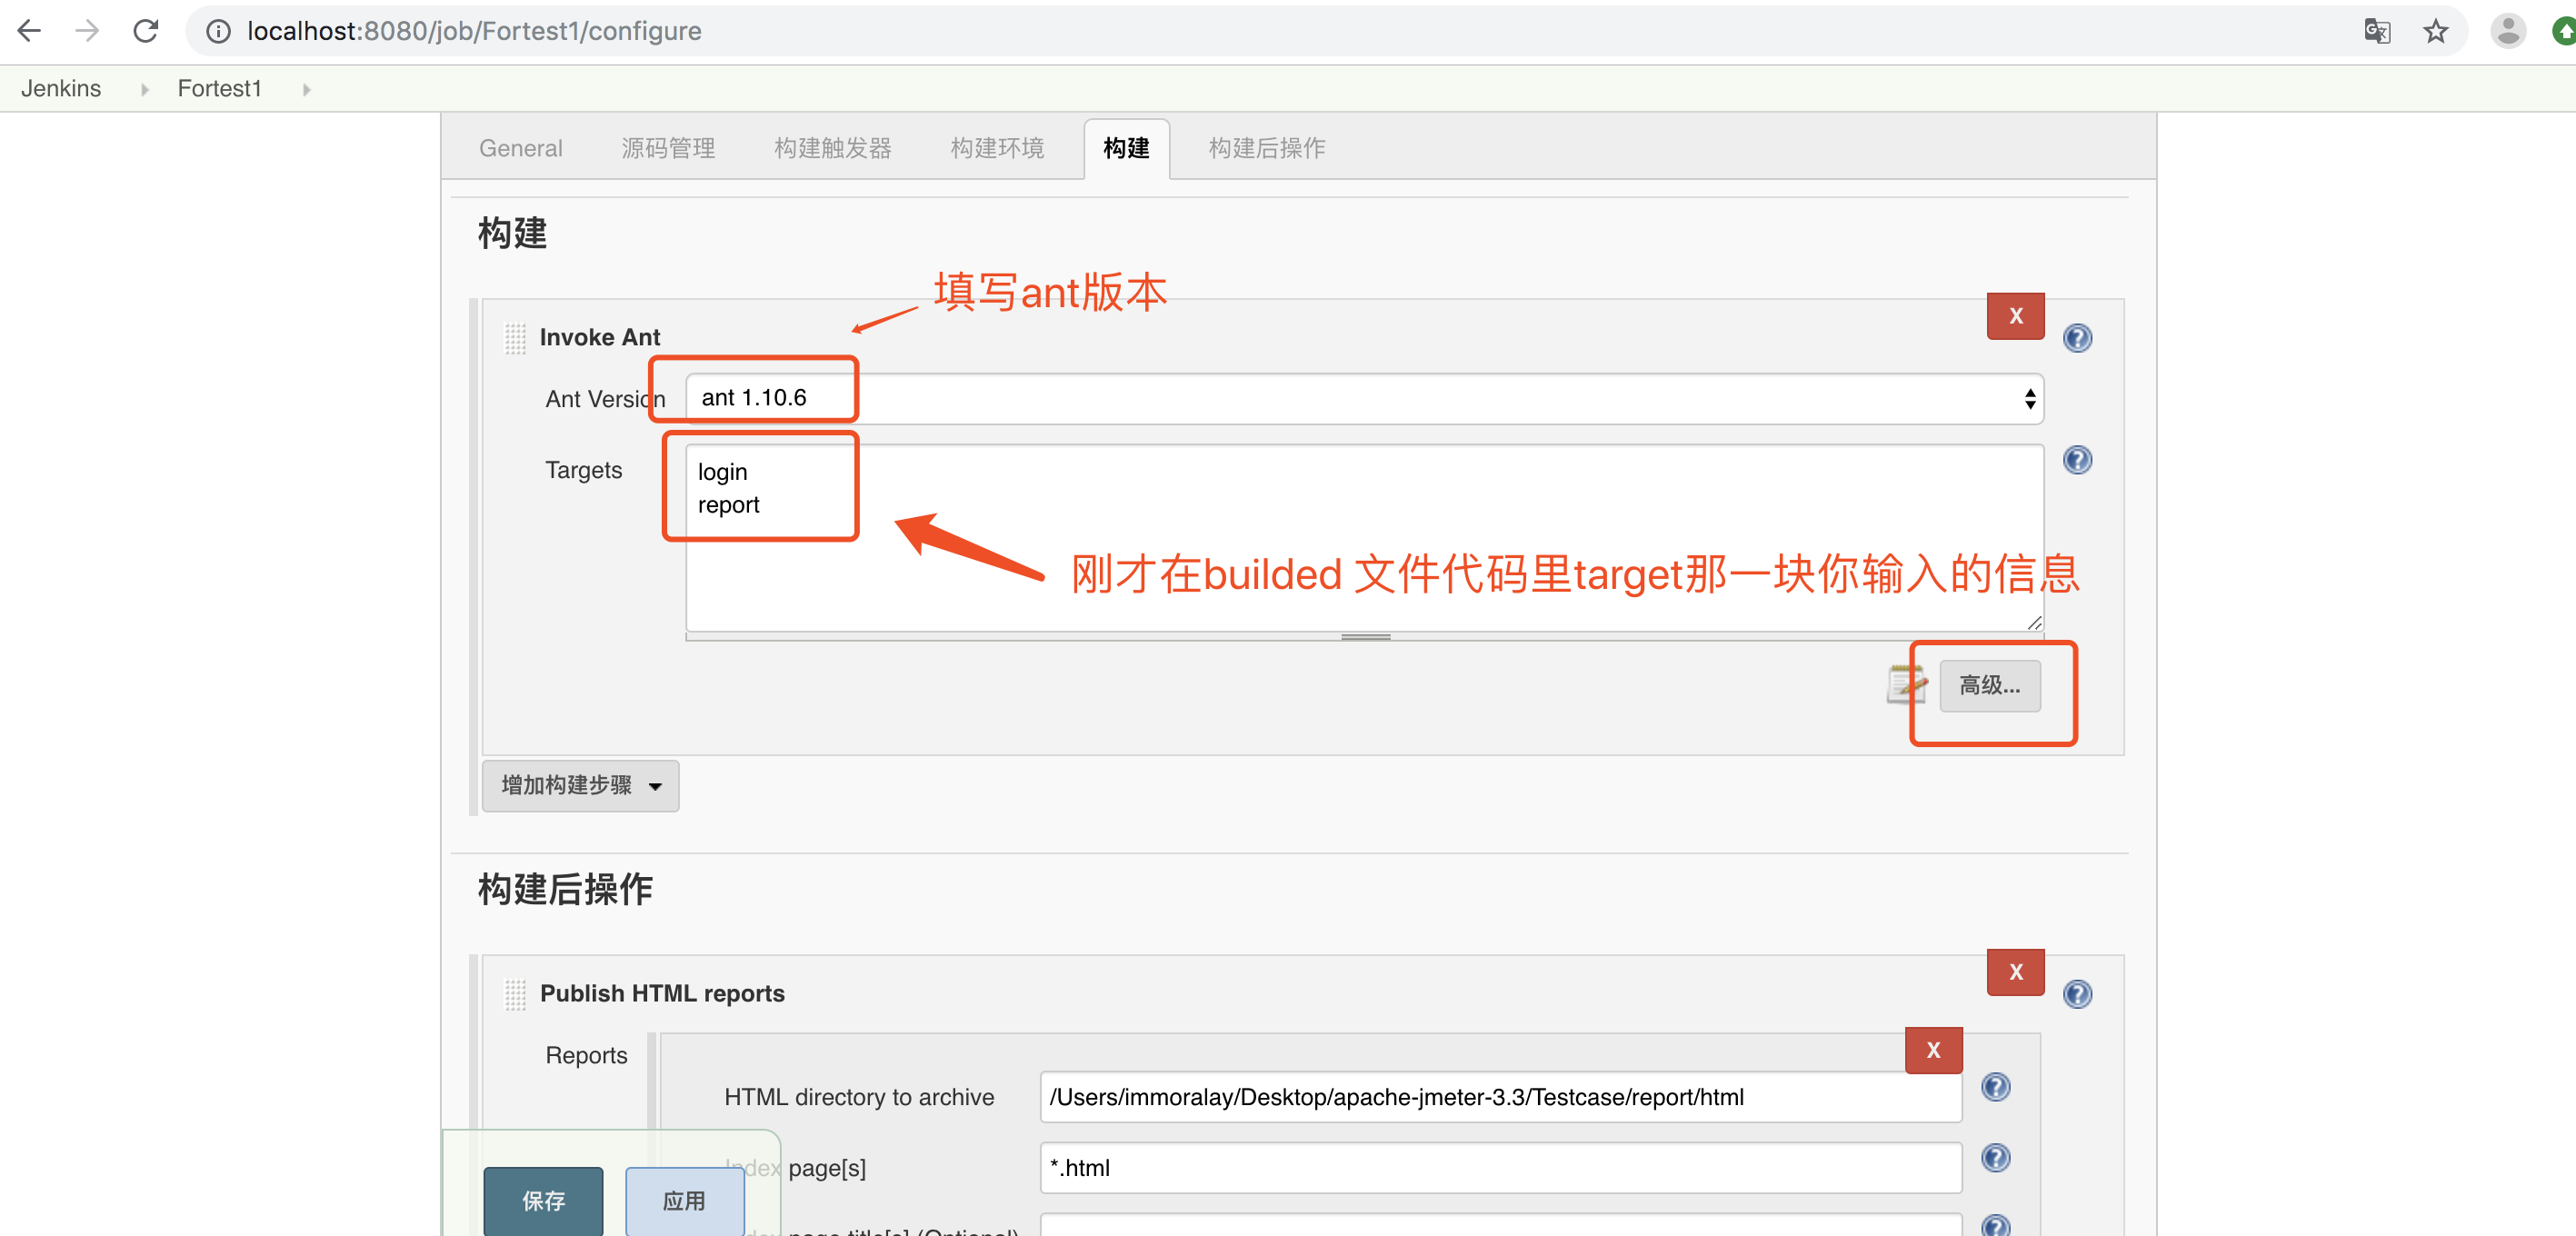
(3) Construction information of configuration project
Ant version do not choose default, choose the Ant version you added
 targets input run
 Build File input build.xml path
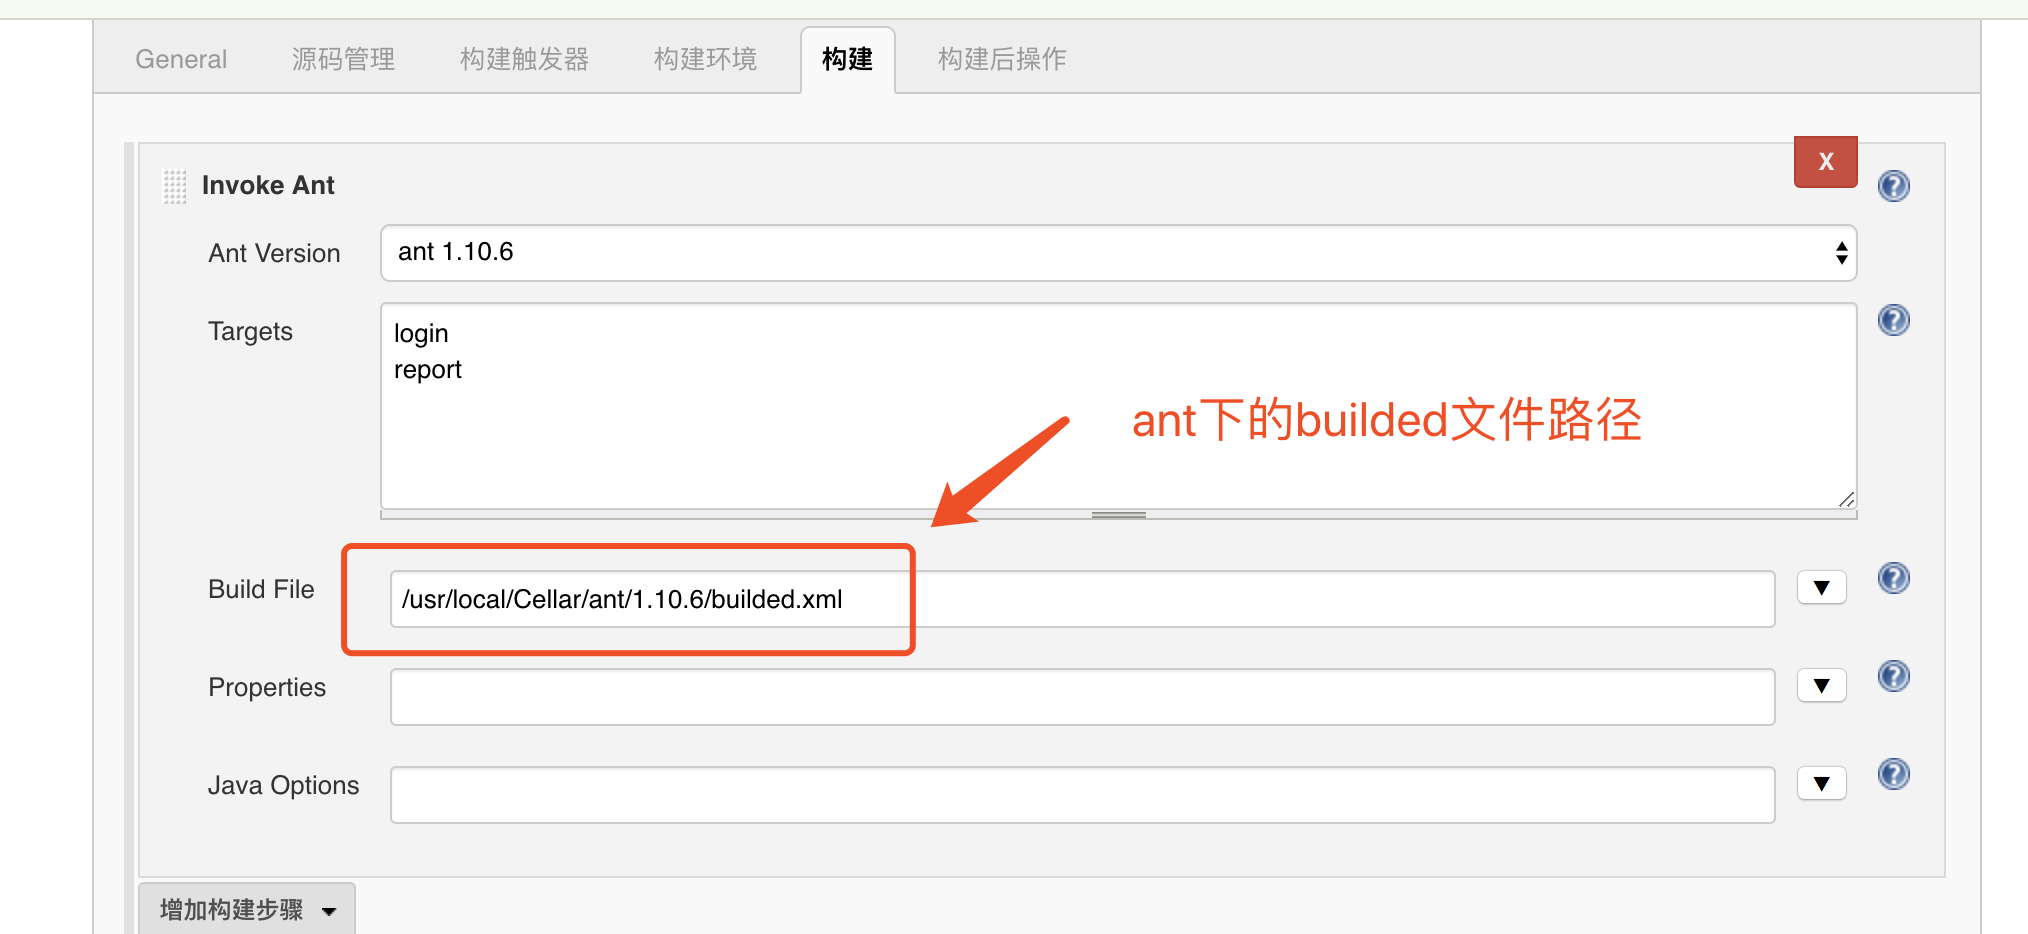
Just click Save.
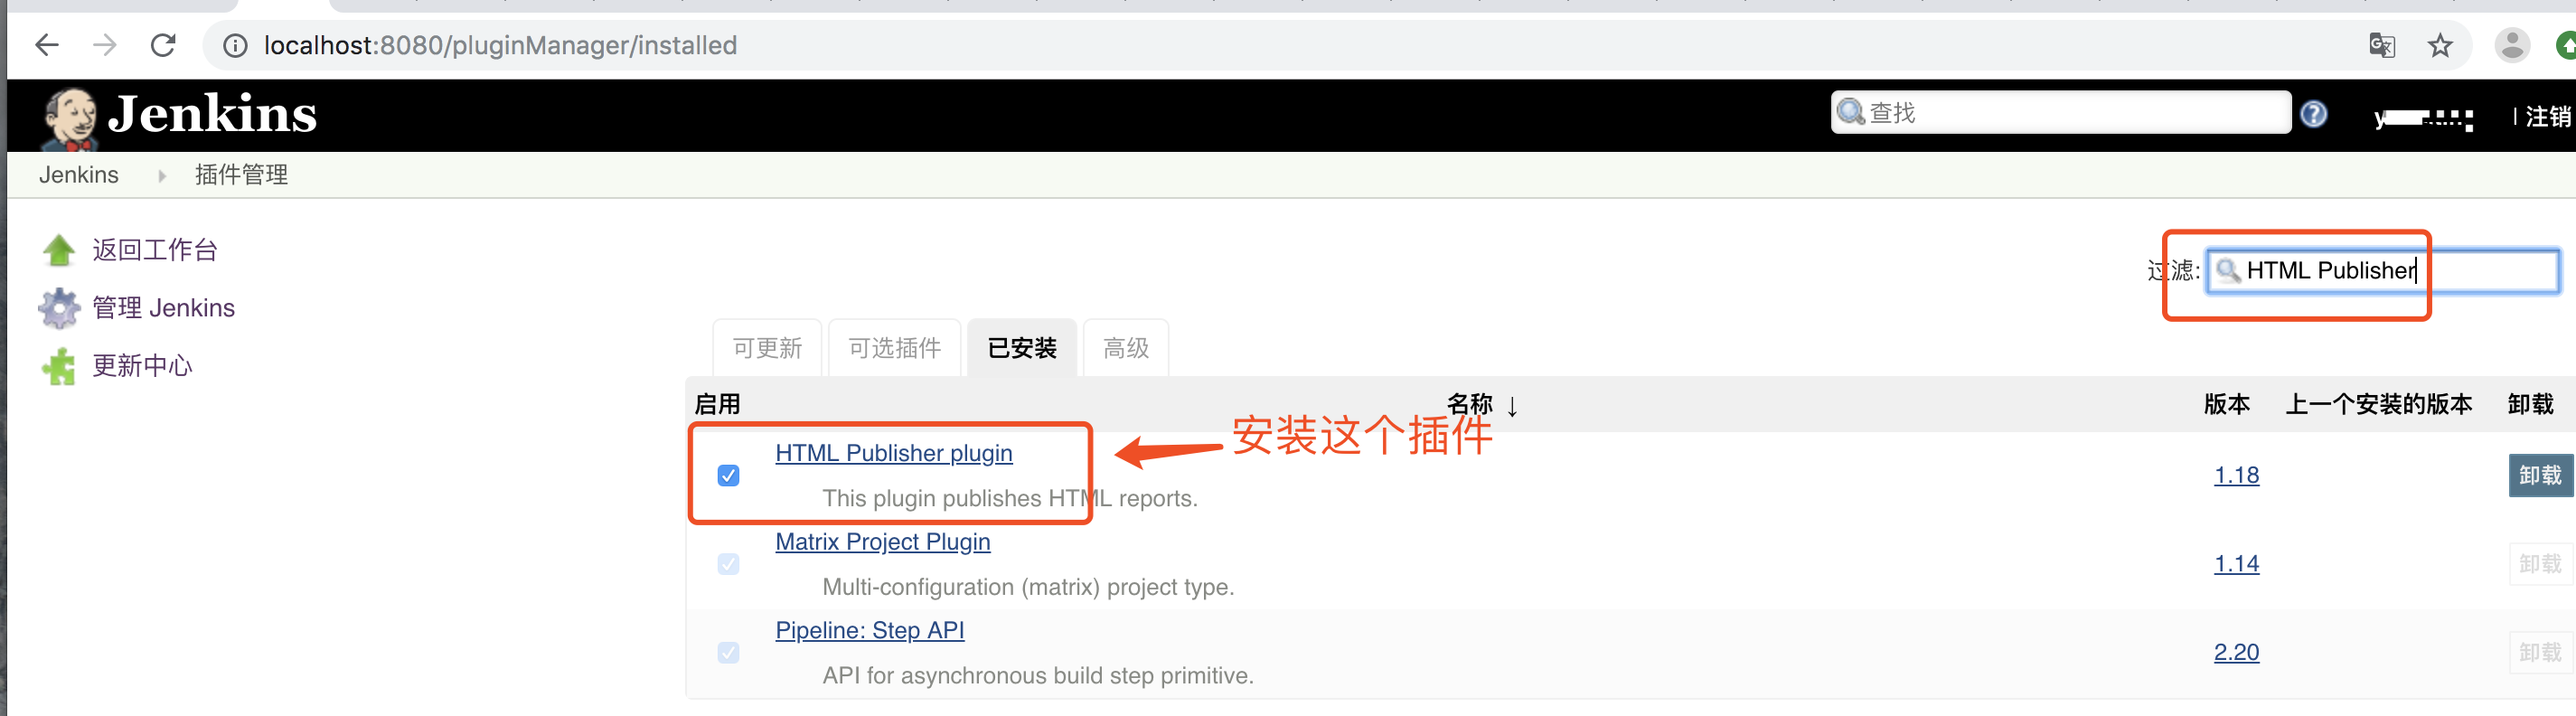
(4) Install report plug-in
System Management - --"Management Plug-in - --" optional plug-in input HTML Publisher for query and installation
(5) Setting up post-construction operations
Open the freelance project configuration link just built
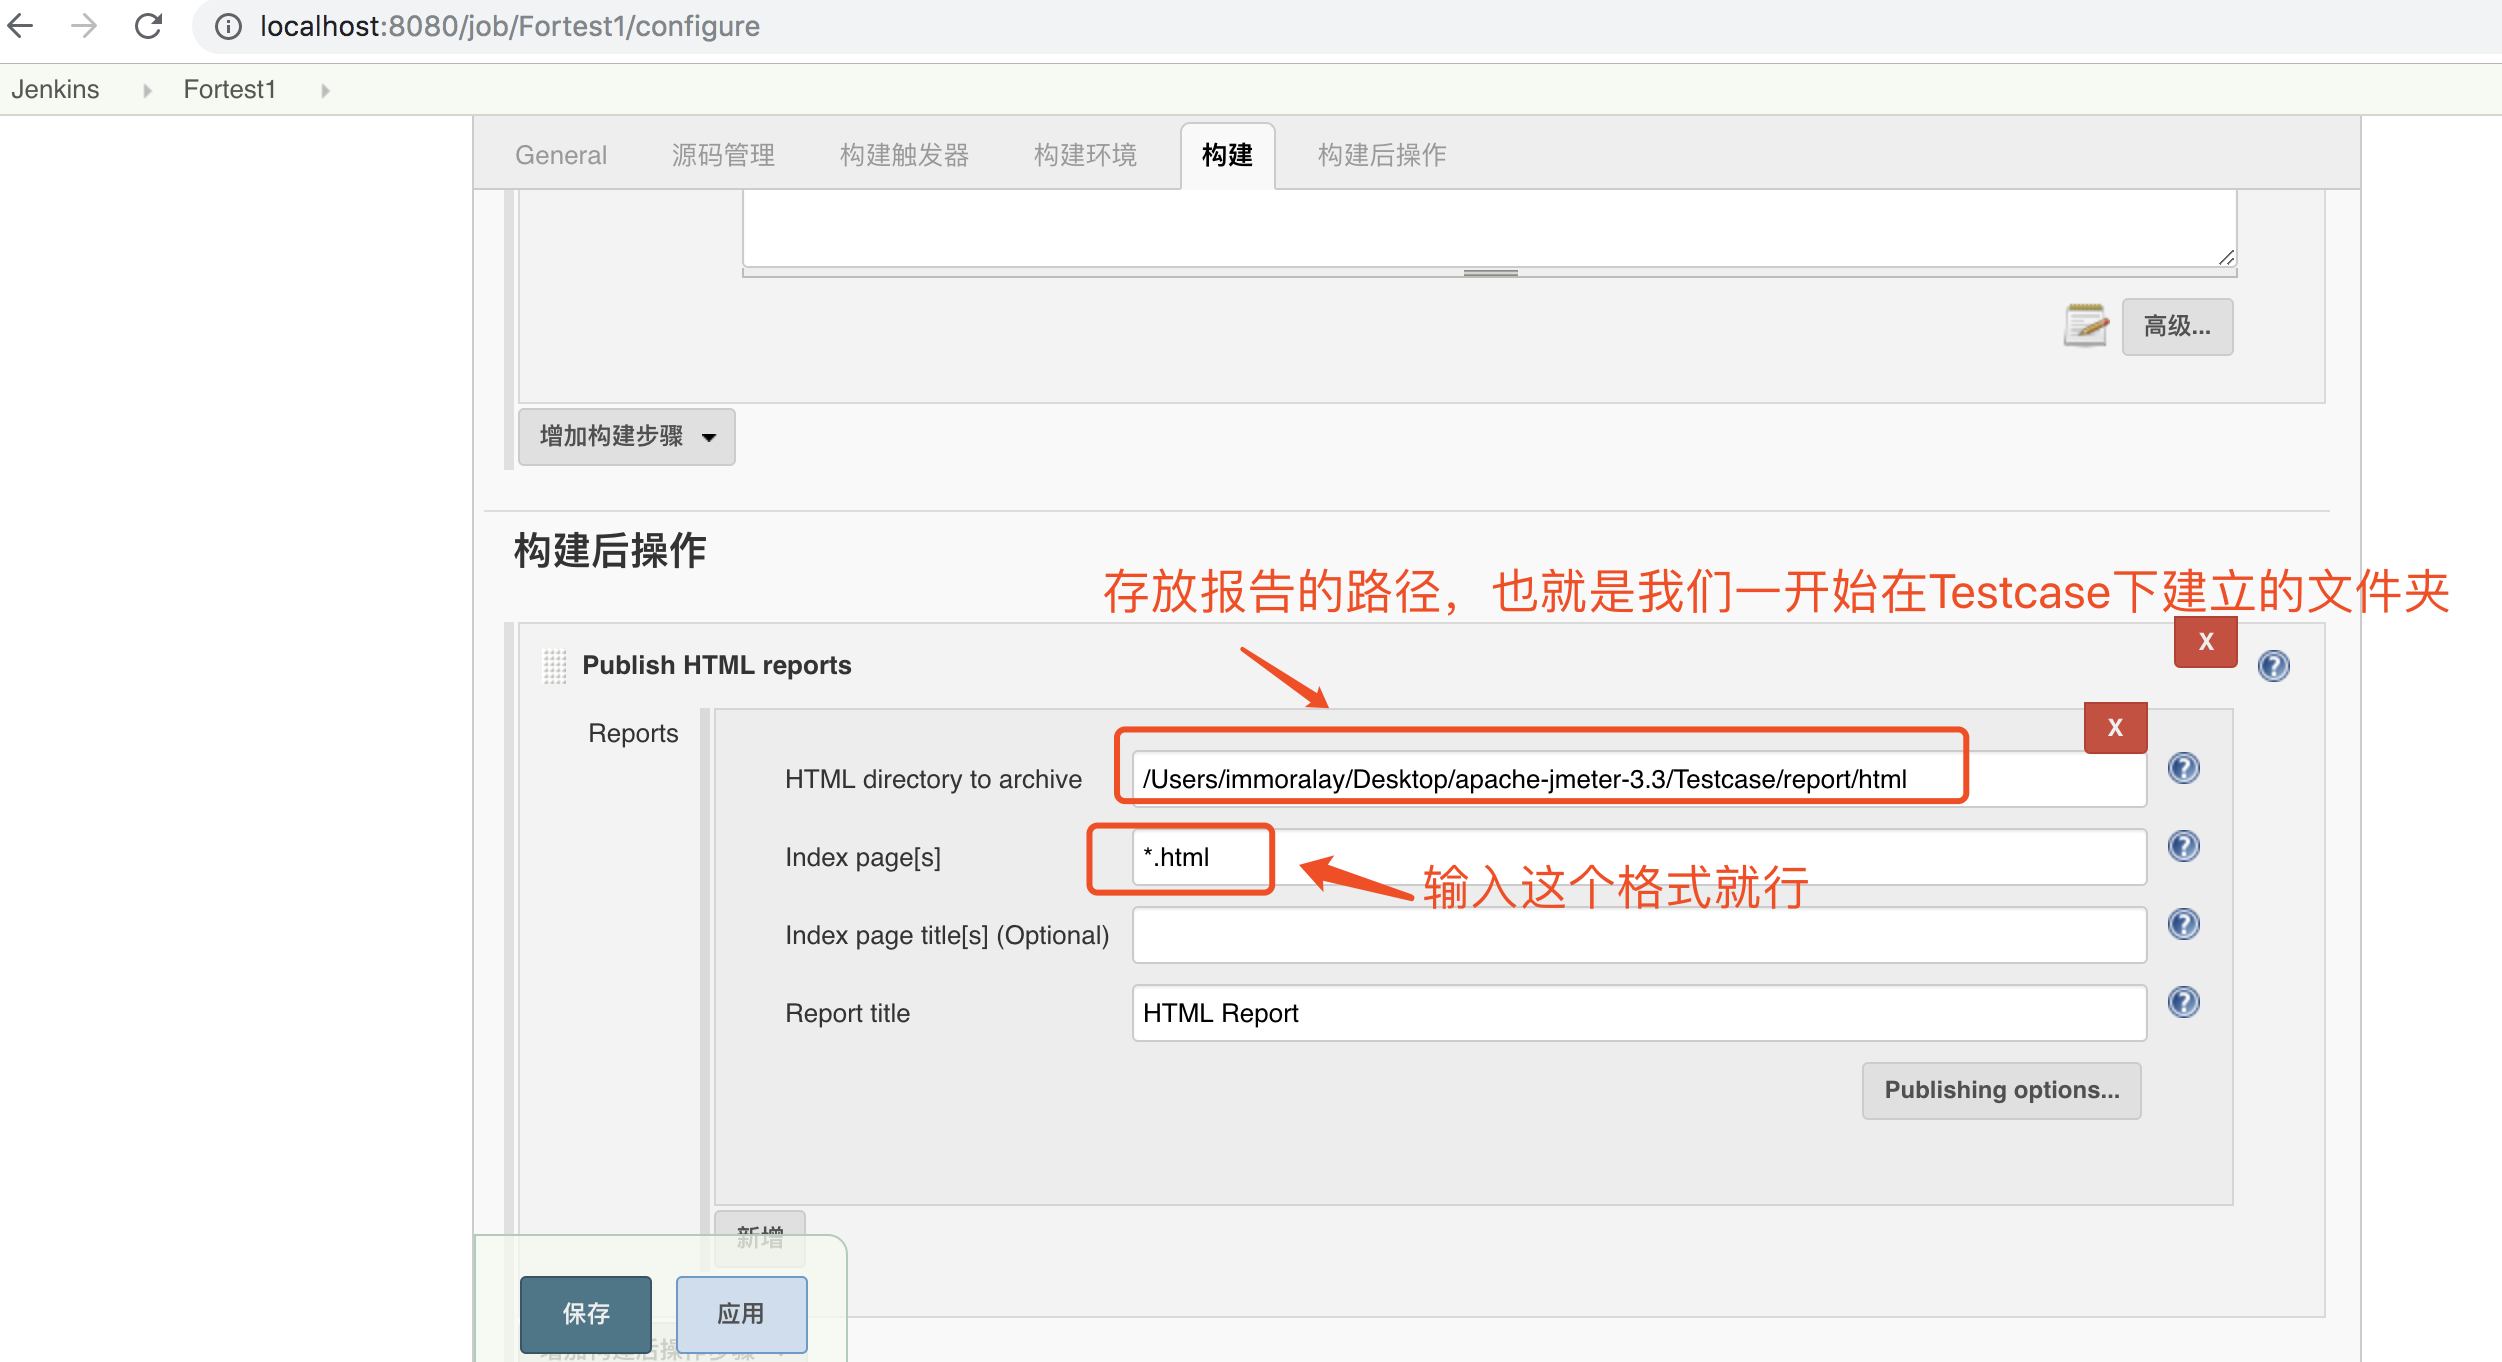
Post-build operation-add post-build operation step-publish html reports-reports-add
Click Save
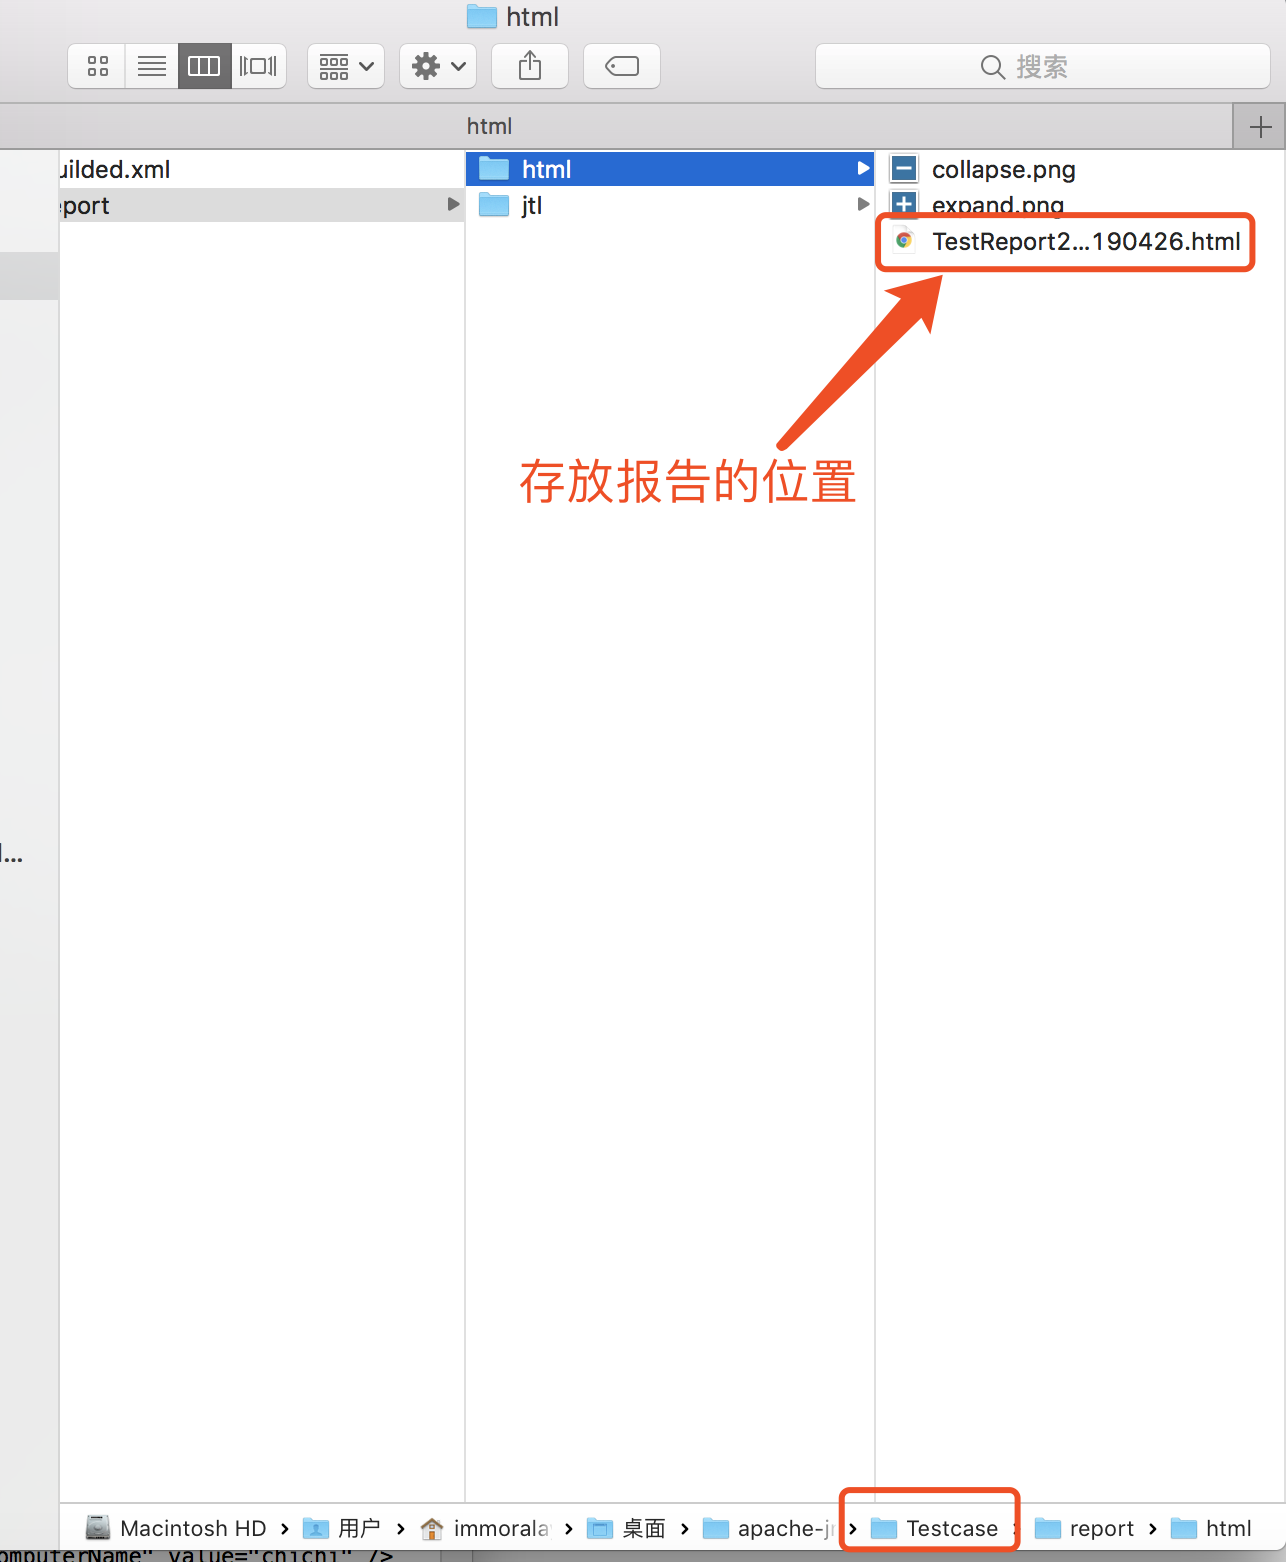
Finally, when you build the project, you can see the report.
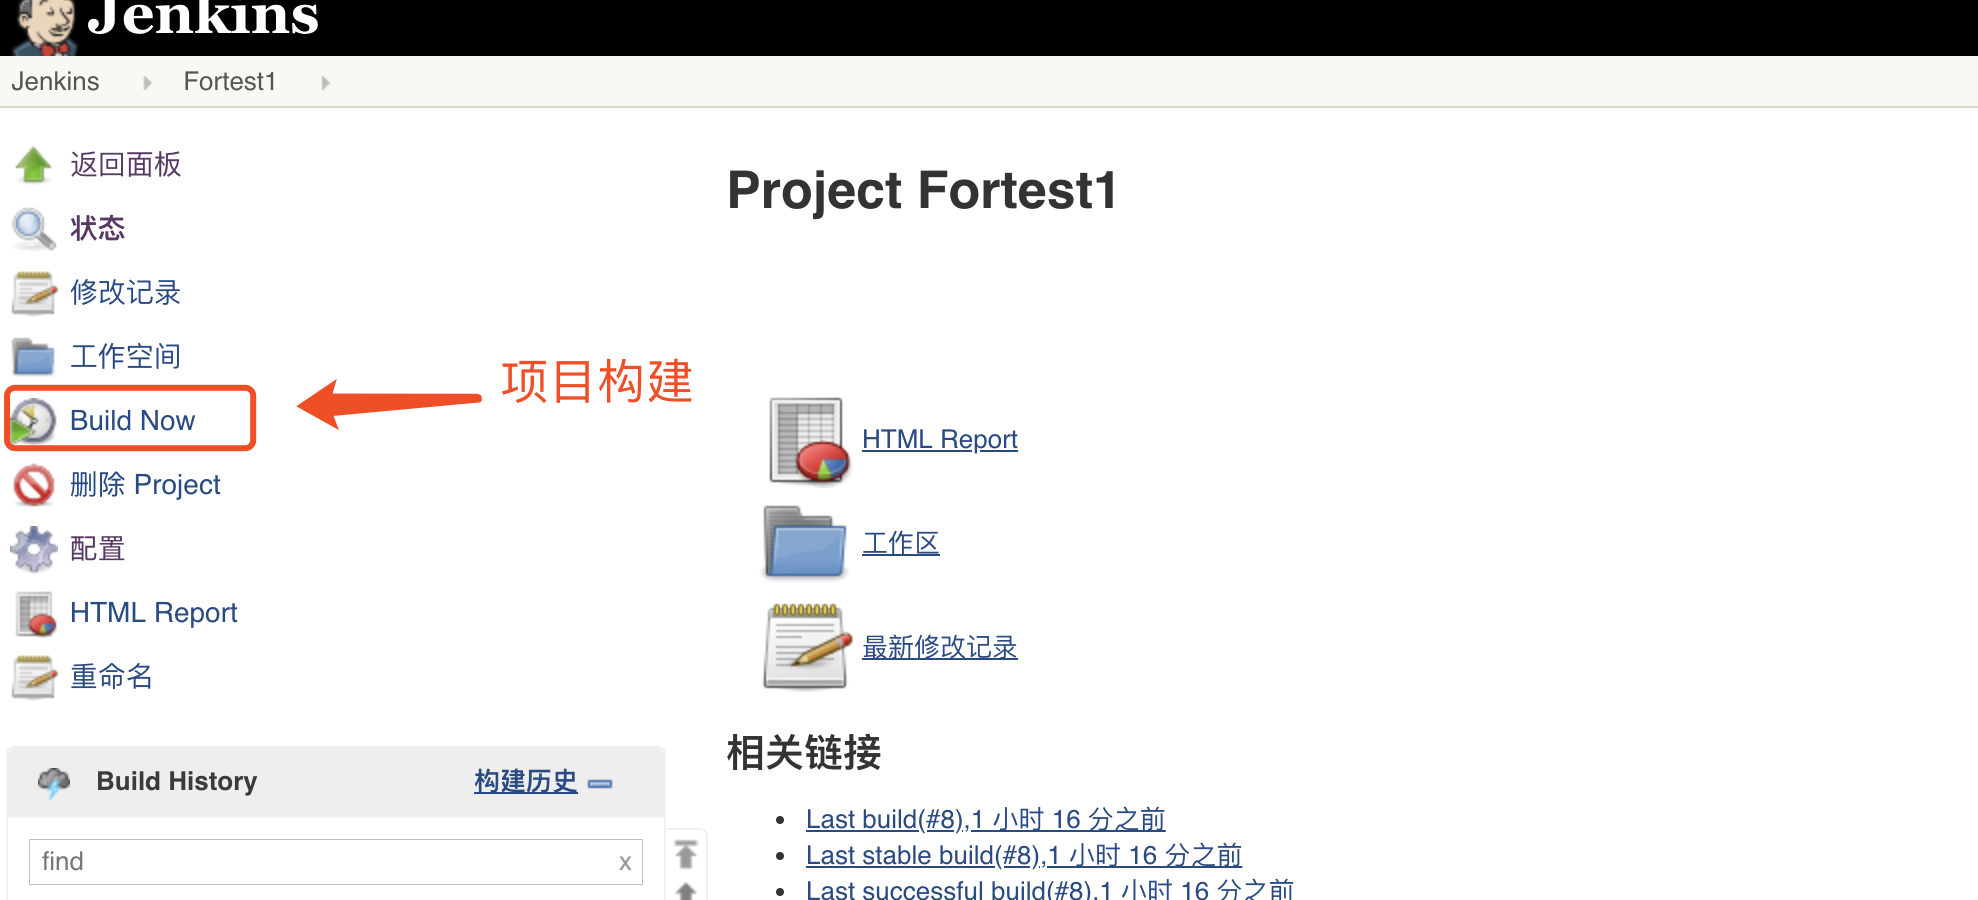
The report is stored in Testcase.
5. Report presentation:
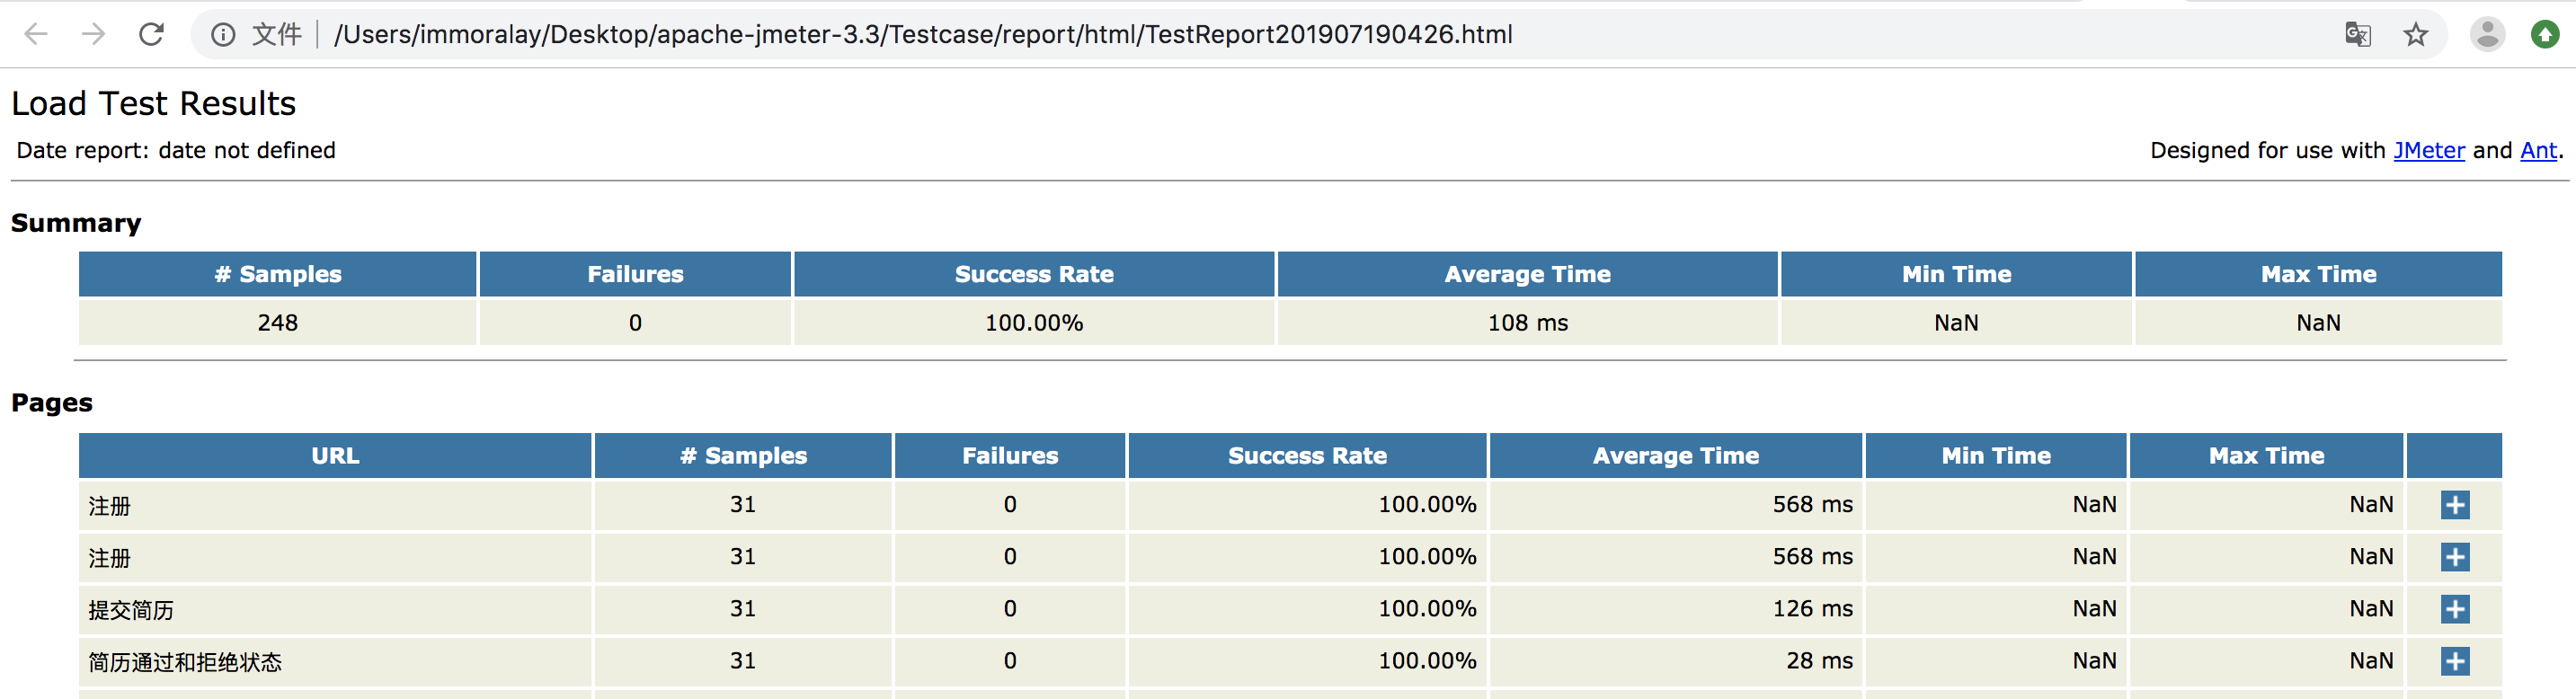
But another report I have here is NaN, which needs to be studied, but the environment I have developed has been successful.
Let's say that because Mac comes with JDK, there's no need to configure environment variables. I downloaded ant under homebrew instead of official website, so I don't need to configure something.
If there are any problems above, communicate with each other at any time, I am a little skilled in learning, and the route I have studied may not be suitable for most people. I hope it will be helpful. Next, I will solve the problem of NaN and send reports to email automatically.